Want to help your kids help in the kitchen? Here's how to build a DIY learning tower with printable PDF woodworking plans!
Do your kids love being involved in the kitchen? Our kids love helping - especially baking and making cookies!
We previously have used a small, folding, 2 step step-stool (similar to this DIY wooden step stool) to allow Luke to get to the counter.
But, Rory now wants to be involved, too.
We have been sitting her on the countertop, but now that she's turning 2, that's not super safe.
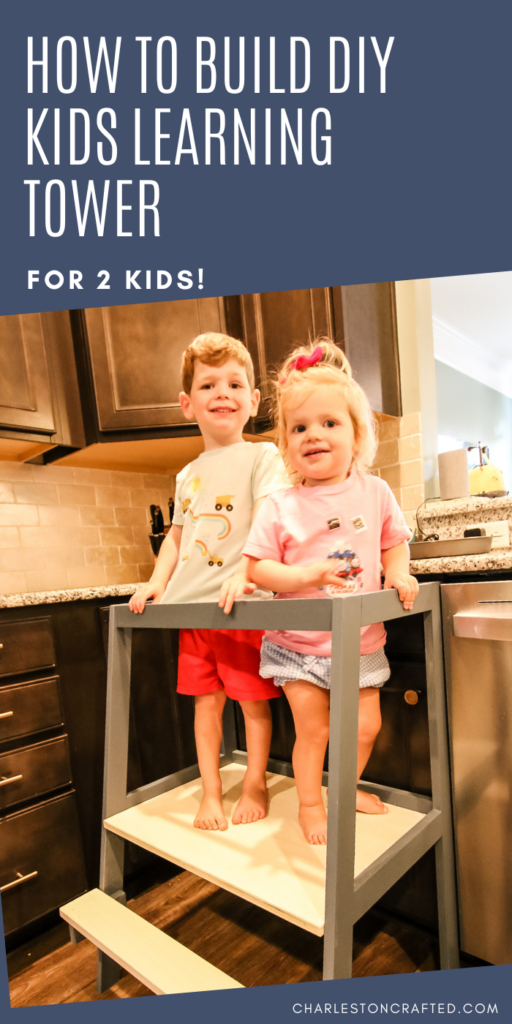
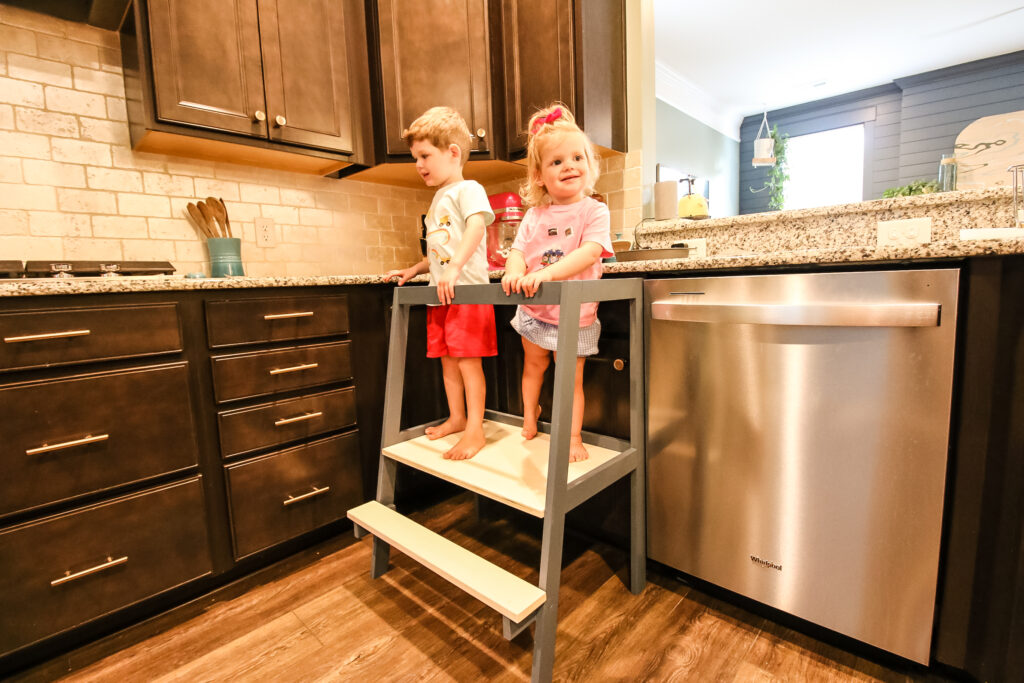
So, we decided to finally build a learning tower for the kids. This specific tower was designed to fit 2 small kids side-by-side, but can be used by just one child as well. We have instructions to modify the height or width for your kids, too!
This post will teach you all about a learning tower, what they can be used for, and how to build one for your kids!
What is a Montessori learning tower?
A learning tower is a step stool for kids on steroids (the kids aren't on steroids, but the tower is, haha). They are designed to lift kids up to kitchen counter height so that they can help with cooking, cleaning, washing, and generally being involved in the kitchen.
These kitchen helpers can also be used in the bathroom if you have a need for a safe kids stool in that area.
Learning towers allow kids to be involved and participate in household activities in a controlled and safe way.
You can also build this vanity with pull out steps!
What age is a Montessori learning tower for?
Learning towers are designed for kids aged 2-6 years old. I think that they are fine for kids starting at 18 months old, assuming they can stand still and are interested in being involved in the kitchen.
The larger platform area gives them a good amount of space to stand on, so if your child can stay in place, they are great for this age.
Are kids learning towers safe?
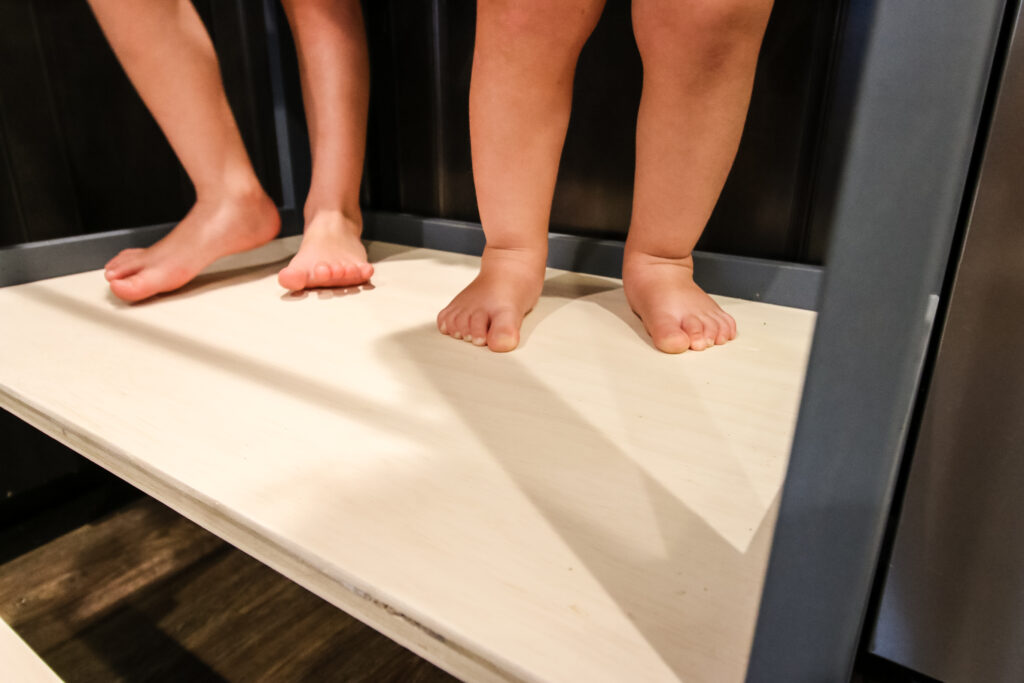
Learning towers are specifically designed to be safe, stable, and secure for toddlers and preschoolers to use to reach the kitchen counter. They are enclosed and have a wider standing area, making them a safer alternative to a step stool.
We recommend building your learning tower using pocket hole joinery and wood glue for a super strong, super secure build.
What are common learning tower dimensions?
Learning tower measurements will vary slightly depending on the size of your child and kitchen and if you want a kitchen learning tower for 1 or 2 kids.
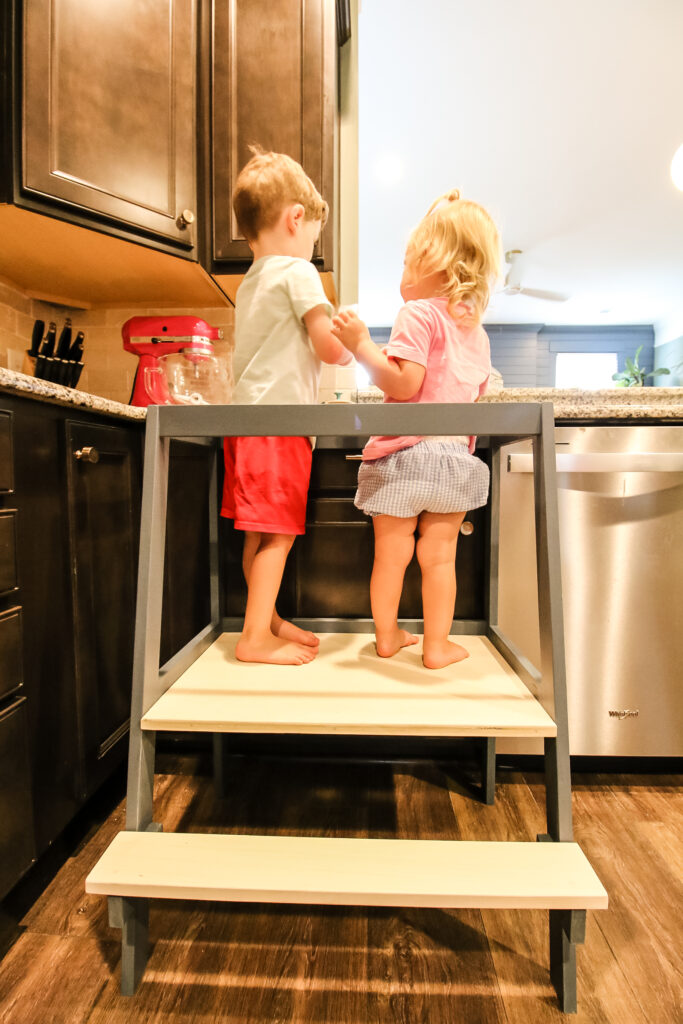
We designed this kitchen helper tower as a double learning tower to hold 2 kids at once.
For a single child learning tower, the platform will usually be somewhere between 15"-20". For our double child learning tower, the platform is 24" wide.
Learning tower dimensions will vary based on the maker, but expect the top of them to come up to right under or at counter height.
Learning tower width
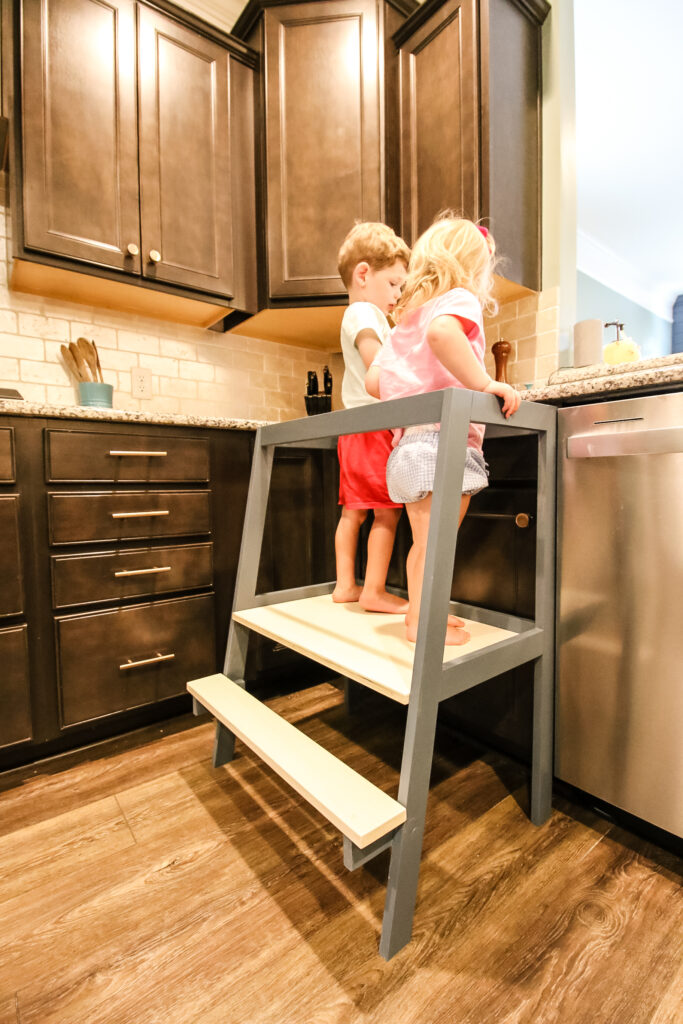
I recommend having your kids stand next to each other and measuring the width needed to be sure that the width in our learning tower plans PDF will suffice.
Our kids are 2 and 4 and this learning tower template was designed to accommodate their combined comfortable width of about 24". They won't be standing perfectly shoulder to shoulder while on the tower, so the space accommodates them well.
Learning tower height
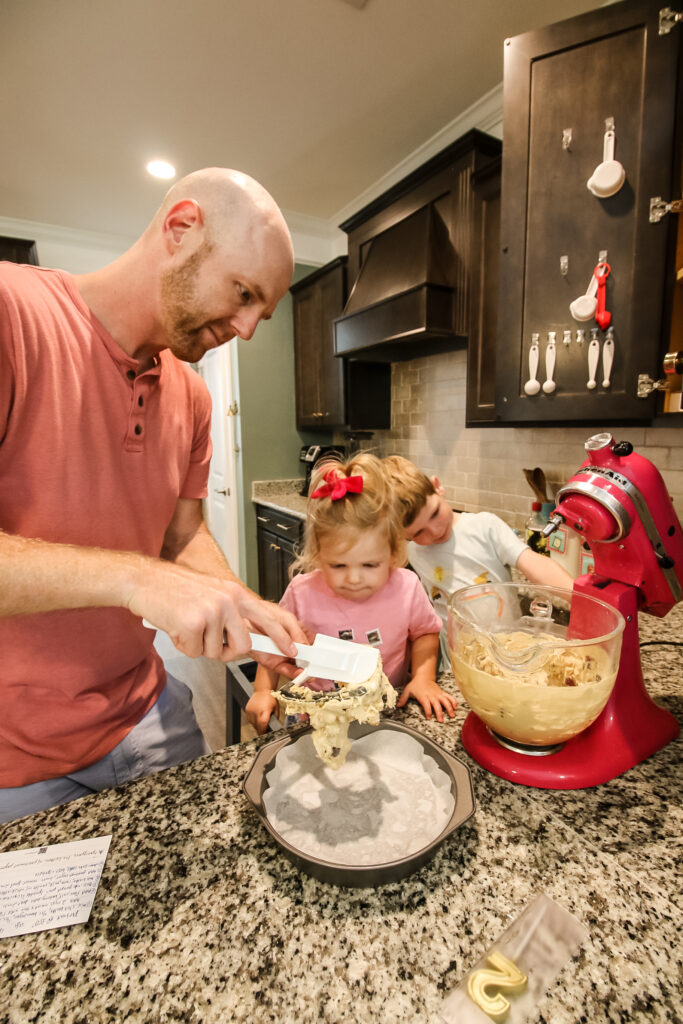
Your tower will need to be designed to lift your child to your kitchen counter. This needed height will vary depending on your kitchen counter height and the height of your child or children.
Our kids helper tower was designed for a standard 36 inch countertop and for our very averaged height preschoolers.
If your counters are a different height or your kids are very tall or very short, you might need to make a height adjustment for your learning tower DIY.
You can also adjust the placement of the platform in our plans, as long as you cut the lower side supports to be a little shorter. Learning towers purchased from Etsy already assembled sometimes have adjustable heights for your child as they grow if that is of interest to you.
What type of wood should I use to build a learning tower?
There are different types of wood you can use to build a learning tower, depending on what look or result you're going for.
One way to build a learning tower would be to use all plywood. A sheet of ¾" plywood can be cut down to the dimensions in our woodworking plans and provide you with great support at a cheaper price. The entire tower can be built with about half a sheet of plywood.
You can also use boards to build a learning tower (except for the platform part, unless you jig boards together). If you are going to paint it, you can use a cheaper wood, like pine, but if you want to match furniture in your home or other hardwoods, choose something better.
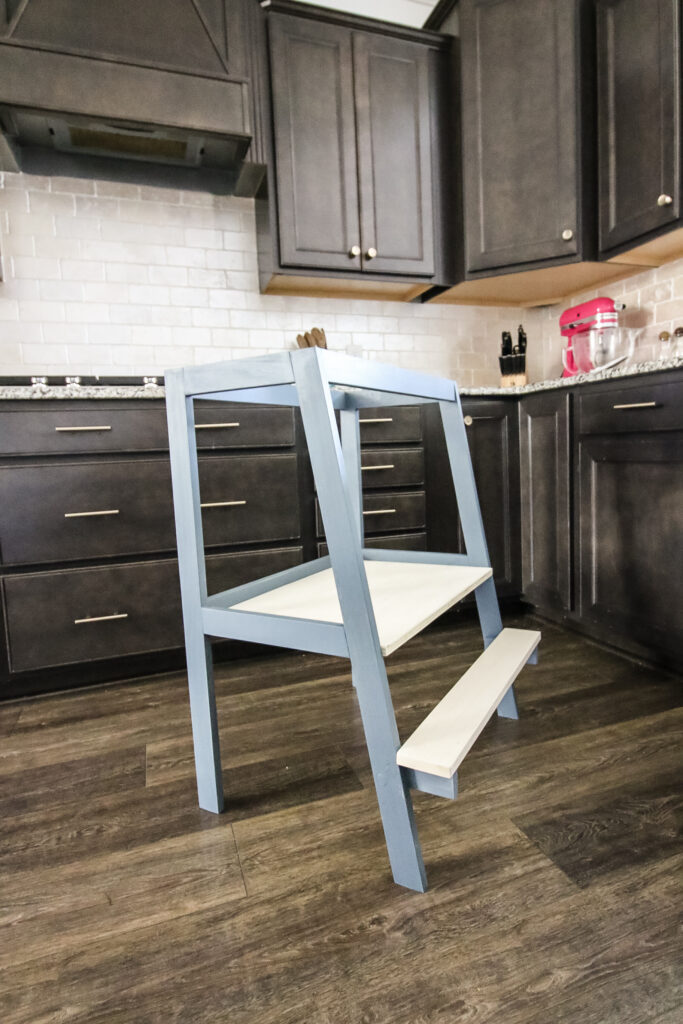
We painted our learning tower to match the shiplap fireplace you can see from the kitchen!
For our plan, we use poplar boards throughout, except for the plywood platform. The poplar matches other parts of our home and we liked the idea of the harder wood for stability.
How to build a learning tower
Here's the supplies, tools and instructions you'll need for building your own DIY learning tower!
Supplies needed to build a learning tower:
- ¾" plywood
- 1x4 boards
- Wood glue
- 1 ¼" Kreg pocket hole screws
**Want to make your easy DIY learning tower 100% from plywood? You can cut ¾" plywood to the dimensions in our printable learning tower plans**
Tools needed to build a learning tower:
- Miter saw
- Table saw
- Kreg pocket hole jig
- Level
- Measuring tape
Steps to build a learning tower:
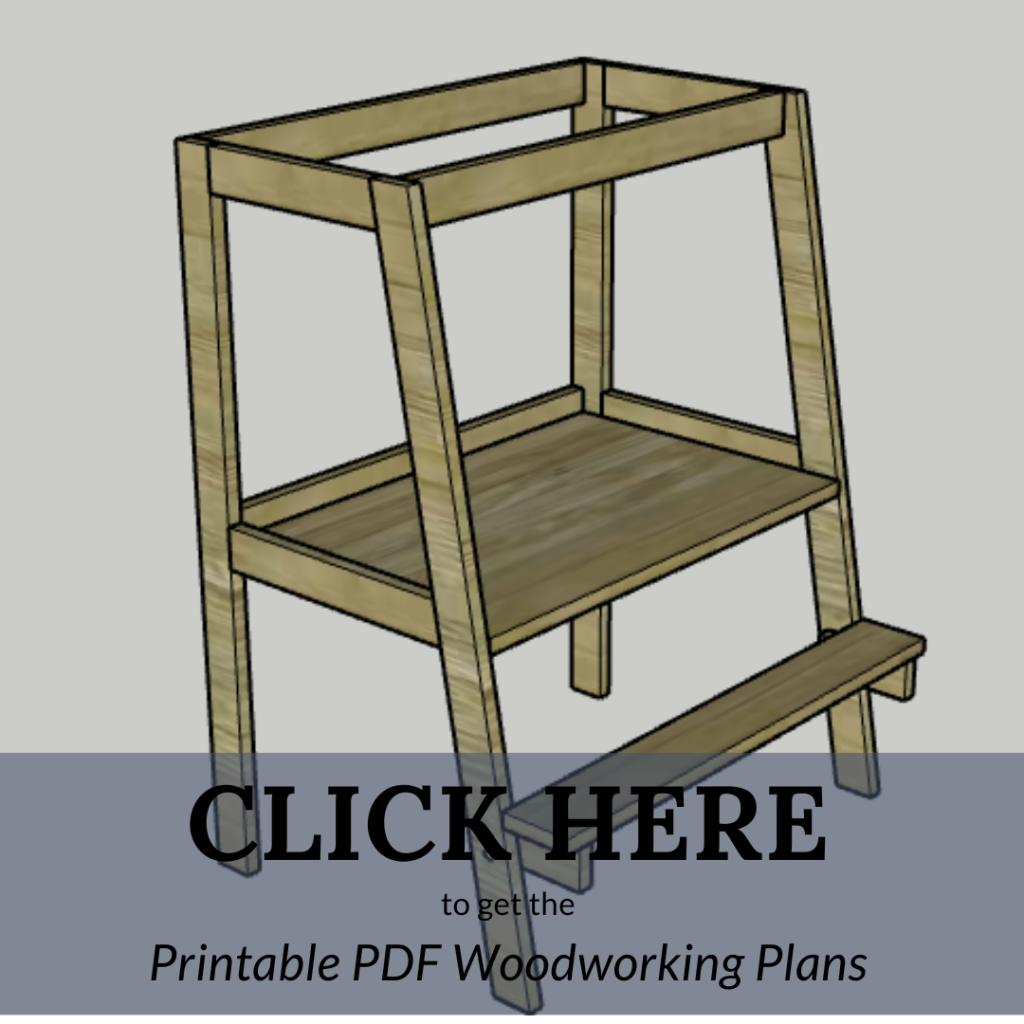
Follow our steps here for building the learning tower. But make sure to grab our downloadable PDF woodworking plans for the DIY learning tower to get all the cuts and more details!
STEP 1: Build sides
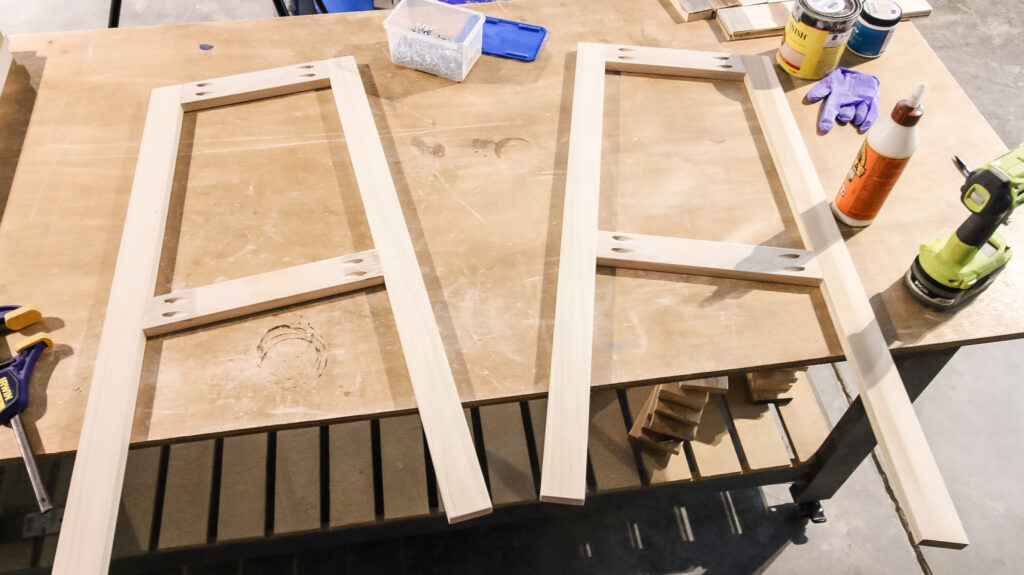
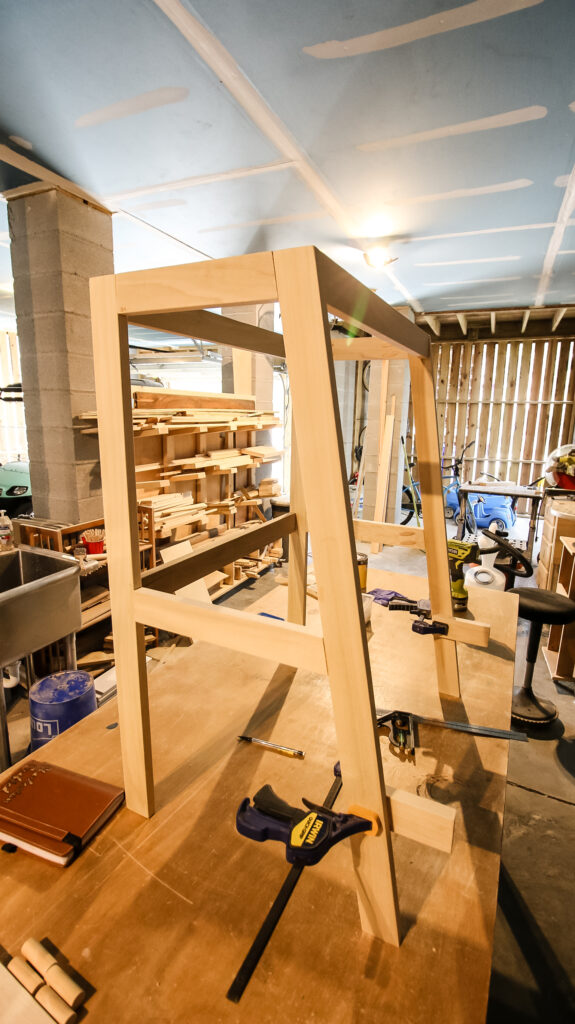
After making all the cuts and drilling pocket holes as we lay out in the plans, you'll build the two sides.
These are simple frames that consist of a straight back leg, an angled front leg and two connecting pieces between them.
The sides are held together with wood glue and pocket hole screws and the bottom support pieces can be adjusted for height if needed to fit your child.
STEP 2: Connect sides
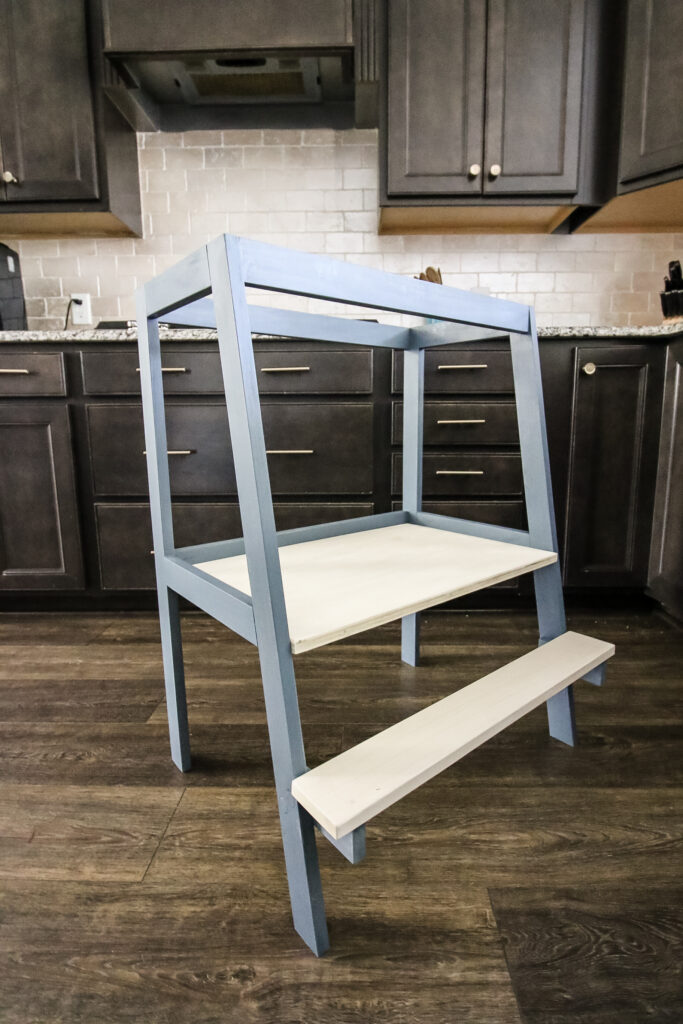
Next, you'll connect the two sides with three boards- two in the back and one in the front. These boards hold the two sides together, but also create the "safety ring" at the top and where the platform connects in the middle.
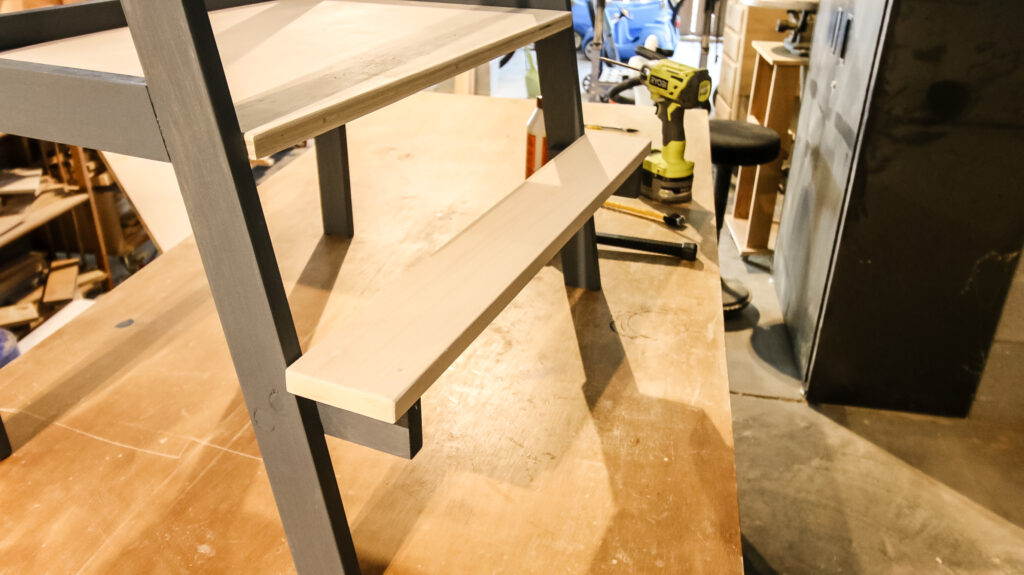
STEP 3: Attaching step supports
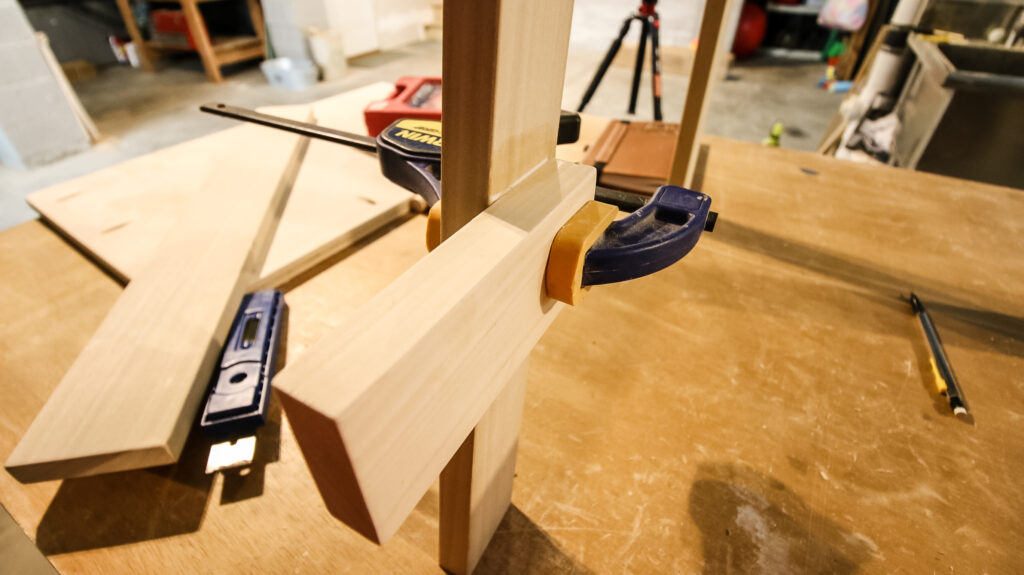
The step supports are what hold the step in place for your child to climb up to the standing platform.
We wanted to make sure the supports for these were super secure since a child's full weight would be put on it.
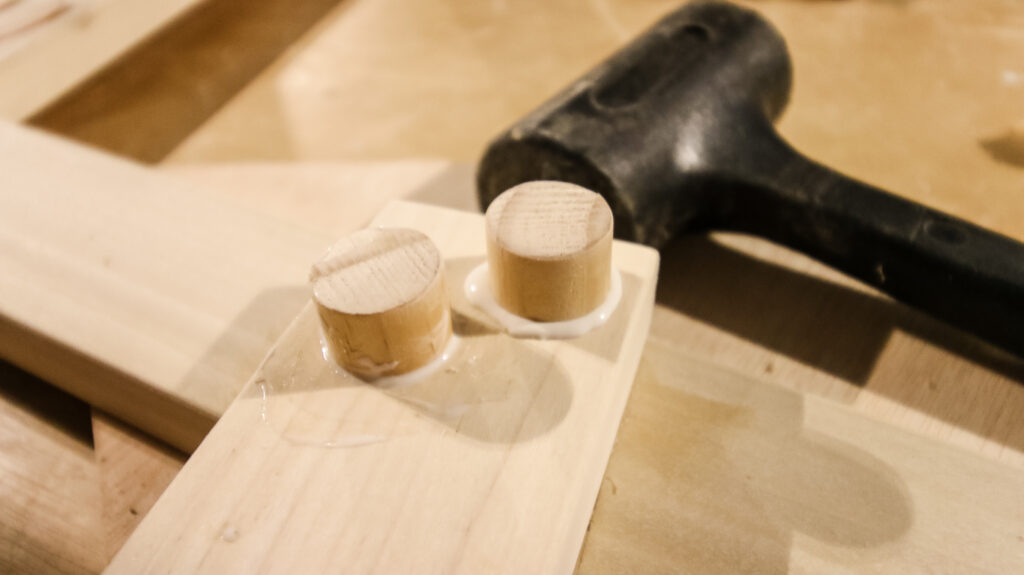
To do this, we glued the supports to the front legs, but we also sunk four ½" dowels through the legs and supports to make them extra secure.
STEP 4: Attaching platform
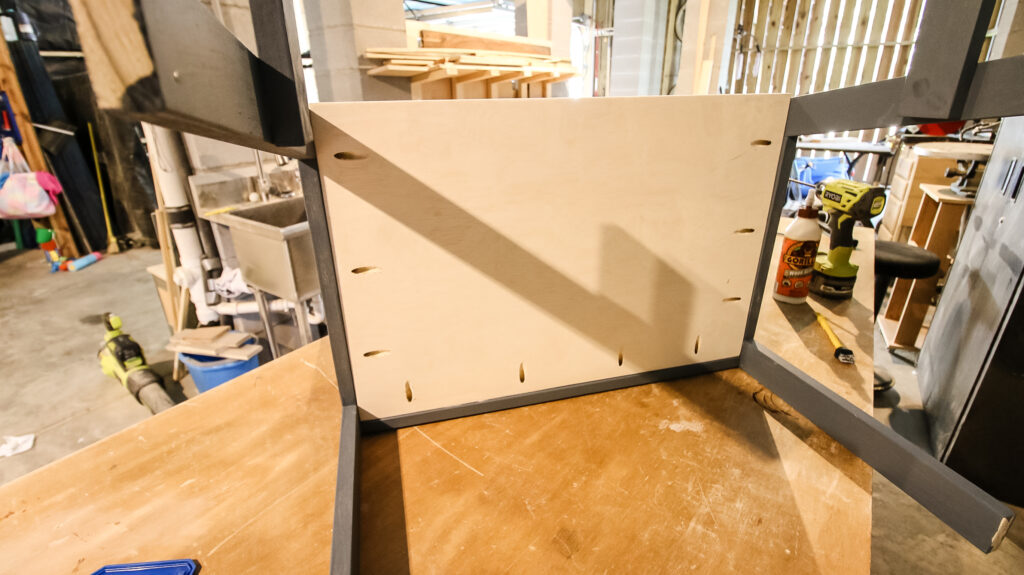
Finally time to add the platform! The platform is attach to the three sets of lower support rails in the middle of the legs using wood glue and pocket hole screws.
This double layer of security adds extra strength for having your kids on the tower at the same time.
You can add any extra levels of protection you want (ie- more screws, support beam underneath, etc) but this has really been fine for our kids so far.
STEP 5: Attaching step
We attached the step to the step supports with wood glue, but also sunk ¼" dowels through the step into the supports on both sides to give it a little something extra to hold it in place.
We really didn't want the step to come loose or have some sort of problem when the kids were climbing up!
The step is firmly in place now and has no issues!
STEP 6: Paint/stain and seal
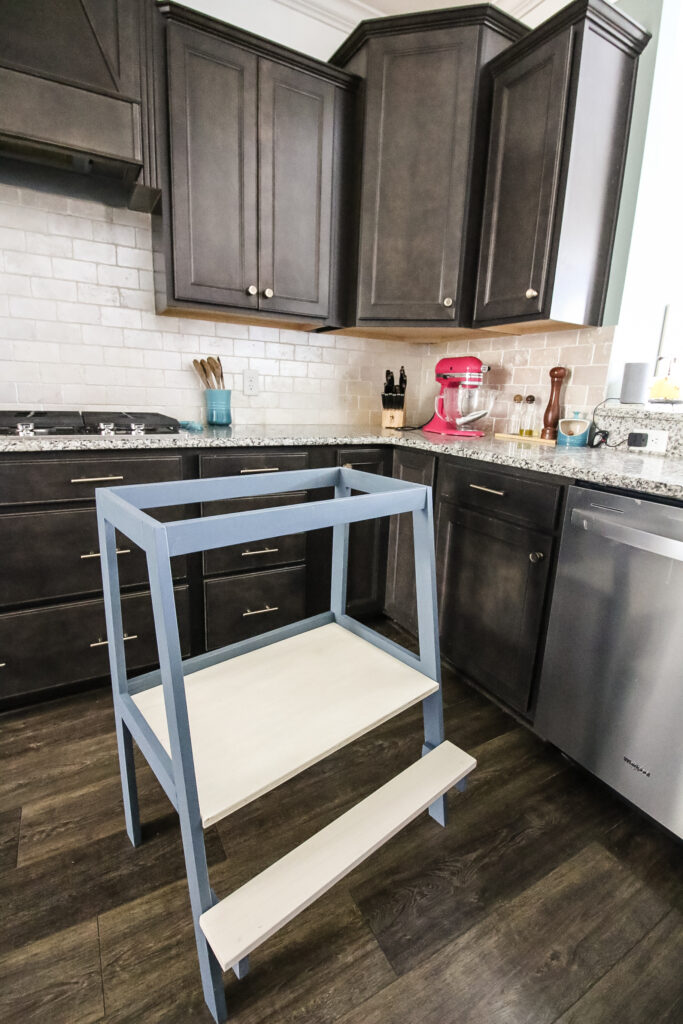
The last step is to paint or stain your learning tower to meet the decor in your home! If you want to do all one color, now is the time to do that.
If you're interested in a two-tone look, you could color the main frame of the learning tower one color and do the platform and step a different color before attaching them together, like we did.
We painted the frame with Behr's "NYPD" like we had done with our shiplap fireplace and DIY mudroom lockers, and then stained the platform and step with Minwax's "Simply White."
Check out our full breakdown of white stains here!
Finally, we added a layer of polyurethane to the entire thing to protect it from any spills and splatters in the kitchen!
Final DIY kids learning tower!
We absolutely LOVE how our DIY kids learning tower turned out!
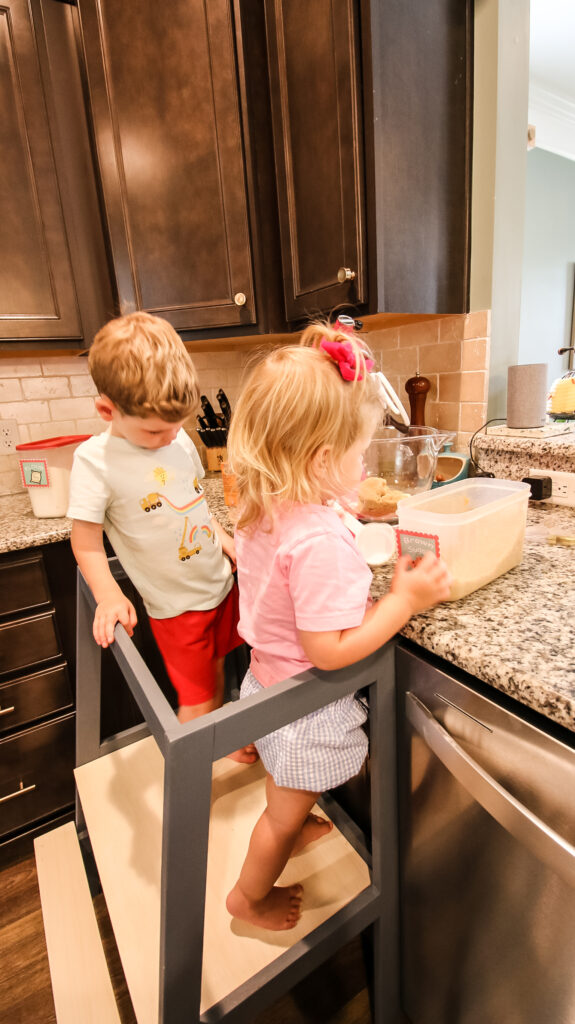
This is such a great piece for our kids and our kitchen. The kids love working with us, especially on baking when they get to lick the spoon.
Our learning tower turned out to be so simple and easy to build and is so much more safe than a stool that slides or a kid on the counter!
How to build a learning tower video tutorial
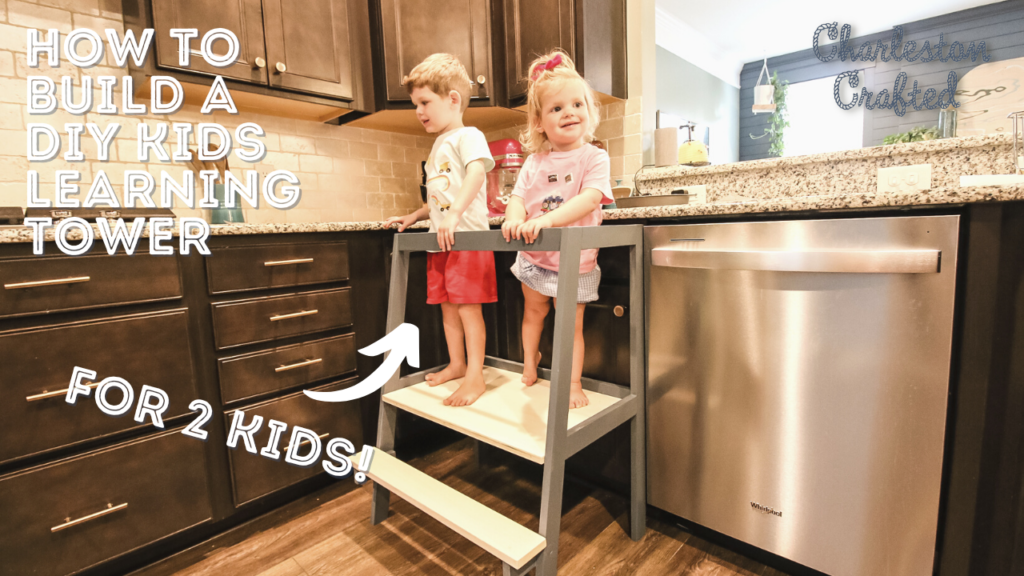
Be sure to check out our full video tutorial showing how we built the kids helper tower by watching it below or clicking here to watch it on YouTube!
Learning tower building plans
Click here to get our PDF learning tower plans! These plans were designed to be made from a combination of lumber boards and plywood, but could also be modified to be made completely from plywood.
If you choose to make a fully plywood learning tower plan, just cut your plywood into strips the size of the dimensions in the plans!
Our DIY kids learning tower printable PDF woodworking plans come with a complete material list, cut list and step-by-step instructions with computer model imagery. It's an easy project for a weekend or to make for your child's birthday or Christmas present!
Montessori Kid's woodworking plans bundle
Love building for your kids? Click here to get our bundle of Montessori inspired woodworking plans for:
Get the bundle (valued at $55 individually) for only $44.99 together! That's a FREE plan!
Any questions about how to make your own learning tower?
Looking for something?
We've been doing this since 2012 so we have a LOT of blog posts!
Search stuff like: Ceiling Projects | DIY Plant Stands | Thrift Flips

Looking for something?
We've been doing this since 2012 so we have a LOT of blog posts!
Search stuff like: Ceiling Projects | DIY Plant Stands | Thrift Flips


Hello, I'm Morgan, half of the creative force behind CharlestonCrafted.com! With a passion for DIY that dates back to 2012, I've transformed three homes and now I'm dedicated to helping others craft their dream spaces. Let's turn your house into a home together!

