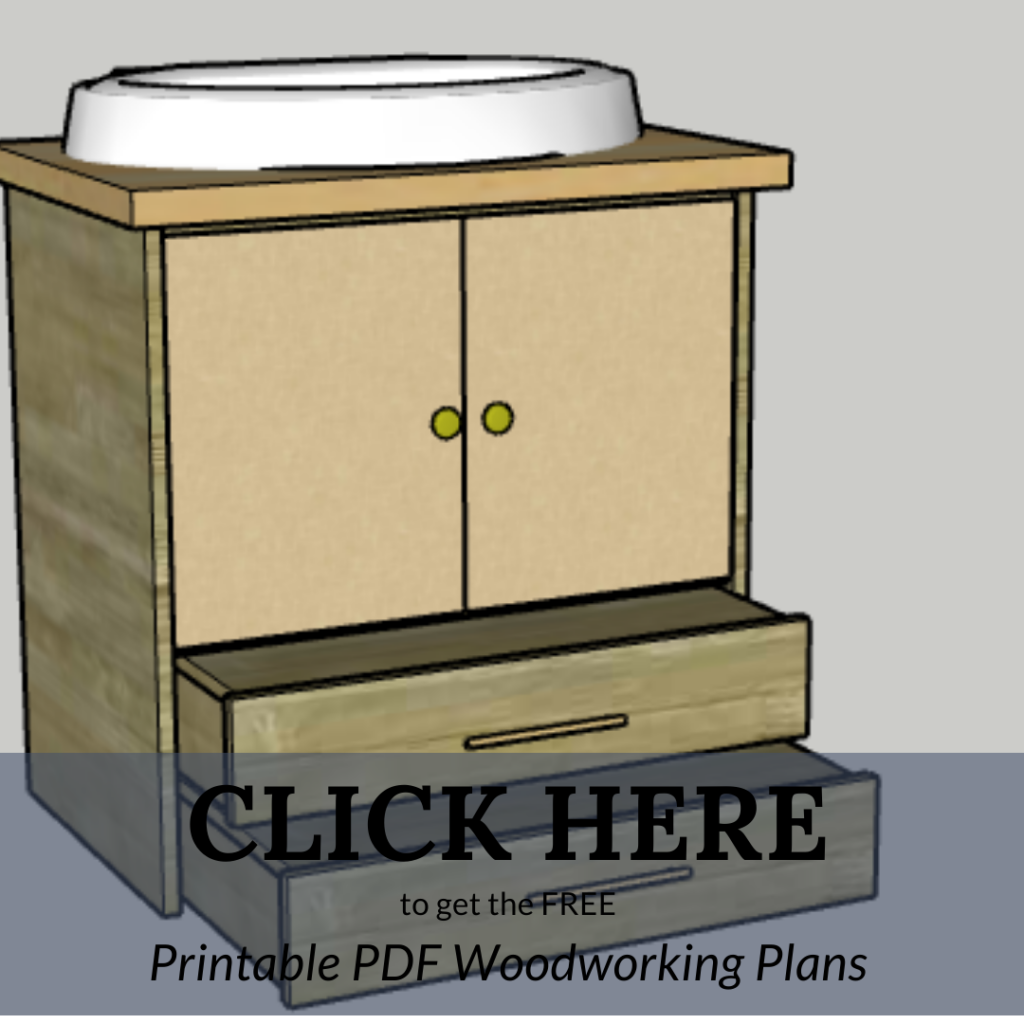
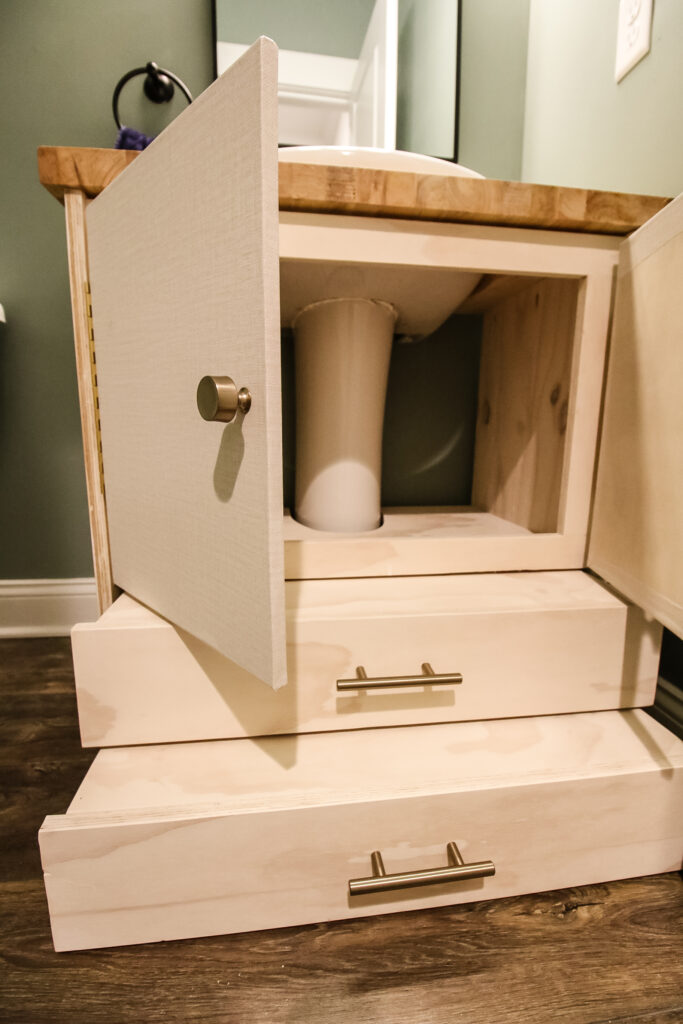
This post will show you how we built a pedestal sink vanity for our half bath. This vanity design includes two pull out drawers to serve as a toddler step stool. Get the info and woodworking plans below!
This post was sponsored by Kreg Tool, which offers easy woodworking joinery and cutting solutions. All opinions are our own and our opinion is that we love Kreg products. Thank you for supporting the brands that make Charleston Crafted possible!
A pedestal sink is common in a half bath, but it doesn't offer you much in terms of storage or counter space.
Pedestal sinks are often used for small spaces, but if you need a place to store extra bathroom supplies, or even place a soap dispenser, you're in trouble.
Our half bathroom with a pedestal sink is also the main bathroom for overnight guests, so they need a place to set out some toiletry items.
When we first moved into this house, we built this simple metal and wood console table that is perfect for storage, but still isn't great for things that go around the sink, like soap or toothbrushes.
We just finished doing a one day makeover in this bathroom and decided that we needed to add in this one project at the end to really make it complete.
This project will show you how to build a vanity for the pedestal sink and includes step stools for a toddler.
Check out all of our DIY woodworking projects for the bathroom!
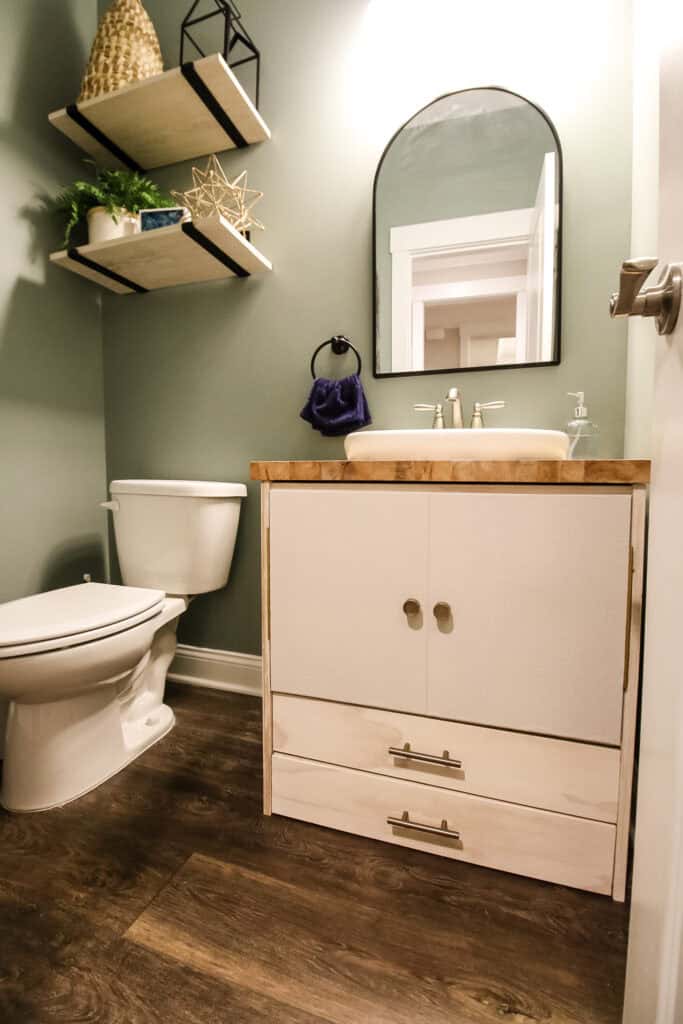
Pedestal sink vanity
This project is great for so many people. If you're looking for pedestal sink storage, don't want the first thing guests see to be a white column, or have a toddler that needs help getting to the sink, look no further than this project.
Most guest bathrooms are small bathrooms and offer little besides a bathroom sink and toilet.
Usually, there aren't many storage options or storage space.
This pedestal sink vanity offers storage cabinets, plus functionality.
Here are our best tips for painting a wooden vanity.
You can customize this project in a number of ways. One way we did that was to add a butcher block countertop.
We had a scrap piece of butcher block leftover from when we made over our pantry a few weeks ago. We were able to cut this to size and add a little counter top flair to the vanity.
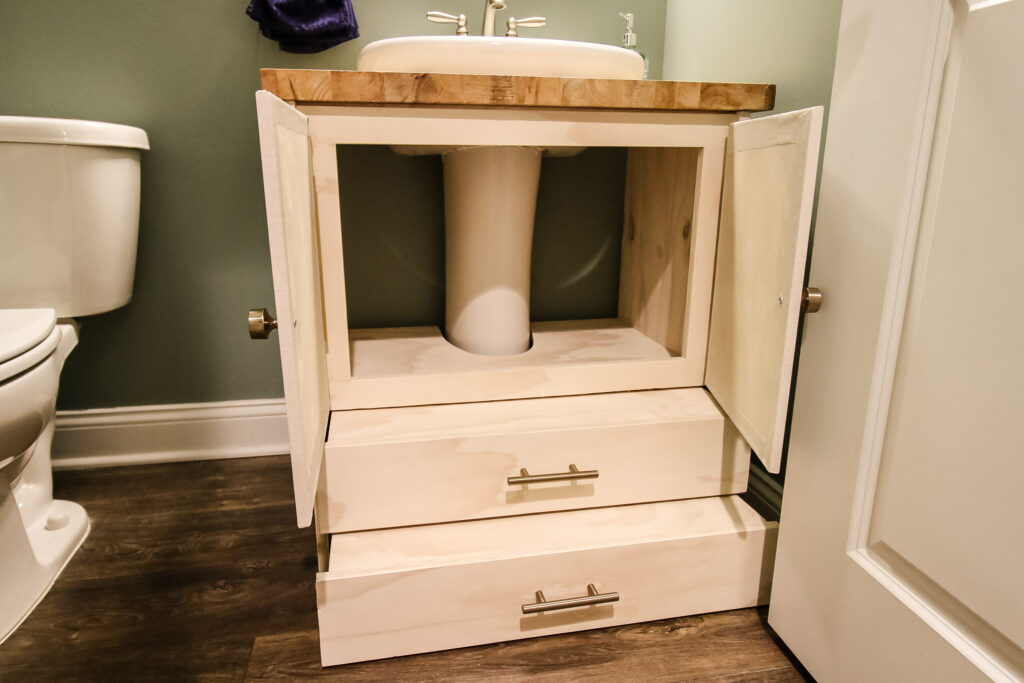
How to build a vanity around a pedestal sink
Building this pedestal sink vanity was an interesting experience. Honestly, parts were harder than we thought.
Here's what you need to build this vanity for your home:
- Pocket hole jig (like the Kreg 720 Pro)
- Plywood cutting system (like the Kreg Adaptive Cutting System or Kreg Rip Cut)
- Cordless drill
- ¾" plywood
- ½" plywood
- Butcher block (or more ¾" plywood)
- 1 ¼" pocket screws
- 1 ½" brad nails
- Wood glue
- (4) 12" drawer slides
- (4) 2 ½" casters
- (2) 12" hinges
- (2) drawer pulls
- (2) cabinet knobs
- (1) peel and stick wall paper or contact paper (optional)
- Stain or paint
- Butcher block oil
Get the full material list and cut list on the FREE woodworking plans here!
Step one: build vanity frame
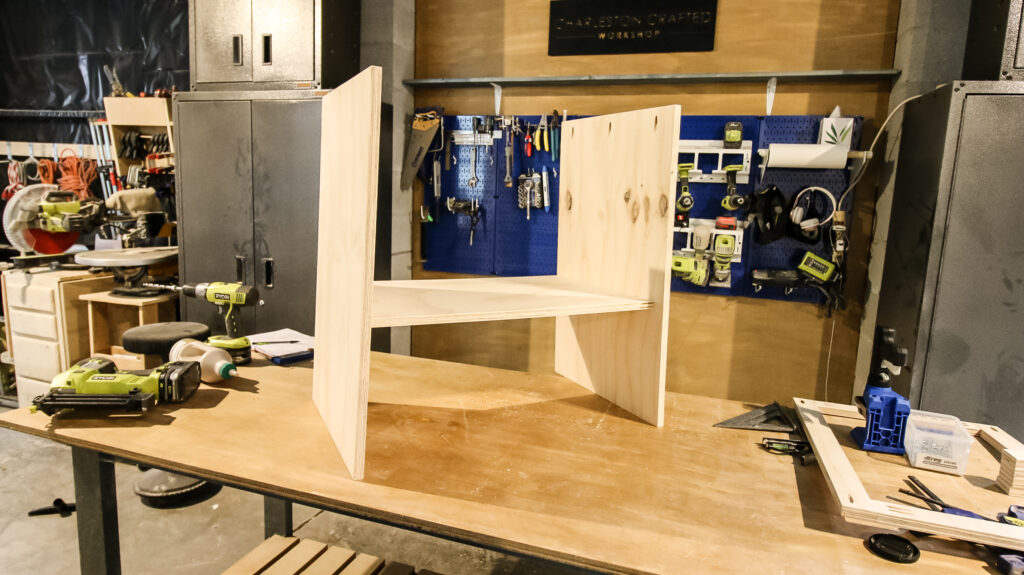
We started by building a simple open frame, with two sides and a base, then adding a face frame.
The structure was easy and ready to go. This was simple to do by using our Kreg Adaptive Cutting System to cut all the plywood, then attached it all together with wood glue and pocket hole screws.
Step two: build slide out steps
Building the slide out steps were easy too. These were two side pieces with a top nailed on and a front plate attached with pocket hole screws.
After the pieces were all put together, that's where things got a bit tricky.
Step three: cut notches for sink
If doing this project, you'll realize that you have to cut out notches for the sink and pedestal so that the vanity can fit around it.
This was harder than we thought.
For the notch for the sink, the best advice we developed for this was to measure the rim of the sink, then subtract an inch from those measurements. We then marked that on a piece of cardboard and checked it out.
Once the cardboard was pretty close, we traced that notch on a scrap piece of ½" plywood and tested that.
We trimmed a few times until it was pretty close.
The pedestal itself was easier to trace. We used one of these contour gauges to help with the angle on the front of the pedestal, then just measured the back width and traced that onto the base piece and drawers.
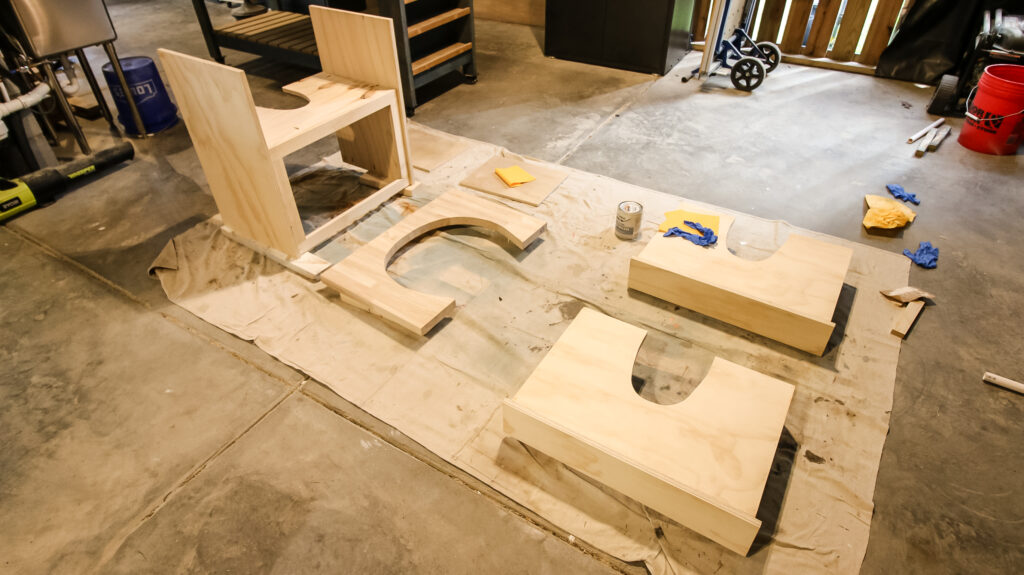
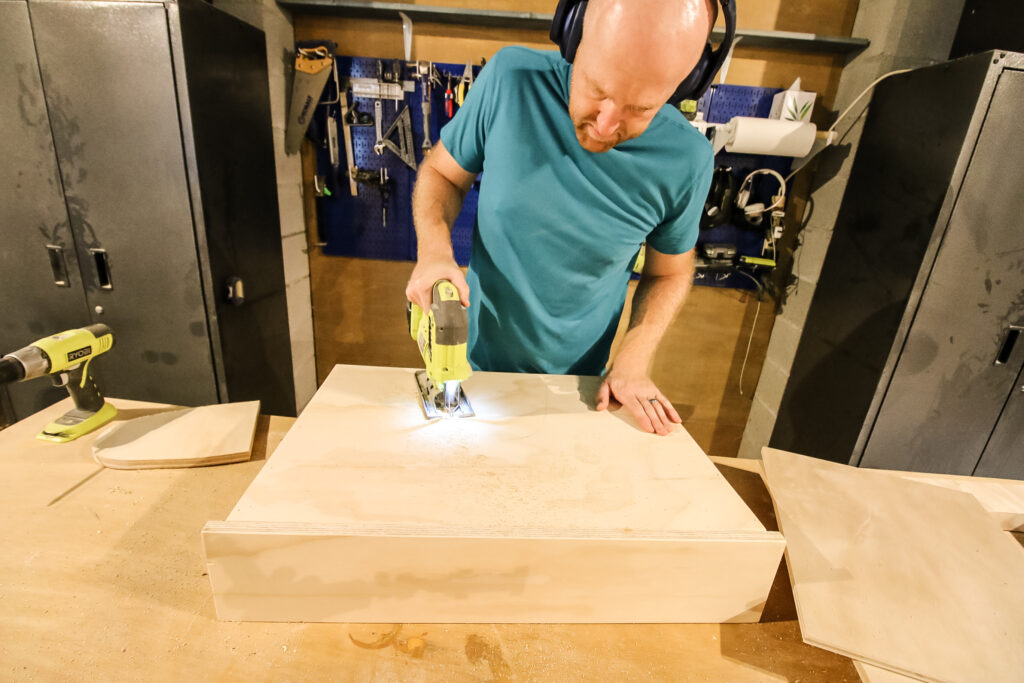
Step four: add casters
With everything cut, we added casters to the underside of the drawers and used drawer slides to attach the drawers to the inside of the vanity. This allowed them to glide freely back and forth.
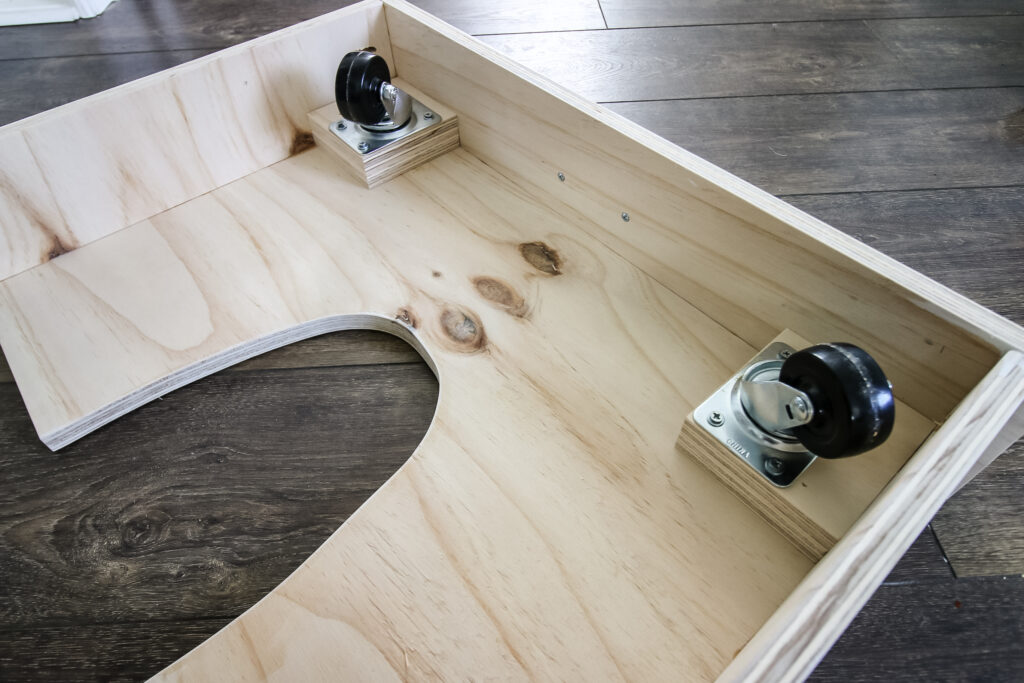
Step five: install around sink
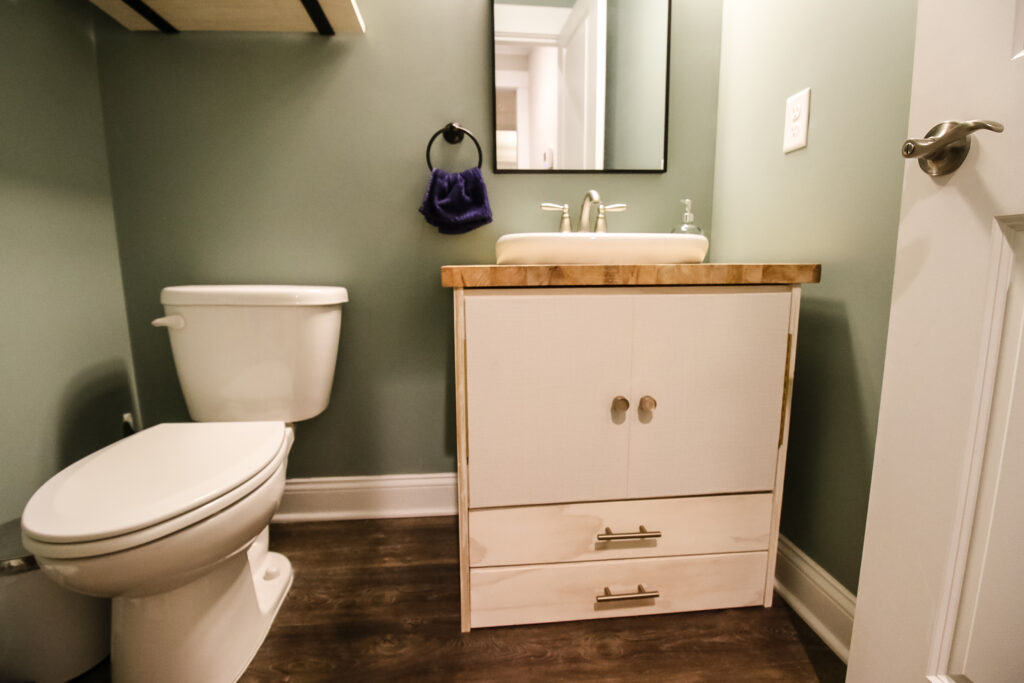
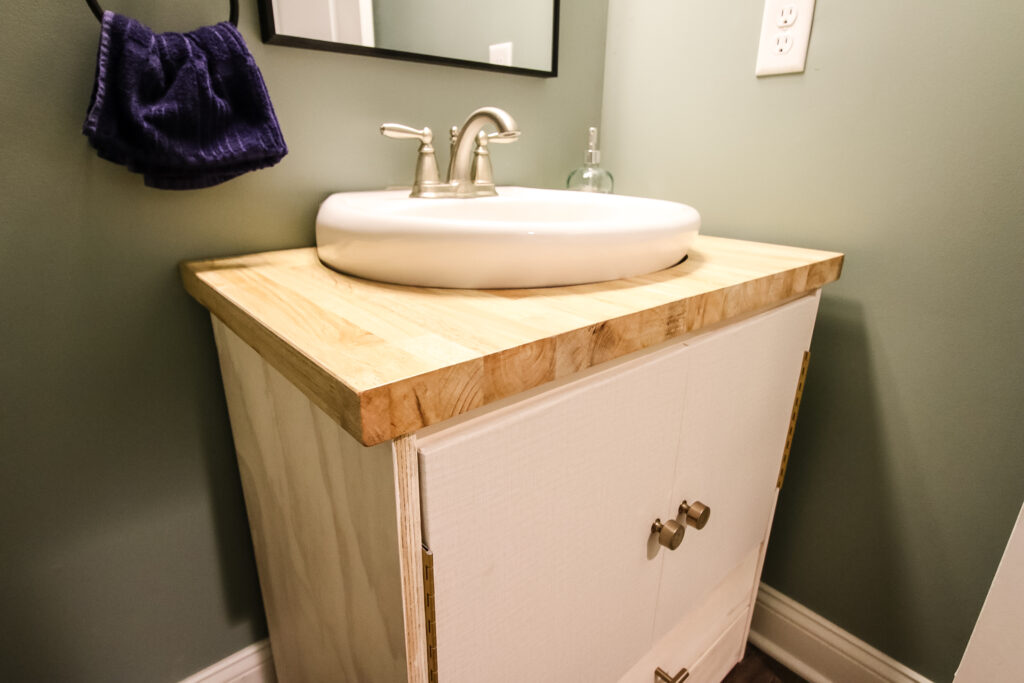
The countertop and vanity were installed and secured, then we added doors to the front, which we covered in the same peel and stick wallpaper that we recently used on the drawers of our apothecary table makeover.
We now have a beautiful butcher block vanity with storage and step stool drawers that are perfect for our space!
Pull out drawers for toddlers
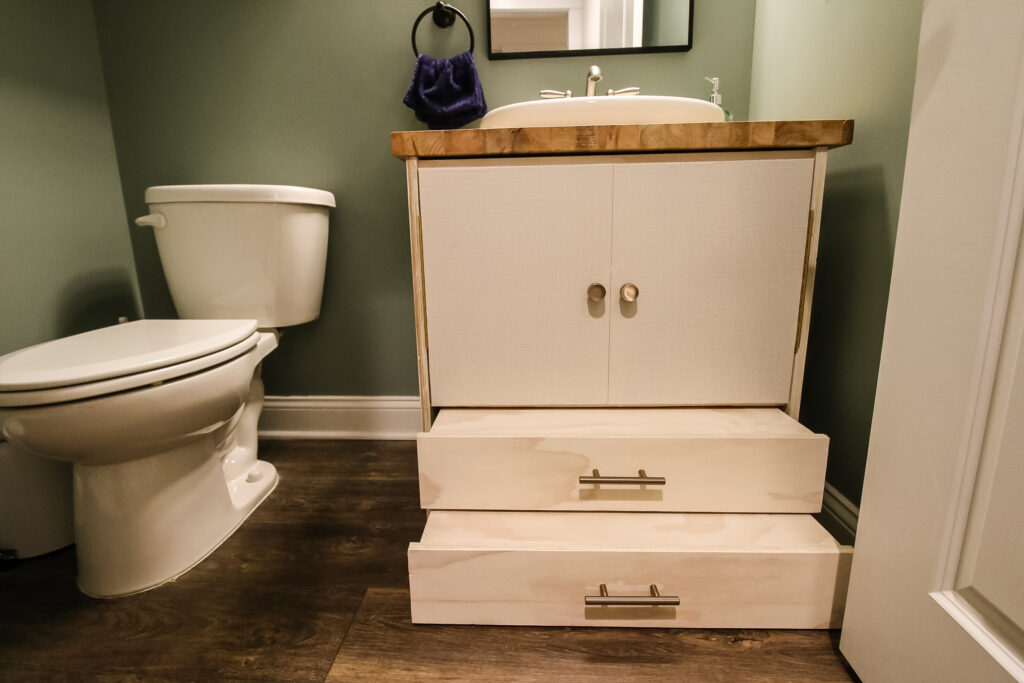
This pedestal sink vanity with pull out toddler steps is perfect for the independent little one in your life.
If your child is anything like ours, they are constantly getting dirty, but also constantly wanting to do everything themselves.
The pull out drawer steps on this vanity allow our son to pull the drawers, climb up and reach the sink, then tuck the steps away again.
If you're redoing a kids bathroom, a vanity with slide out steps is a great option too, so that you don't have to have a step stool around.
DIY pedestal sink vanity woodworking plans
This is an awesome project, and you can get our FREE woodworking plans for this pedestal sink vanity on the new Kreg Tool Projects and Plans website!
We've shared our plans here many times before and we love how accessible their site is for searching and finding the exact plans you need for your next project.
The plans for our pedestal sink vanity can be downloaded FOR FREE from their site with a simple click of a button.
We used the Kreg Adaptive Cutting System and 720 Pro pocket hole jig a lot on this project and they both made it so simple.
Check out our full review of the Kreg 720 Pro pocket hole jig!
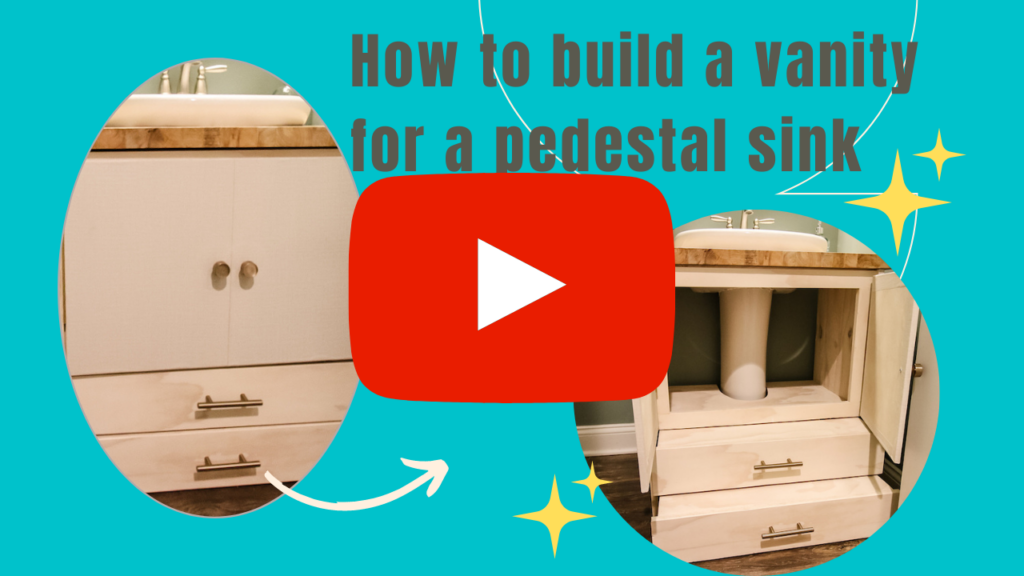
Video tutorial
If video tutorials give you a better idea of how to build things, we've got you covered!
Our video show how we built this vanity from start to finish, starting with plywood and ending with a beautiful piece of furniture for our half bath!
Basic woodworking information for every project
Here are some of our most popular woodworking articles!
Shopping for wood:
Woodworking project ideas
- 100+ of the best woodworking project ideas!
- 62 easy beginning woodworking projects
- Woodworking project ideas to make and sell
See all our printable PDF woodworking plans!
Our favorite tools + supplies
- See all our favorite tool reviews
- How to use a Kreg jig
- The ultimate wood stain guide
- The best wood fillers for your project
Remember to also always use safety equipment while woodworking and using tools. Make sure you have proper eye protection, ear protection and a good mask to keep yourself safe.
Looking for something?
We've been doing this since 2012 so we have a LOT of blog posts!
Search stuff like: Ceiling Projects | DIY Plant Stands | Thrift Flips


Hello, I'm Morgan, half of the creative force behind CharlestonCrafted.com! With a passion for DIY that dates back to 2012, I've transformed three homes and now I'm dedicated to helping others craft their dream spaces. Let's turn your house into a home together!

