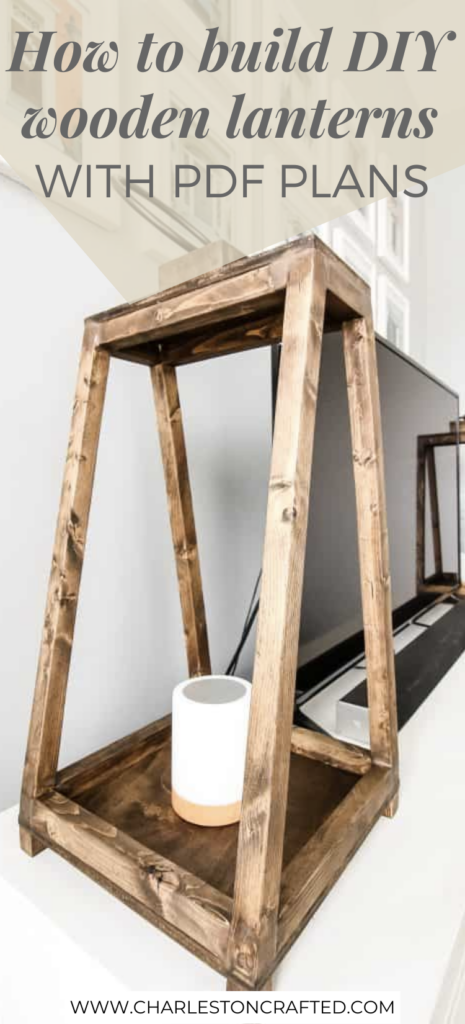
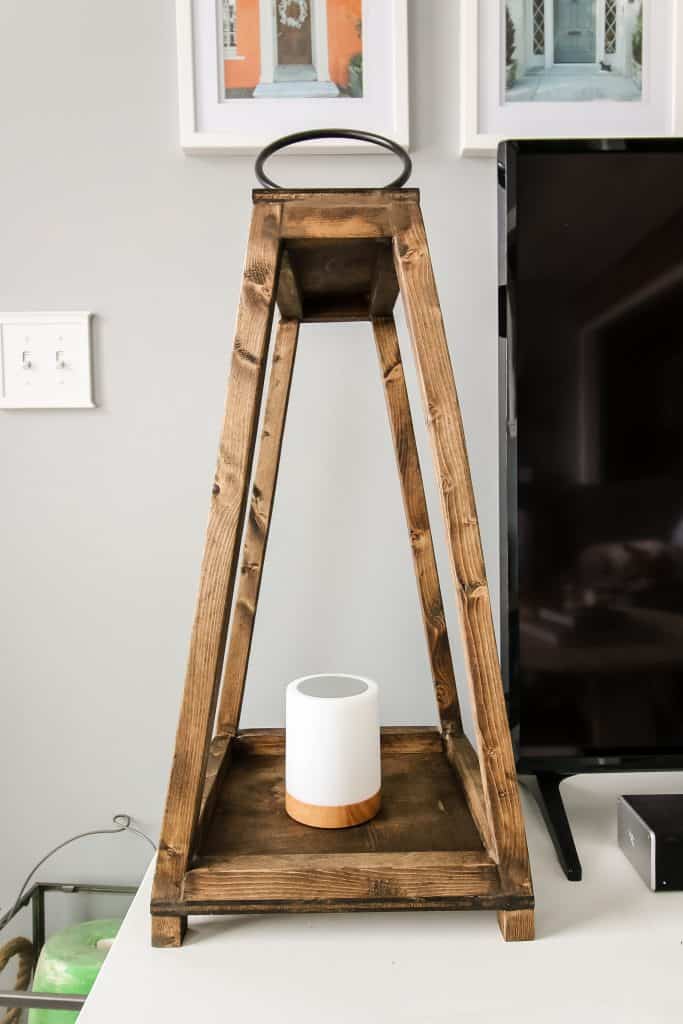
These DIY oversized wooden lanterns are a great project for any room in your home! The rustic wood look fits in perfectly on a table or next to the TV. Learn how to make them and get the free plans!
We built these DIY rustic farmhouse wooden lanterns for our sunroom refresh. When we first shared them on our Instagram, they were so popular we had to put together plans for them.
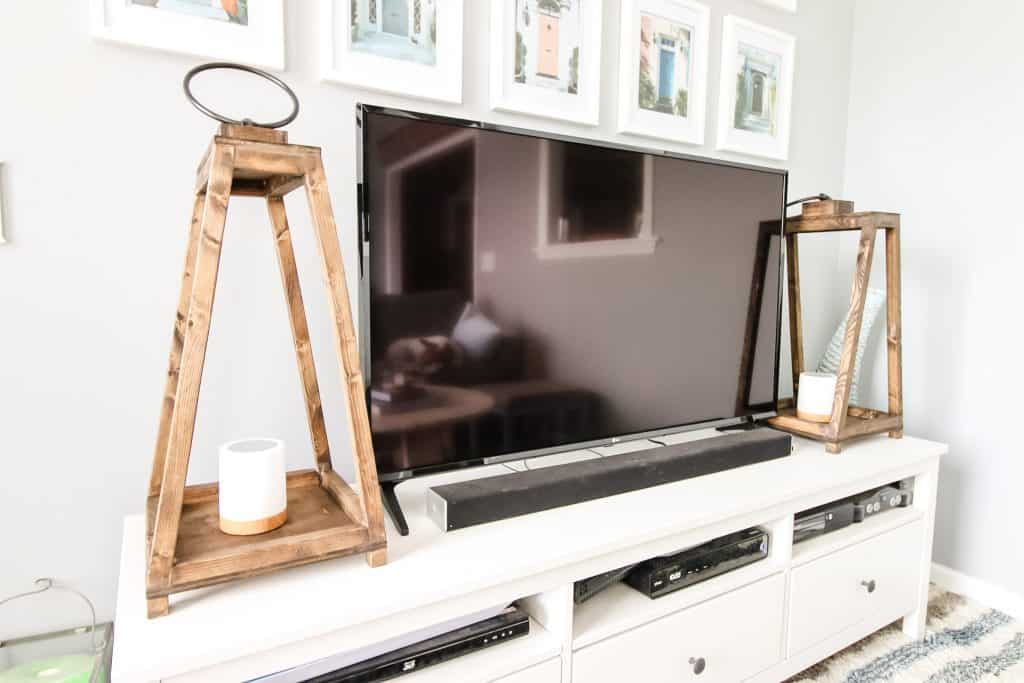
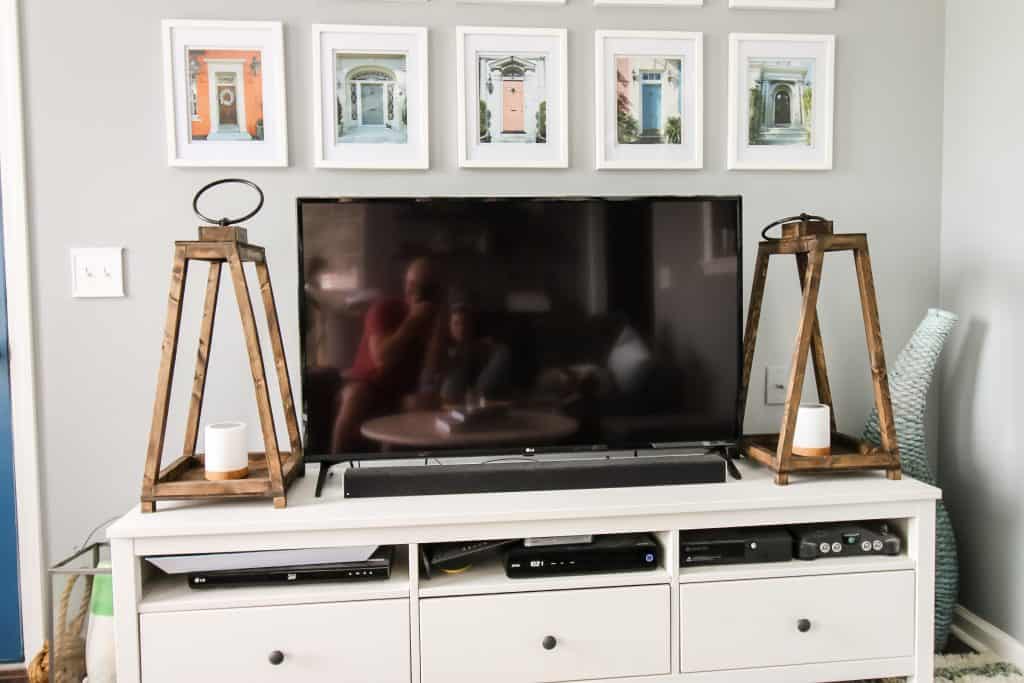
Previously, we had some old blue lamps left over from our condo that were sitting next to our TV on our entertainment stand, but we wanted to replace them with something fresh. With the TV, we felt we needed some height on either side of our entertainment center to cancel it out.
We came to the decision to make some wooden decor that would work well in our room, but would also work if we changed things up.
If you're interested in recreating, scroll down and learn how to build DIY wooden lanterns yourself!
Want some other ideas? Check out 12 DIY lantern ideas here!
Oversized DIY Wooden Lanterns
I love how simple it is to build these DIY wooden lanterns. I was honestly nervous about it and this project turned into a very simple one.
These wooden lanterns are a great project to fit with lots of styles of decor and are made with inexpensive lumber, making these a very approachable project.
Let's take a look at how these oversized DIY wooden lanterns are made and how you can build them yourself!
Basic woodworking information for every project
Here are some of our most popular woodworking articles!
Shopping for wood:
Woodworking project ideas
- 100+ of the best woodworking project ideas!
- 62 easy beginning woodworking projects
- Woodworking project ideas to make and sell
See all our printable PDF woodworking plans!
Our favorite tools + supplies
- See all our favorite tool reviews
- How to use a Kreg jig
- The ultimate wood stain guide
- The best wood fillers for your project
Remember to also always use safety equipment while woodworking and using tools. Make sure you have proper eye protection, ear protection and a good mask to keep yourself safe.
How to build oversized wooden lanterns
This post will give you the general overview of how we built these DIY oversized wooden lanterns. If you want to replicate them exactly (which I highly recommend!) then get the full cut list, material list and step-by-step instructions in our downloadable PDF woodworking plans!
Step one: cut and sand
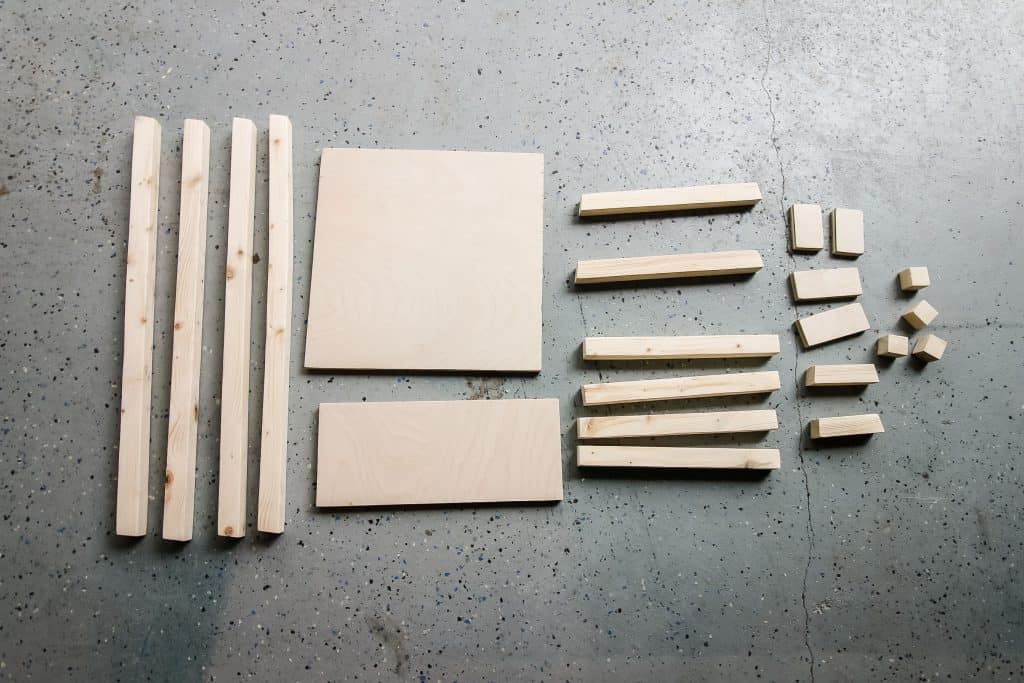
The easiest thing to do with this project is to make all the cuts first, then assemble.
There are multiples of a lot of the pieces which makes it best to set your saw and cut them all at once.
The measuring, cutting and sanding of this project took about an hour, then the build itself took less than half an hour.
Step two: assembly
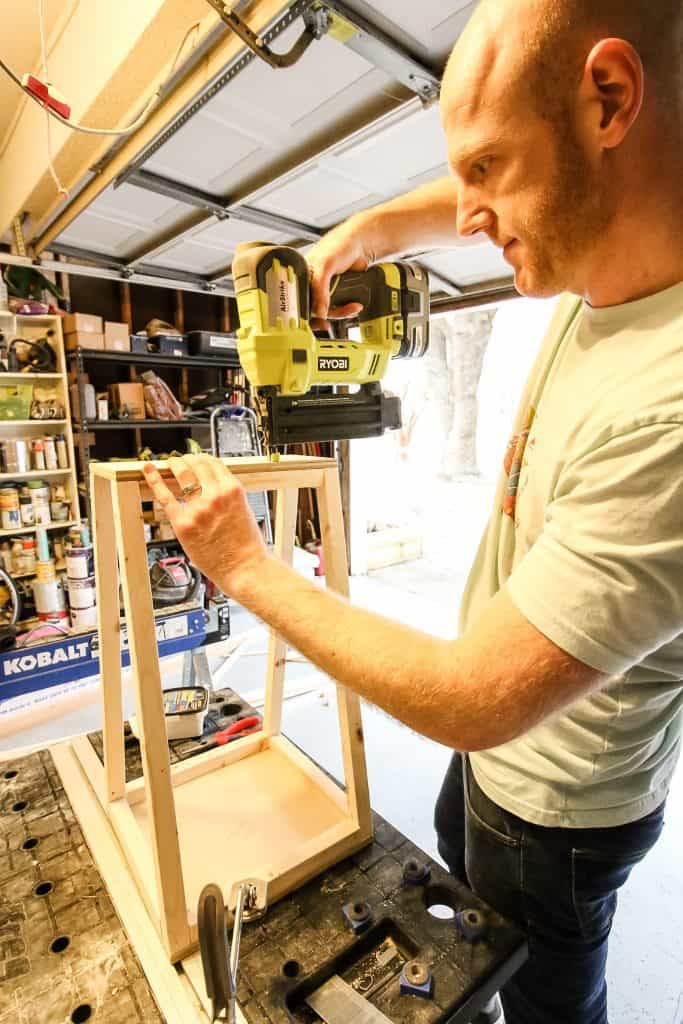
You'll notice in the plans that I only used a brad nailer and glue to assemble these DIY lanterns. Since these are decorative and won't have any day-to-day wear, they don't need to be fully screwed together.
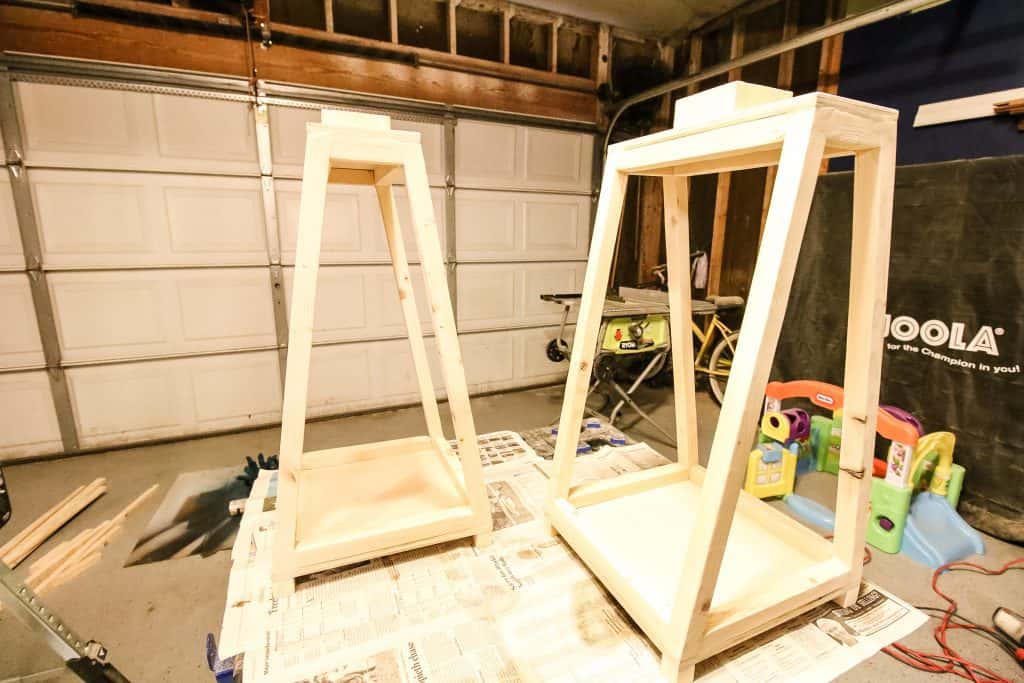
To attach everything, we started by attaching the posts to the base, then attached the top base onto the posts.
When the structure was built, we added the decorative support beams between the posts at the top and bottom.
When these rustic lanterns were done, I used wood filler over all the nail holes and the cracks to make them seamless.
Step three: stain
After the lanterns were built, I stained them dark walnut.
This matched our bar on the other side of the room and counterbalanced the new geometric coffee table and waterfall side table that I just built for the room.
These were easy to stain and it only took about 10 minutes each.
Be sure to check out our Dark Walnut by Minwax wood stain review!
Step four: add lantern hardware
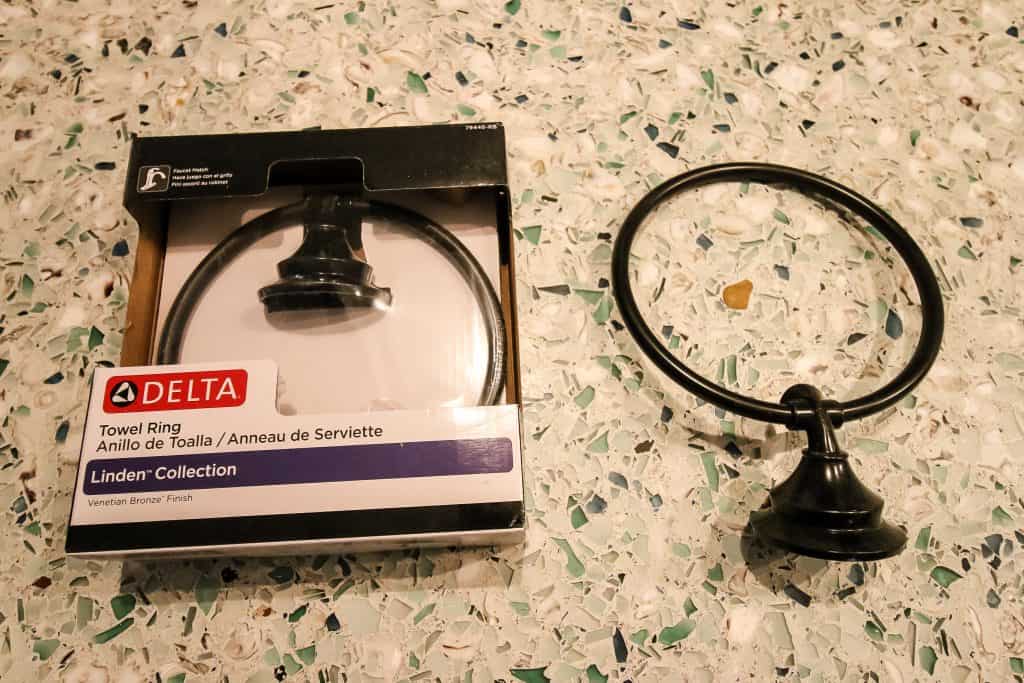
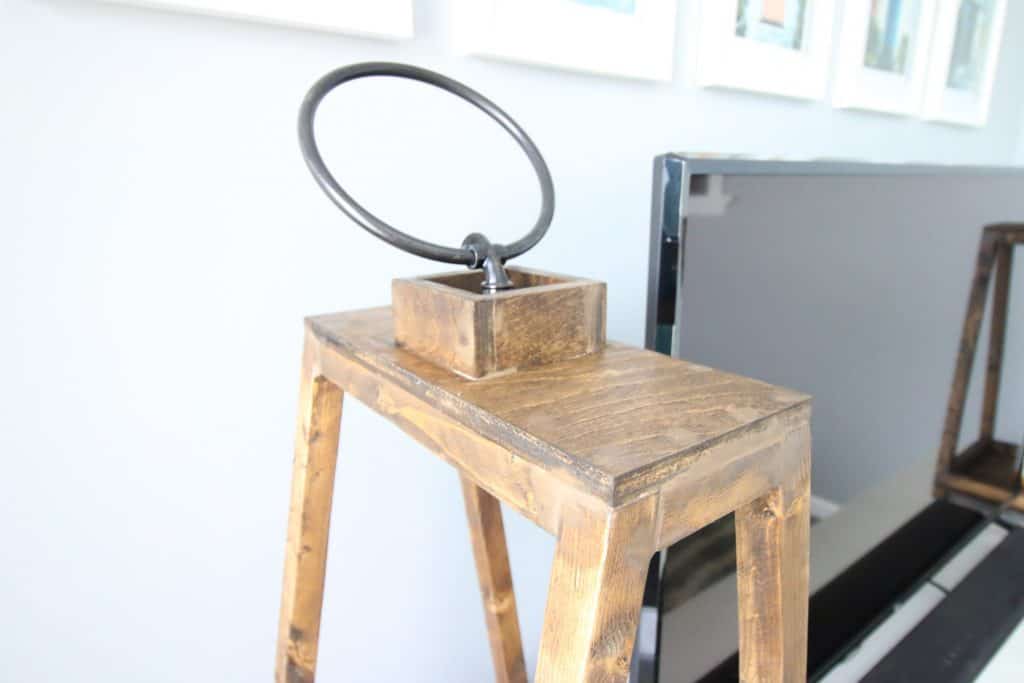
The piece that really brings this lantern together is the giant ring on top. That's actually a towel ring that we got from Liberty Hardware.
The towel rings are perfect for this project because they have a flat area to glue onto the lantern that would normally be flush with a wall.
In oil rubbed bronze, these really round out the look and complement the dark wood color.
Step five: add a light
We also had quite the discussion on lights for these wooden lanterns.
We talked about adding a light kit, but we didn't really want them to be so functional as we will later use them as decor somewhere else.
You could put a real candle (as long as the flame is low enough from the top), or a mason jar with a tea light.
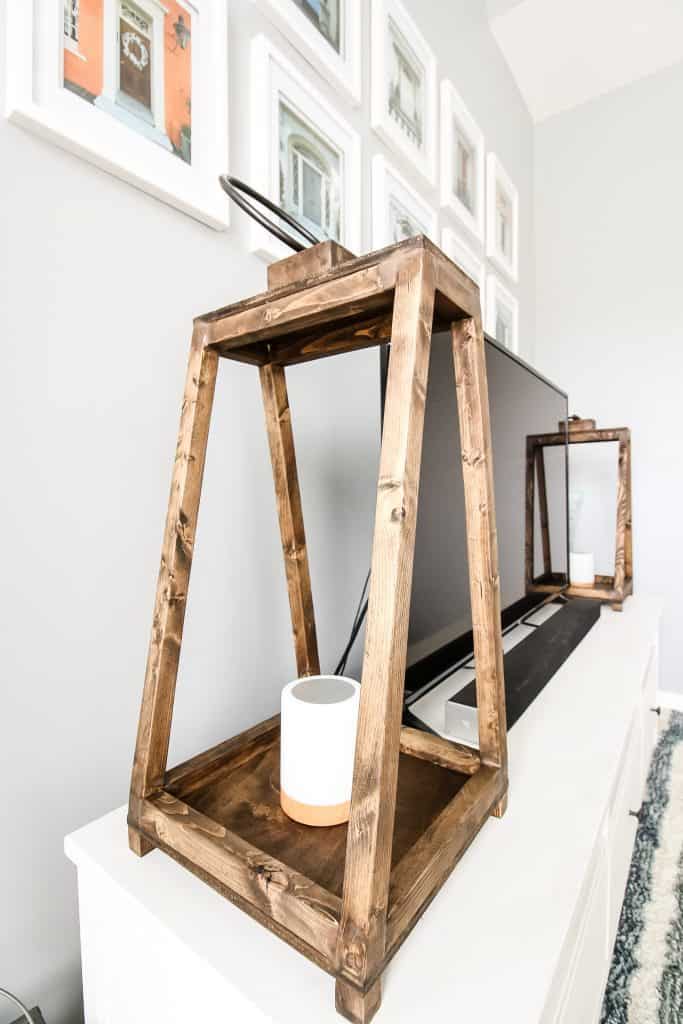
For functionality, we decided to go with simple touch lamps that look a little like candles themselves.
We like that these are easy to use and provide enough light to accent the room.
Uses for a DIY wooden lantern
I also think that there are some great ideas for decorations for these lanterns, outside of your home.
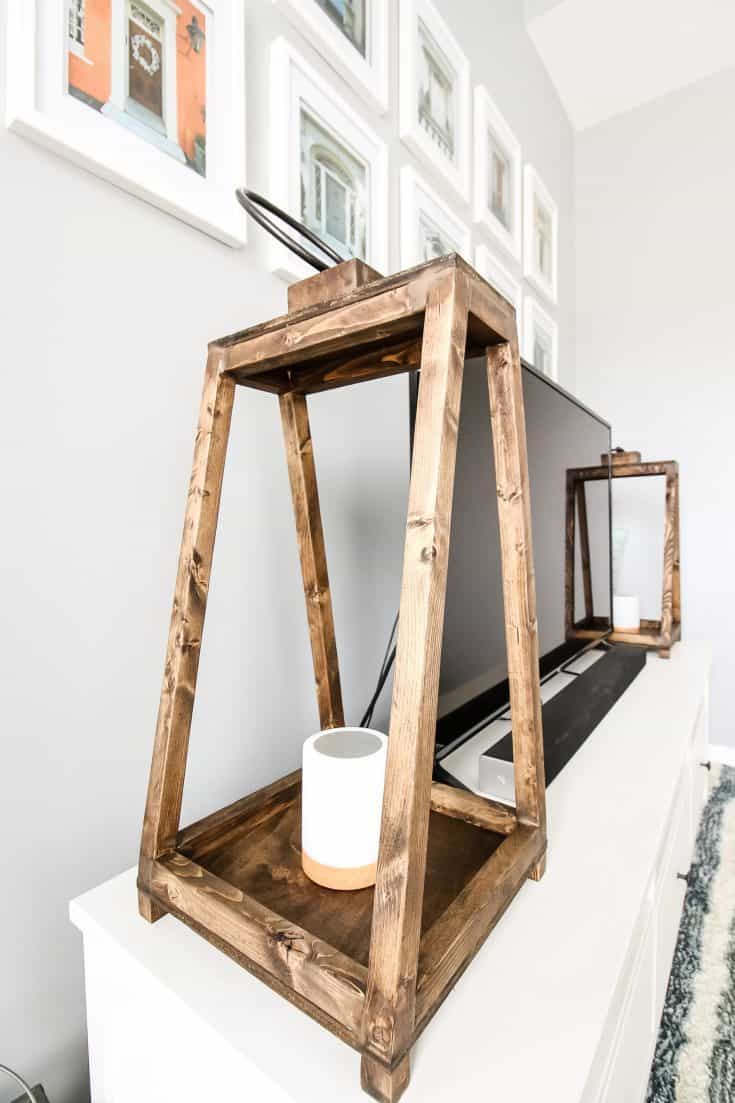
Honestly, these lanterns are simple enough to make that they would be great for a wedding centerpiece.
Putting a small vase of flowers in them would be an amazing touch for an outdoor wedding especially.
DIY oversized wooden lanterns woodworking plans
The best thing about this is we have the full step-by-step instructions for how to build DIY wooden lanterns.
These rustic lanterns are perfect for lots of spaces. You can download the plans and make them yourself!
Our woodworking plans include a full material list, cut list, and step-by-step instructions with computer model imagery to help you along the way.
Please let us know if you build them by tagging @CharlestonCrafted on your Instagram post about them!
Looking for something?
We've been doing this since 2012 so we have a LOT of blog posts!
Search stuff like: Ceiling Projects | DIY Plant Stands | Thrift Flips

How to Build Wooden Lanterns
These rustic farmhouse wooden lanterns are perfect to fit in several decor schemes. These wooden lanterns are easy to build and can be customized with any paint or stain.
Materials
- One 2"x4" board
- One 2'x2' piece of ½" plywood
- 1" and 2" brad nails
- One towel ring
- Glue
Tools
- Miter saw
- Table Saw
- Brad nailer
- Measuring tape
Instructions
- Start off by cutting your 2x4 into 1"x1" strips.
- Next make all the following cuts, then sand:
Bottom Plywood (1)- 12"x12"
Top Plywood (1)- 12"x5"
Plywood Ring Holder (4)- two 3 ½" and two 2 ½" long, all by 1 ½" tall
Legs (4)- 22" with parallel 10 degree mitered ends
Bottom Supports (4)- 10", two with 10 degree mitered ends to 9 ¾" and two without
Long Top Supports (2)- 10"
Short Top Supports (2)- 3 ¼", with 10 degree mitered ends to 3"
Legs (4)- 1"x1"x1"
- Nail two legs into opposing corners of the bottom plywood, with their angles facing each other. Then nail one of the angled bottom supports in between them. Repeat on the opposing side.
- Nail in the two straight sided bottom supports on the other two sides of the bottom plywood to secure all the legs together at the base.
- Nail the top plywood onto the top of the legs at the corners.
- Nail in the top supports, using the long top supports on the long side and the angled short top supports on the short sides.
- Nail the four feet into the underside corners of the bottom plywood.
- Nail together your ring holder by nailing the short pieces to the interior edges of the longer pieces. Then attach centered to the top of the top plywood.
- Fill and sand smooth all nail holes and edges, then stain or paint.
- Use glue to attach the towel ring inside of the towel ring holder.
Notes
- Measure the diameter of the base of whatever towel ring you select. You may need to adjust the interior dimensions of your towel ring holder based on that. The interior dimensions of this is 2 ½"x2 ½".
- Use 2" nails to attach the legs to the top and bottom plywood and the feet into the bottom. Use 1" nails to attach everything else
Recommended Products
As an Amazon Associate and member of other affiliate programs, I earn from qualifying purchases.

Hey there, I'm Sean, the woodworking enthusiast and builder behind CharlestonCrafted.com! Since 2012, I've been sharing the magic of turning raw materials into beautiful creations. I love teaching others the art and satisfaction of woodworking and DIY. I try to inspire fellow crafters to make something extraordinary out of nothing at all.








Melissa says
I am so in love with this design! I can't wait to whip a few of these out just in time for summer.
Hi there,
My name is Melissa and I am a fellow blogger at sincerelysaturday.com and am the administrator of a successful tribe on Tailwind. I love your work and would love to invite you to be part of my tribe. I was one of the first DIY and Crafting tribes on tailwind and have currently had a reach of over 10 million viewers on Pinterest. Here is the invitation if you are at all interested! Cheers.
https://bit.ly/2TMfpUI