If you're getting ready to build some cabinets for your next renovation, here's how to build upper wall cabinets for your space!
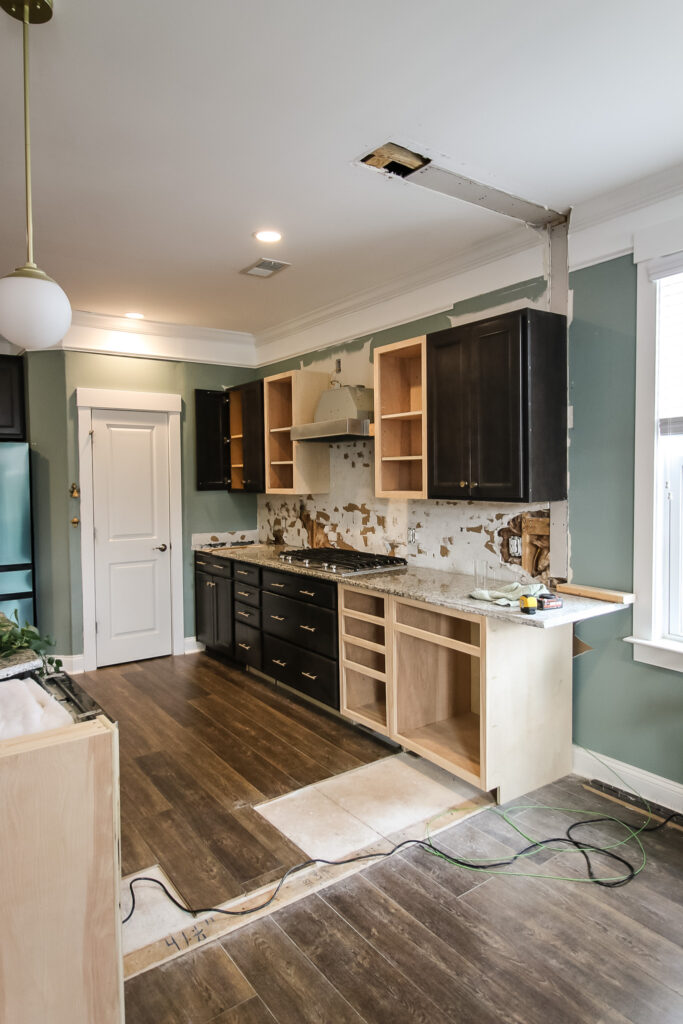
I've been doing our entire kitchen renovation myself, including all the demolition and the rebuilding of all the cabinets and island.
I've had to do a lot of different cabinets for this, but have been trying to make everything symmetrical in the space.
For the uppers, I was able to reuse two wide upper cabinets, but I needed to build two single door uppers to complete the symmetry with the lower cabinets.
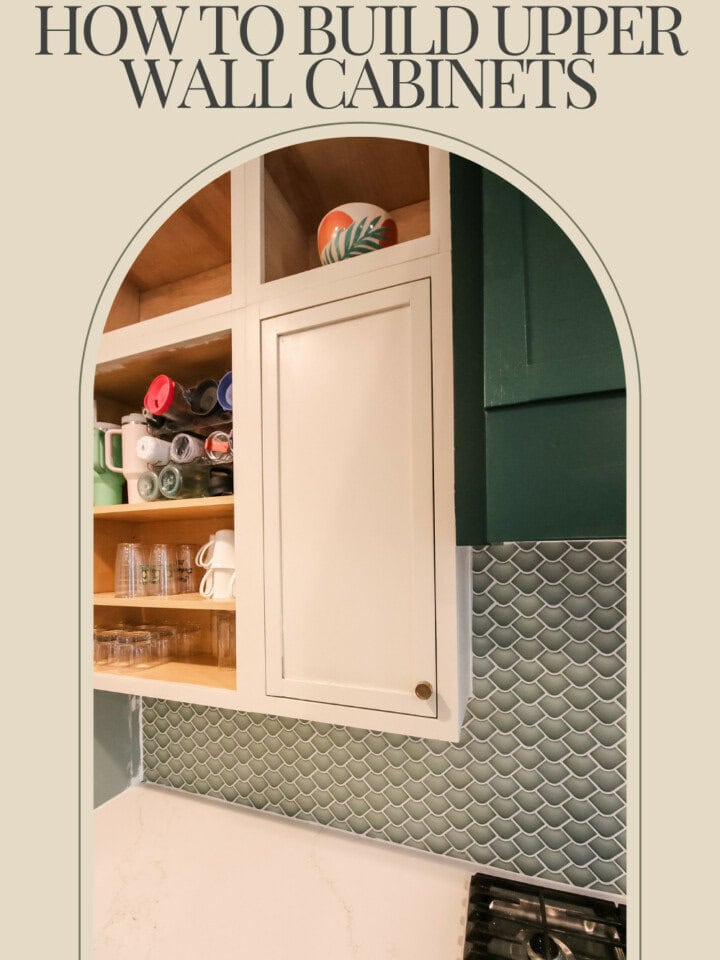
I opted to build these cabinets with face frames and inset shaker style doors. It's a modern look, so hopefully that's what you're going for!
Make sure you pair these with our base cabinets with drawer and base cabinets with drawer and doors to get a complete kitchen!
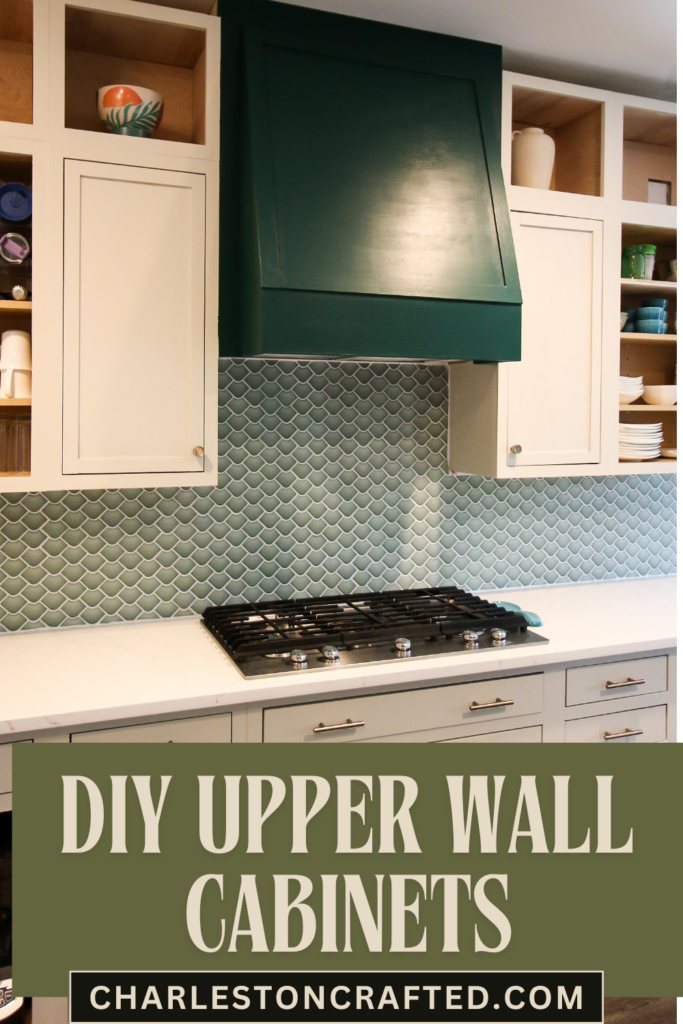
DIY upper wall cabinets
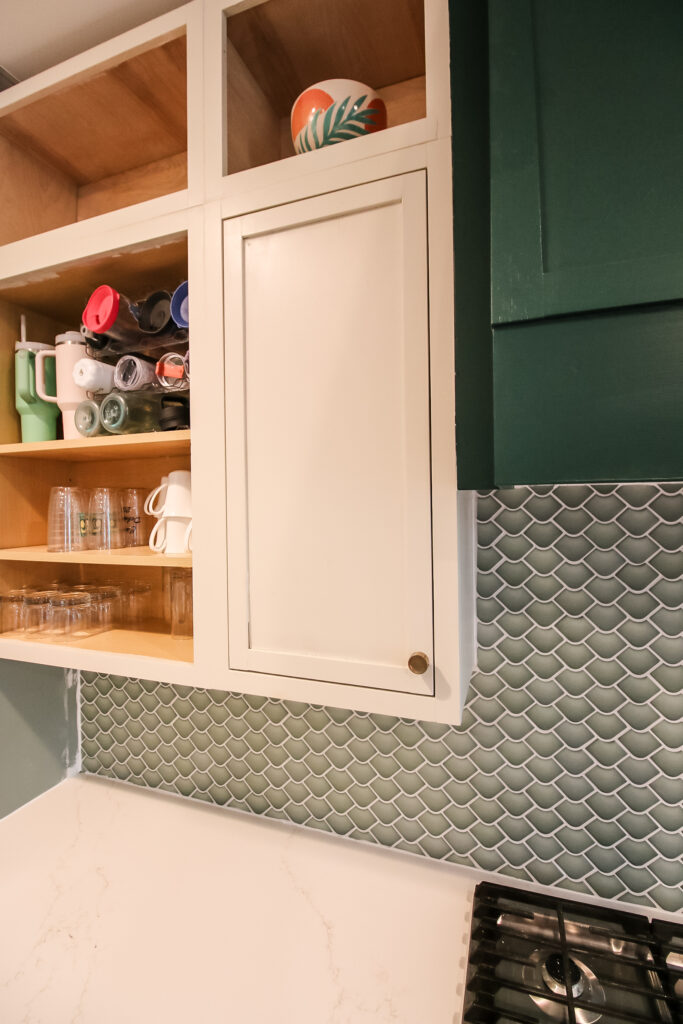
We built our upper wall cabinets with inset shaker doors, which is definitely in line with the modern design we wanted for the kitchen. We'll be adding doors to the rest of the cabinets, but here's how it looks now!
Materials needed to build an upper wall cabinet
To build an upper wall cabinet, you need the following materials and tools. For building this specific cabinet we built, you can get the exact material list and cut list, along with the step-by-step instructions, in our printable PDF woodworking plans here!
- ¾" plywood (one sheet of plywood should be able to make you a couple of cabinets)
- 1x2 boards
- ¼" plywood
- Slow close hinges
- Wood glue
- 1 ¼" pocket hole screws
- 1" brad nails
- Pocket hole jig
- Concealed hinge jig
- Shelf pin jig
- Table saw or circular saw with straight edge guide
How to build DIY upper wall cabinets
Here's what you'll need to do to build an upper wall cabinet, but make sure you grab the full instructions with more details.
I built two of these for our kitchen renovation, along with several lowers, so I learned a lot of tips and tricks along the way, and I'll do my best to include them all in here!
Is it cheaper to build your own cabinets? Definitely. But make sure you do take into consideration your time when making that choice, because you can purchase them from Home Depot for a reasonable price. You just have to work around their specifications.
We bought the prefab cabinets for our office renovation!
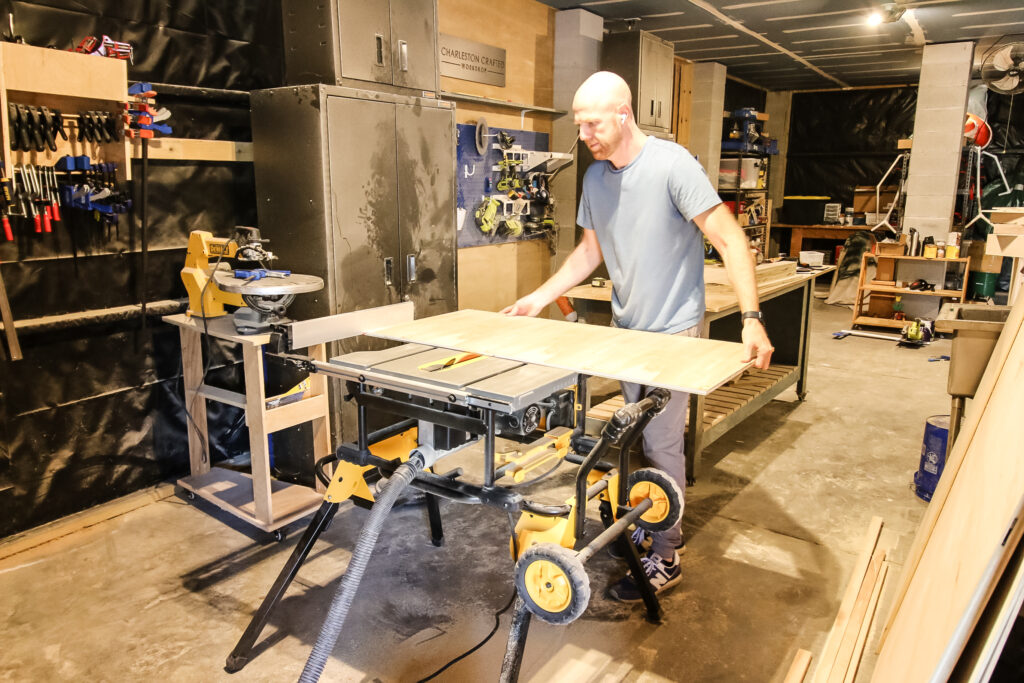
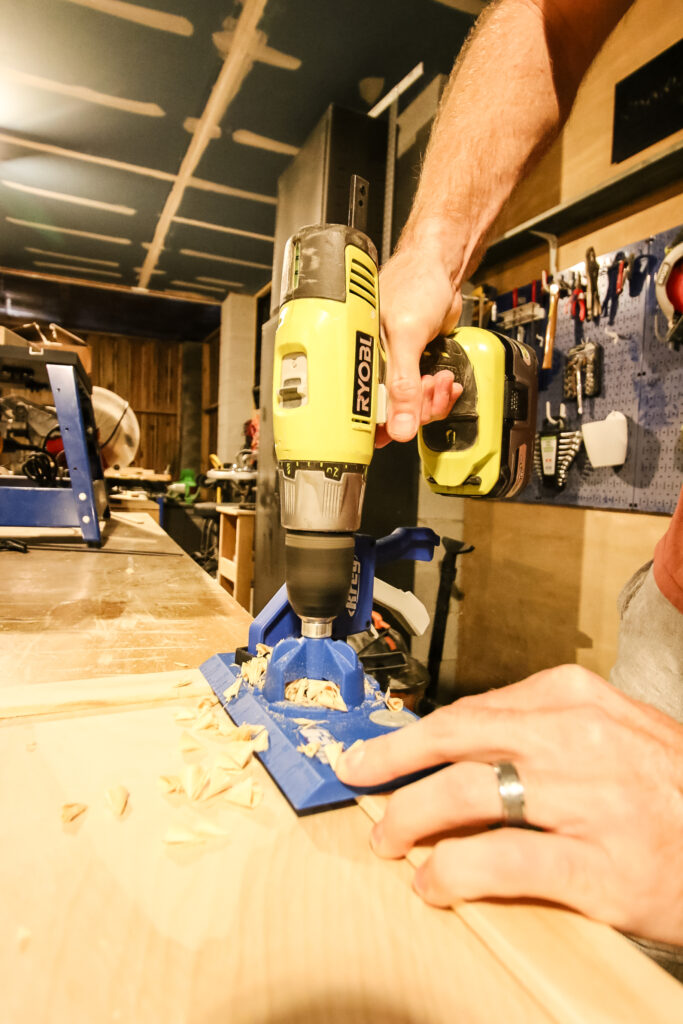
Step one: make cuts and drill pocket holes
Start out by making all the cuts you need, according to my woodworking plans. If you get a full sheet of ¾" and ¼" plywood, that will let you build several cabinets with just the one sheet.
I ripped everything down with my Kreg Rip-Cut and circular saw, then drilled pocket holes with my Kreg 720 Pro pocket hole jig. It's my favorite jig for fast pocket holes and it's very easy to use.
The recommended depth for upper cabinets is 12", so I cut the side, top and bottom pieces to 11 ¼" to accommodate a ¾" thick face frame to make the total 12".
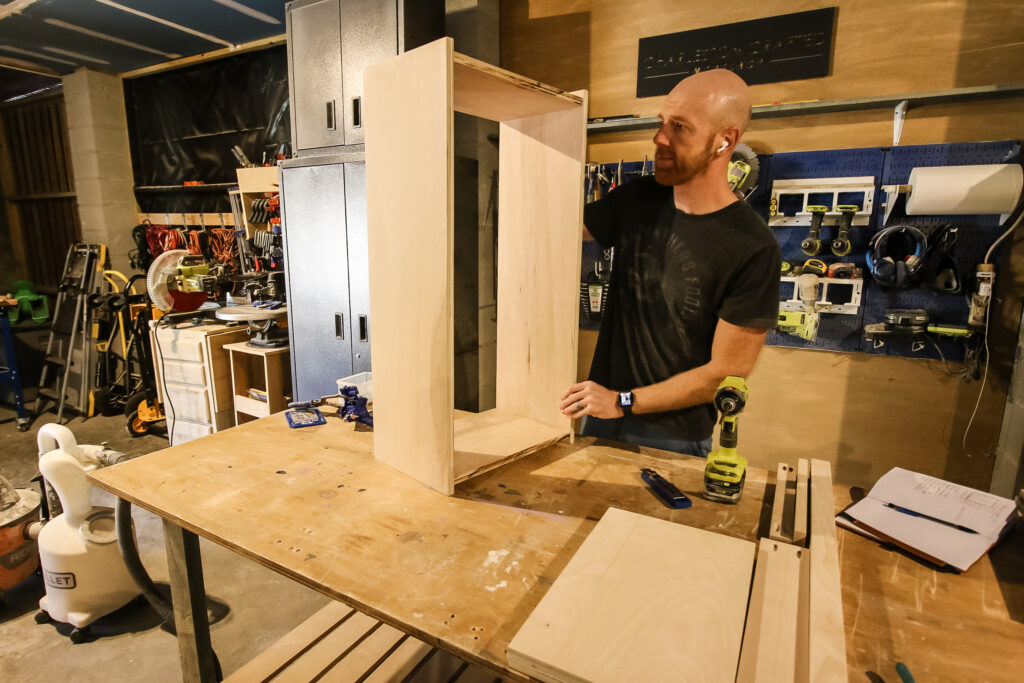
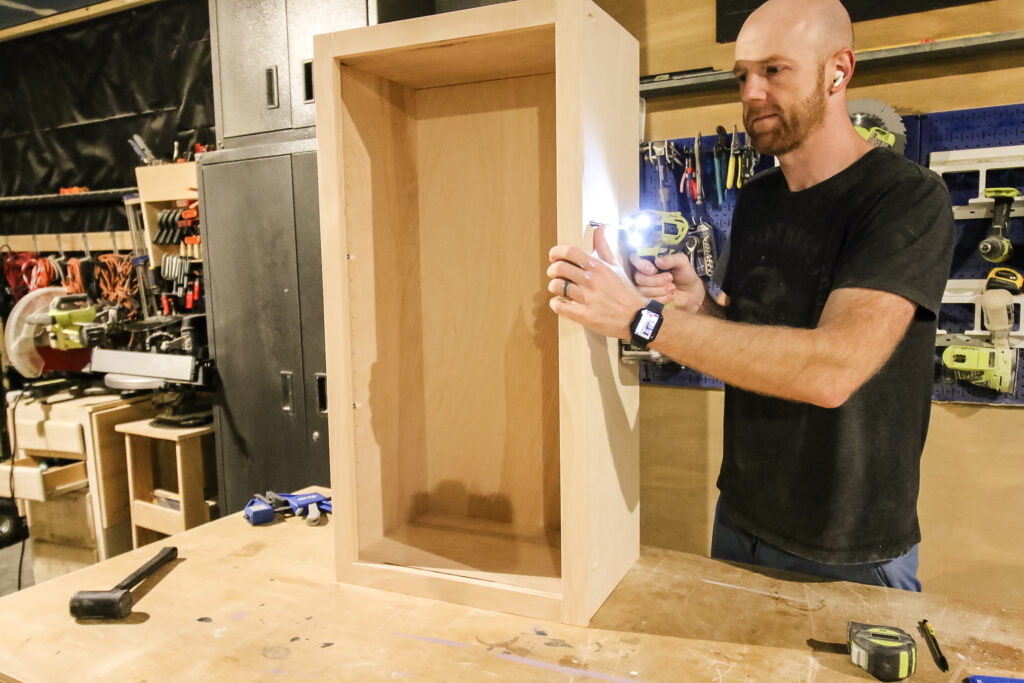
Step two: attach top and bottom
After sanding everything down, I attached the top and bottom of the cabinets using pocket hole screws and wood glue.
Now, keep in mind that you want to attach these about ¾" from the top and bottom of the side pieces. This is because you'll want the top and bottom of the cabinet to be align with the top and bottom of the face frame.
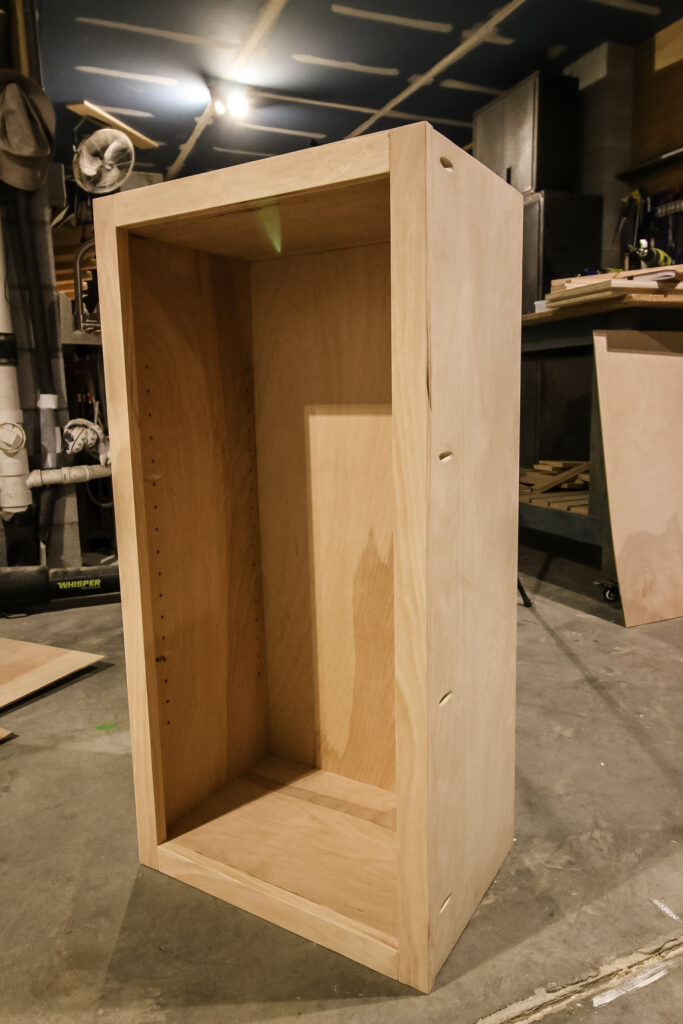
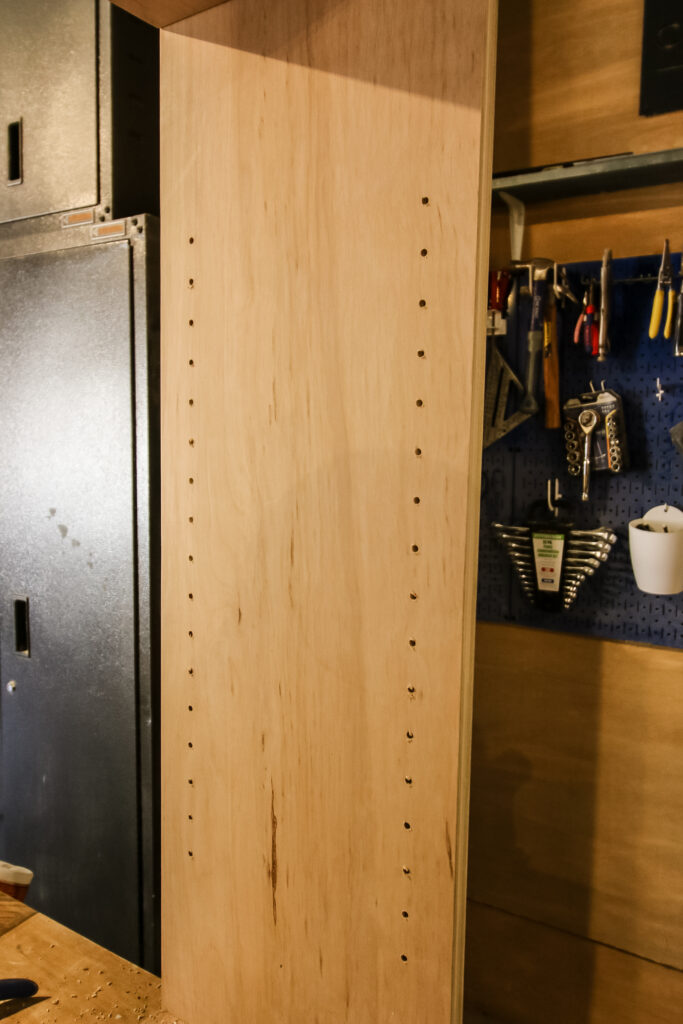
Step three: drill shelf pin holes
Next, drill shelf pin holes up and down all four corners of the sides. You'll want to have adjustable shelves in the upper cabinets so you can change what you need to store in there long time.
Drilling shelf pin holes is super easy with the Kreg Shelf Pin Jig and you can just drill the holes for all four sides and keep everything very even and level.
I did A LOT of shelf pin holes on this bookcase with toy storage!
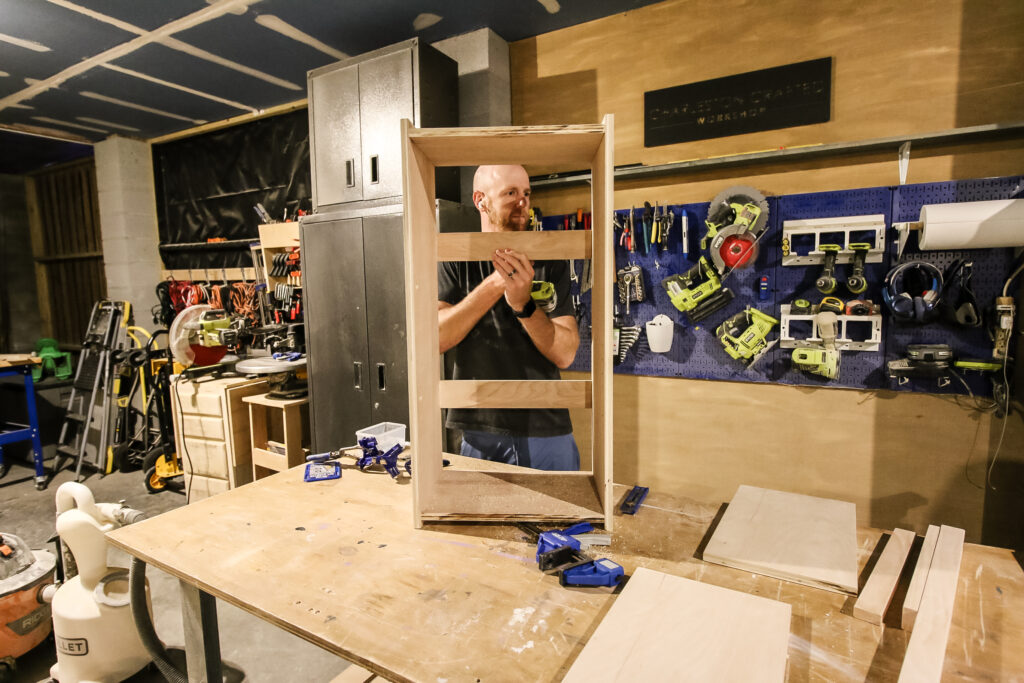
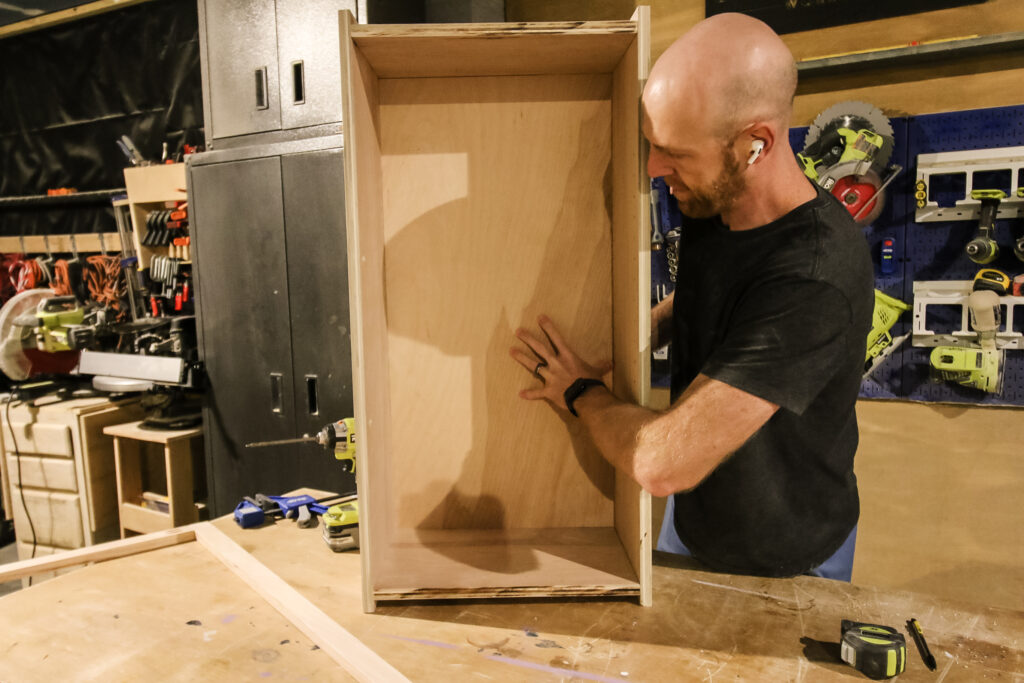
Step four: attach supports and backer
Next, I used pocket hole screws to attach supports spanning across the back of the cabinet. These help keep the sides together, but it's also where you can screw through into the studs in the wall to keep the cabinets up.
Then use brad nails to attach the ¼" backer into the supports to give a nice clean cover on everything.
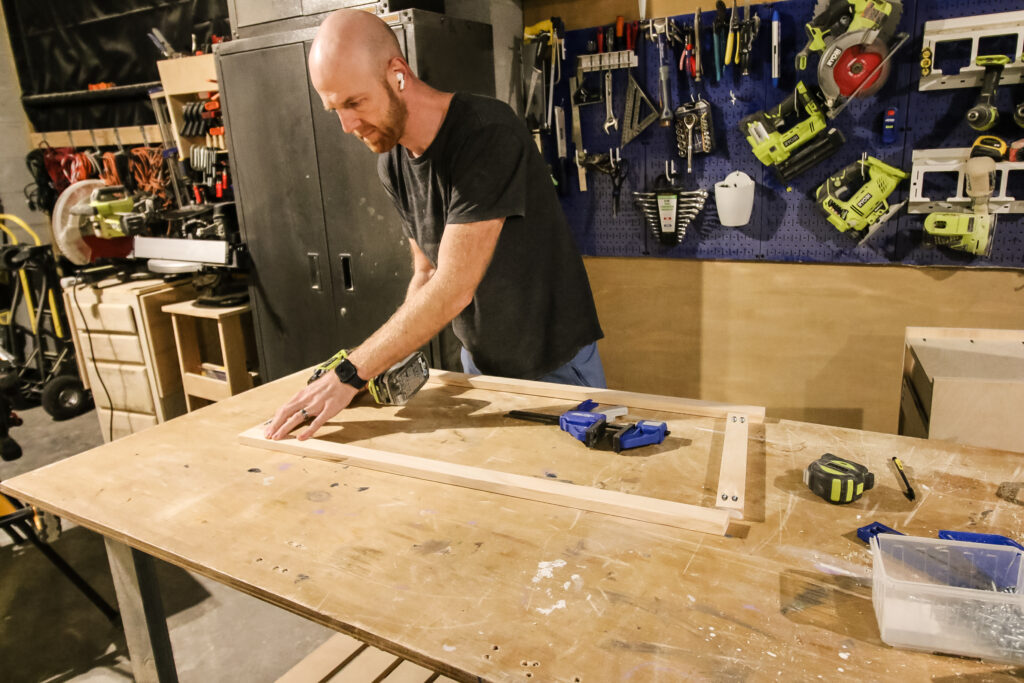
Step five: make and install face frame
Next you can make the face frame. The face frame attaches to the outside front of the cabinet to cover up the plywood edge of the cabinet sides.
A face frame is really easy to make, with pocket holes attaching two horizontal beams to the two side beams. And did you know that a face frame is actually attached to a cabinet using pocket holes from the outsides of the cabinet box so nothing is visible? Check out what I mean in this video I did.
Step six: make door face
Next you need to make the door face. This is a simple shaker style door, meaning that I mimicked the design of the face frame, but routed grooves into the inside of each board so I could slide a ¼" panel in between.
These are held together with a line of wood glue in each of the grooves and then clamped together with pressure until dry.
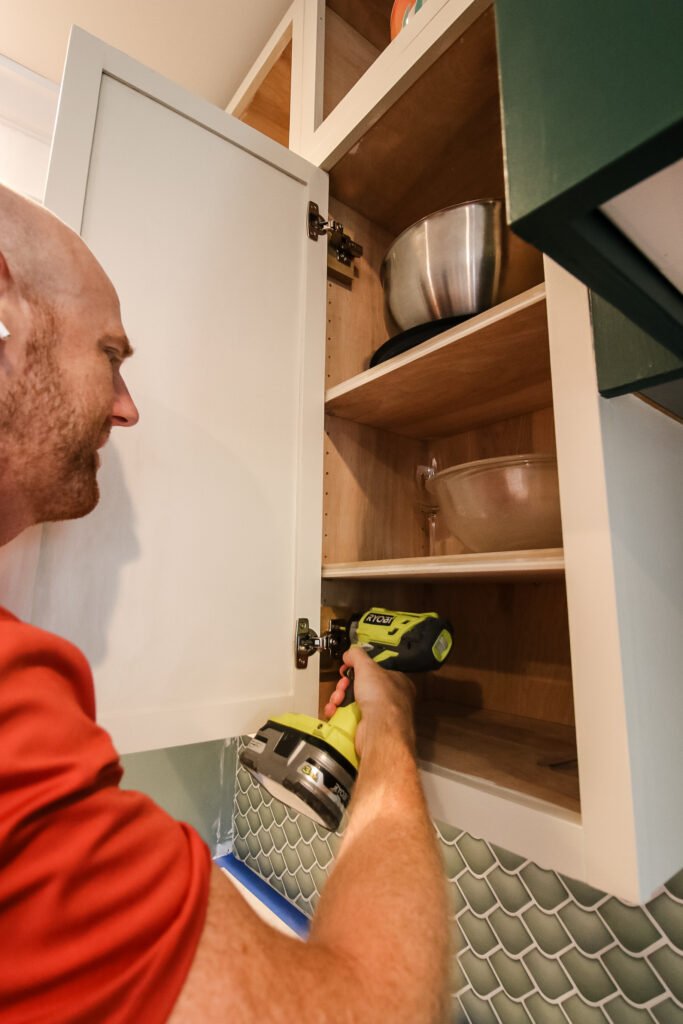
When they were done, I used my concealed hinge jig to add hinges to the inside of the door.
Step seven: install on wall
Remember those back supports from earlier? This is where they come into play.
Find the studs in your wall and then get the cabinet in place where you want it. Typically upper cabinets need to be about 18" above the countertop.
Then, drill through the back supports into the studs in the wall and secure through the face frame into the cabinets next to it.
Step eight: attach door
Finally, attach the door using hinges. You'll probably need to add a scrap of 3"x3" wood to the inside of the cabinet box to accommodate the face frame.
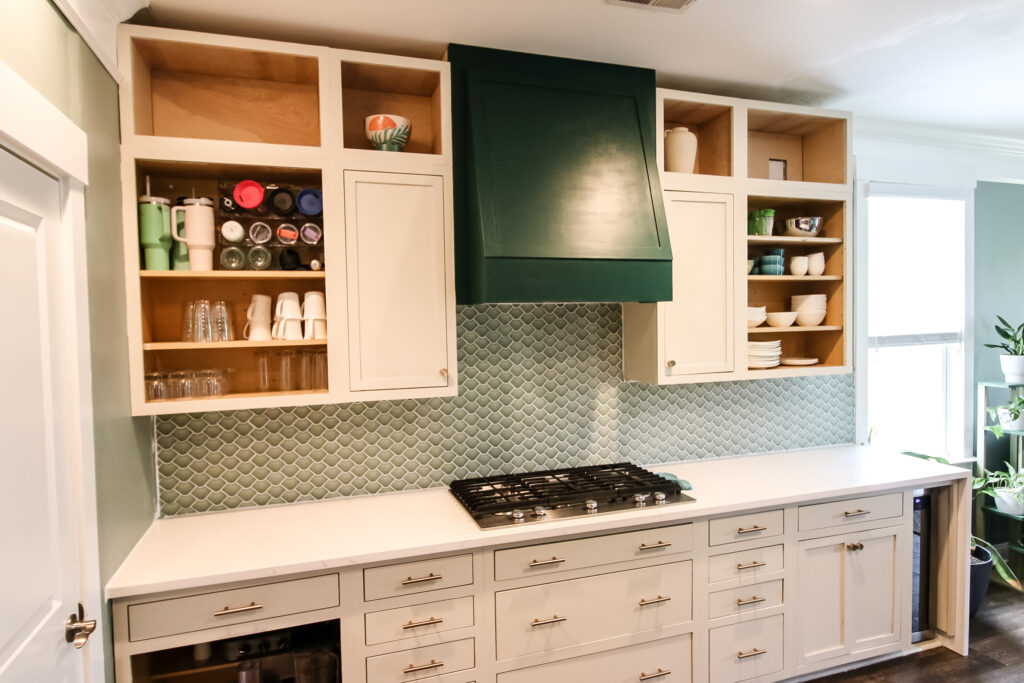
DIY upper wall cabinets for kitchen
We love how these DIY upper wall cabinets turned out! We were able to make them exactly how we wanted them and fit our space perfectly.
These are fully customizable too, so you could do non-inset doors as well. But we wanted this sleeker look and love how they turned out.
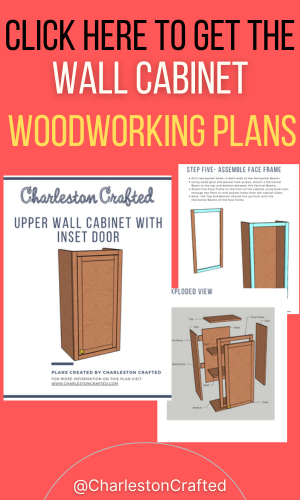
Upper wall cabinet with inset shaker door woodworking plans
Are you ready to build your own DIY base cabinet with a drawer and doors? Grab our printable PDF woodworking plan to get you through it!
Our woodworking plans come with the full material list, cut list and step-by-step detailed instructions with computer model imagery to show you what you need to do to make it your own.
We also have a plan for our base cabinet with just drawers, a base cabinet with drawer and door, island with seating and a range hood vent cover and we also have them as a full set of discounted plans that you can get to do your entire kitchen!

Looking for something?
We've been doing this since 2012 so we have a LOT of blog posts!
Search stuff like: Ceiling Projects | DIY Plant Stands | Thrift Flips

Hello, I'm Morgan, half of the creative force behind CharlestonCrafted.com! With a passion for DIY that dates back to 2012, I've transformed three homes and now I'm dedicated to helping others craft their dream spaces. Let's turn your house into a home together!


