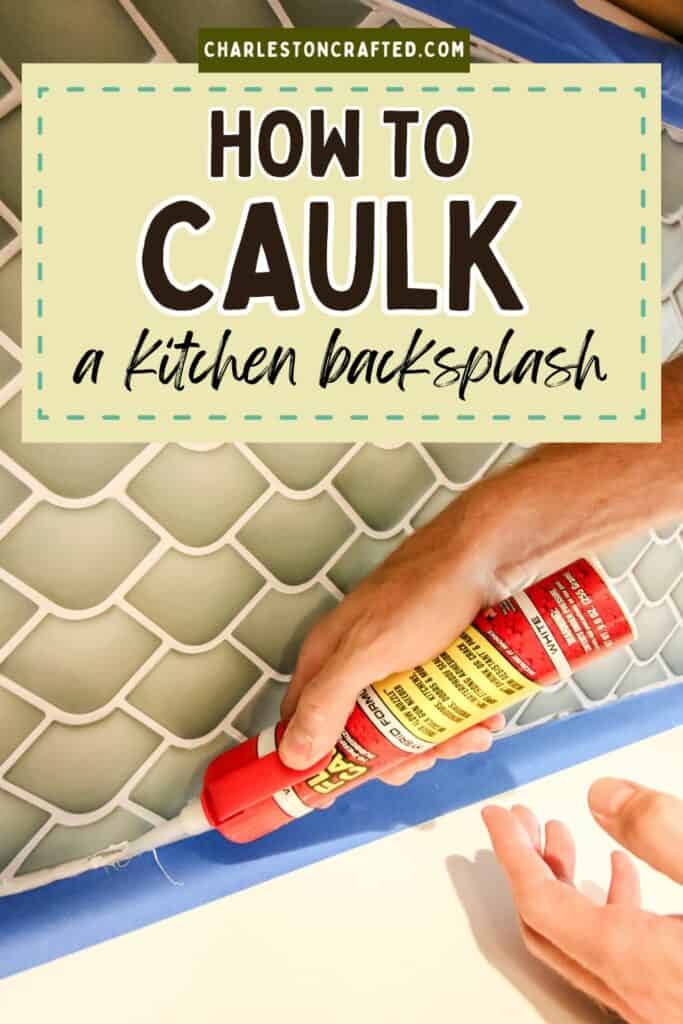
Wondering how to caulk a kitchen backsplash? Here is a step by step guide and a look at our new favorite brand of caulk for DIY projects!
This post was sponsored by Flex Seal. All opinions are true and our own. Thanks to the brands that make Charleston Crafted possible!
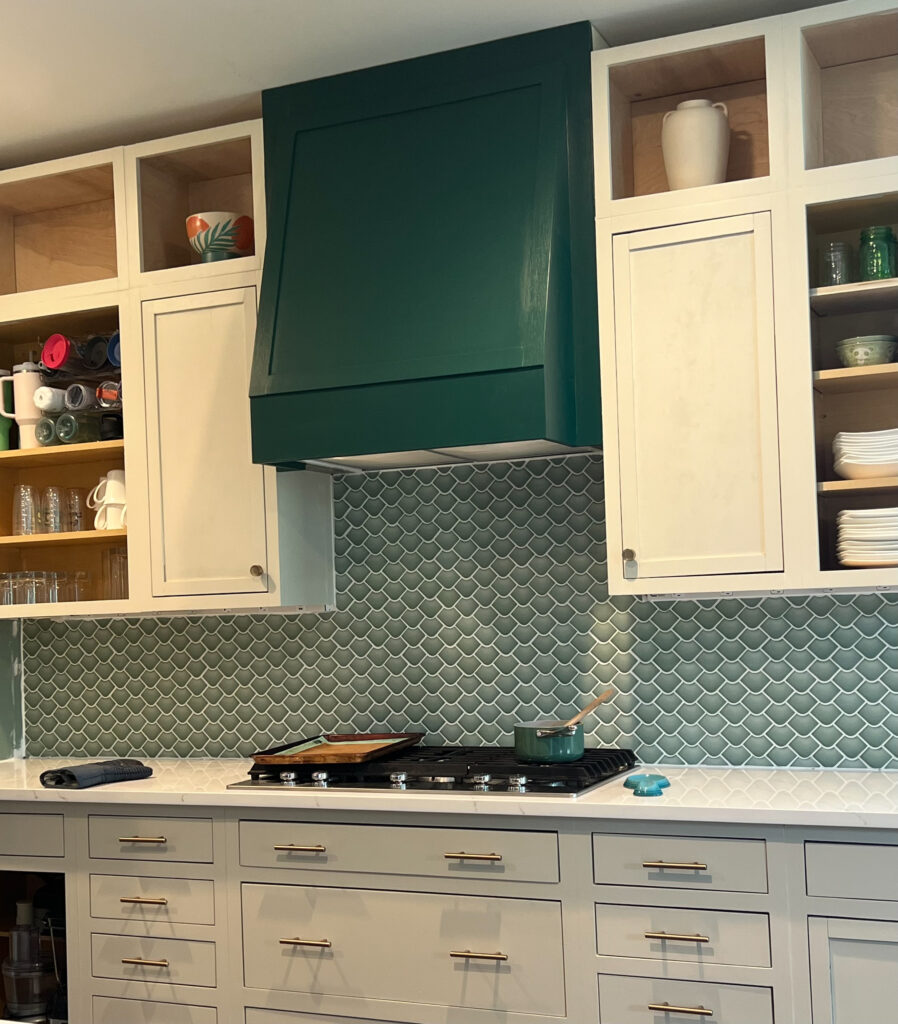
Hanging a new backsplash is a great way to modernize or complete a kitchen. Backsplashes are beautiful, but also functional, protecting your walls from messy spills and splashes.
There's a lot of steps to get your backsplash in place, but once you hang the tile, you're still not done. You need to apply caulk to the edges to complete the project both functionally and aesthetically.
Caulking is the important final step to completing a backsplash installation, so let's dive into why you need to do it, what you need to do, and what products you need to get it done.
Where do you use caulk on a backsplash?
You want to use caulk to seal the gaps between your tile backsplash and any other walls, countertops, or cabinets.
The lines between your actual tiles should have already been filled with grout. Grout is stiff like concrete and does not have any give, unlike caulk.
Using caulk on the edges of your tile gives it a finished look by covering any imperfections on your tile or grout. Caulk also seals the gap from crumbs or debris, but gives the backsplash some flexibility.
Finally, as the temperature fluctuates and time passes, the wall that your tile is on is likely to slightly shift, expand and contract over time. Having the flexibility of the caulk means that it can slightly adjust without cracking or breaking.
Caulk is the final - but super important - step of hanging a kitchen backsplash!
How to caulk a kitchen backsplash
Here's how easy it is to caulk your tile backsplash!
Supplies needed:
- Flex Caulk
- Painter's tape
- Paper towels
What caulk should I use for my backsplash?
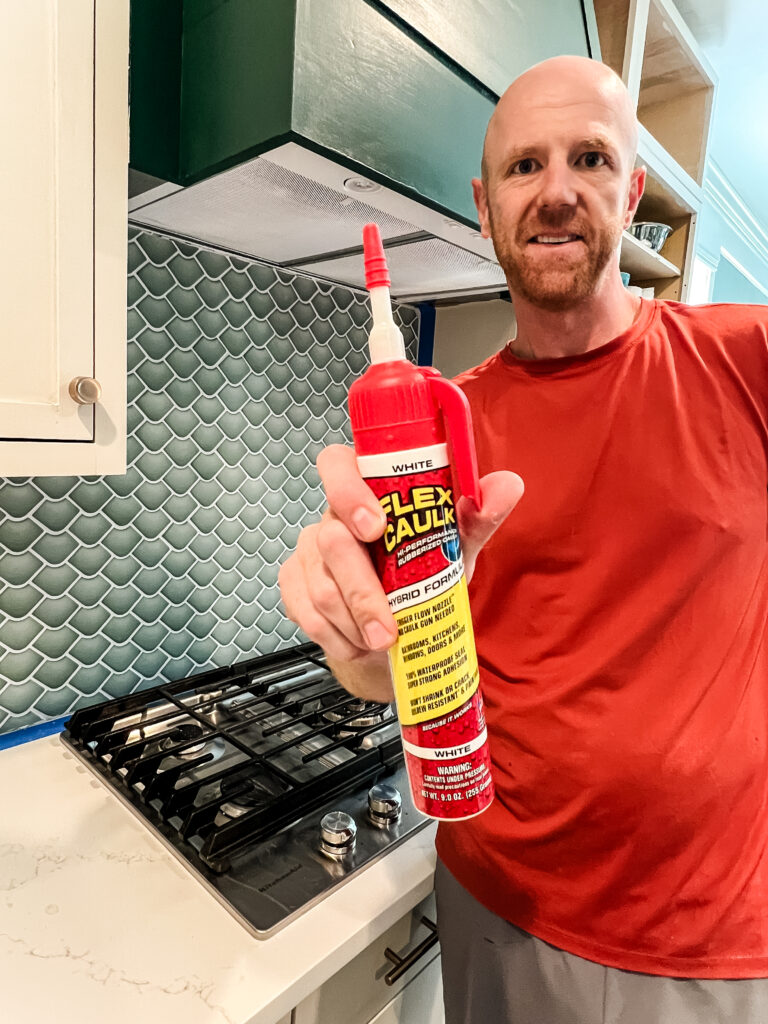
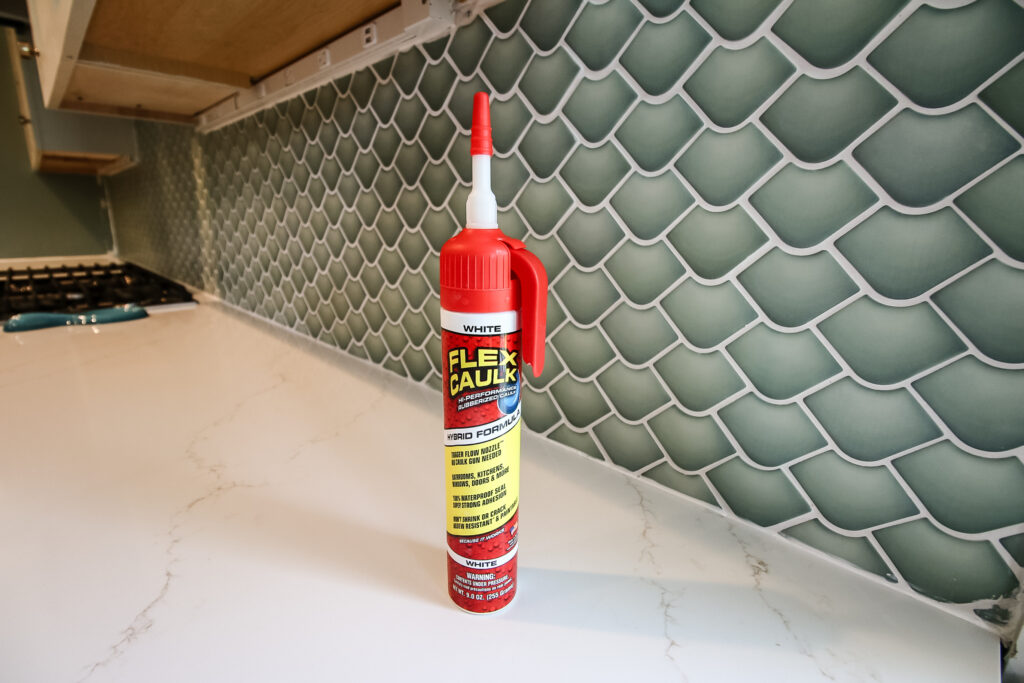
When caulking your kitchen backsplash, you want to make sure you use a paintable, indoor caulk. For this project, we chose to use Flex Caulk from Flex Seal.
I knew all about Flex Seal and Flex Tape, but I didn't know until recently that they make caulk as well. It's perfect for this project because of its suitability for wet spaces and the fact that it won't shrink, crack or peel.
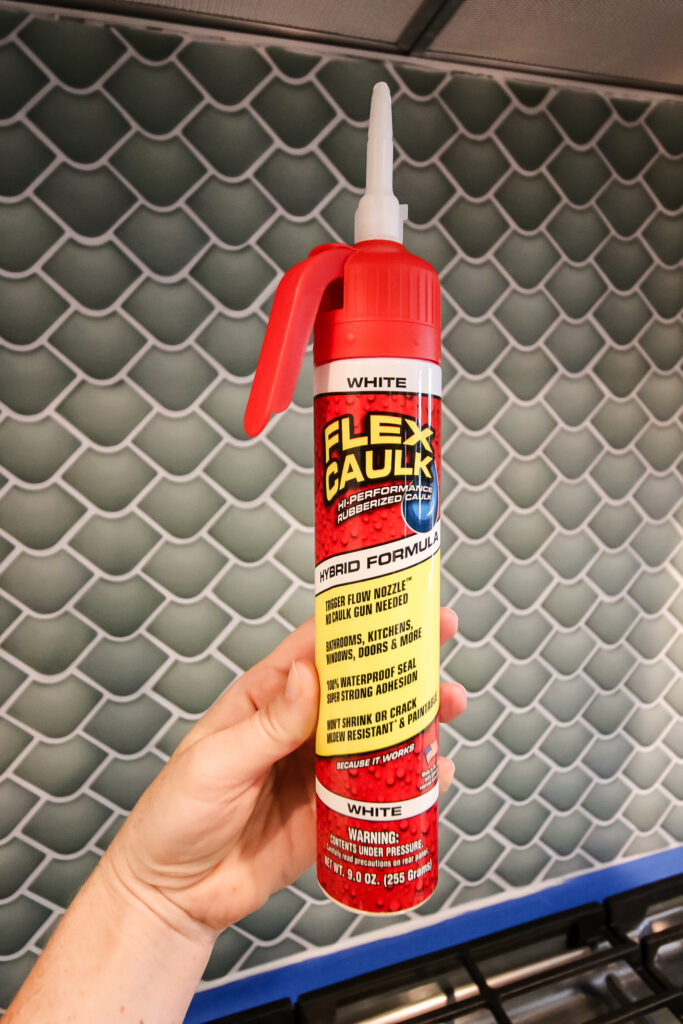
Flex Caulk is fully paintable and can be applied to damp surfaces if needed, but the coolest part to me about Flex Caulk is that you don't need a caulk gun!
Usually, with a tube of caulk, you have to cut the tip off, poke a hole through the stem, then load it into the gun and squeeze it while the caulk comes out. With Flex Caulk, you simply take off the cap, adjust the flow setting, then squeeze the built in trigger for the caulk to come out.
The biggest overall difference I noticed when using Flex Caulk compared to other brands is that it is a lot thicker. It fills the crevices easy and you can feel that it is tackier and more dense than other caulks, which means it's going to last longer.
Then, when you're done using the tube, simply wipe the end and put the cap back on the Flex Caulk tube. It won't harden up and it's ready to go next time.
Steps to caulk a tile backsplash:
Here's how easy it is to caulk your backsplash tile!
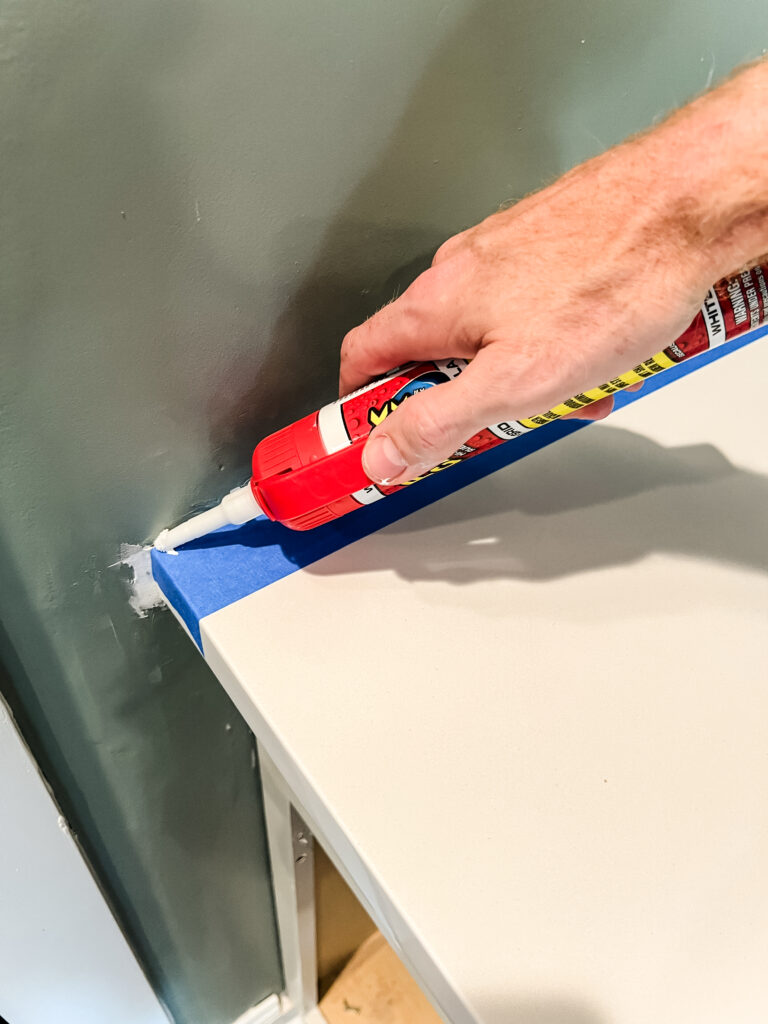
STEP 1: Protect your space
We like to use painter's tape to tape off the edges of where we are going to caulk just to make sure we don't get excess caulk where we don't want it.
Apply tape along your backsplash, counters, cabinets, or walls to create the space where you want the caulk to fill. This helps you get a clean line and not accidentally smear it on the wall. This also helps when you smooth it out that it won't spread to areas you don't want either.
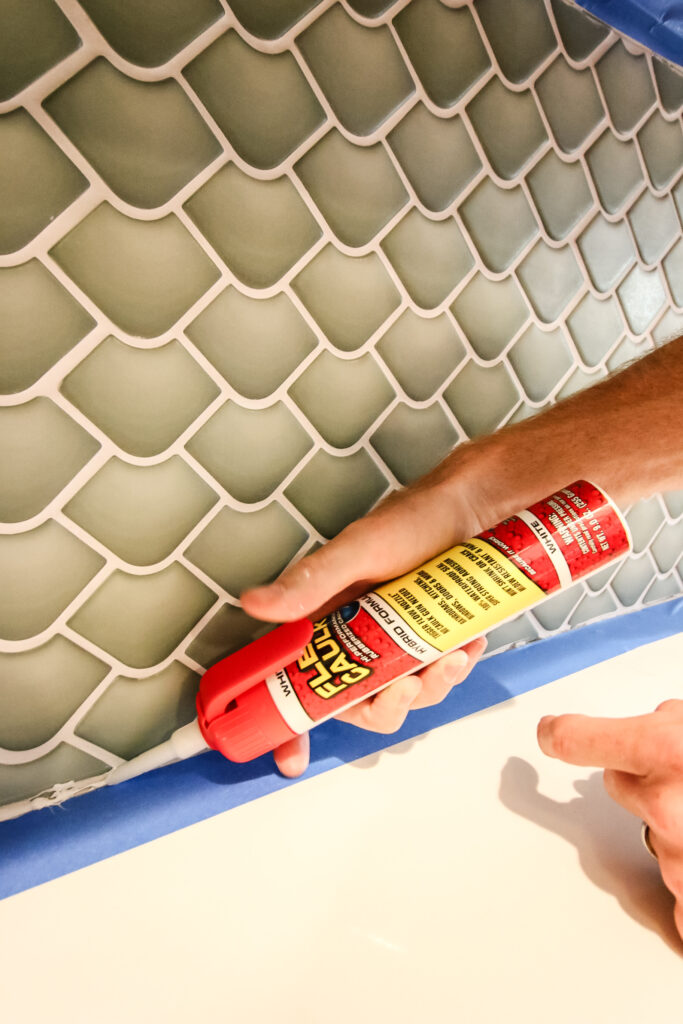
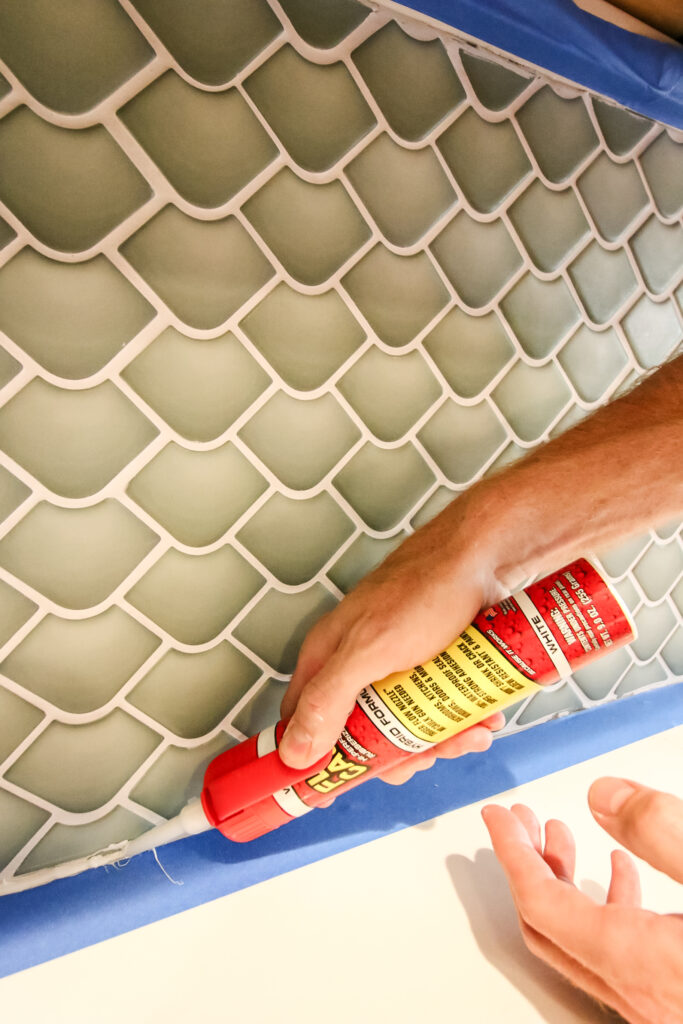
STEP 2: Start in a corner
Pick a corner to start in. Place the tip of the caulk stem along the seam you are caulking at a 45 degree angle and gently squeeze the trigger on the bottle to squirt out caulk.
Move the tip along the straight edge as you squirt it out to get a line along the whole edge.
STEP 3: Smooth
Use your finger (it helps to wet your finger!) to smooth the caulk line down into the gap and get a totally smooth finish. You'll want to have a dry paper towel to wipe your finger on and to wipe up any excess caulk that does get on your tile or somewhere you don't want it to be.
STEP 4: Peel tape
Peel off your painter's tape and reveal your crisp caulk line! Let your caulk sit to dry for 24 hours before pushing anything against it (and try not to spill anything in that time too!).
Enjoy your fabulous and finished new backsplash!

Looking for something?
We've been doing this since 2012 so we have a LOT of blog posts!
Search stuff like: Ceiling Projects | DIY Plant Stands | Thrift Flips

Hello, I'm Morgan, half of the creative force behind CharlestonCrafted.com! With a passion for DIY that dates back to 2012, I've transformed three homes and now I'm dedicated to helping others craft their dream spaces. Let's turn your house into a home together!