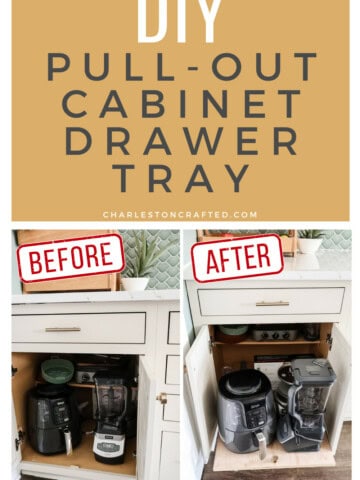
Struggling with how to choose tile for your kitchen backsplash? Here are the top factors to consider - both aesthetically and functionally - to help you pick the right tile with confidence!
Adding a backsplash is such an important way to finish the look of your kitchen. But, there are so many options for tile. How will you ever choose one?
Today I want to share my top tips for how to pick out a backsplash tile. There are a lot of factors to consider - both aesthetically and functionally - that I don't want you to miss when making this important choice!
How to choose tile for your kitchen backsplash
Here are the steps that I follow to pick the perfect backsplash tile!
Step 1: Determine Your Style and Needs
The first step to picking tile is to determine your style and the look you are going for. The ideal way to do this is to create a moodboard.
I like to make a Pinterest board, specifically looking for tile you love. Aim to get at least 20 images, then look back through them with fresh eyes - what do they have in common?
Look for common colors, shapes or materials. Is there an obvious style that you prefer?
Also take a look at the surrounding materials in the example pictures. Do the cabinets, countertops, and flooring in the images match what you have in your space.
If not, you might want to refine your searches. For example, instead of just searching "modern backsplash", search "modern backsplash" + "white cabinets" to see examples that might be more fitting with your real space.
Step 2: Choose a Focal Point
It is super important to decide if the backsplash will be a focal point or a neutral backdrop for your space.
My suggestion? Take a look at the other fixtures in your space. If you have any of the following, they are already the focal point:
- a bold cabinet color
- busy countertops
- an intricate hood
- eye catching large light fixtures
Focal point tile can be colorful or an eye catching shape or design.
Neutral tile is going to be a more neutral color, simple shape, larger size, and in general blend with the surroundings.
In our kitchen, we went with a neutral cream colored cabinetry and a very neutral countertop. This was intentional because I knew from the start that I wanted a busier backsplash.
If we had gone with a countertop with more graining and detail to it, I would have chosen a rectangular backsplash tile in a neutral color (or had the backsplash made from the same slab as the countertops).
Step 3: Consider Tile Materials
The next step in picking the best tile for your backsplash is that you need to choose a material of tile. Here are some of the more common options and their pros and cons:
Ceramic Tile
Pros: Affordable, easy to clean, water and heat-resistant
Cons: Can chip or crack, grout lines require maintenance
Natural Stone Tile (Marble, Granite, Slate)
Pros: Unique appearance, durable, heat-resistant
Cons: Expensive, requires regular sealing, porous
Porcelain Tile
Pros: Dense, durable, water-resistant, stain-resistant
Cons: Difficult to cut and install
Glass Tile
Pros: Reflects light, easy to clean, makes space appear larger
Cons: Expensive, can scratch or chip, challenging to install
Countertop Slab as Backsplash
Pros: Seamless appearance, cohesive look with the countertop
Cons: Expensive
Step 4: Play with Shapes and Patterns
Once you determine whether you want your tile to be a focal point or not, start thinking about the best shape for your space.
If you want the tile to feel neutral, I suggest square rectangular tiles that are at least 2 inches wide in the smallest direction.
You can mix up the look of neutral tiles depending on how you hang them - stacked on top of each other, offset on the thirds or offset at the halfway point. This slight difference completely changes how the tile looks - so play around with it!
If you are allowing the tile to be more of a focal point, there are a ton of different shapes to consider. Consider if you want soft, curved lines or more clean straight lines.
Remember - I suggest going with a bold color OR a bold shape.
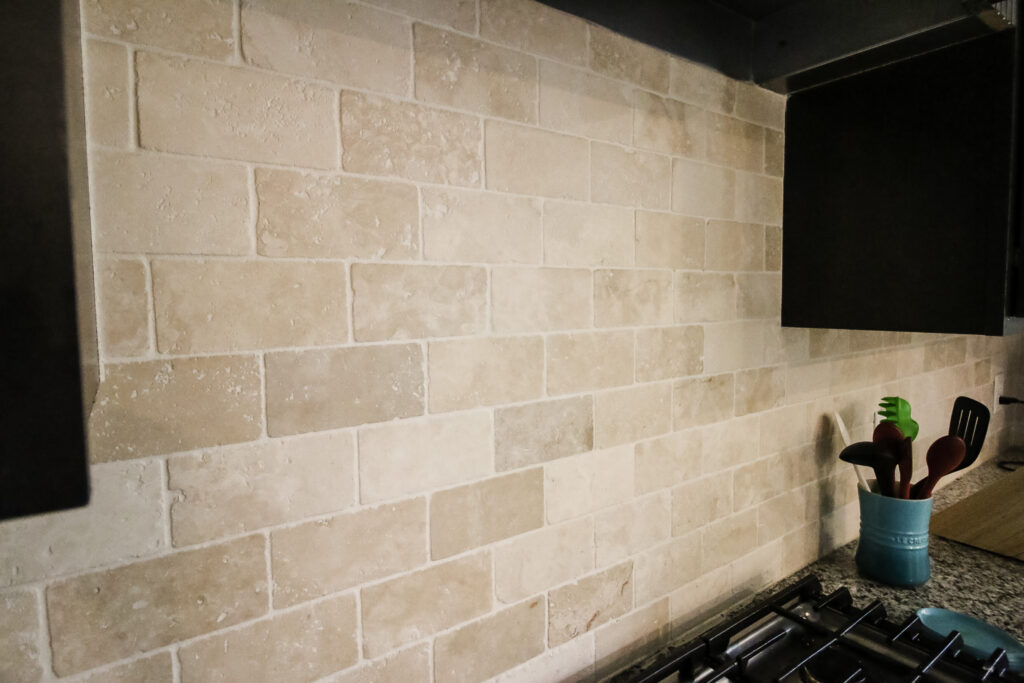
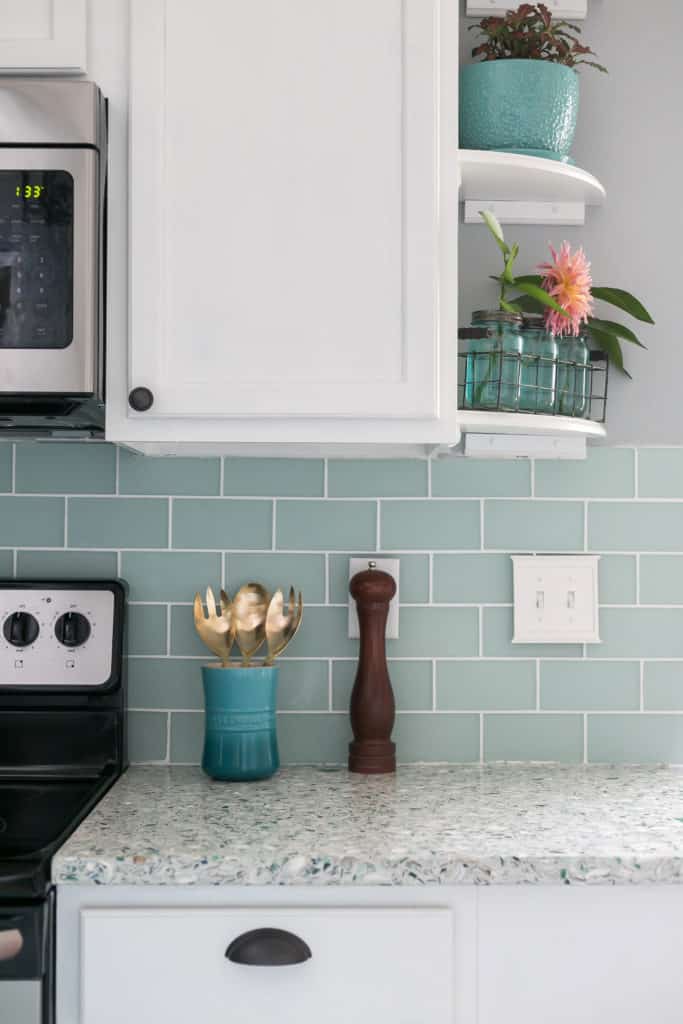
For example, in our old house we went with a sea glass subway tile. The green color felt bold in the gray and white space - but the simple shape kept it from feeling overwhelmingly so.
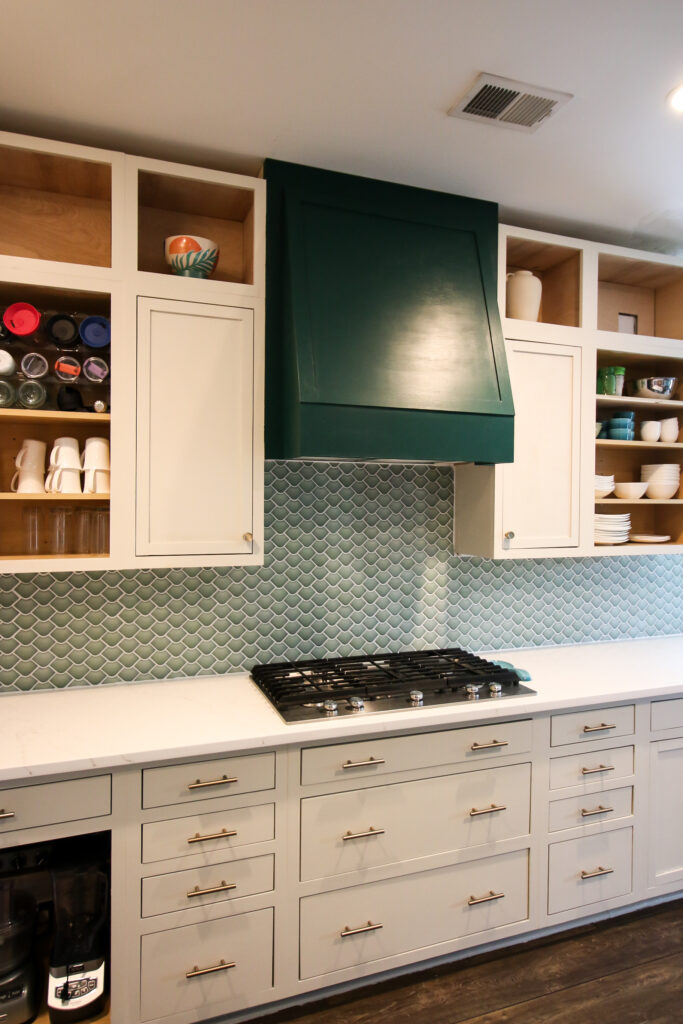
We went with an arched shaped fish scale tile in this kitchen. Something about it just caught my eye and we designed a lot of the kitchen around it!
The green color flows perfectly with our wall color - so it doesn't feel too bold - but the shape is very eye catching! I love how the curves soften up all the straight lines in our space.
Step 5: Budget Considerations
Of course, the best tile for your kitchen backsplash is the tile that you can afford. It can be very easy to go over budget on tile - it's usually priced per square foot so it doesn't seem too bad until you start doing the math!
If you find an expensive tile that you love, consider doing a reverse image search on the sample to see if there is a lower cost alternative.
Otherwise, you will have to find something else in your makeover that you are willing to cut to make the financial space for the splurge!
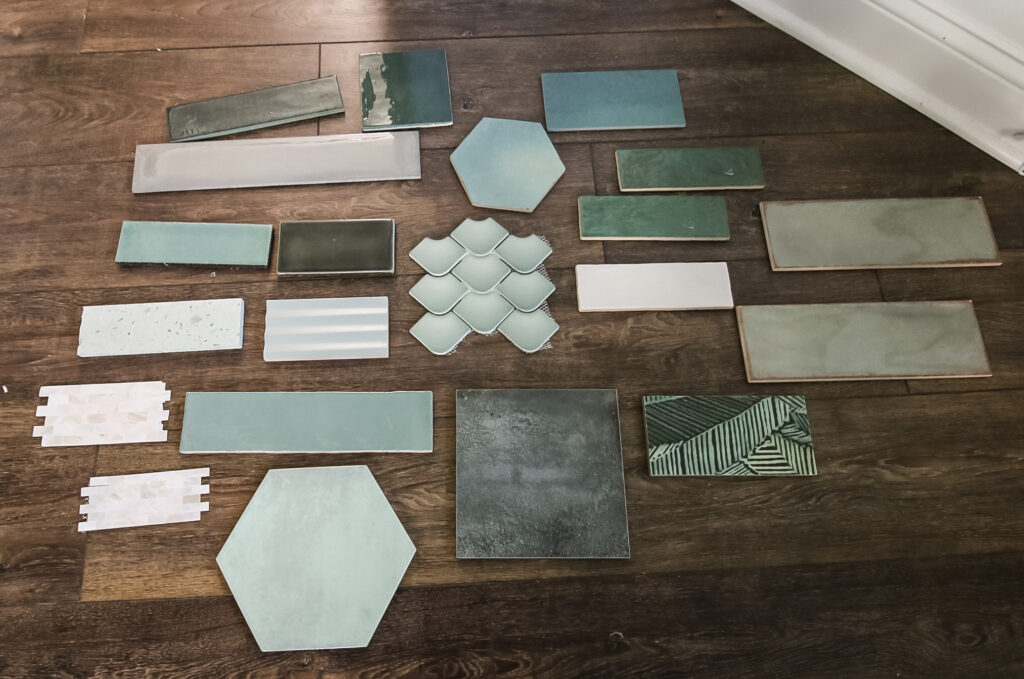
Step 6: Test Samples in Your Space
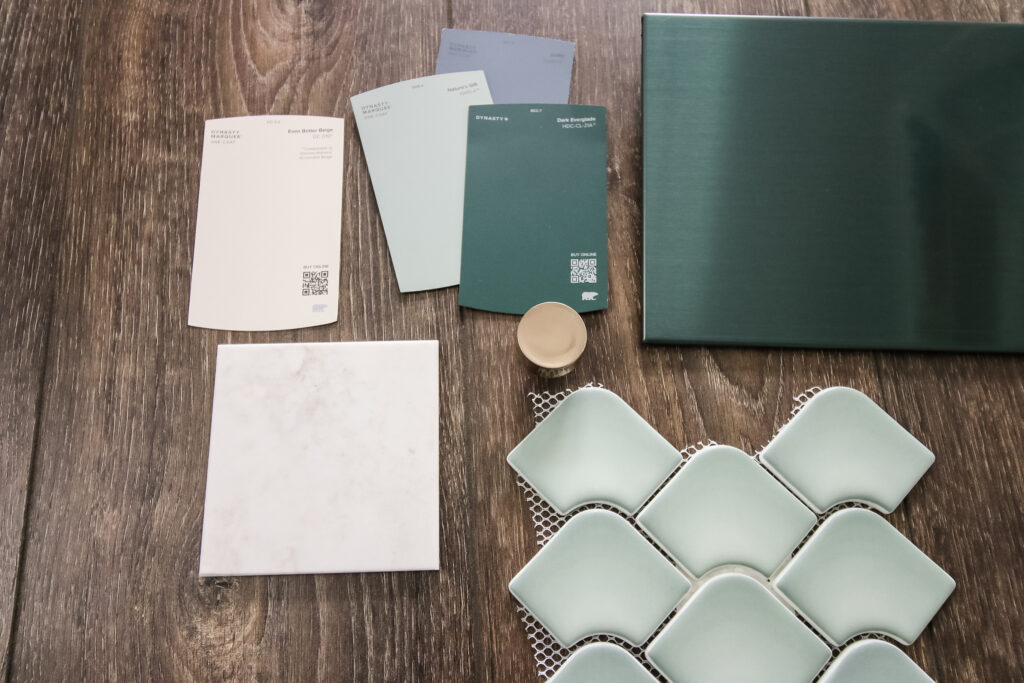
Once you narrow it down to a few tiles you love, I highly encourage you to order samples and look at them in your space, next to your real materials. Hold them up vertically - along the wall - to see how they would really look in that lighting and from that angle.
Speaking of lighting - make sure to look at your tile color in daylight and at night with the overhead lights on. Lighting can have a huge impact on how color looks, and you don't want the tile to clash with the surrounding elements in certain lighting.
Hold the samples up next to the cabinets, counters, floors, and wall color. Hold it next to any nearby appliances. Be sure that it flows and pairs well with each of those elements!

Step 7: Factor in Maintenance and Durability
Aesthetics are important, but also be sure that you feel comfortable with the maintenance needs of whatever tile that you choose.
If you select a more porous stone option, look into a tile sealer. This can help to protect the surface from staining - you just have to apply it regularly.
If you cook a lot, you might want to consider sticking to tiles that are super easy to wipe clean!
Step 8: Consider Grout Options
So you picked your tile - you aren't done yet! You still need to pick your grout.
We always prefer to use an unsanded grout, because the sand in certain grouts can scratch tile surfaces.
Grout comes in a ton of different colors and the color can really impact the final look of your tile.
A white tile with white grout will look most neutral, while opting for a darker grout will look more modern.
If your tile is natural stone and very warm colored, a stark white tile might look weird. You might want something creamier, instead.
As much as possible, look at photos of your actual tile installed in spaces. What did the brand use for their grout color? That can be a great way to visualize the options.

You will also need to choose the grout spacer size.
If you are using a mosaic type tile on a sheet, you will want to mimic the existing spacing between tiles on the sheet between sheets for a cohesive look.
For individual tiles, 3/16” is a standard size. However, you might want something larger for larger tiles or smaller for smaller tiles. ⅛" is the minimum grout size needed for tile expansion.
How to calculate the amount of tile needed
I recommend using a tile calculator to determine the square footage of tile you need for your space. You will need to measure the length and width of the space to set it up.
Plan to order 10% extra tile for cut off pieces and mistakes.
Common Tiling Mistakes to Avoid
Don't make these tiling mistakes!
Not considering trim pieces
If you are going to have an awkward line where your tile ends along a wall, you might want to add a piece of tile trim to that area. This is a good way to get a clean finished look.
Failing to check tile stock and lead times
It's terrible to fall in love with a tile and then find out that it's out of stock. That's what happened on our kitchen project - my dream tile was back ordered for 2 months!
Luckily, I planned the whole project well in advance so we were able to order it and it was still here in time.
But, you definitely don't want to wait until the last minute to order your tile - backorders are common!
Not Extending the Tile Up to the Ceiling
If you are tight on budget, it can be tempting to keep your backsplash to just 18 inches above the countertops. But, it really looks so much grander to take it to the ceiling.
This look makes the ceilings look higher, the kitchen look grander, and can keep the space feeling super cohesive.
Picking tile is a huge part of any kitchen renovation. With these tips, you can confidently choose the best backsplash tile for your kitchen project!

Click here to grab our Home Renovation Planner and FINALLY get your next big DIY project organized!

Looking for something?
We've been doing this since 2012 so we have a LOT of blog posts!
Search stuff like: Ceiling Projects | DIY Plant Stands | Thrift Flips

Hello, I'm Morgan, half of the creative force behind CharlestonCrafted.com! With a passion for DIY that dates back to 2012, I've transformed three homes and now I'm dedicated to helping others craft their dream spaces. Let's turn your house into a home together!