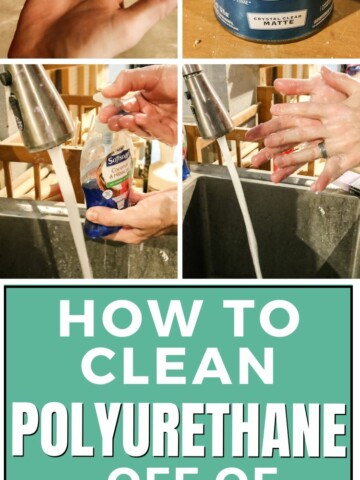
Have you finished sealing your wood project - but now you need to clean up! Here's how to Clean Polyurethane off a Brush - the easiest way!
One of the most important steps of any woodworking project is applying the topcoat. Whether you paint or stain or even want a raw wood finish, it is essential to have a sealant to protect your wood surface.
But, even when you have applied the last drop of top coat, your work is not over. You still have some clean up to do!
If you have been working with our favorite top coat - polyurethane - you might have a brush to clean off.
Poly is a great sealant, but it can be sticky and messy. It's important to clean it up right away so it doesn't turn into a bigger mess.
Today we want to talk about the differences between water-based and oil-based polyurethane, as well as how to deal with wet and dried polyurethane.
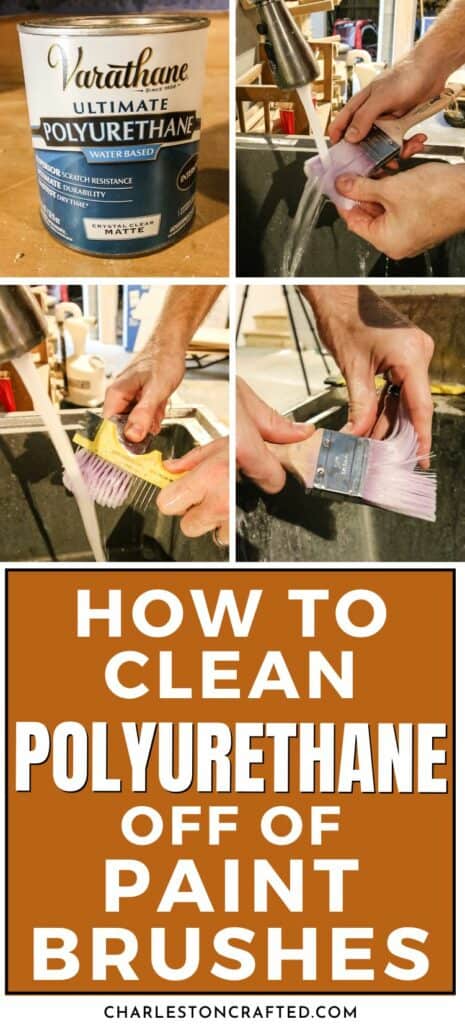
Water-Based Polyurethane vs. Oil-Based Polyurethane
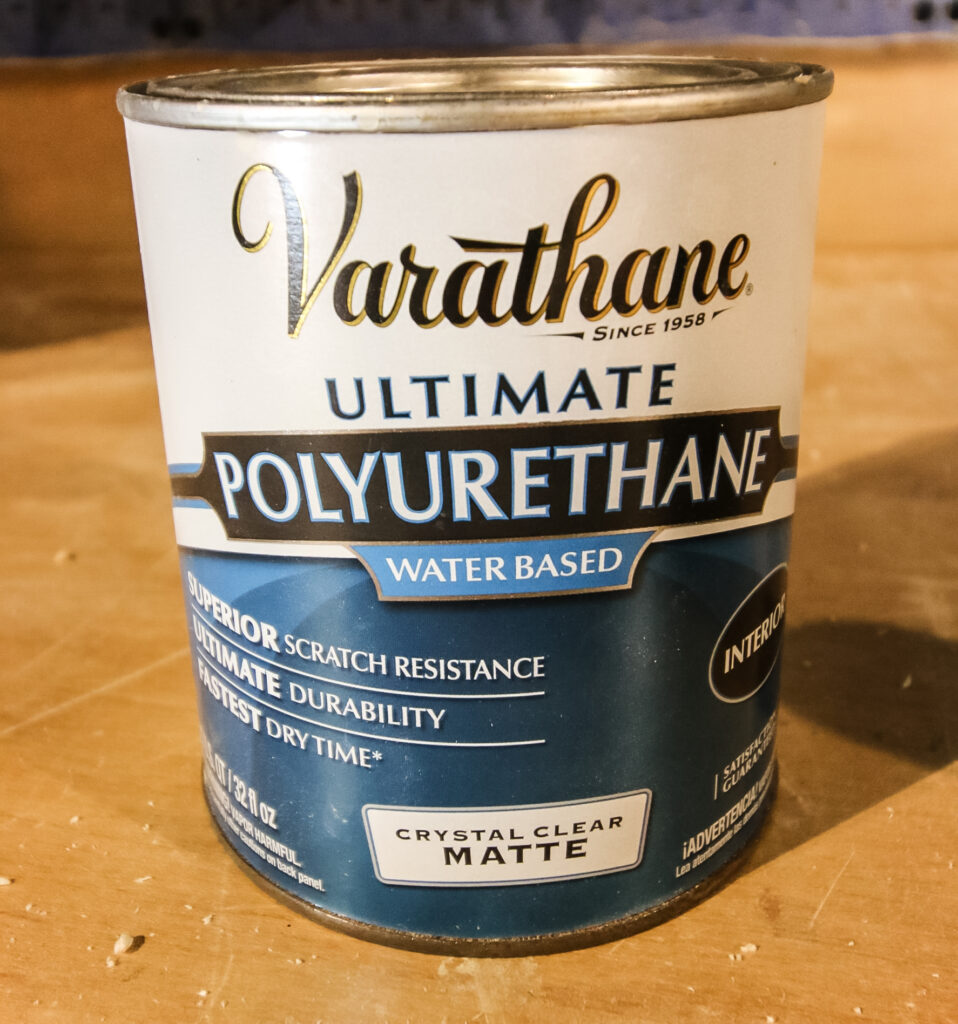
Before we start cleaning up your polyurethane, it's important to understand what type of polyurethane you are working with. Polyurethane could be water-based or oil based.
Water based polyurethane dries clear, stays clear, and is easy to clean up with soap and water. But, it is not as durable and can get dents or scratches.
Oil based polyurethane is more durable and is generally considered weather-resistant, UV-resistant, and heat-resistant. However, it does change the color of the wood and can yellow, and is a bit more difficult to clean up.
| Water-Based Polyurethane | Oil-Based Polyurethane | |
|---|---|---|
| Appearance | Dries clear and stays clear | Changes wood color, may yellow |
| Durability | Less durable, prone to dents and scratches | More durable, resistant to weather, UV, and heat |
| Clean-Up | Easy cleanup with soap and water | More challenging cleanup compared to water-based |
I almost always choose water based poly. While it is not quite as strong, it's totally fine for everyday wear and tear (especially with 3-4 coats) and is much easier to work with.
What solvents remove oil-based Polyurethane?
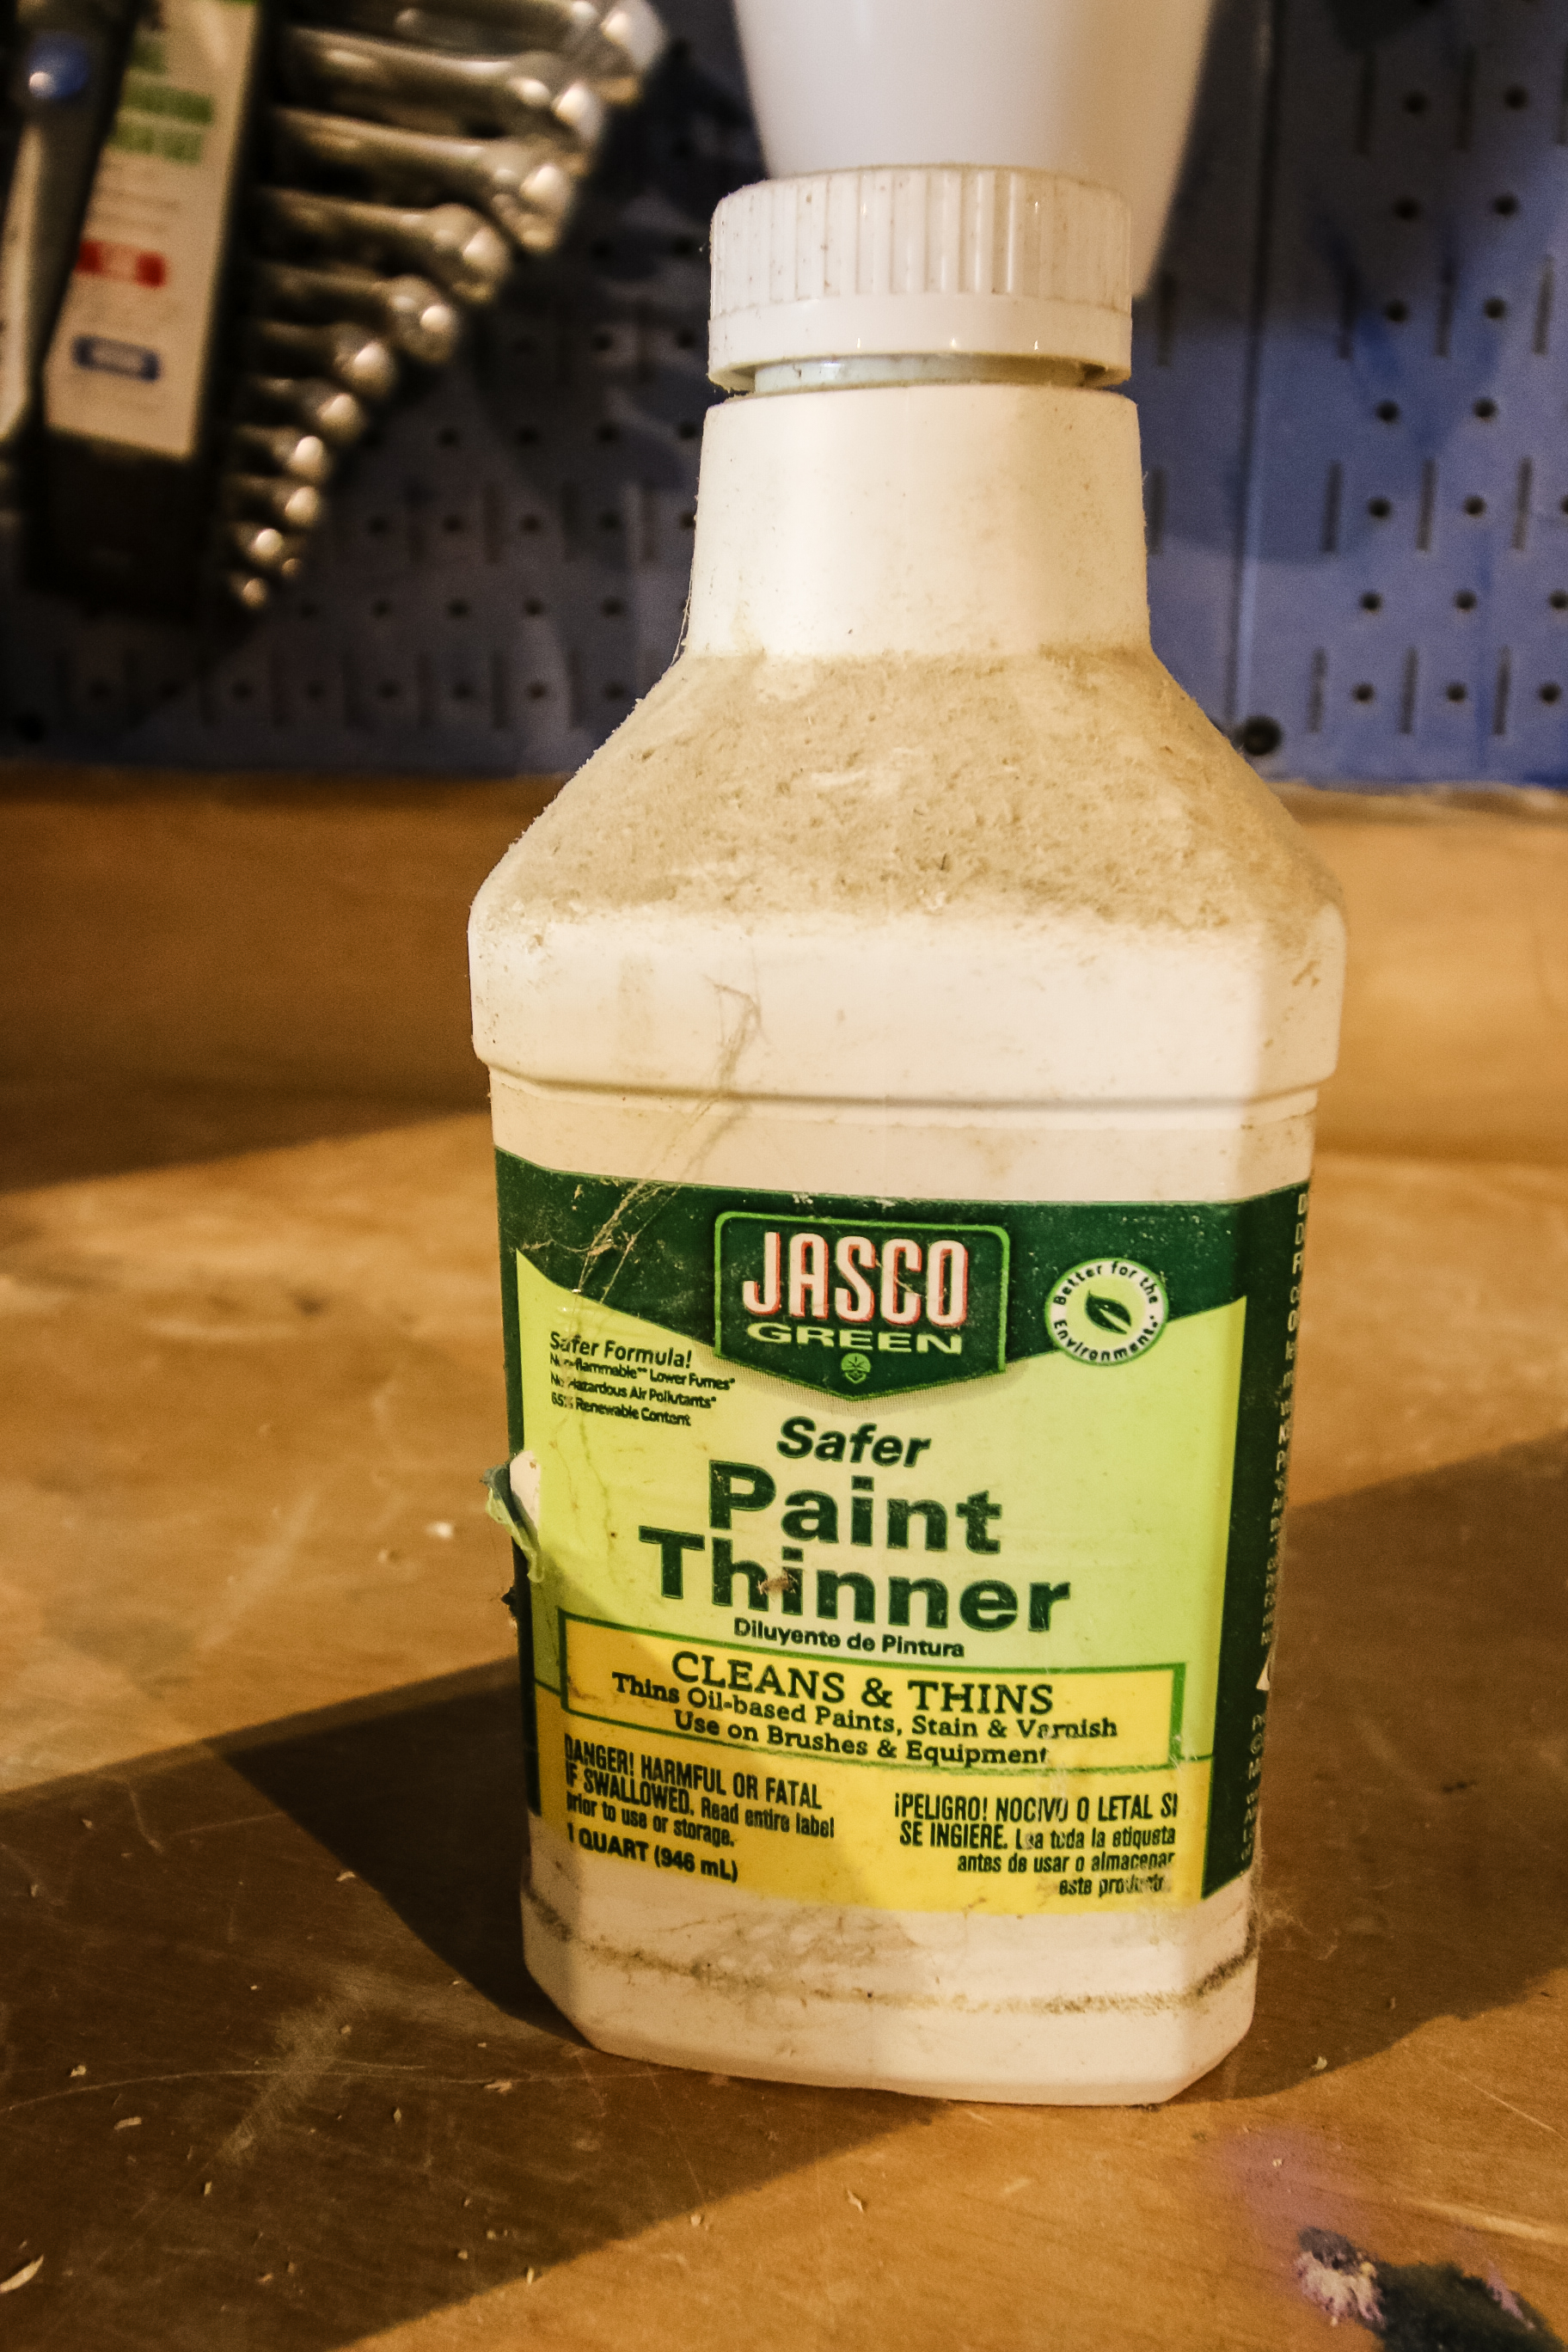
Water-based polyurethane will clean up with dish soap and water, but oil based polyurethane requires a solvent to break it down. The best options are:
- mineral spirits (NOT mineral oil!)
- paint thinner
- denatured alcohol
- nail polish remover (with acetone)
- rubbing alcohol
What is the best brush to use with polyurethane?
It is suggested that you use a natural-bristle brush when applying polyurethane, but I want to let you in on a secret.
We almost always use a disposable foam brush for poly.
I know, I know, the "real woodworkers" are guffawing and talking about what a joke we are.
But, assuming you use light coats and don't press the brush hard into your wood (which can cause bubbles/spongey marks) we have had zero issues using a foam brush.
And the best part is there is zero clean up required - just toss them when you are done!
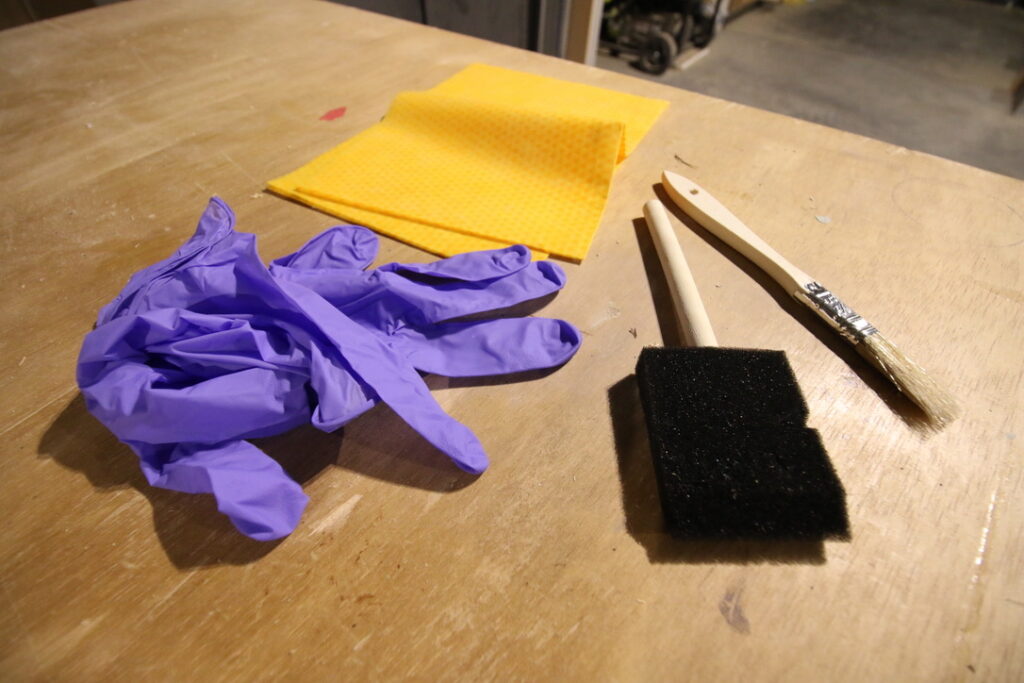
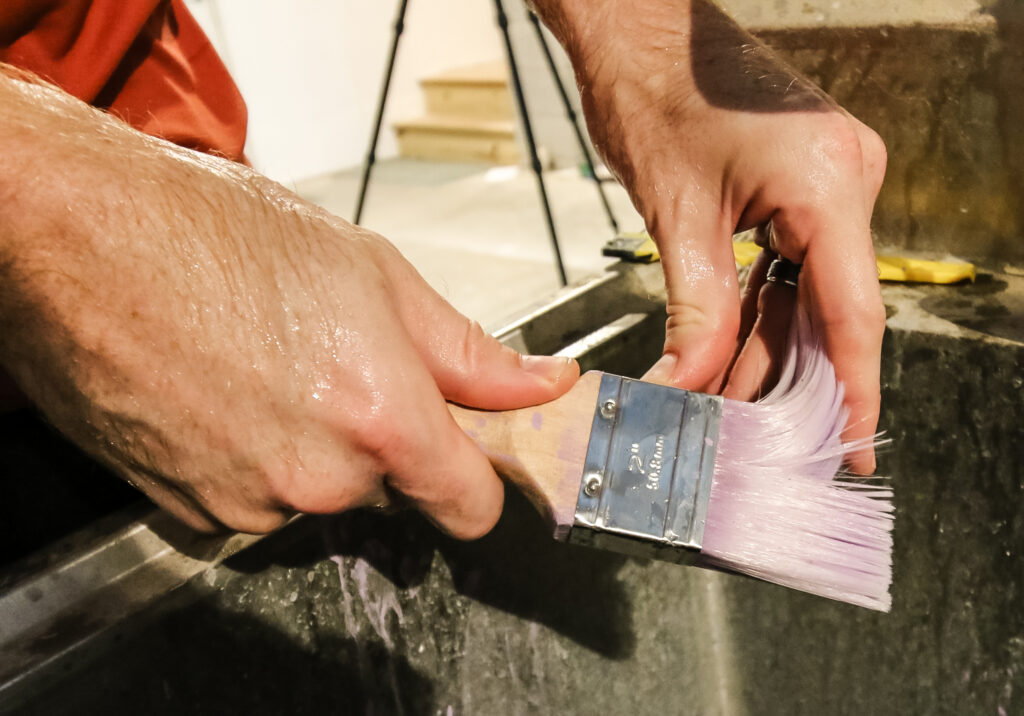
Cleaning Wet Polyurethane off a Brush
In a perfect world, you would always clean your paint brush right away, while the polyurethane is still wet. This makes it much easier to clean.
Supplies needed to clean wet polyurethane off a brush:
- Dish soap(for water-based polyurethane)
- Solvent (for oil-based polyurethane: I suggest Mineral Spirits)
- Sink or container of water
- Dirty brush
- Optional: brush comb
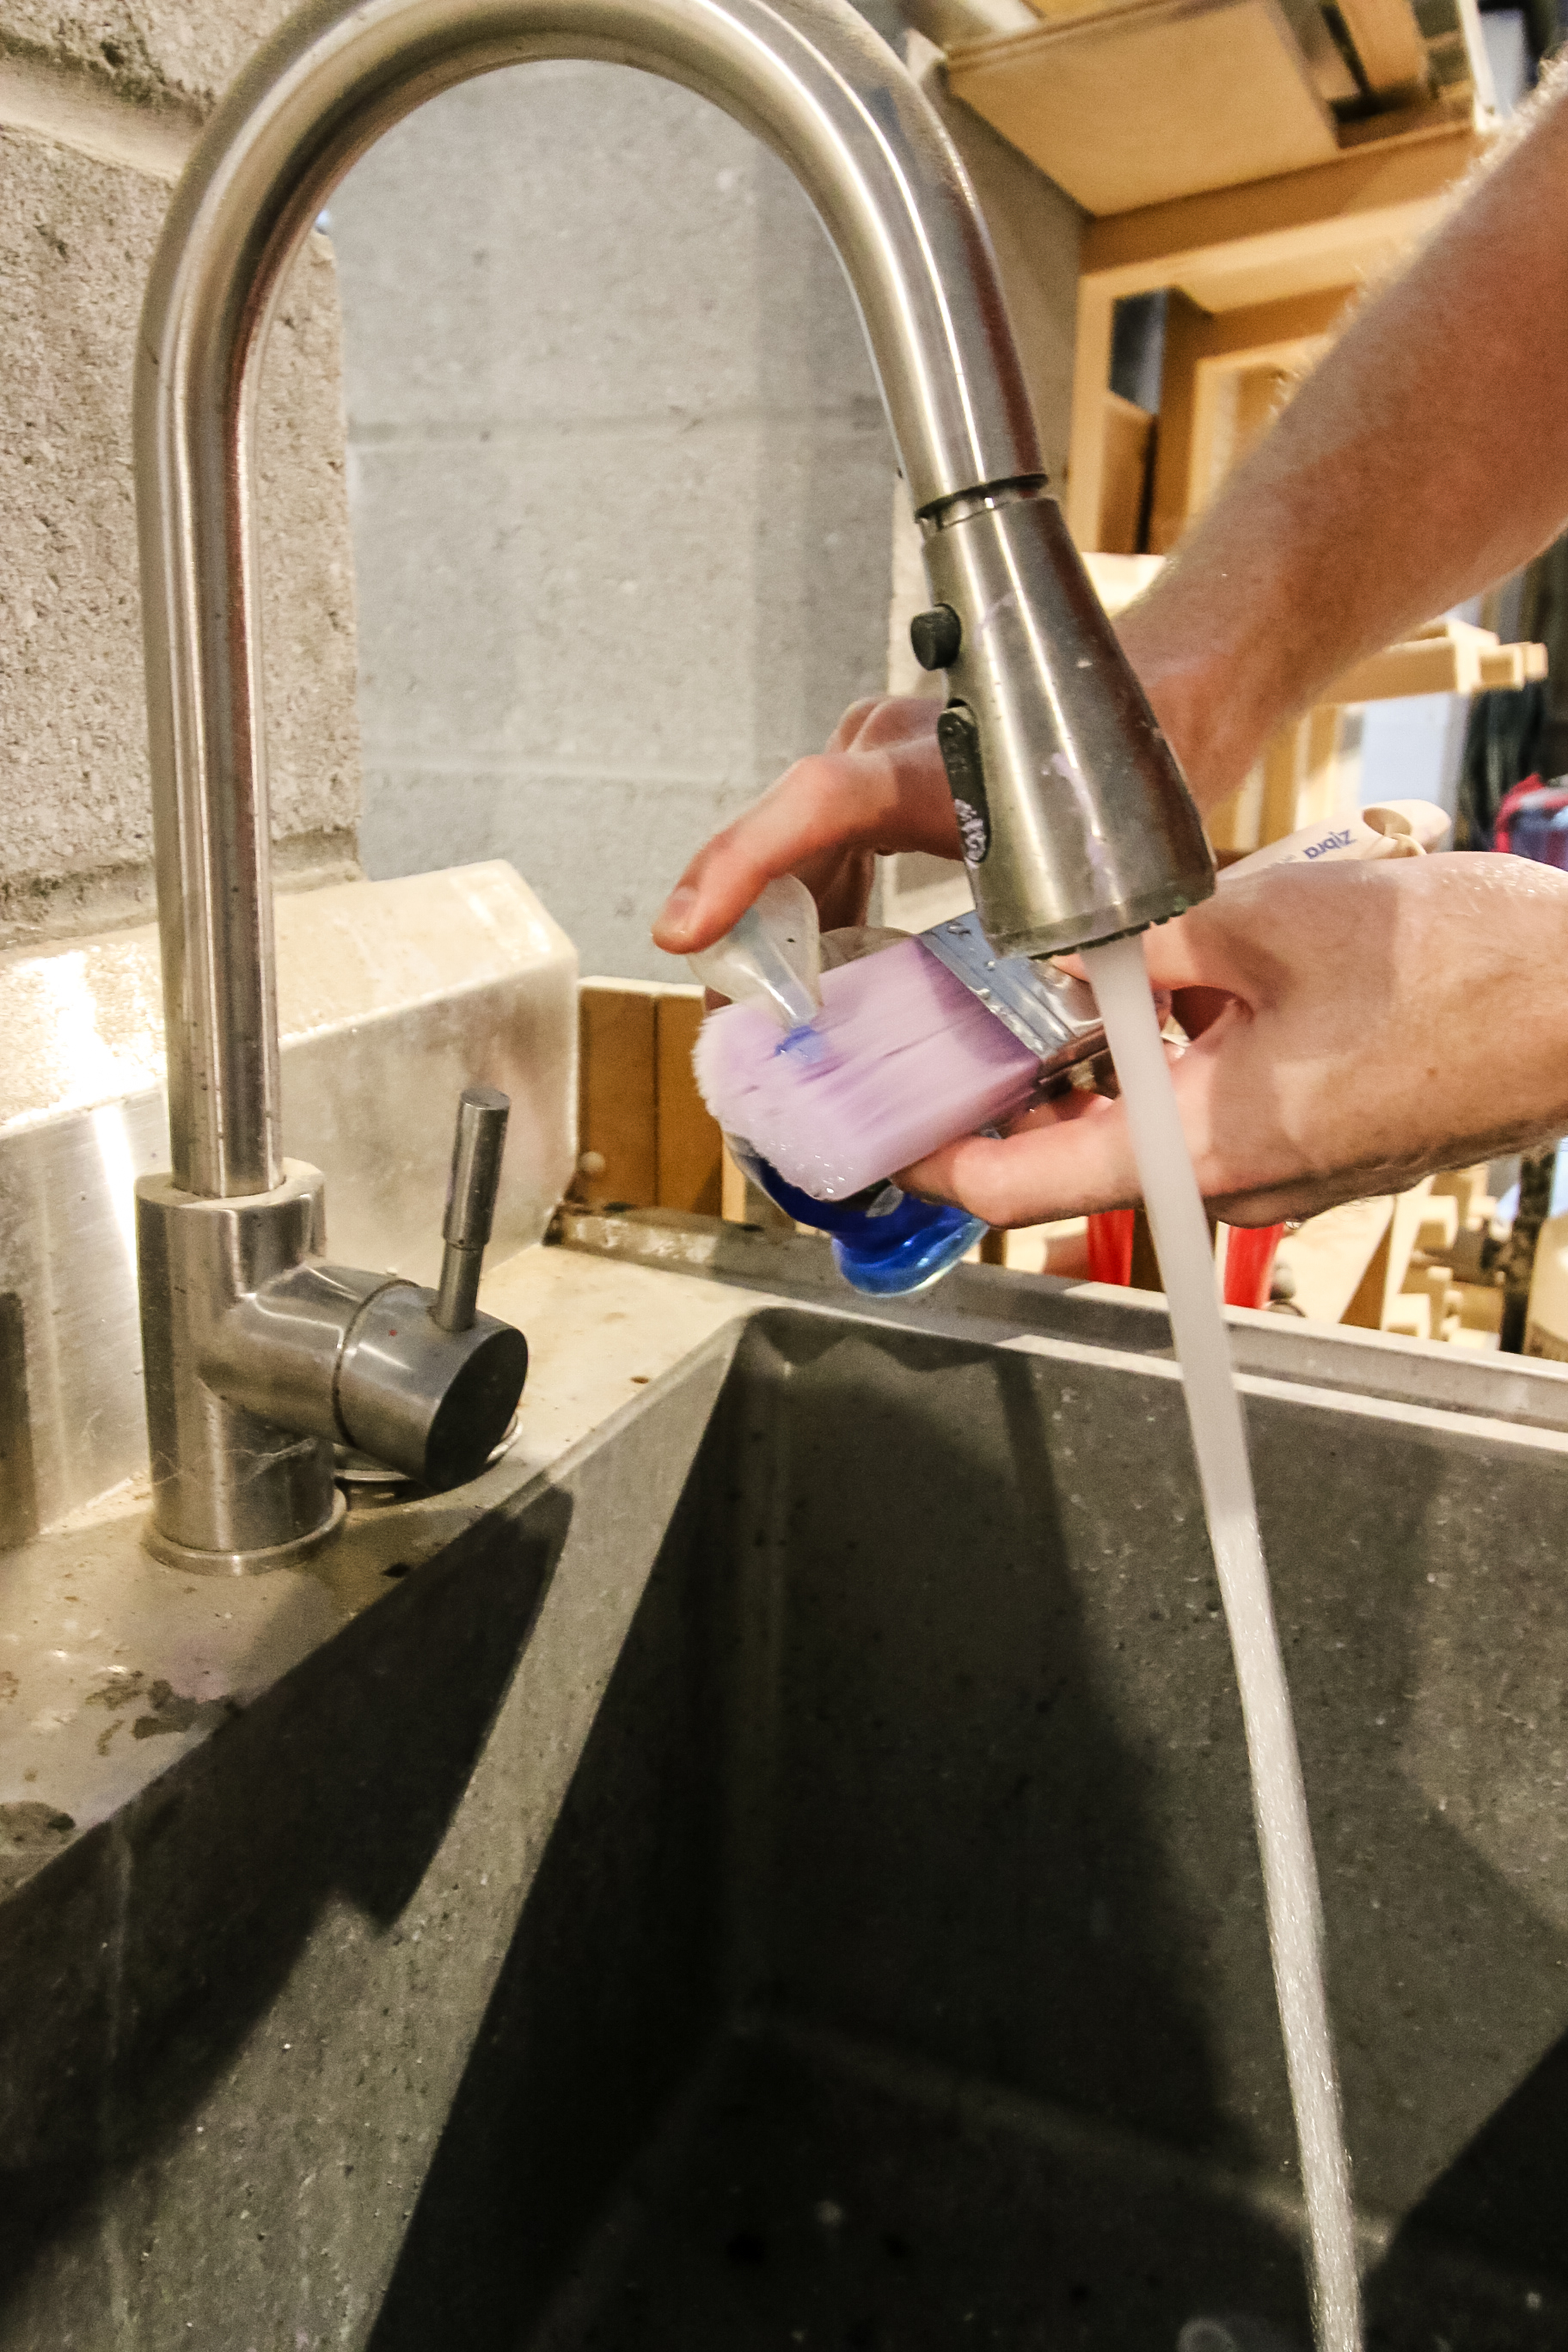
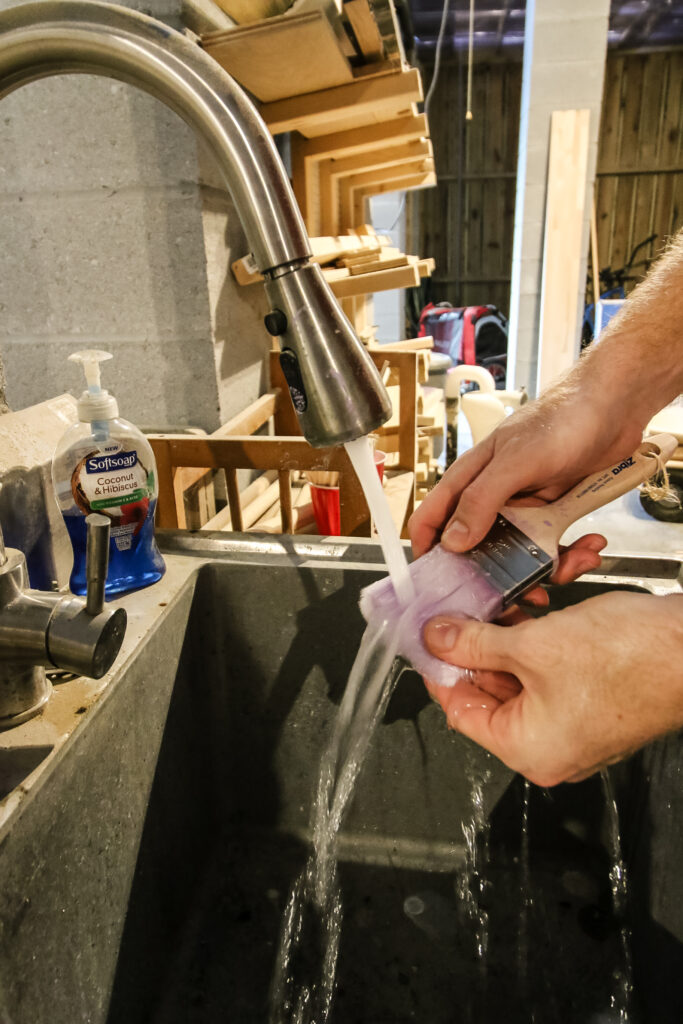
Steps to clean wet polyurethane off a paint brush:
- Wet your brush with running water
- Soak with solvent or squirt with soap
- Scrub brush with a gloved hand or a brush comb (I love this thing!)
- Rinse and repeat the process with warm, soapy water until the brush is clean
- Rinse thoroughly
- Shake the brush dry and then set out on a towel or clean surface to air dry fully
Cleaning Dried Polyurethane off a Brush
If your brush has dried with poly on it, it's not ideal but you can probably still save it.
Supplies needed to clean dry polyurethane off a brush:
- Dish soap(for water-based polyurethane)
- Solvent (for oil-based polyurethane: I suggest Mineral Spirits)
- Container of water
- Dirty brush
- Optional: brush comb
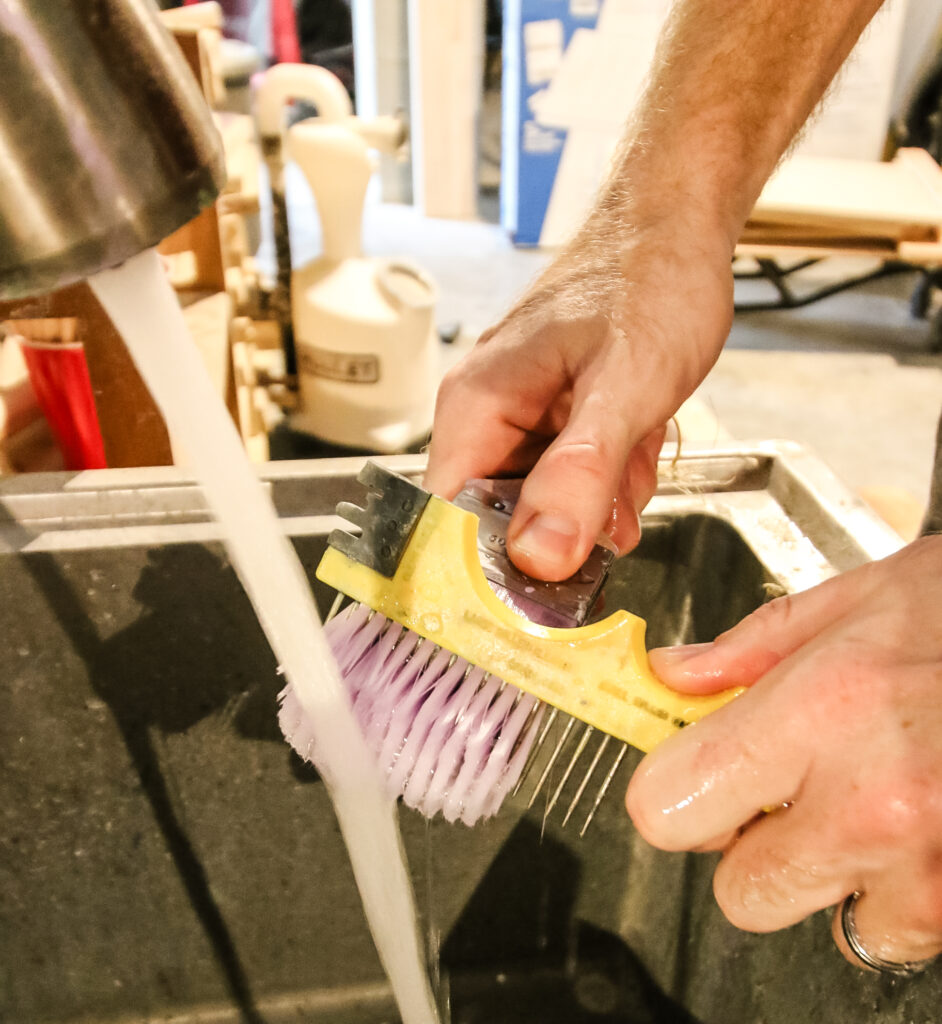
Steps to clean dry polyurethane off a paint brush:
- Wet your brush with running water
- Fill the container with warm water and the cleaning solvent of choice
- Place the bristles of the brush in the container and let soak for 5-15 minutes
- Scrub under running water with a gloved hand or a brush comb (I love this thing!)
- Rinse and repeat the process with warm, soapy water until the brush is clean
- Rinse thoroughly
- Shake the brush dry and then set out on a towel or clean surface to air dry fully
Additional Tips and Tricks
Here are some additional tips for maintaining your brushes and preventing polyurethane buildup.
Brush Storage
Store your brushes properly between uses. If you plan to take a break during a project, wrap your brush tightly in plastic wrap or aluminum foil to keep it from drying out.
For longer-term storage, hang brushes with the bristles facing downward to maintain their shape and prevent deformation.
Brush Comb
Keep a brush comb or wire brush on hand to help remove excess polyurethane from the bristles.
After cleaning your brush, comb through the bristles to ensure there are no hardened bits of polyurethane left behind. This practice will extend the brush's lifespan.
Avoid Overloading
Be mindful not to overload your brush with polyurethane. Excess polyurethane on the brush can lead to drips and uneven application.
Instead, dip the brush slightly into the polyurethane and tap off any excess before applying it to your project.
Regular Cleaning
Make it a habit to clean your brush immediately after each use. Even if you plan to continue your project later, cleaning the brush prevents the polyurethane from hardening on the bristles, making it much easier to clean.
Follow the cleaning steps mentioned in the article for either wet or dried polyurethane, depending on the situation.
Hopefully these tips will have your brush clean and ready for your next woodworking project in no time!
Any more questions about how to clean a polyurethane brush?
Looking for something?
We've been doing this since 2012 so we have a LOT of blog posts!
Search stuff like: Ceiling Projects | DIY Plant Stands | Thrift Flips


Hello, I'm Morgan, half of the creative force behind CharlestonCrafted.com! With a passion for DIY that dates back to 2012, I've transformed three homes and now I'm dedicated to helping others craft their dream spaces. Let's turn your house into a home together!


