If you have one of those drippy stains inside your oven door and can't clean it from the outside, this post will show you how to clean the inside of an oven door!
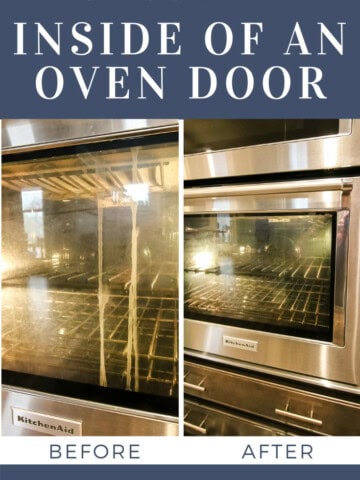
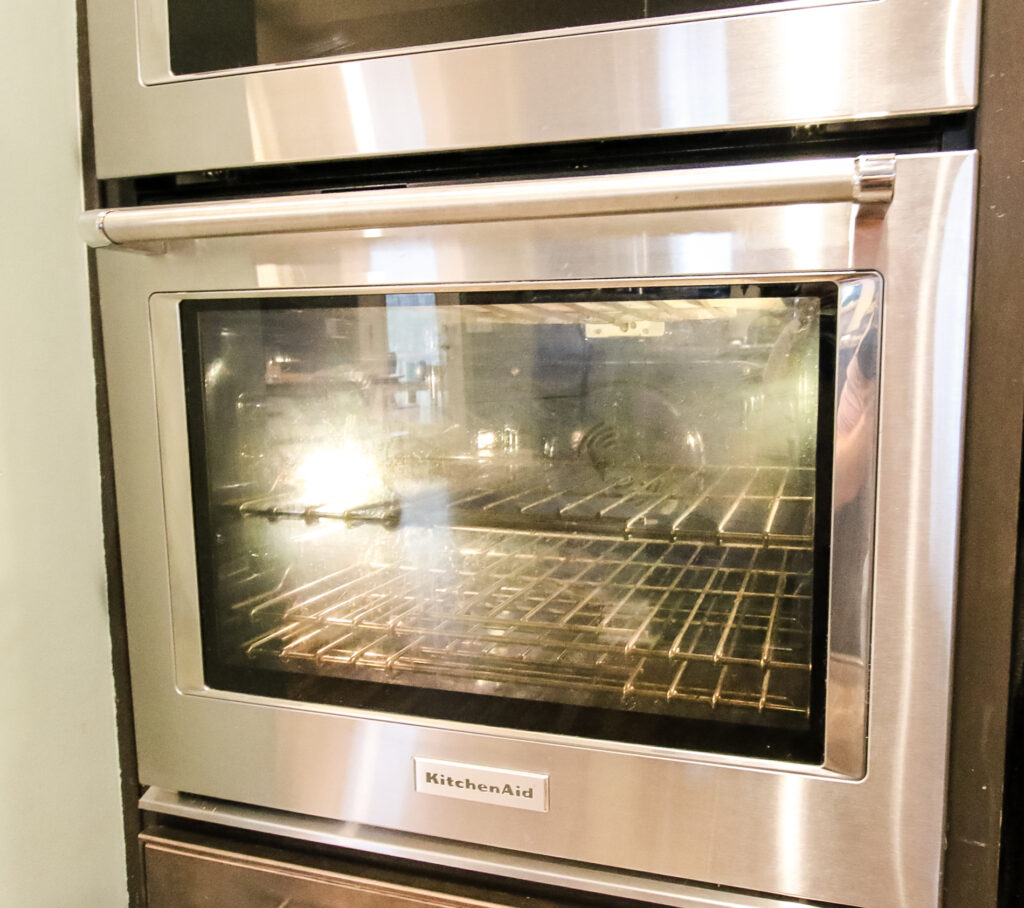
You've been there (or are there right now) when you turn the light on in your oven and you look in to see your food and.... there's a stain.
It could be a long streaky drip or a couple of drips right there on the oven glass.
You go to clean it and you realize you can't get to it. The stain is INSIDE the glass.
How those streaky stains inside the oven glass appear is anyone's guess, but you don't have to live with it any longer.
It's possible to clean the inside of your oven window by taking apart a couple of pieces of the oven door.
You no longer have to live with that dirty oven door. Let's show you how.
Our top cleaning tutorials
- How to clean inside the oven door
- 3 ways to clean a glass top electric stove
- How to deep clean your fridge
- Dremel Versa review: power tool for cleaning your kitchen & bathroom
- How to clean houseplant leaves
- How to clean outdoor windows
- Hoover ONEPWR Review
How to clean a glass oven door
Knowing how to clean the glass in our oven door window is a crucial maintenance skill for your home. You can clean it now and then clean it anytime it ever happens again. Or go surprise your mom and clean hers.
To clean the inside of your oven door glass, you'll need a drill or a screwdriver, cleaning spray and a rag. That's it!
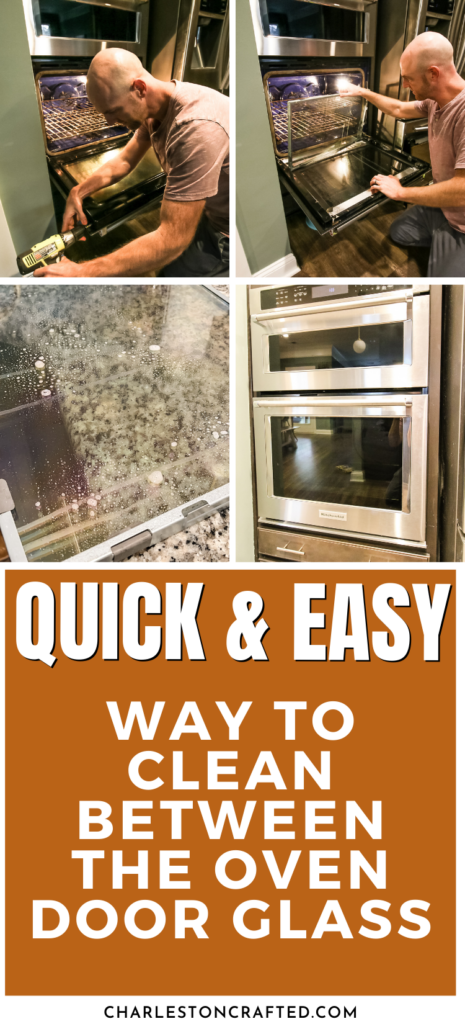
How do you clean the inside glass of an oven door?
Here are the steps you need to follow to clean the inside of your oven door window in just a few minutes!
As always, make sure to review your oven manual to see if your oven has specific restrictions or instructions for your oven model.
Depending on the model, there may be specific instructions for cleaning your oven, but these steps will cover most oven models.
Don't miss our ways to clean your electric stovetop!
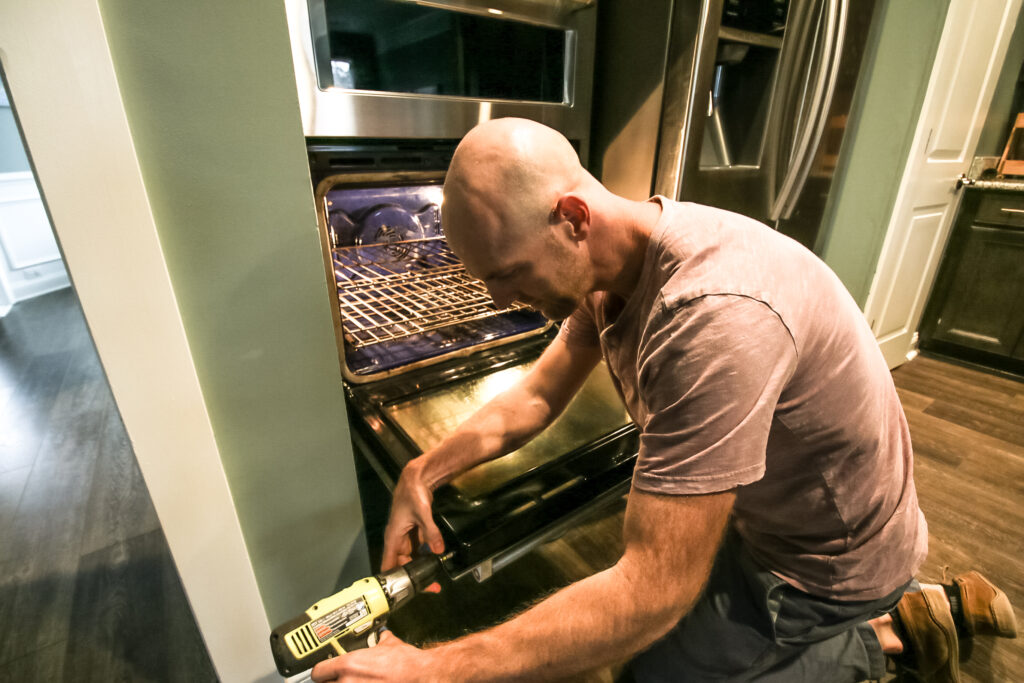
Step one: remove screws holding door panel
Start by opening the door and removing the screws holding the inner oven door panel in place.
There will likely be two screws near the top, either on the inside or on the sides. There will also be two screws near the bottom where the door hinges on the oven. Remove those too.
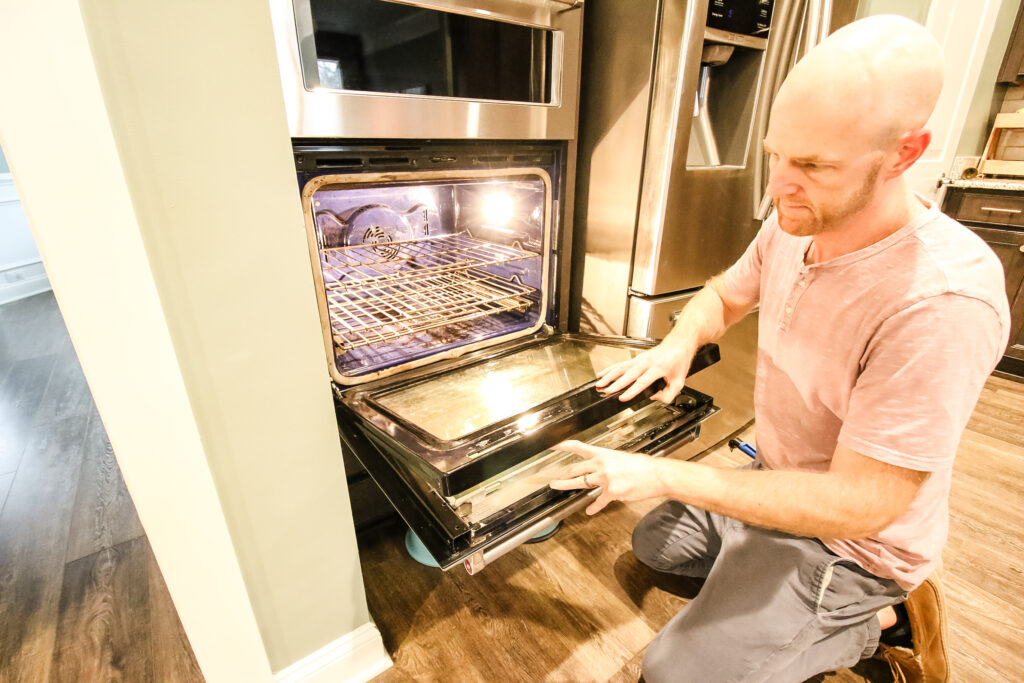
Step two: remove outer door panel
With the screws removed, take the inner door panel off the door.
You'll probably need to pull up on the top portion and then slide it down. It could hook onto two rods at the bottom so you can pull straight up.
There could be some spring loaded hinges holding the panel in place, so you might need to use a little muscle to pull it off.
Make sure to read about all our monthly home maintenance items!
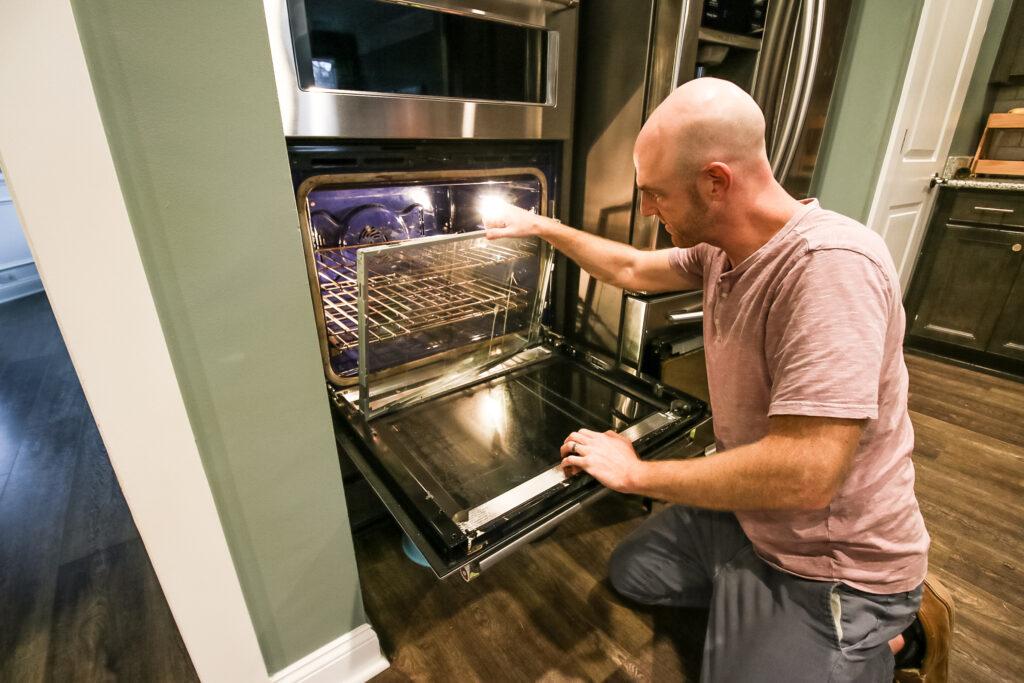
Step three: remove inner glass panels
Next, remove the oven glass from the door.
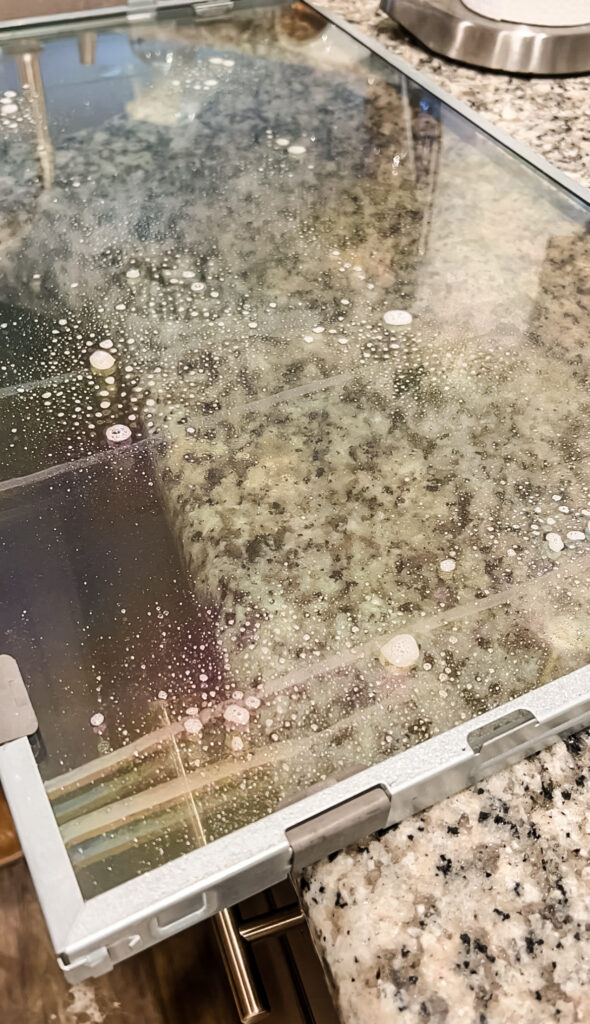
The glass is likely to be two or three panes of glass held together by a metal frame and it will be a little heavy.
Because of the weight of the glass panel, when you lift it up, the oven door will not be heavy enough to stay down anymore, so be careful that it doesn't fly up when you remove the panel.
You can see in the picture above that this is where the stain actually is.
Step four: clean glass panels and door
Now you're ready to clean! Cleaning oven glass can be simple or difficult depending on how set the stain is.
The glass panels are likely not too bad because they are mostly protected. Use an oven cleaner spray, glass cleaner spray or any natural cleaner you choose.
Spray the glass panels with cleaner and let sit a minute. Then, wipe the glass with paper towels until the stains are gone. Flip and do the other side as well.
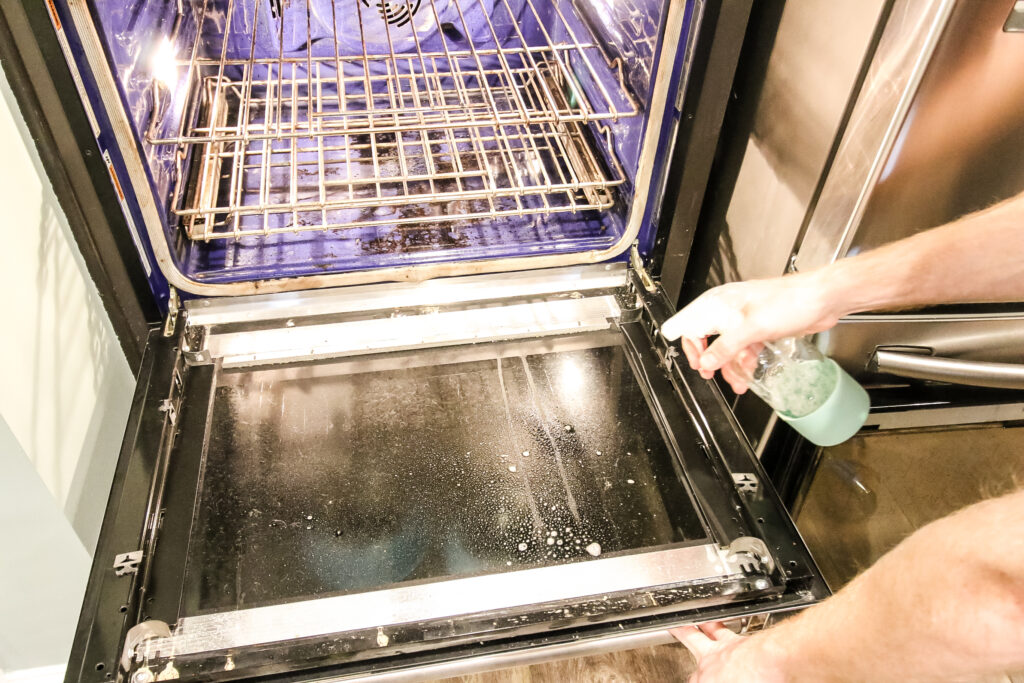
Then, make sure to clean the glass on the outer oven door panel as well. If the stains are heavy and set, you might need to mix white vinegar and baking soda before you wipe the door. Use a little elbow grease and you can get off the stains.
Step five: put back together
Finally, put the oven door back together.
Going in reverse order, put the glass panels back on the oven door, then put the inner metal panel back on over the glass panes and screw it back in place.
Close the door and admire your clean oven glass!
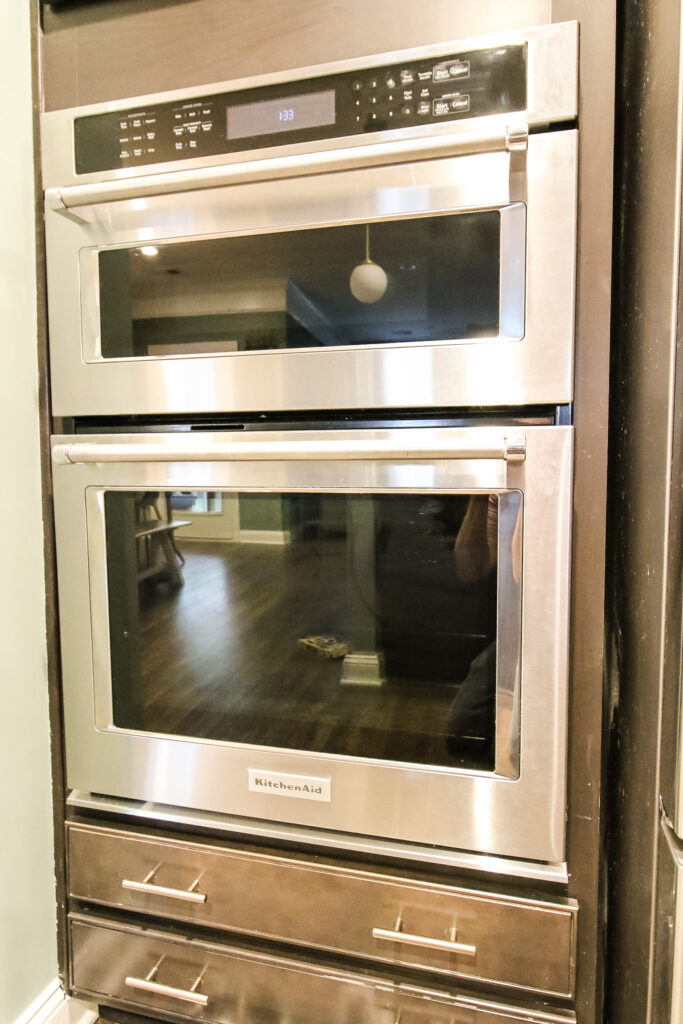
For good measure, run the oven cleaning cycle in your oven and then wipe it clean to give yourself a beautiful cooking machine!
Make sure to follow these steps whenever your oven door glass gets dirty again and you'll never have to look at those streaks again!
Looking for something?
We've been doing this since 2012 so we have a LOT of blog posts!
Search stuff like: Ceiling Projects | DIY Plant Stands | Thrift Flips


Hey there, I'm Sean, the woodworking enthusiast and builder behind CharlestonCrafted.com! Since 2012, I've been sharing the magic of turning raw materials into beautiful creations. I love teaching others the art and satisfaction of woodworking and DIY. I try to inspire fellow crafters to make something extraordinary out of nothing at all.


