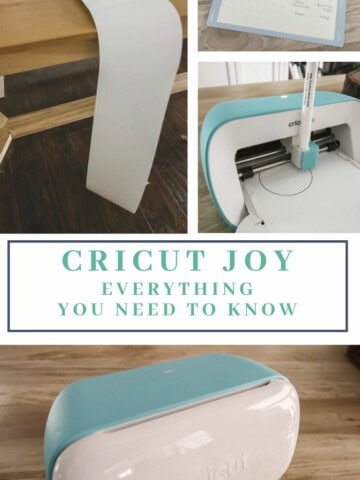
Do you want to learn how to cut, engrave, or emboss metal with your Cricut Maker machine? Here is a step by step guide!
When I bought my Cricut Maker, I was so excited to try it out on unusual materials. One of those materials is metal!
For this project, I am working with copper specifically. I worked with two types of copper - copper plates and copper foil - and am excited to share my findings with you on both!
I used the Cricut Maker for this project. I have the engraving tip that works only with that machine. Read my comparison of the Cricut Explore Air 2 and Maker here!
How to cut and engrave copper with a Cricut Maker
I tried two different types of copper so that I could compare them for you today!
How to engrave copper plates or tags
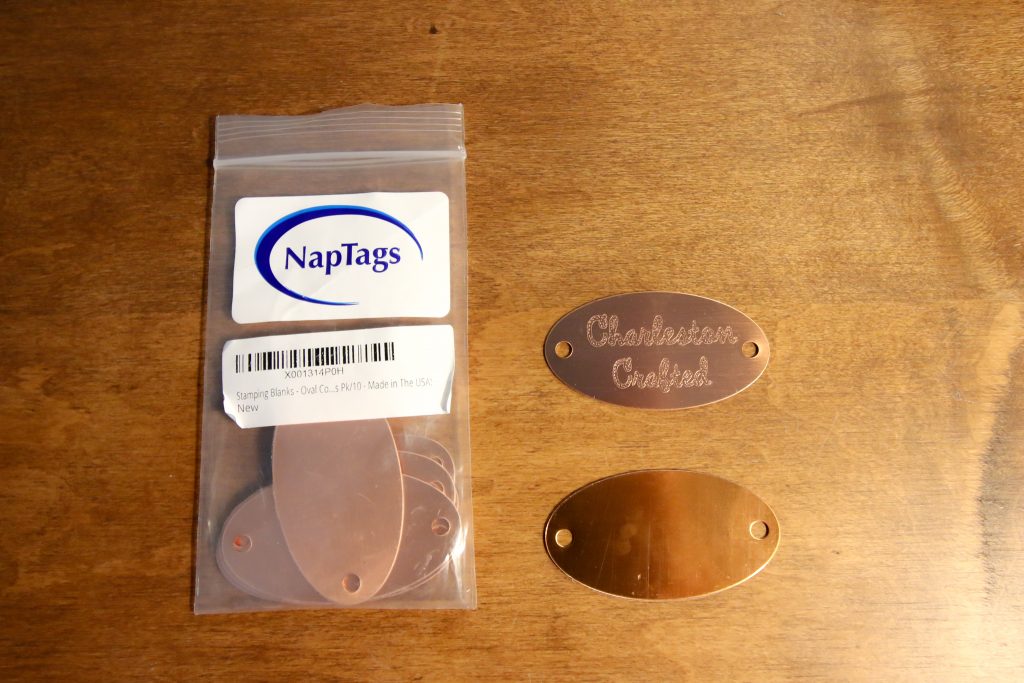
The first type of copper that I tried was copper tags. The exact item that I used is these oval stamping blanks that come in a 10 pack.
These tags are made of .020" thick (24 Gauge) copper material. They have a plastic covering that you have to peel off on one side.
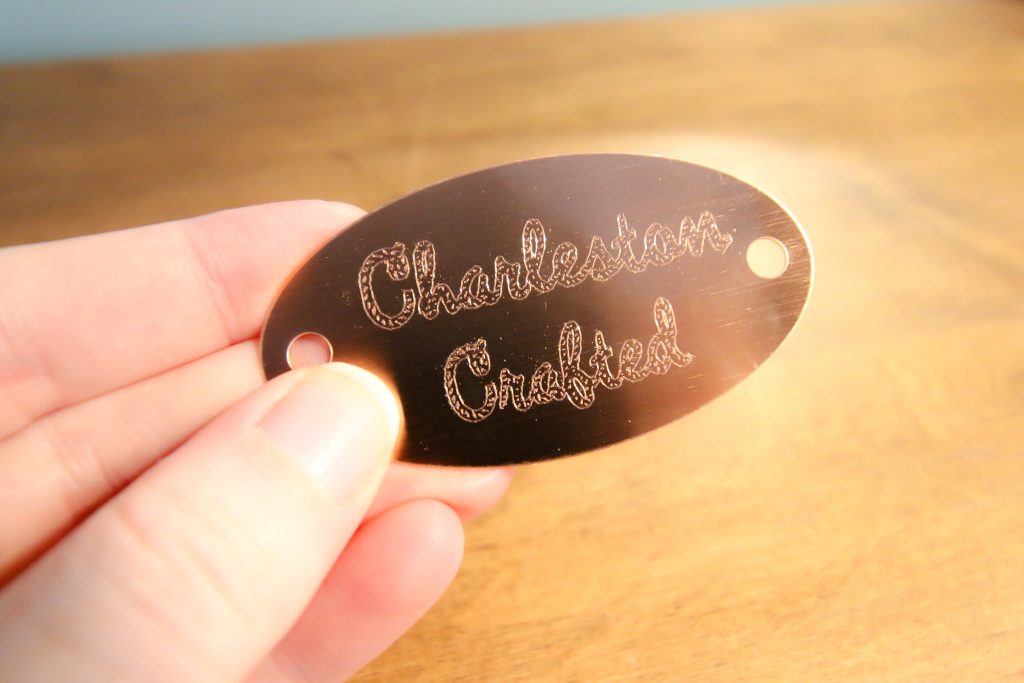
The Cricut machine cannot cut metal anywhere near this thick - so if you want to work with thicker materials like this - you will need to buy a pre-cut tag or shape. Amazon has tons of options!
Engraving your tag is very easy. In design space, select your design and change the Linetype to Engrave.
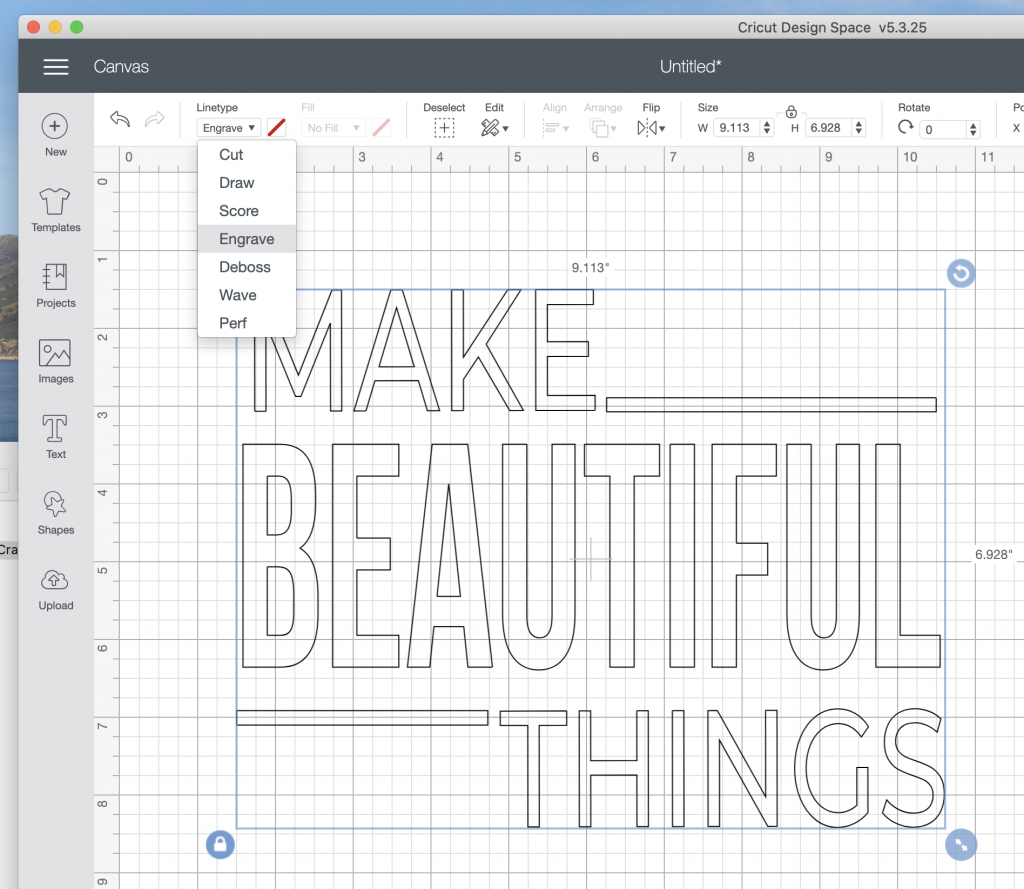
Now you can re-size and prepare your design.
Place your copper tag on the purple mat. Use tape to secure in place.
Make your project in Cricut Design Space. Be sure to line it up on the preview screen exactly with where you taped your tag on the mat.
I set my tool to Brass material setting and it engraved this copper perfectly!
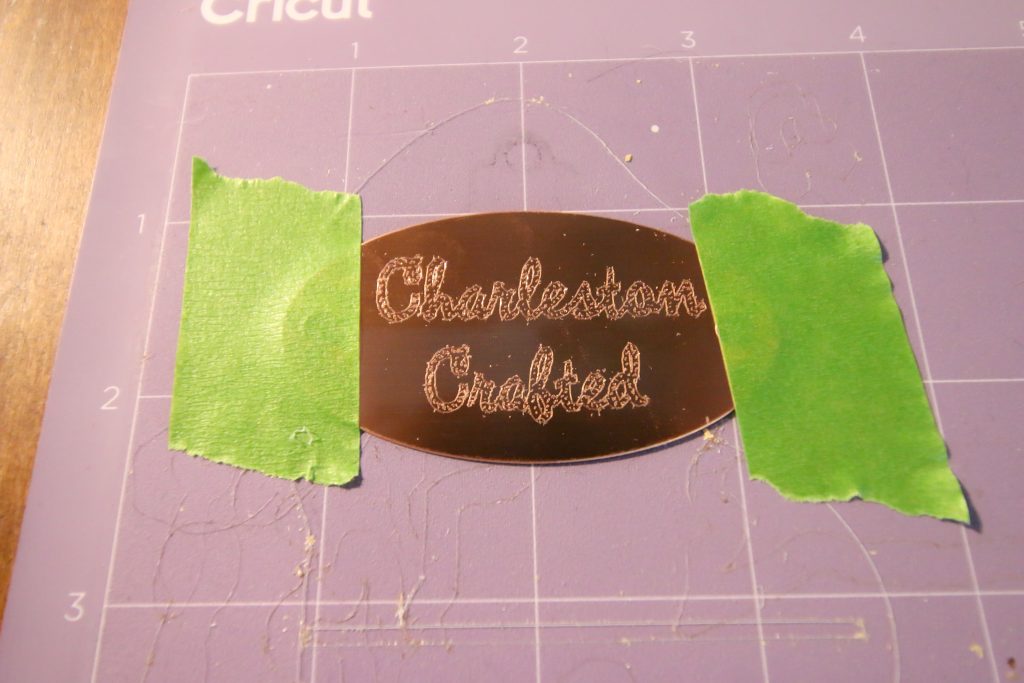
My design (our logo) was pretty intricate. It cut MUCH better than vinyl would have. It took about 15 minutes but was totally hands-off. I folded laundry while it embossed!
Finally, remove your engraving blank tag from the mat. Wipe it with a cloth to get off the tiny bits of copper. Enjoy!
How to cut and engrave copper foil
The second type of copper that I tried was copper foil.
I didn't really have a project in mind for this one at the time, though I have some more ideas after trying it!
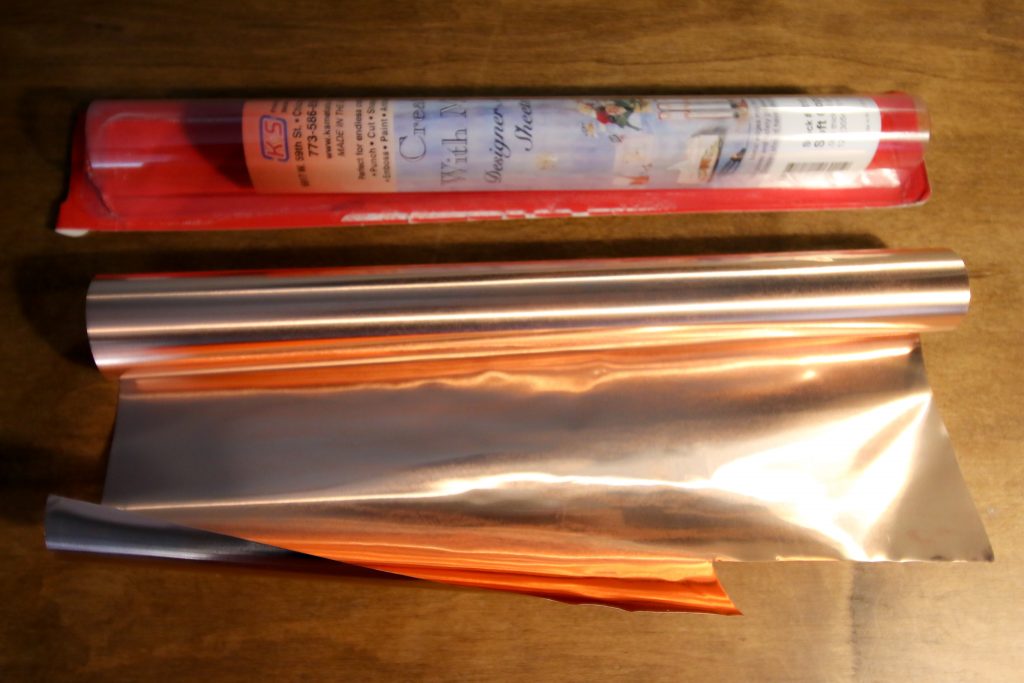
I just ordered this foil because I read that it was the only metal that the Cricut can CUT and not just engrave.
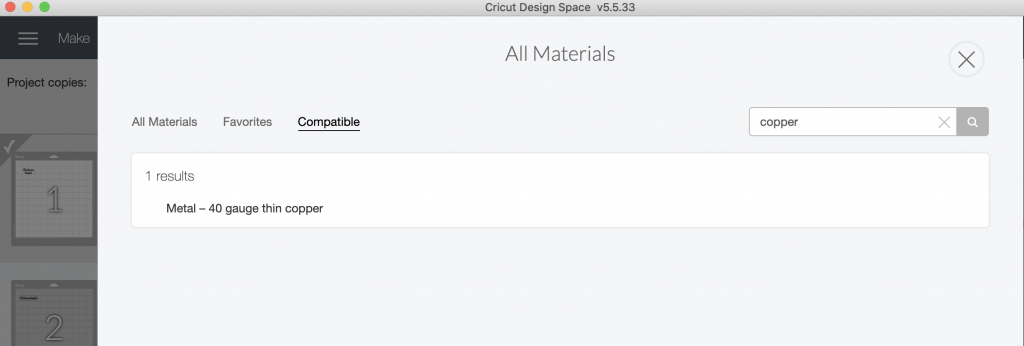
This is the exact foil that I got - it is 0.003 Copper, 40 Gauge.
It is really, really thin - the thickness of about 2 sheets of aluminum foil folded together. Just to warn you if you are planning a project involving cut copper with a Cricut!
I designed this tag the exact same way, with the engraved logo from above.
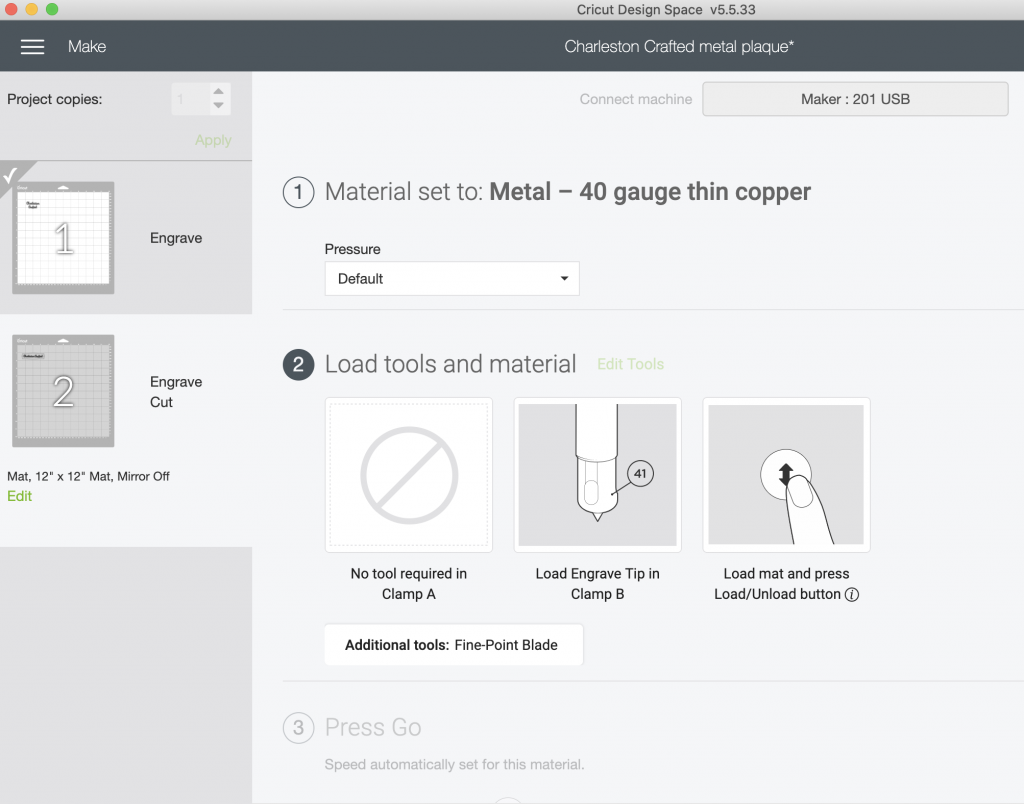
However, I added a CUT linetype tag shape around the logo, with two small cut circles.
The engraving turned out beautifully on this copper foil.
However, the cutting left some room to be desired. The foil got a bit crinkly from the force of the cut. That is definitely something to keep in mind if you design something to be cut like this.
Frequently Asked Questions
Can Cricut engrave metal?
Yes, your Cricut can engrave metal using the Engraving tip! You can engrave pretty much any type of metal - as long as it will fit in the machine.
Can the Cricut Explore AIR 2 engrave metal?
You can purchase the Engraving tip to engrave with your Air machine. Note -- this is different from the Engraving blade for the Maker!
Can Cricut cut metal?
Sort of. Cricut can cut metal foils. I was able to cut 40 gauge copper foil for this project using the fine point blade.
You can't cut regular sheet metal. It's too thick.
Can Cricut engrave acrylic?
Yes! You can read all about how I engraved an acrylic sign!
Be sure to read my entire guide to the Cricut engraving tool!
Looking for something?
We've been doing this since 2012 so we have a LOT of blog posts!
Search stuff like: Ceiling Projects | DIY Plant Stands | Thrift Flips


Hello, I'm Morgan, half of the creative force behind CharlestonCrafted.com! With a passion for DIY that dates back to 2012, I've transformed three homes and now I'm dedicated to helping others craft their dream spaces. Let's turn your house into a home together!


