Plywood is a great material for DIY and furniture projects. Because it's big, it can be hard to cut. Here's how to cut plywood with a circular saw!
Plywood is a great material to do woodworking projects with. However, it comes in very large 4'x8' sheets, which makes them very difficult to carry and cut if you don't have the right materials.
Truthfully, it can be quite dangerous to try to cut a full sheet of plywood with a table saw because it is really too big to push accurately.
The best way to cut plywood is with a circular saw. However, you want your cuts to be accurate, so you need to know how to cut plywood with a circular saw.
There are a few options for making sure you get accurate cuts on plywood with a circular saw, so let's talk about what they are.
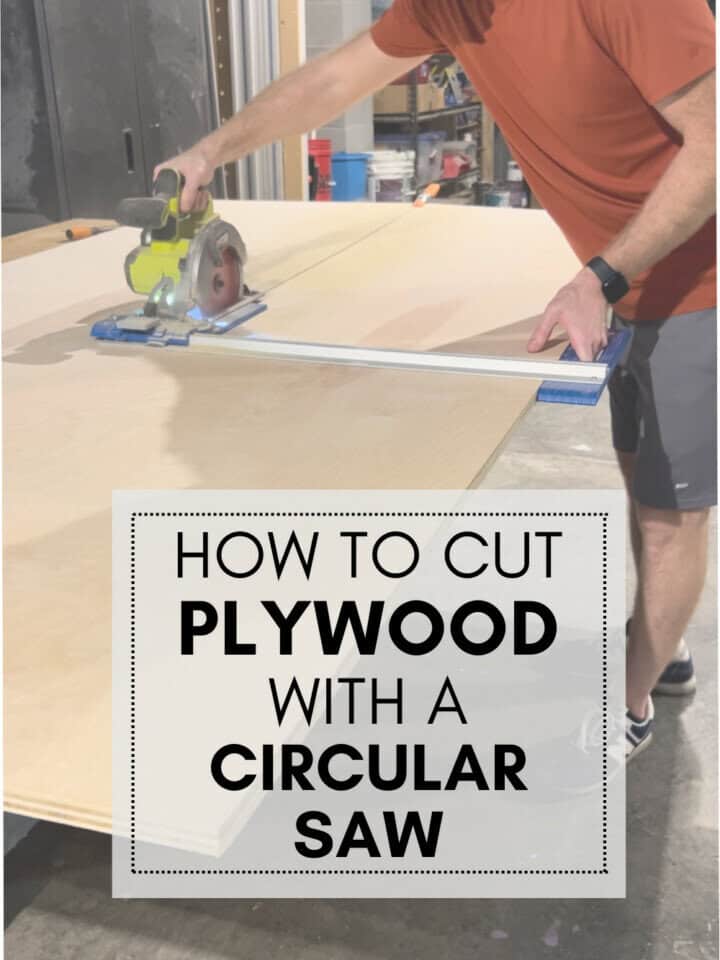
How to cut plywood without a table saw
To cut plywood without a table saw, you'll first and foremost need a good circular saw. In general, I'd recommend getting a circular saw that fits whatever battery system you are used to working with. If you don't have one yet, then pick one that you like.
There are a few options for cutting plywood without a table saw and using a circular saw instead. Overall, you'll need some sort of outside guide for most of them, so let's take a look at your options.
Here's some ways you can transport plywood home without having a truck!
What circular saw blade to use for plywood
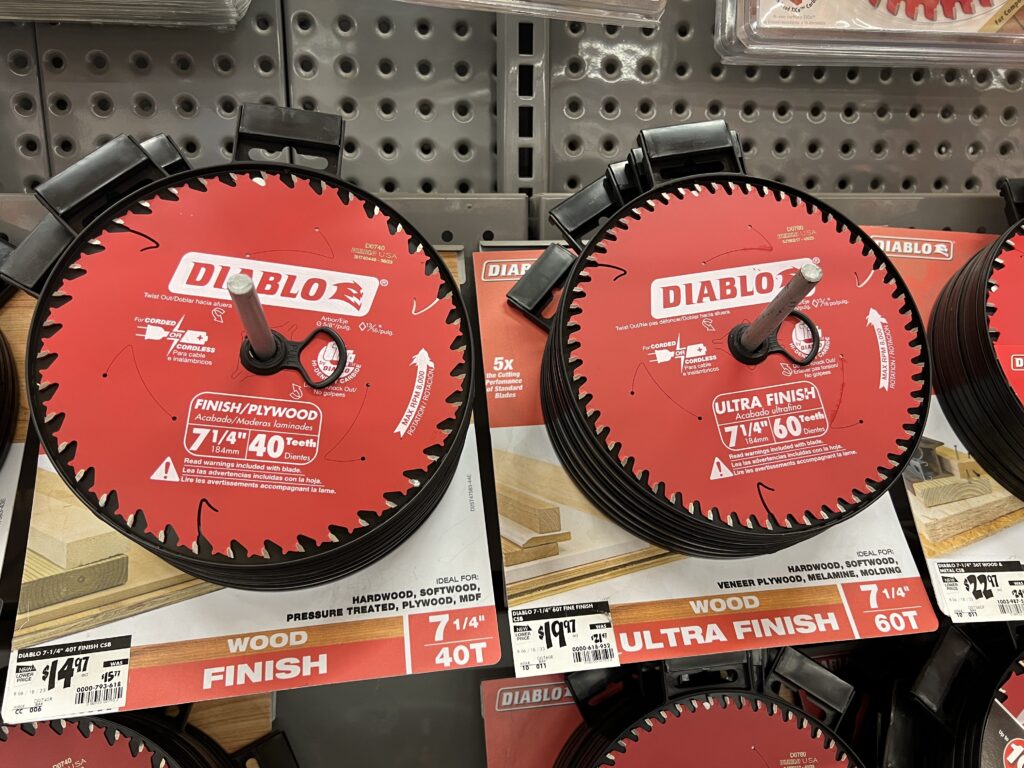
First off, make sure you have a good circular saw blade before you start cutting your plywood.
Your circular saw is going to come with a blade but it's most likely going to be a poor quality and meant for ripping down rough cuts of outdoor sheet goods.
If you're cutting down good plywood sheets, you need to swap in a fine tooth circular saw blade that fits your saw. Check the diameter of your blade, then swap for a fine tooth blade, like this one from Diablo that I use.
Method 1- Use a straight edge
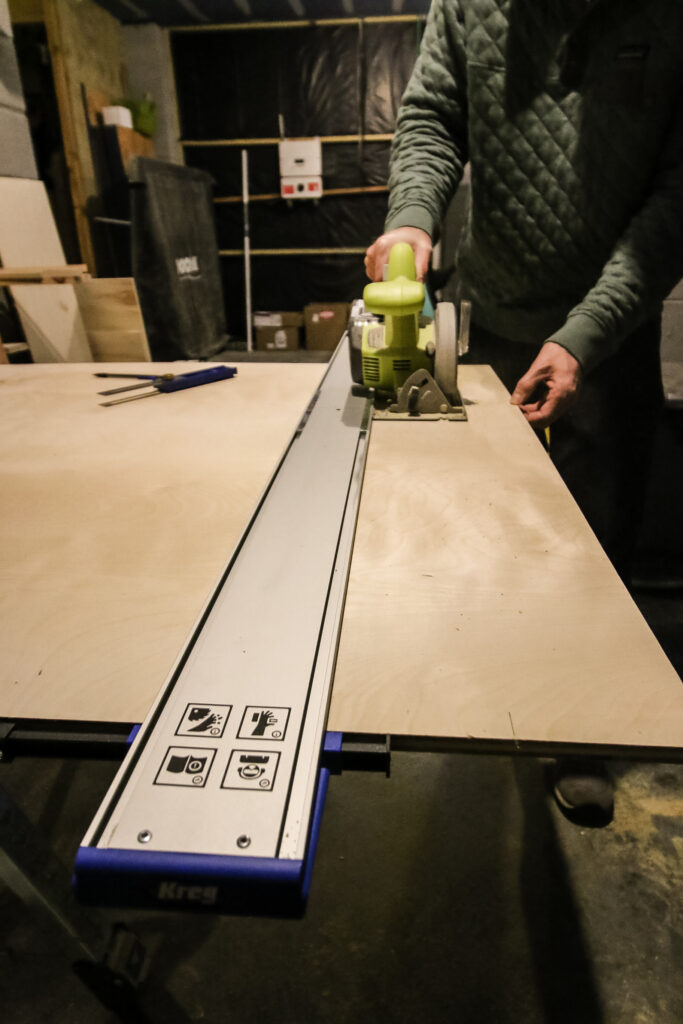
The first method for cutting plywood with a circular saw is to use a good old fashioned straight edge. A straight edge can be anything from a 2x4 or straight cut of wood that you know for certain is straight, to a long level, to the actual Kreg Straight Edge Guide.
To use a straight edge, you'll want to mark the starting and ending points of your cut on the plywood sheet. Then, draw a line between them.
Next, position your straight edge so that your circular saw butts up against it and the blade is in line with the cutting line. Then, clamp your straight edge to the plywood and then make your cut.
If you use the Kreg Straight Edge Guide, this tool serves as a straight edge, but self-clamps to the outside edges of the plywood sheet, saving you a step.
Check out our full review of the Kreg Straight Edge Guide here!
Method 2- Use the Kreg Rip-Cut
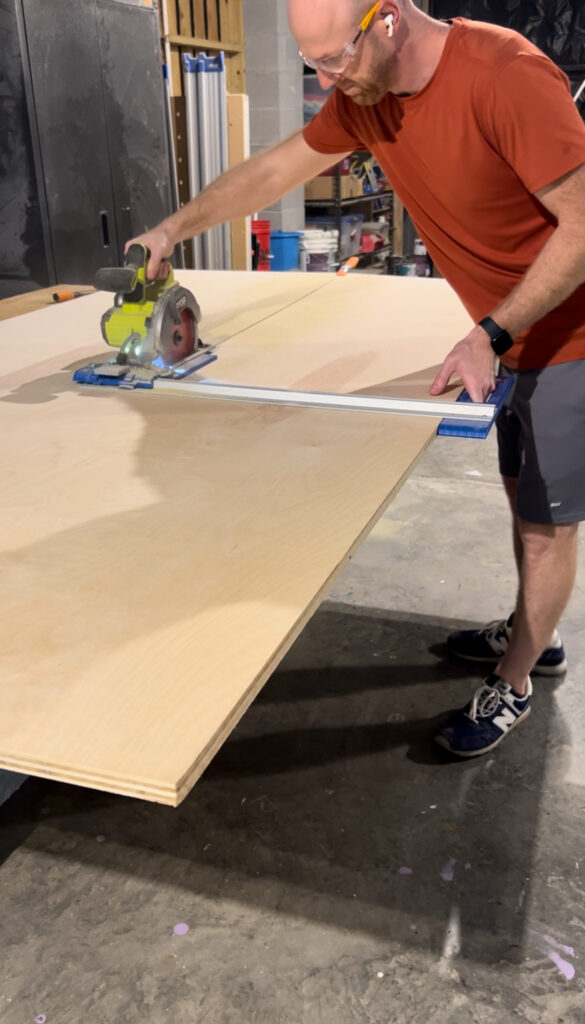
The next option for cutting plywood with a circular saw is to use the Kreg Rip-Cut. We've been using the Kreg Rip-Cut for a while and it is our recommended option for cutting down long cuts on a sheet of plywood.
The Kreg Rip-Cut allows you to clamp your circular saw into a guide and then set the measurement of what you need cut.
Then, you simply slide the handle along the edge of the plywood sheet and you'll make a perfect cut along your line.
The Kreg Rip-Cut cuts anything up to 24" off the plywood sheet, so if you need wider than that, you'll have to use the next option.
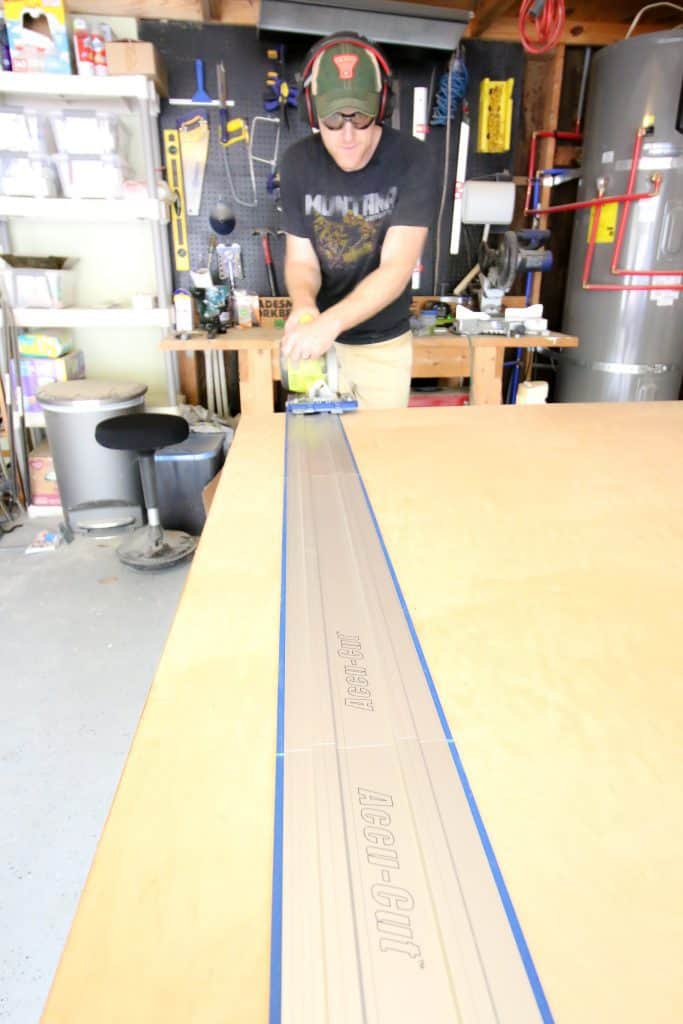
Method 3- Use the Kreg Accu-Cut
Next, try the Kreg Accu-Cut. This is a another Kreg tool, but they clearly have made an effort to help with creating cutting solutions.
The Kreg Accu-Cut is another tool where you latch your circular saw into the guide, but then you run this guide along a long track. The benefit of this is you don't have to go along the edge of the plywood, meaning it's perfect for making any angled cuts on plywood sheets.
The Kreg Accu-Cut also helps prevent any tear out on the plywood because there is a rubber edge along where the circular saw blade comes up, so this is a great way to help reduce any issues with that.
Method 4- Freehand
The other option is to freehand your cut. I wouldn't recommend this if you're trying to do something accurate for furniture in your home. But, if you're cutting some plywood down and it doesn't have to be completely accurate, you can freehand it.
I would at least recommend using a speed square or something to get your lines accurate at the beginning and end of the cut.
How to keep plywood from splintering when cutting with a circular saw
If you want to keep plywood from splintering while cutting with a circular saw, you should try two things.
The first is try to cut with the grain as much as possible. Cutting against the grain is almost always going to cause splintering and tear-out. It can't always be avoided, but try to cut with the grain whenever possible.
The other option is to put down a piece of masking tape down along you line. Know mostly where your line will be and put a piece of tape down, then draw your line along the masking tape. The tape will keep the splintering from happening.
Do you cut plywood good side up or good side down?
You should try to always cut plywood with the good side down. A circular saw cuts on the up motion, so it will be coming out through the veneer on the top. To keep the good veneer clean, you should keep it down.
Depending on what plywood you get, both sides should be decent at a minimum, but if you like the grain of one side better, put that side down.
Before you go...
Here's a couple more good articles you'll want to read when you're planning your next plywood project!
Basic woodworking information for every project
Here are some of our most popular woodworking articles!
Shopping for wood:
Woodworking project ideas
- 100+ of the best woodworking project ideas!
- 62 easy beginning woodworking projects
- Woodworking project ideas to make and sell
See all our printable PDF woodworking plans!
Our favorite tools + supplies
- See all our favorite tool reviews
- How to use a Kreg jig
- The ultimate wood stain guide
- The best wood fillers for your project
Remember to also always use safety equipment while woodworking and using tools. Make sure you have proper eye protection, ear protection and a good mask to keep yourself safe.
Looking for something?
We've been doing this since 2012 so we have a LOT of blog posts!
Search stuff like: Ceiling Projects | DIY Plant Stands | Thrift Flips


Hey there, I'm Sean, the woodworking enthusiast and builder behind CharlestonCrafted.com! Since 2012, I've been sharing the magic of turning raw materials into beautiful creations. I love teaching others the art and satisfaction of woodworking and DIY. I try to inspire fellow crafters to make something extraordinary out of nothing at all.


