After you've built your beautiful furniture with pocket hole joinery, a nice finishing touch is to fill them. Here's how to plug pocket holes on a great project!
Pocket hole joinery is our favorite way to build furniture because it's the most user-friendly and accessible way to build.
Pocket holes are super easy to create using a Kreg pocket hole jig. You can read all about what Kreg jig is best for you here!
While we love making furniture with pocket hole joinery, the holes themselves can be unsightly if they aren't concealed in the build.
Oftentimes the holes are going to be on the underside or back of the piece you build, so you don't have to worry about them. But if they are visible, you might want to fill them to make them disappear.
Luckily, there's a lot of great ways to fill pocket holes that are all very easy. You can choose whichever method you want depending on the materials you have on hand.
Hiding pocket holes is really easy, so let's show you some of the ways you can do it!

Easiest way to fill pocket holes
The easiest way to fill pocket holes is going to depend on what you have on hand in your shop at the moment.
There are four ways to fill pocket holes- using pre-made plugs, dowels, wood filler or creating your own plugs.
For each of these methods, you'll first drill a pocket hole wherever you need it to be and then use pocket hole screws to finish the joint. Once all of your pocket holes are drilled and secured, you'll be ready to fill them.
Let's talk about each of the ways to fill pocket holes so you can make the best choice for you.
Interested in the Kreg Jig? Click here to read our full Kreg Jig review and to see all of our Kreg Jig projects.
New to the Kreg Jig? Here is a step by step guide on how to use a Kreg Jig!
OR grab our FREE Kreg Jig Cheat Sheet here! Download the cheat sheet!
How to fill pocket holes with plugs
The most seamless way to fill pocket holes is using pre-made pocket hole plugs.
Kreg sells pocket hole plugs that are ready to paint or stain that fit really well into pocket holes after they have been drilled.
These plugs usually come in a 50 pack, which should be able to get you pretty far with your project.
To use Kreg's pre-made pocket hole plugs, apply wood glue to the rounded side of the plug and to the pocket hole.
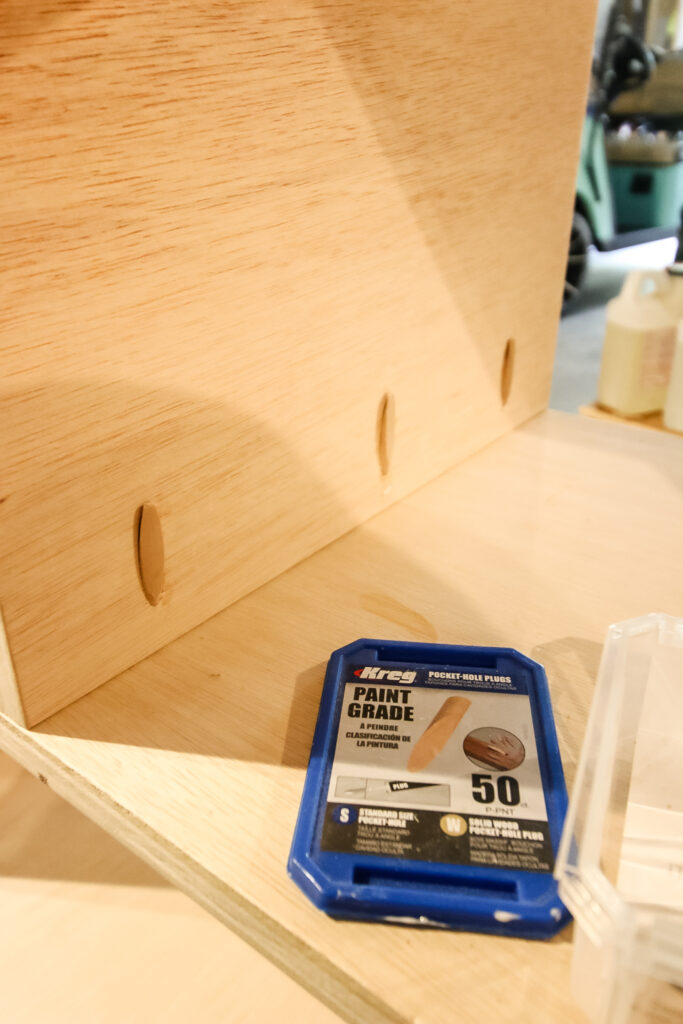
Then, push the plug down into place. You may need to use a scrap piece of wood to put it all the way down into the hole, but just make sure you put it in as far as it will go.
Once the glue has dried, you have two options to get ride of the excess- a flush cut saw or rough grit sand paper.
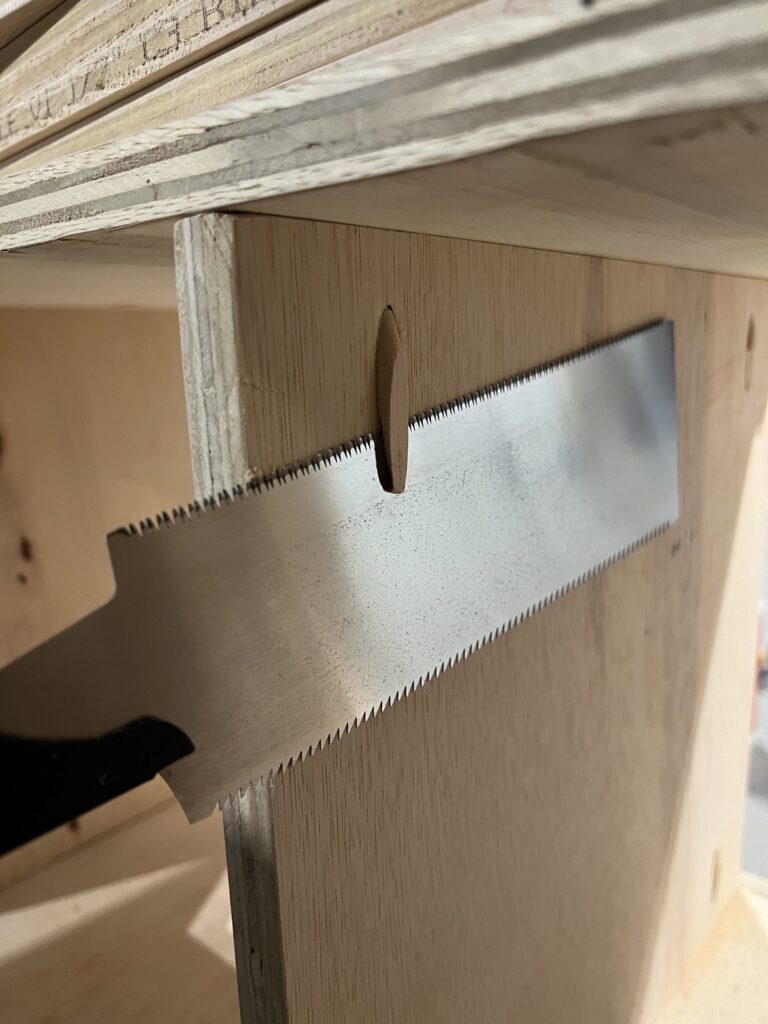
A flush cut saw or Japanese pull saw (grab a saw here!) easily cuts the excess off the plug as it cuts flush up against your workpiece. This will be your best option if working in a tight space.
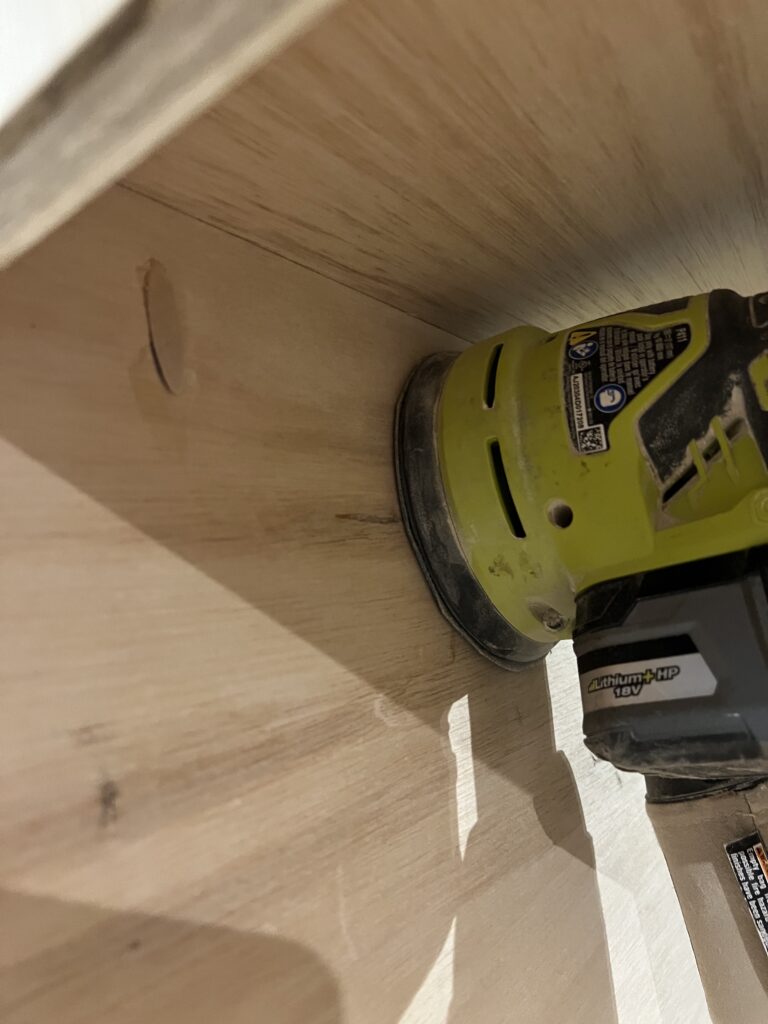
If you don't have a saw, you can use an orbital sander with rough grit sandpaper to work down the plug until it is flush against the board.
After you finish either of these options, use a fine grit sandpaper to get the area smooth.
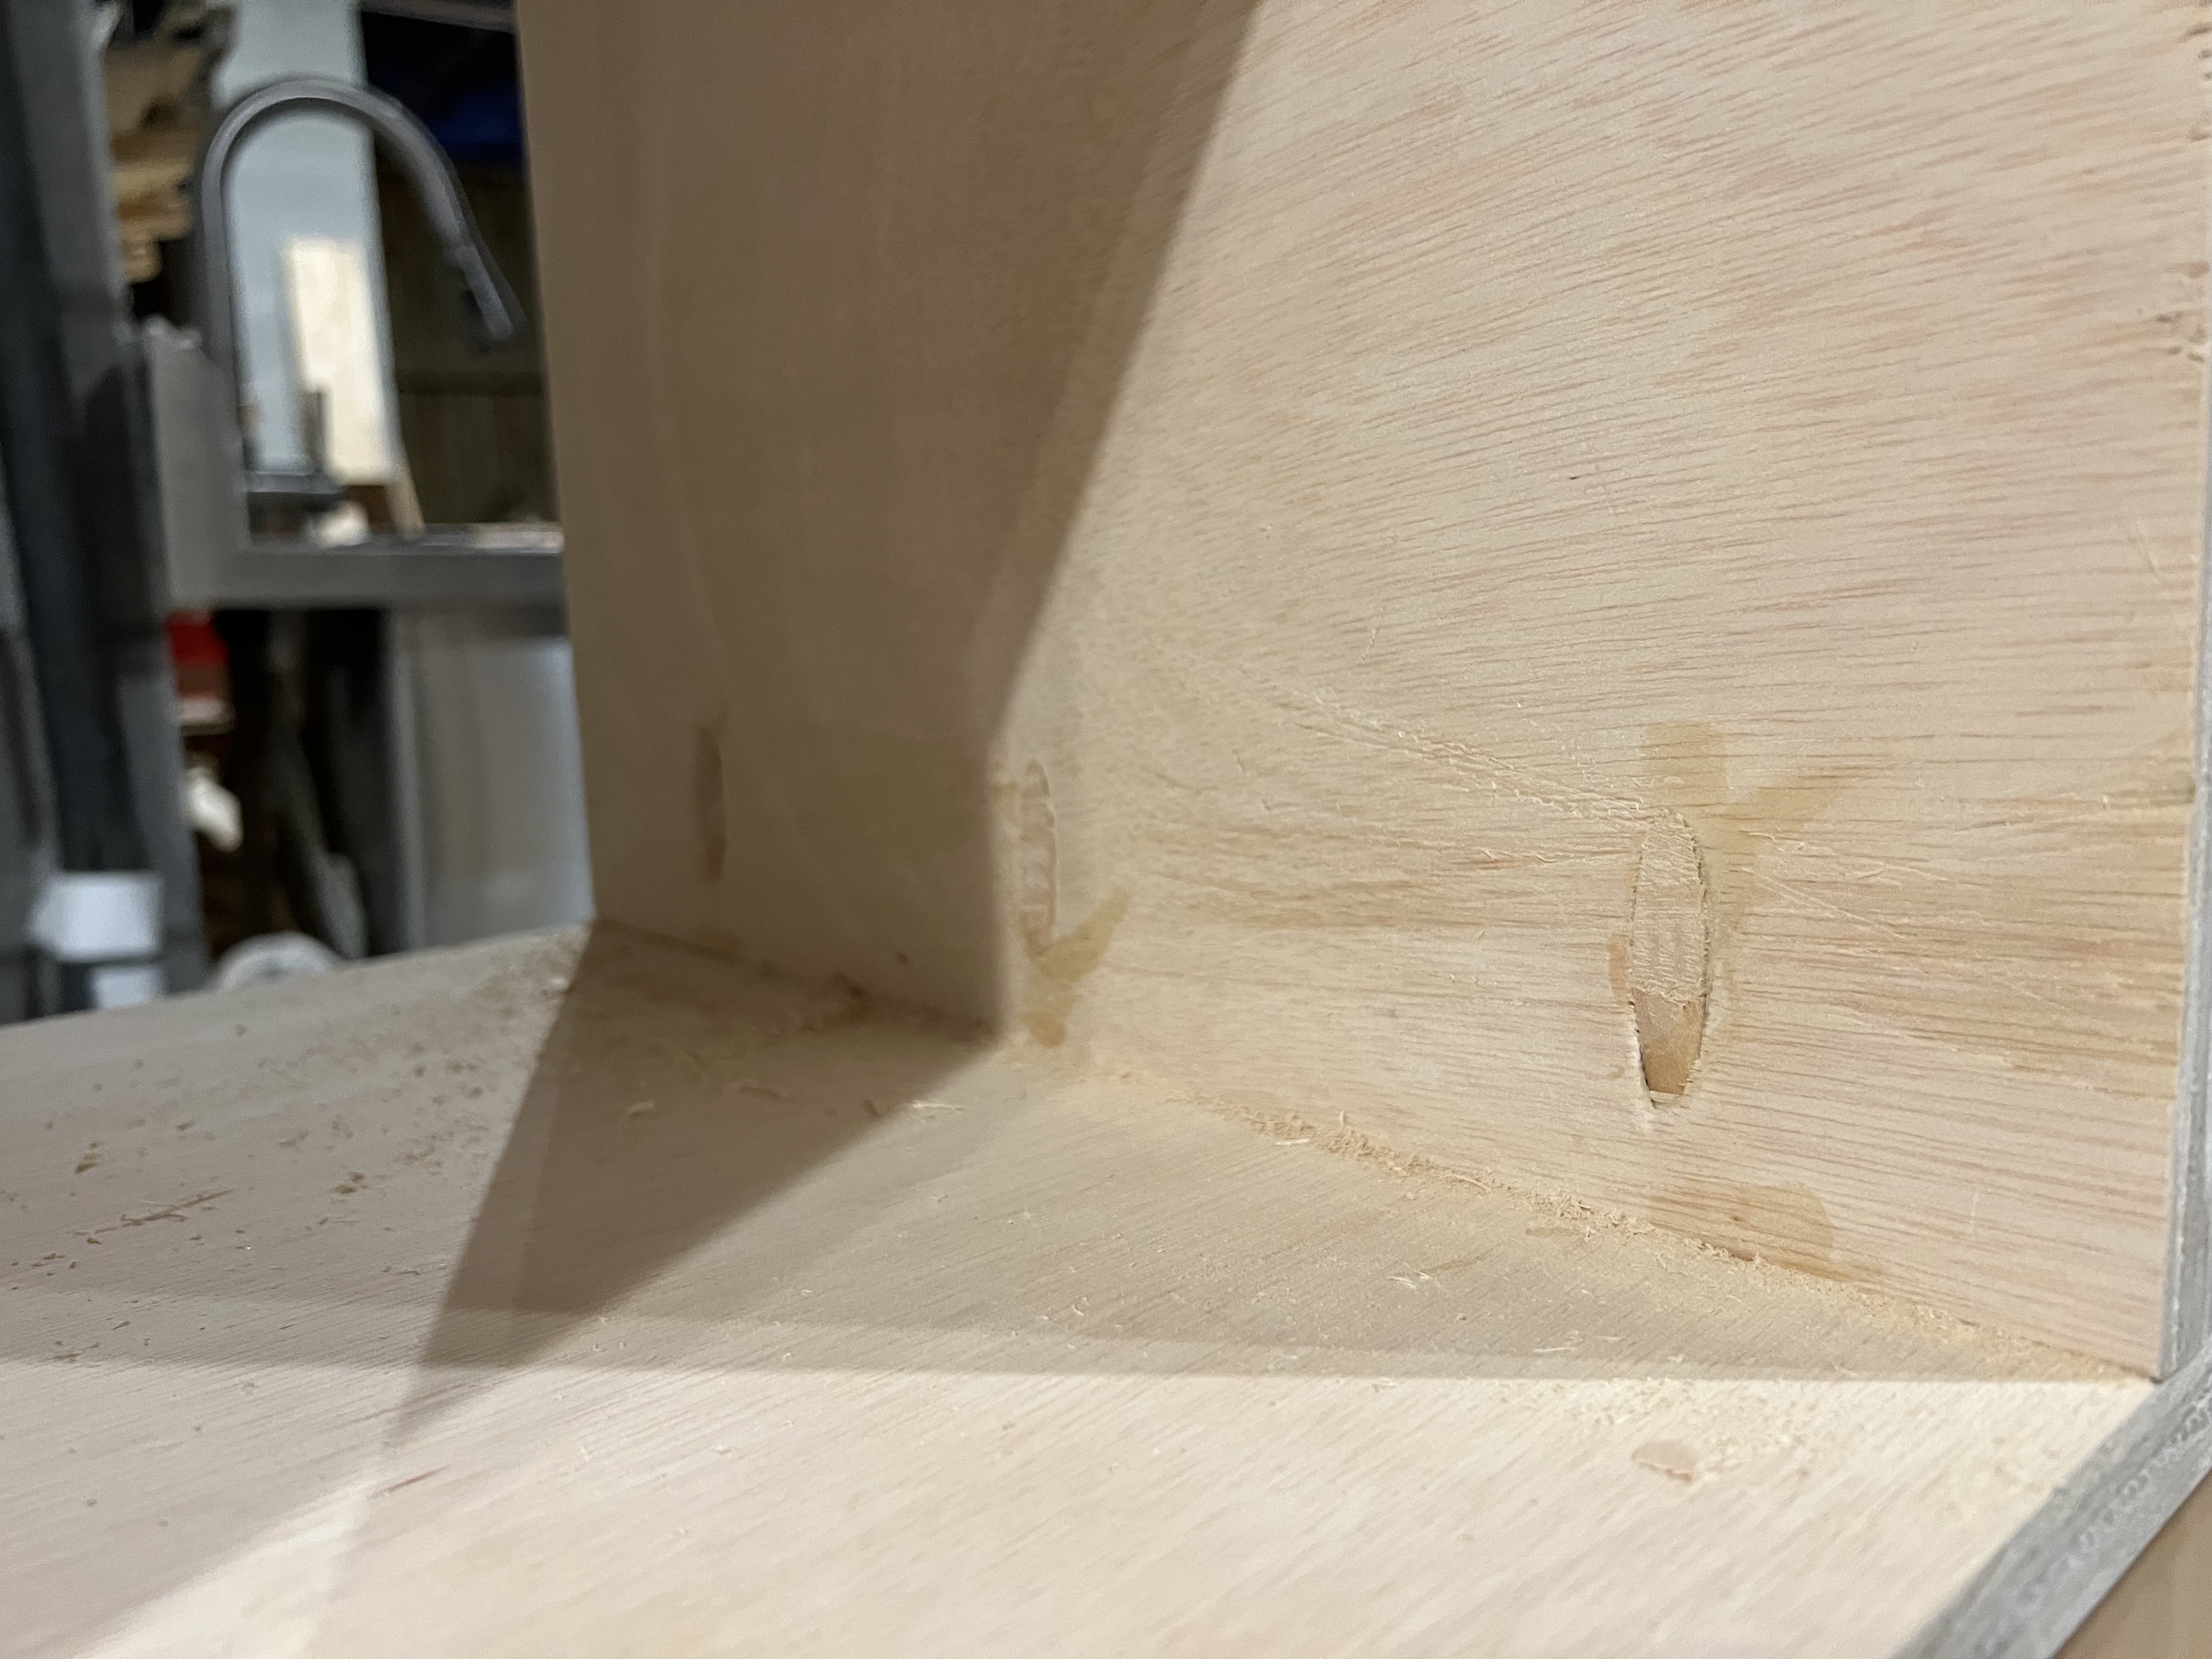
The benefit to using pre-made pocket hole plugs is that they are already made for you and are smooth and accessible. They are also really easy to insert into the pocket hole and stay there with no issue while drying.
The downside of a pre-made pocket hole plug is that the pack is a little extra money compared to the rest of these choices. They also don't stain as well, although you can get pine plugs or oak plugs and make it a little easier on yourself
However, I think pre-made pocket hole plugs are the easy way to fill pocket holes in your woodworking project.
How to fill pocket holes with dowels
Another easy way to fill pocket holes is using dowels. This is a great way to use up scrap dowel rod if you have little cut offs from previous projects.
To fill pocket holes with dowels, find a ⅜" thick dowel or as close to that as you can, but not thicker. You'll want to cut these down to about 2-3" long.
Apply wood glue around the end of the dowel and into the drilled pocket hole. Then slide the dowel into the hole.
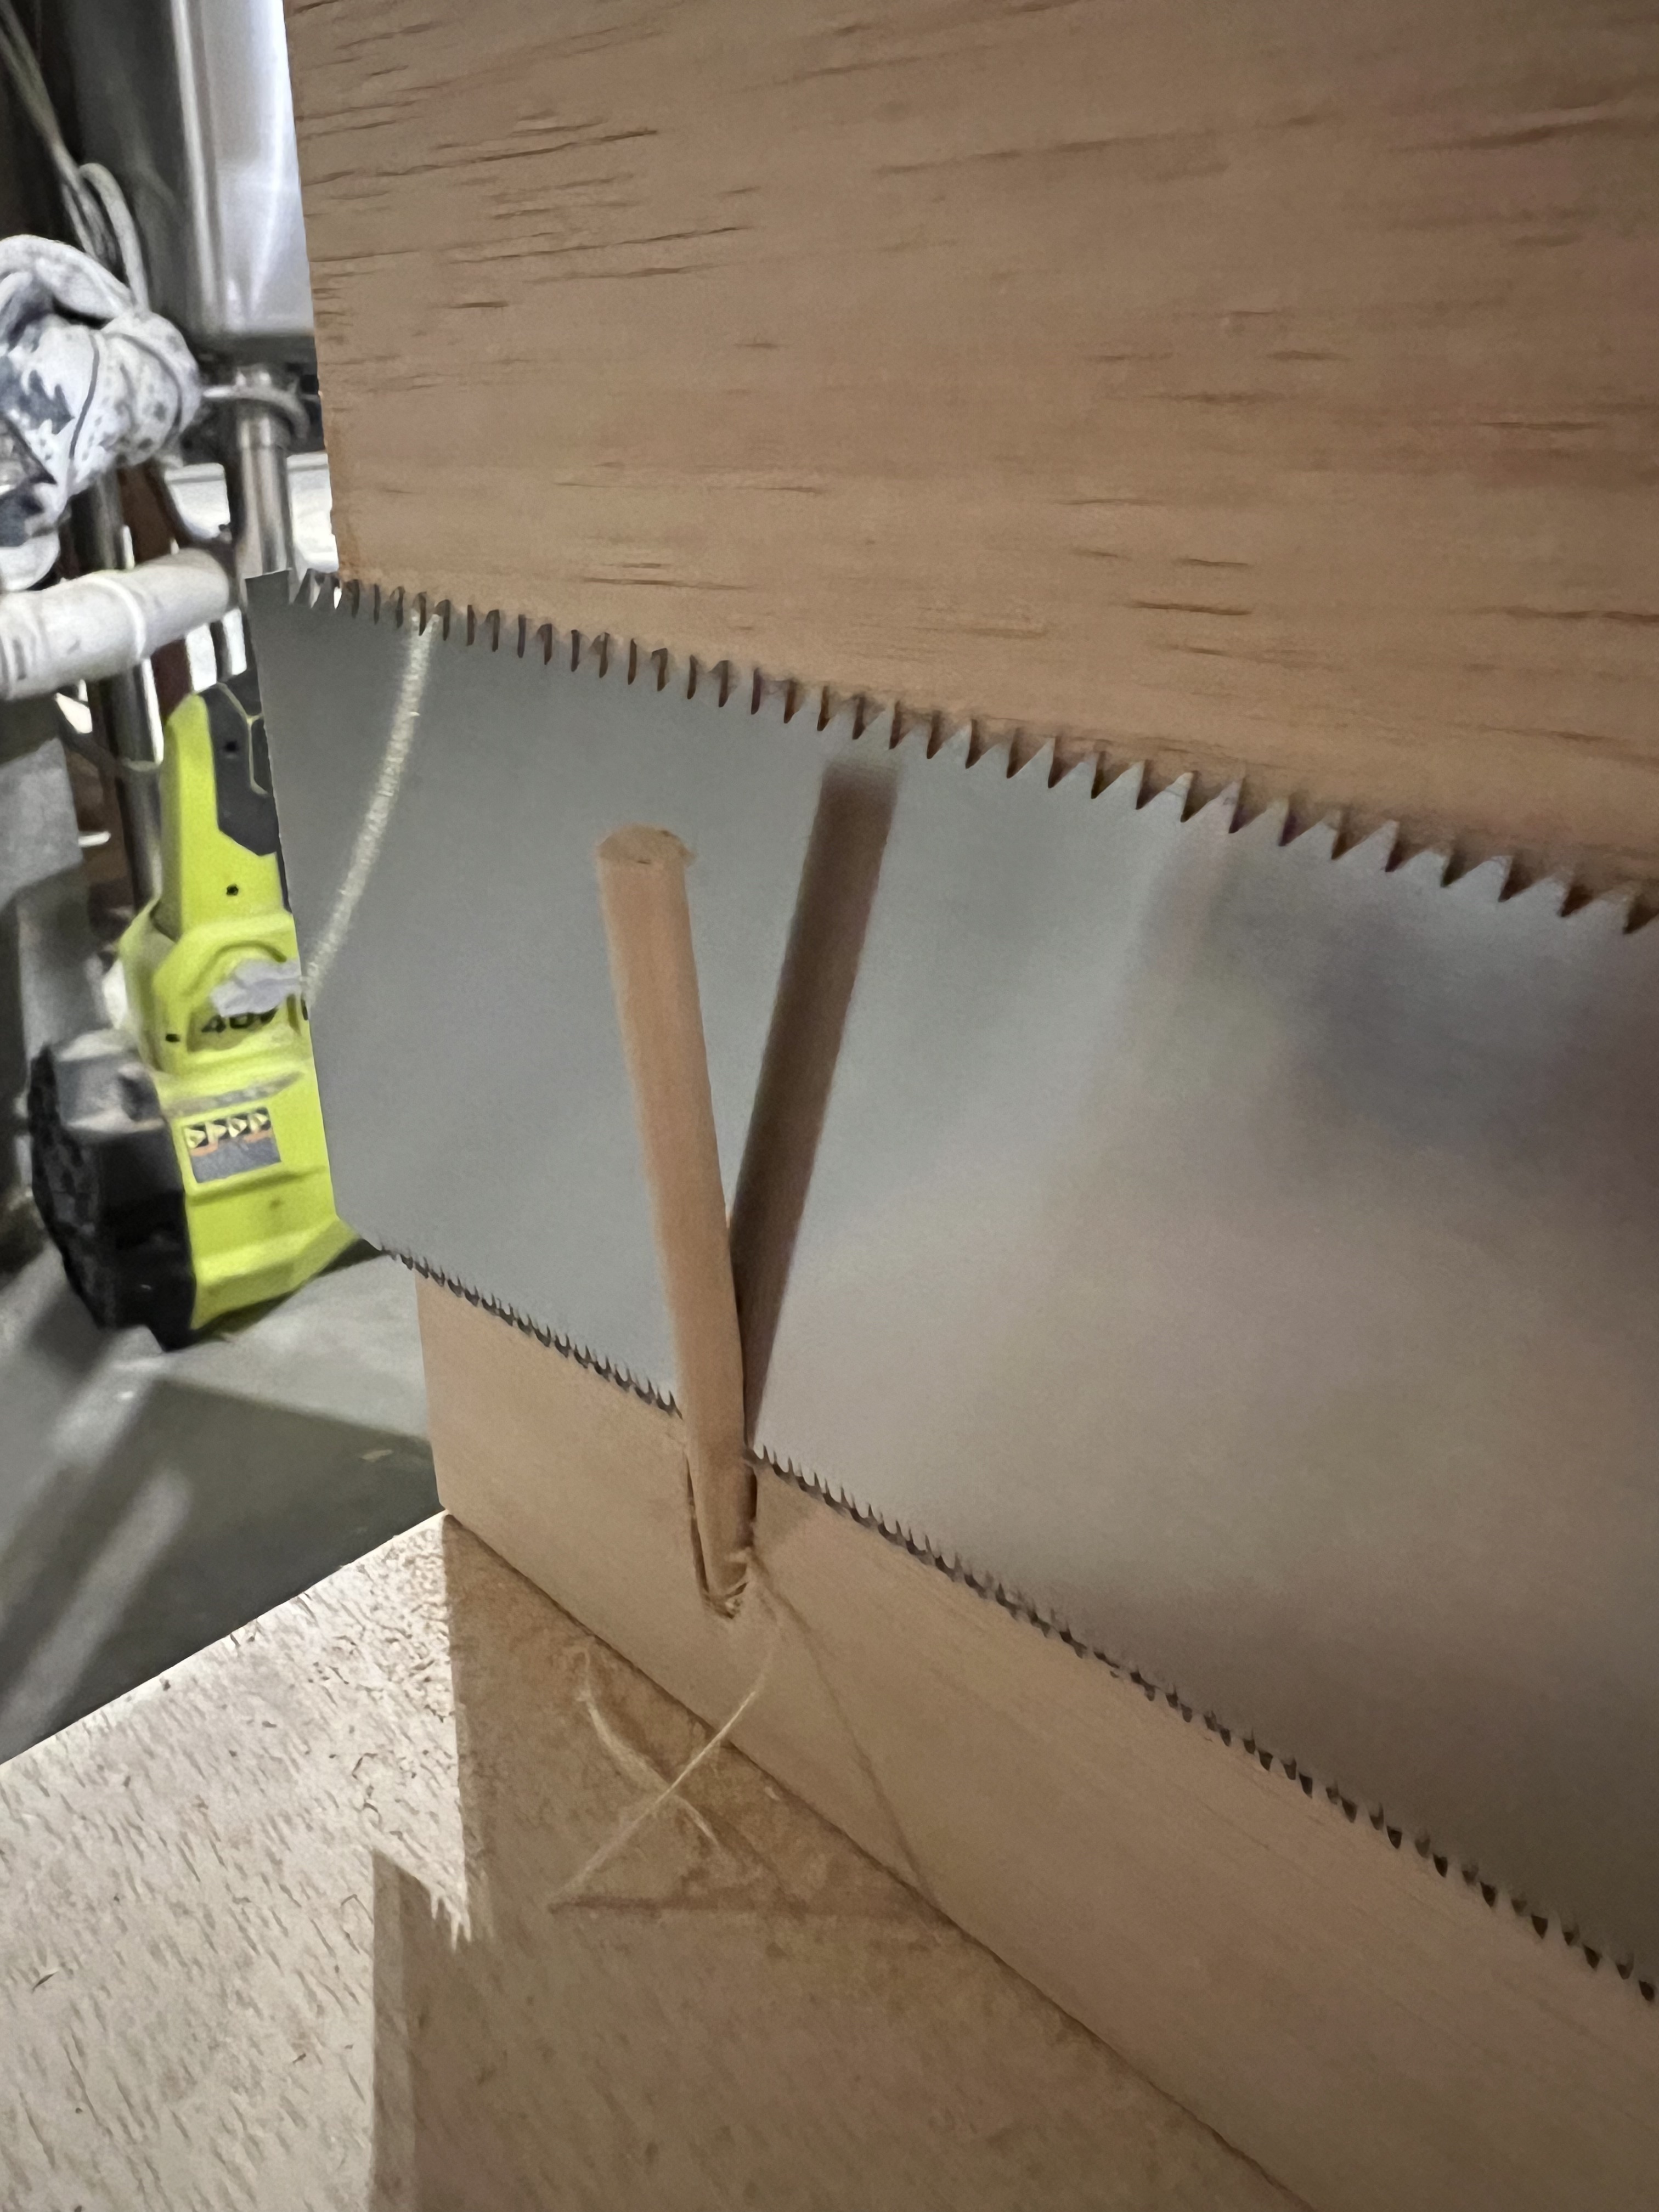
You may need to use a squeezable bar clamp to hold it in place so that it doesn't tilt forward out of the hole.
Once the glue is dry, you'll do the same as the pre-made pocket hole plugs and use a flush cut saw to cut off the excess. Then sand it smooth.
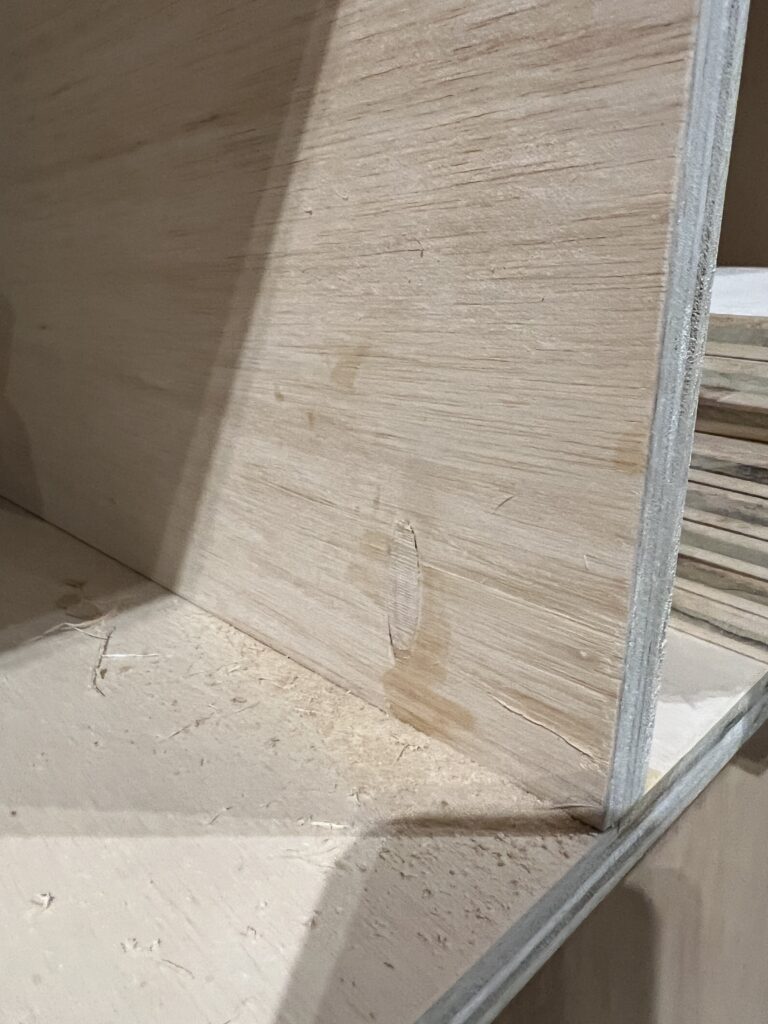
The pros to using a dowel to fill pocket holes is that they are free to do if you have scrap dowels on hand and you can often find a dowel made from the same wood as your workpiece, so you can match it. If you're planning to stain afterwards, this is a great idea.
The cons are that you have to cut the dowel first, then it doesn't fit as perfectly in the hole as a pre-made plug. You'll also have to have the saw as you won't be able to sand this down.
How to fill pocket holes with wood filler
Another great way to fill pocket holes is with wood filler. This is possibly the quickest and most simple way to fill pocket holes, but it won't get you the best result of the options.
We compared the four most popular wood fillers for you!
After you've drilled your pocket holes, you'll simply press the wood filler down into the hole and make it as flush as possible while leaving just a little excess to account for shrinkage as the wood filler dries.
You can use store-bought wood filler, but you can also use homemade wood filler by mixing wood glue and saw dust together. Using homemade wood filler will help you to match the workpiece better because you're using actual sawdust from that wood.
Read all about how to make DIY homemade wood filler!
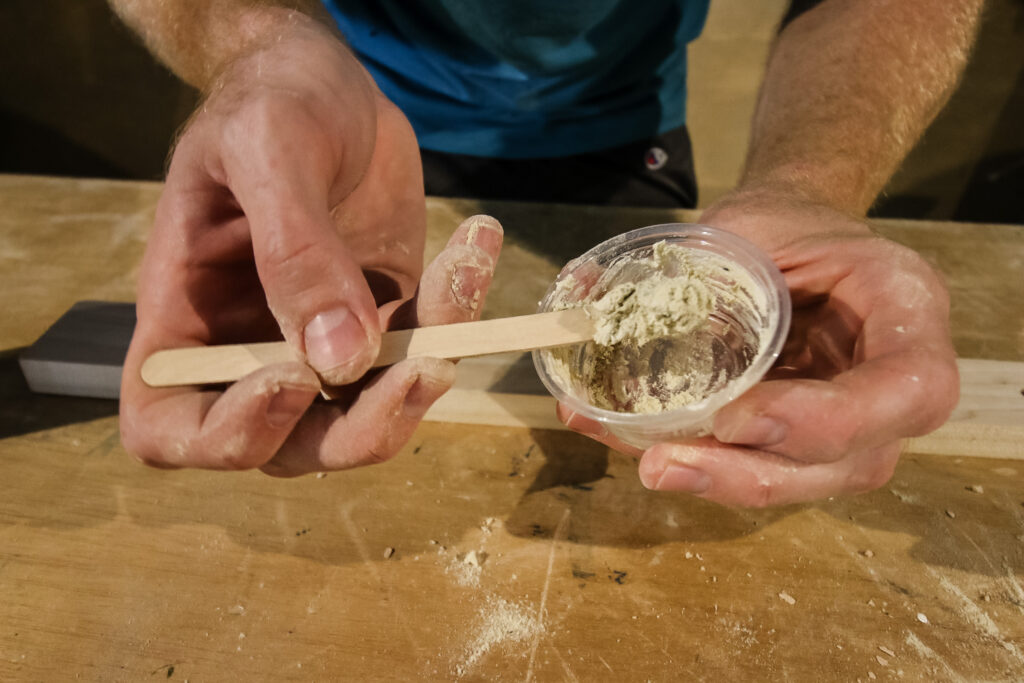
After the wood filler is dry, you'll need to sand it smooth with a fine grit sandpaper.
This method requires the least amount of tools and materials, but the finish won't be the best if you're staining the wood because the putty won't take the stain the same as the surrounding wood. If you do want to try staining it, here's our best tips for staining wood filler. However, if you're painting over it, you won't know the difference.
How to make pocket hole plugs
The final option for filling pocket holes is to actually make your own pocket hole plugs. Kreg makes a pocket hole plug cutter that we wrote more about here in this post.
The plug cutter attaches to your Kreg jig and uses a special drill bit to cut the plugs in a board you have.
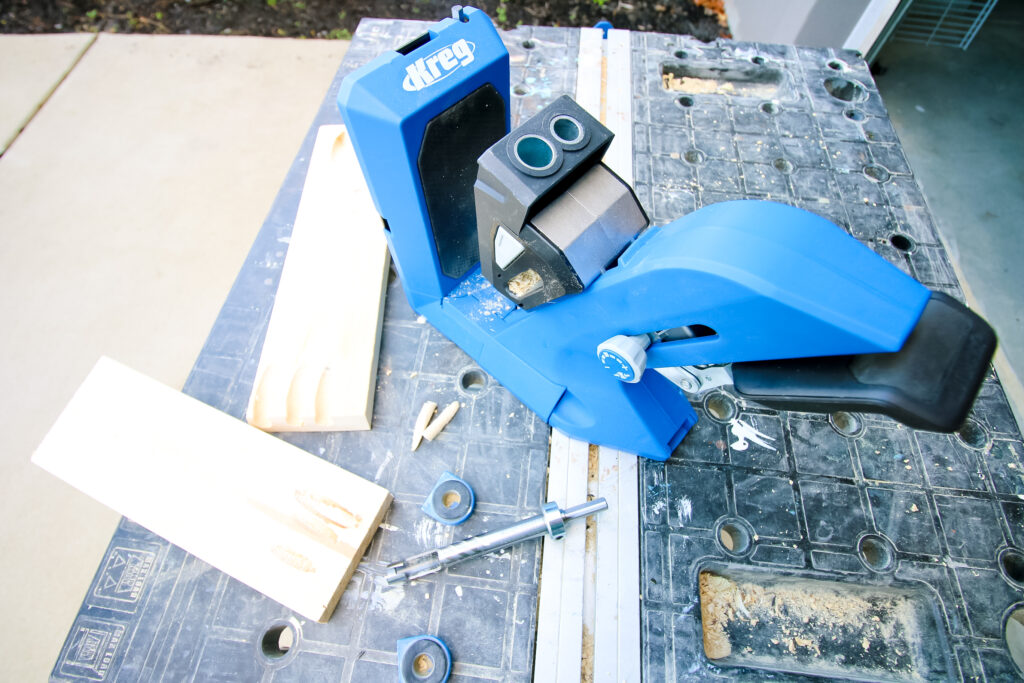
Then use a saw to cut the plugs off at an angle on the board.
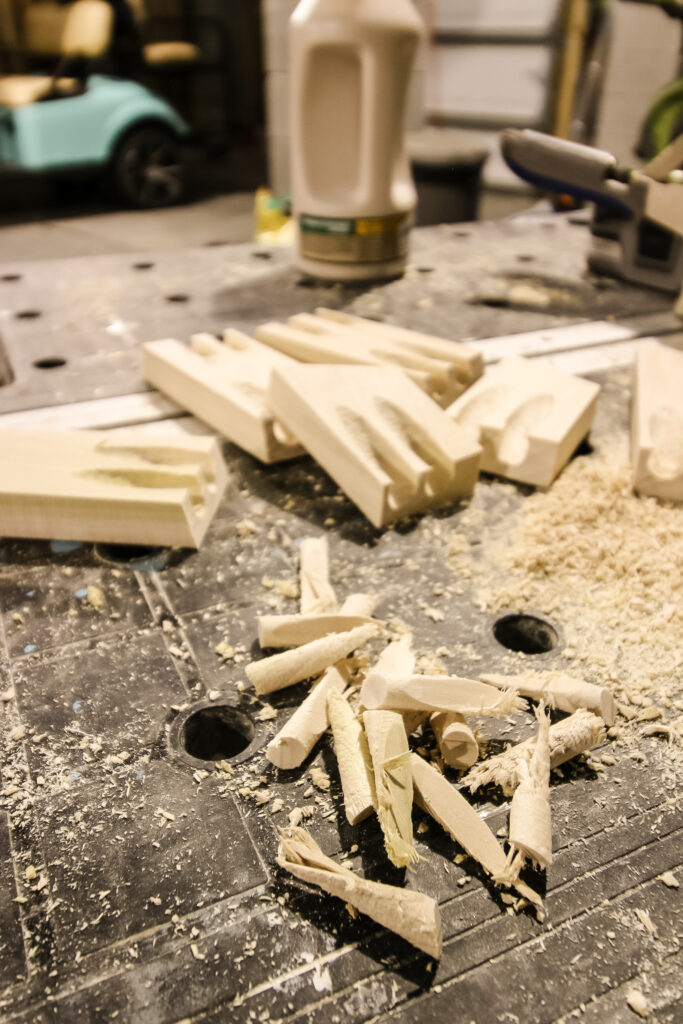
Then put wood glue in the pocket hole and on the plug and fill the hole with the plug. After it dries, cut or sand down the remainder.
The benefit of this option is that you can use literal cutoffs from the wood you just made your project piece with, so the plug will be an exact match.
However, the downside to cutting your own plugs is that it is the most work and requires a special tool.
The best way to fill pocket holes
In my opinion, the overall best way to fill pocket holes is to use pre-made pocket hole plugs. It is the most convenient option that requires minimal effort.
If you're painting your furniture, the best way to fill pocket holes could be wood filler because you don't have to worry about the color match.
If you're planning on staining on a really nice piece of furniture that will be on heavy display in your home, you might want to take the time to cut your own pocket hole plugs to make them completely disappear.
Before you go...
Make sure you take a look at some of our favorite projects where we hid pocket holes.
- DIY rectangular coffee table- used pre-made plugs and stained
- Bookcase with toy storage- plugged with dowels and painted
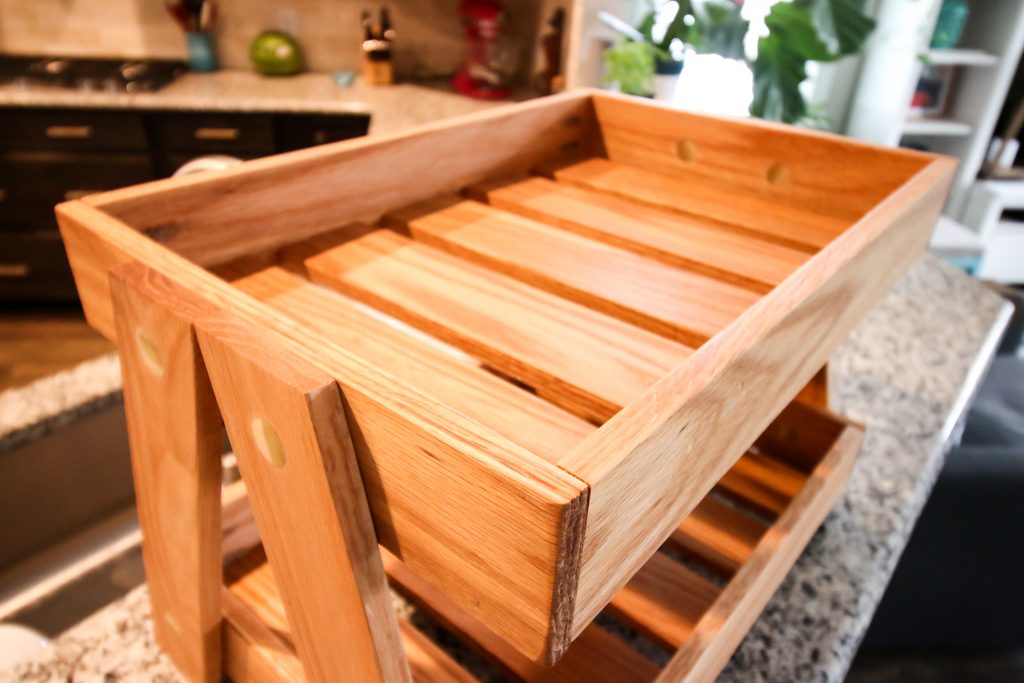
- Two tiered serving tray- used wood filler and oiled
Looking for something?
We've been doing this since 2012 so we have a LOT of blog posts!
Search stuff like: Ceiling Projects | DIY Plant Stands | Thrift Flips


Hey there, I'm Sean, the woodworking enthusiast and builder behind CharlestonCrafted.com! Since 2012, I've been sharing the magic of turning raw materials into beautiful creations. I love teaching others the art and satisfaction of woodworking and DIY. I try to inspire fellow crafters to make something extraordinary out of nothing at all.


