Frames are so expensive! Here is a tutorial on how to make a frame for a canvas on a budget!
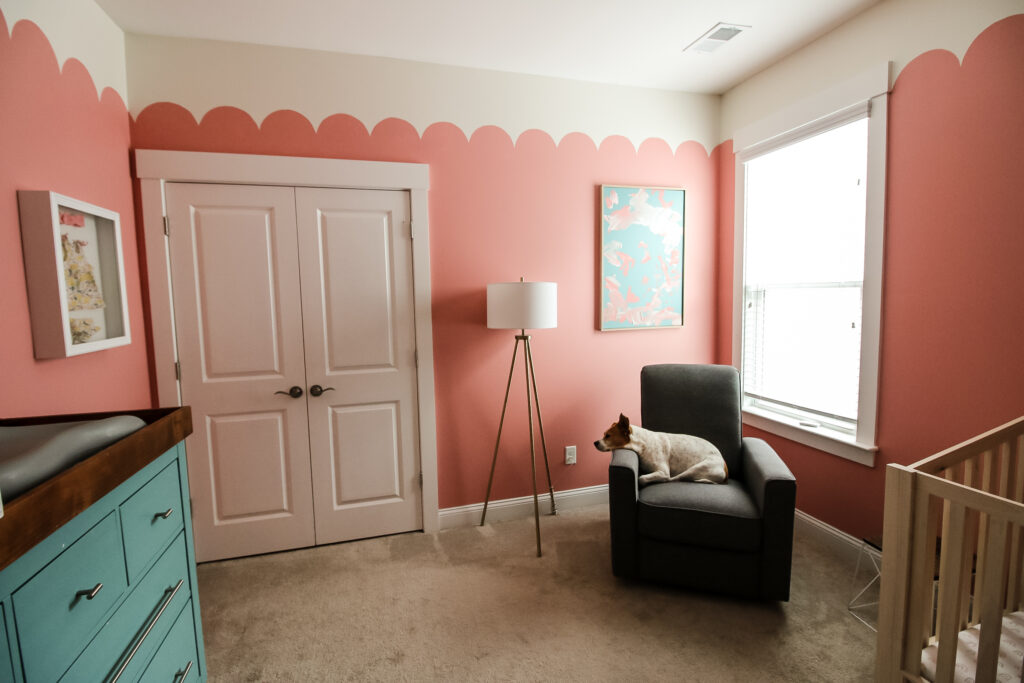
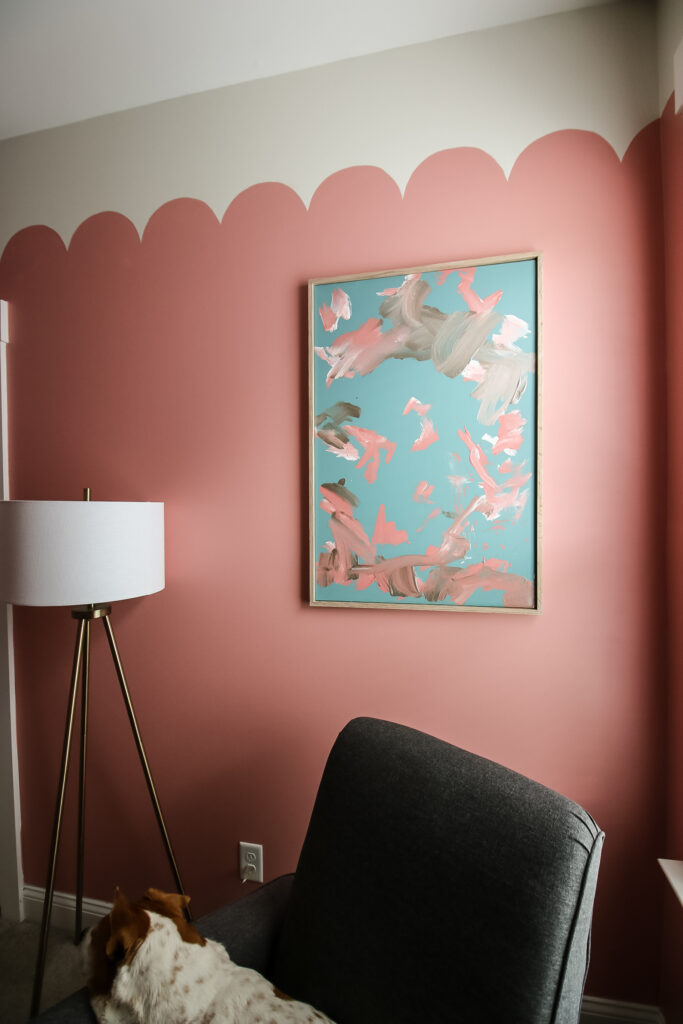
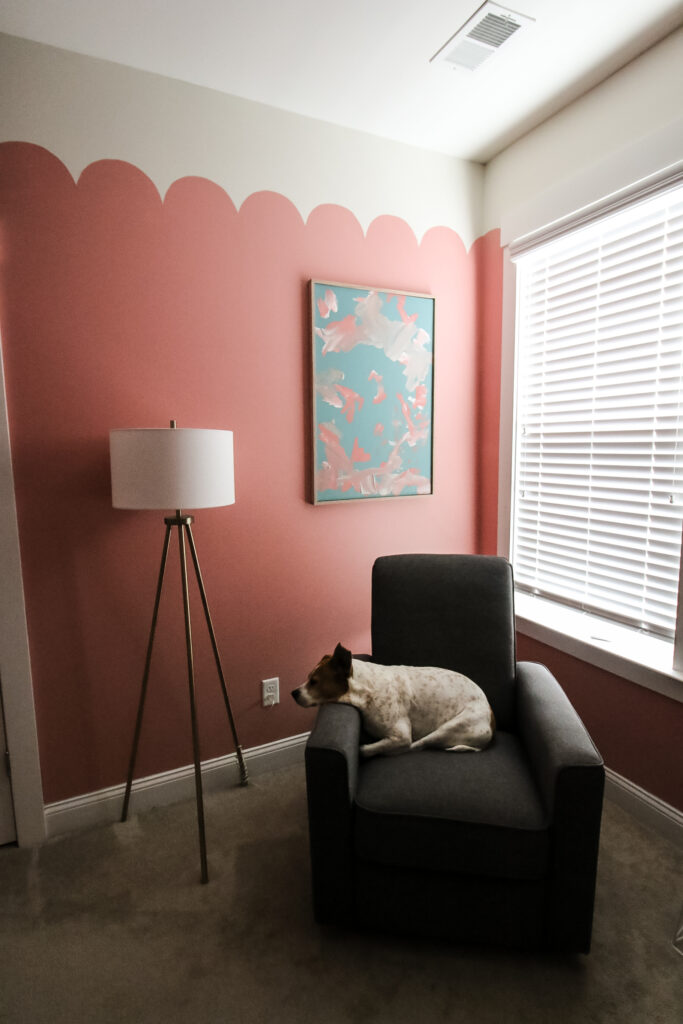
We are having so much fun on Rory's room makeover. One of the last touches for the room was adding wall art over the chair in the corner.
I picked up a 24"x36" canvas on sale at Michaels but didn't really have a plan for painting it. I kept hemming and hawing over what to paint before deciding - let's let Luke paint it!
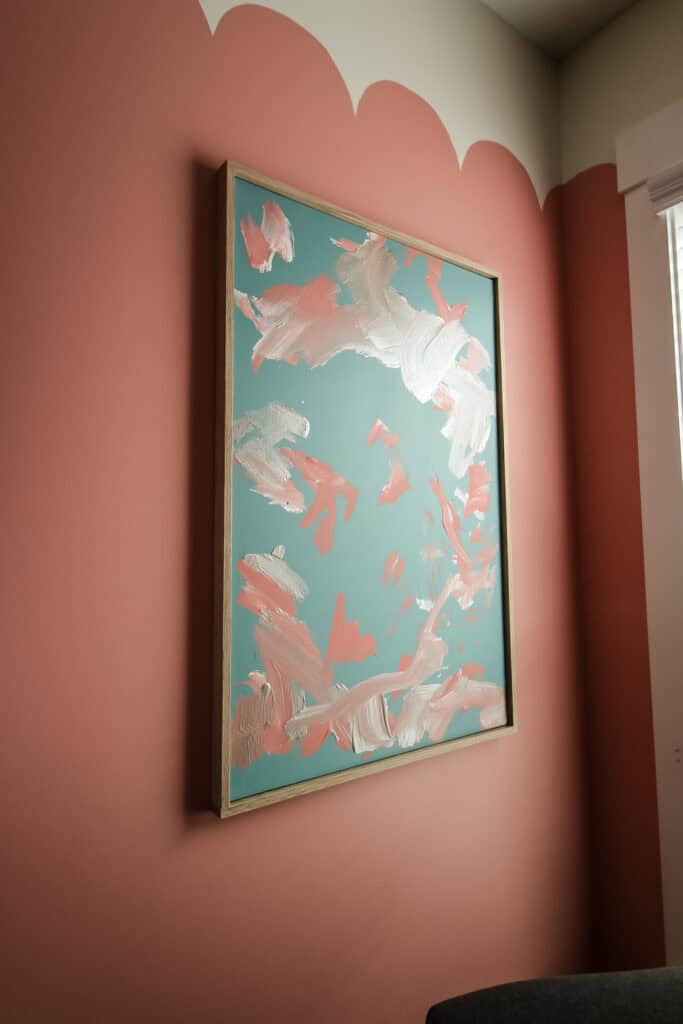
Luke loves to paint and I like to joke that his scribbles look like expensive modern art.
To get the perfect toddler art, I first painted the entire canvas Behr Tower Bridge (the color of the dresser and backer of the bookshelf).
Then, here is the trick to toddler painting - give them only 2-3 colors, and be sure they blend well together.
I gave Luke acryclic craft paints in white, pink, and gold. These colors match Rory's room perfectly!
I let him squirt out the paint and blend it with a brush. I offered him a thin and thick brush for variety, though I'm not sure how much of a difference it made.
Anyways, we had a lot of fun doing this project! I'm so glad I let him add a little something extra to his sister's bedroom.
So, it would have been fine to just hang the canvas on the wall, but we don't live in a college dorm. I wanted to make it look a little more high end with a wooden frame.
However, finding large wooden frames, especially that fit a 24"x36" canvas are extremely expensive and difficult.
It's super easy to make a DIY frame for a canvas - and its way cheaper than buying a frame! Here's how to do it.
How to make a frame for a canvas
Framing a canvas is an easy DIY project that instantly upgrades your canvas art!
By adding a simple frame, you can take the rough, unfinished edges of a canvas and cover them with a nice, expensive-looking frame that will take the painting up a notch.
The tutorial below is for a 24"x36" canvas frame. You can adjust the length of your wood needed for what size canvas you have.
Supplies:
- (1) 36"x5 ½"x½" board (they sell oak boards in this size at the big box stores, so it's a good opportunity to go a little nicer for around $10)
- Gorilla Glue
- 1" nails
- Stain and sealant of choice
Tools:
- Miter saw
- Brad nailer
- Right angle clamps (optional)
Steps to make a canvas frame:
STEP 1: Measure the canvas
Measure the length and width of your canvas.
You can get fancy if you want and use mitered corners for the frame, but the simplest way is to just use butt joints.
This means the two pieces of wood on the long sides of the canvas will be cut to length of the long edges of the canvas. The two short pieces of wood will be the length of the short edges of the canvas, plus the two times the thickness of the wood.
STEP 2: Cut your wood
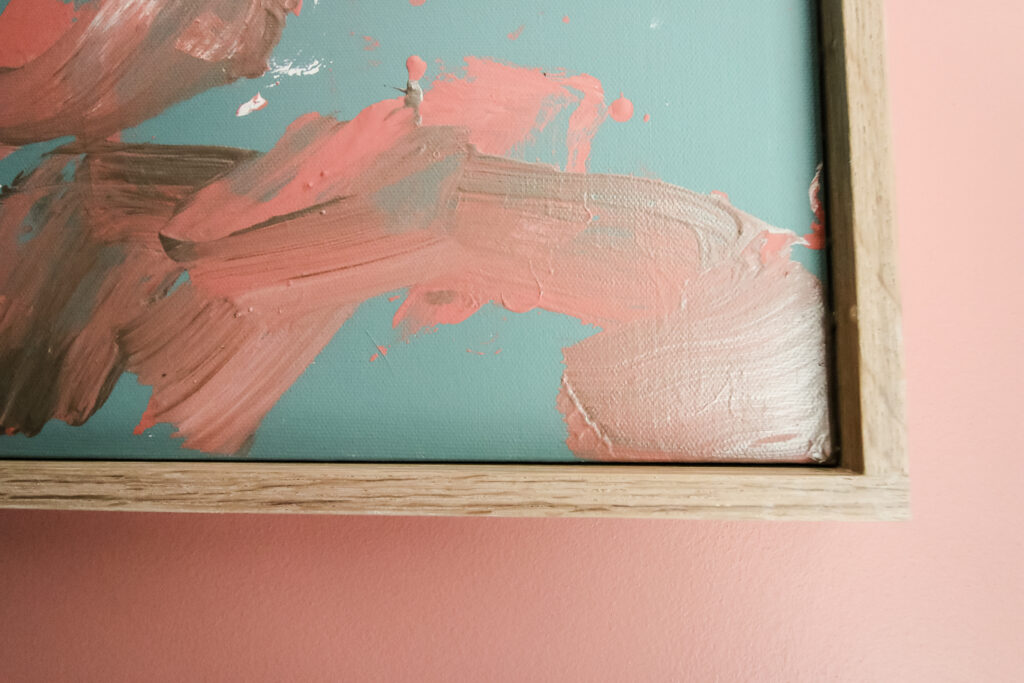
Cut your wood into 4 strips. The strips need to be at least as wide as your canvas - I like a little lip on the front (¼-1/2") to give it a sense of depth. If you have a standard ¾" thick canvas, cutting wood to 1 ¼" wide is a nice depth.
As mentioned above, two strips should be the length of the canvas.
The other two strips should be the width of the canvas PLUS the thickness of the strips of boards, so they meet to make a neat corner.
You can use a miter saw to create an angled edge, or just cut straight cuts like we did.
If cutting a 45 degree mitered edge, remember that the short side of all of your pieces need to be the exact lengths of each of the four sides. In this case, that would mean two at 24" and two at 36".
STEP 3: Assemble the frame
Use wood glue and a nail gun to attach the corners. These are butt joints, so they will simply be lined up flush with each other.
You can use right angle clamps to make the angle perfect, or you can hold it in place with your hands.
If you want, apply wood filler to any gaps or nail holes and sand smooth.

STEP 4: Stain or paint the frame
Apply the stain or paint of your choice.
We went with a white stain to mimic the other tones in our daughter's room. We did a white wash on her crib, and used a white paint for her dollhouse bookshelf and the top part of her walls.
Bringing all these whites together is a good way to tie the room in place.
We finished it off with a coat of sealant. This probably is only necessary if your wood is sticky after staining.
STEP 5: Attach to the canvas
Pop your canvas into place. We used all purpose Gorilla Glue along the edges of the canvas and clamped the frame onto the canvas using long clamps.
You can also use your nail gun to nail through the wood on the inside of the canvas out into the picture frame. However, this will leave exposed nail holes.
On selecting wood for your frame
When choosing wood for your frame, it's tempting to go with the cheapest piece of wood at the store.
But, hear me out - this is a great time to upgrade!
We actually purchased a piece of oak wood for this project.

Fun fact: Home Depot sells many woods by the foot. They also sell ½" thick project boards in 3' lengths.
So we were able to buy a small piece of oak, rip it down to four equal strips, and turn that into the frame pieces.
This little upgrade makes a big difference in making the frame feel extra special!
Right now, with regular, lower quality wood being so expensive, upgrading to a nice piece of wood is worth it for such as small piece. The wood for this project cost about $10.
Click here to get ideas for how to get cheap and free lumber for woodworking projects!
How to hang a framed canvas
The easiest way to hang a framed canvas is on two long nails on the wall.
Use a long level to ensure they are evenly placed and then set the horizontal board of the canvas across the two nails!
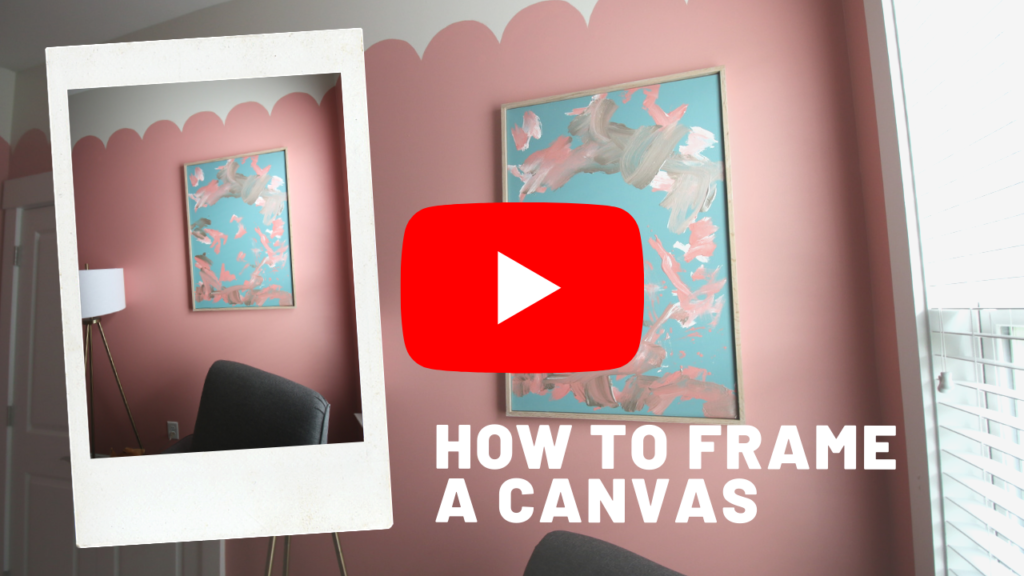
Video demonstration
Be sure to check out our video showing exactly how we framed this canvas!

Looking for something?
We've been doing this since 2012 so we have a LOT of blog posts!
Search stuff like: Ceiling Projects | DIY Plant Stands | Thrift Flips

Hello, I'm Morgan, half of the creative force behind CharlestonCrafted.com! With a passion for DIY that dates back to 2012, I've transformed three homes and now I'm dedicated to helping others craft their dream spaces. Let's turn your house into a home together!