Want to create a living wall without putting tons of holes in your wall? Here's how to hang a pegboard plant wall!
This post was sponsored by National Hardware. All opinions are our own. Thanks for supporting the brands that make Charleston Crafted possible!
I am a plant fanatic. Indoor plants, outdoor plants, big plants, little plants, give me all of them!
Houseplants are slowly taking over the inside of our house, dangling from the mantel on our shiplap fireplace, sitting on our live edge coffee table and everywhere in between. So as the weather warms up I am excited to move some of the plants outdoors.
However, I am not a huge fan of just having a bunch of loose pots sitting around.
That's why we love making plant stands to give those potted plants a more organized and cohesive look.
My newest plant stand alternative? A plant pegboard!
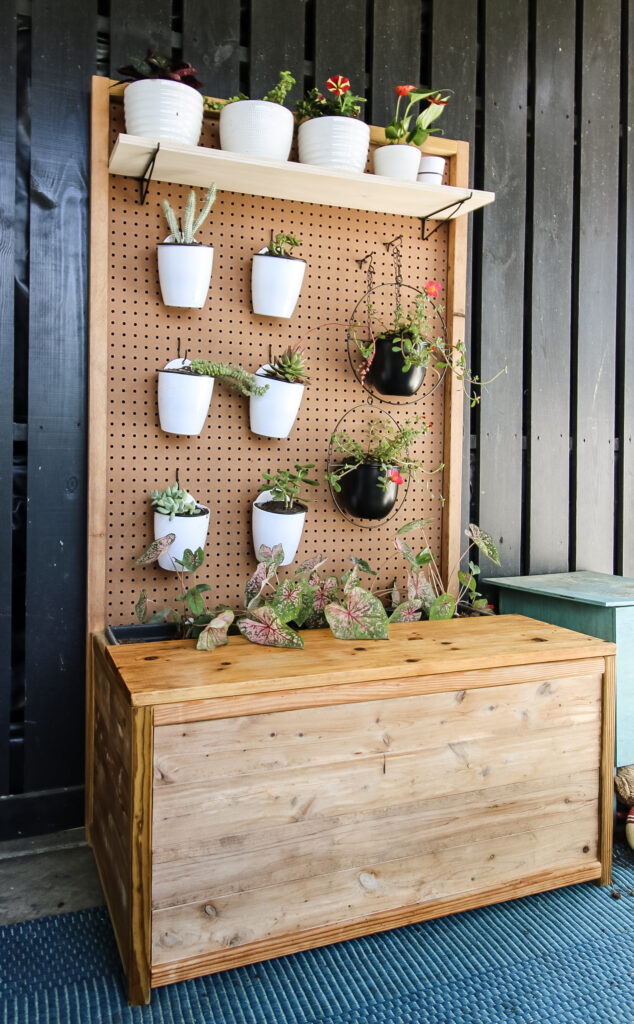
Hanging your plants is a great storage solution for narrow spaces or to create interest on a blank wall.
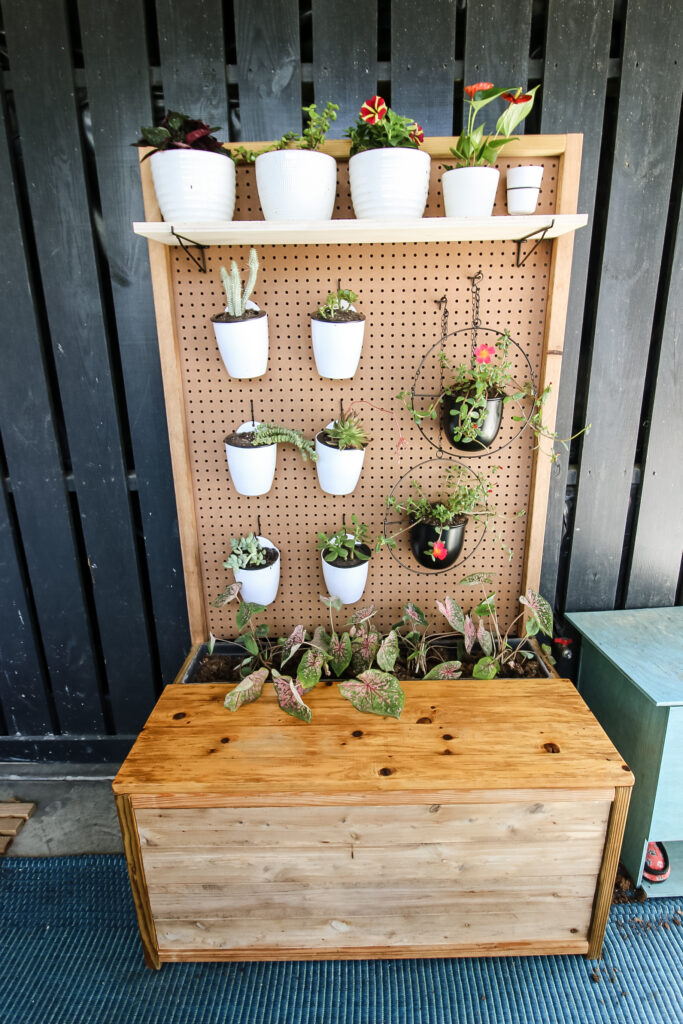
We decided to upcycle our DIY planter bench and add a pegboard on the back as a way to store and display hanging plants in a unique way.
The bench has been living on our covered patio and has storage and seating, but the wire trellis we initially installed had seen better days. So, it was time for an upgrade!
See all of my favorite living wall ideas here!
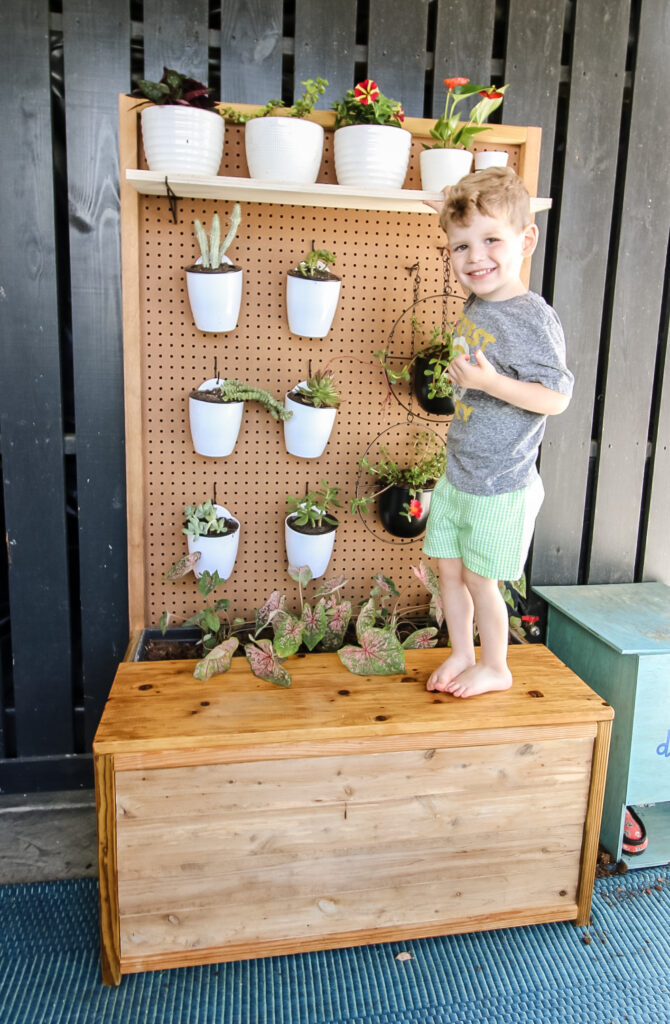
How to cover pegboard
We left our pegboard natural since it goes with the natural wood feel of the space. But, if you don't love the look, you can cover your pegboard without affecting its functionality! Consider using:
- Peel and stick wallpaper
- Spray paint
- Add a wooden frame around the edges
How to hang pegboard on the wall
We added our pegboard to the back of this DIY planter bench. It previously had a wire trellis, but I was unsuccessful getting my plant to climb the trellis in this space and wanted to go for a new look for a new season!
But, you could easily turn any wall mounted pegboard into a plant pegboard.
See the metal pegboards we use in our garage here!
Here's how we built an oversized DIY pegboard wall shelf in our old laundry room!
How do you hang plants on a peg board?
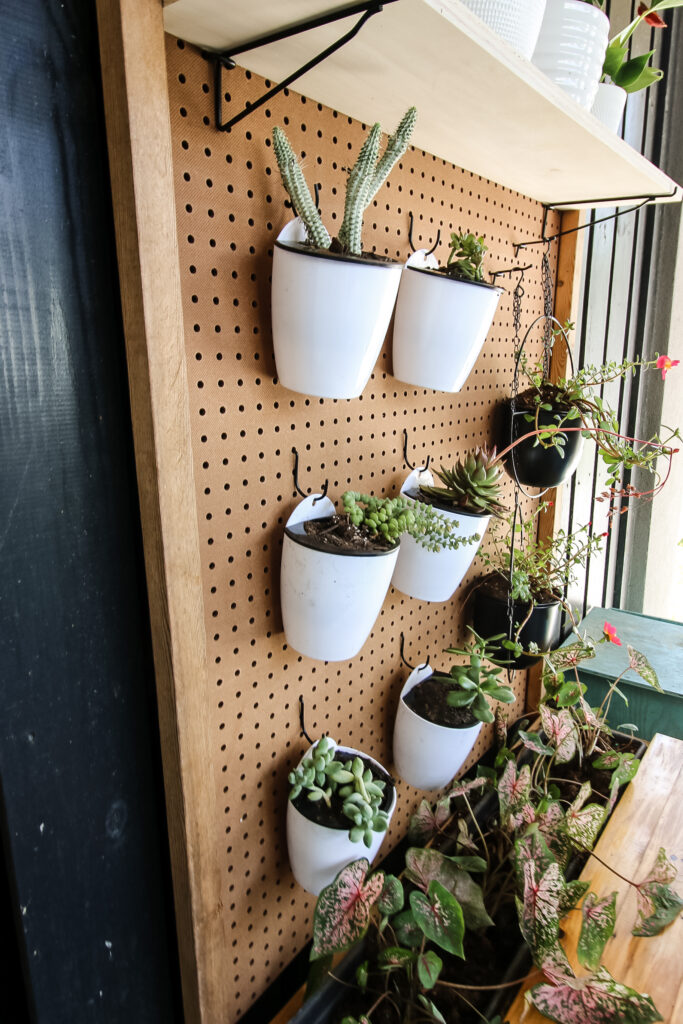
The easiest way to hang plants on a pegboard is to use hanging pots or planters. Consider:
- Hanging planters with a flat back (the white planters we used)
- Hanging planters with a slightly rounded back (the hanging black planters we used)
- Hanging glass globes (usually for cuttings or rooting plants - ended up returning these but they were cute!!)
Pegboard Hardware kit
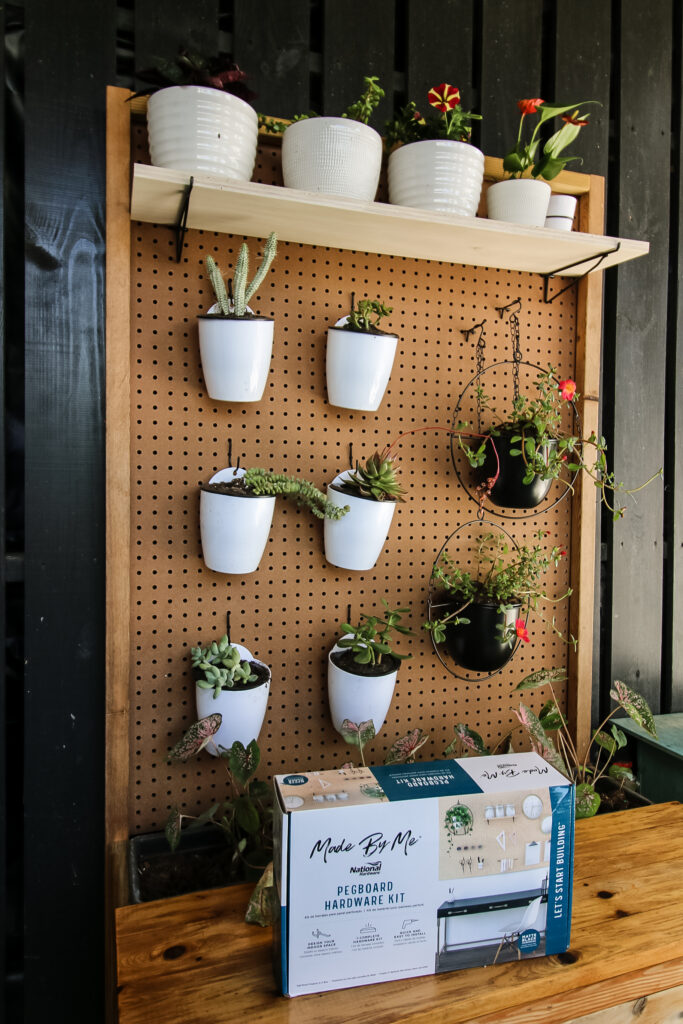
To complete this project, we used the MadexMe Pegboard Hardware Kit from National Hardware. This kit includes everything you could ever need to hang plants - or anything else - on a pegboard.
The kit includes:
- 6 Rounded Hooks
- 6 Single Hangers
- 2 Shelf Brackets
- 1 White Cup & Holder
- 1 Paper Towel Holder
I love the matte black of the hardware - it gives it an instant modern look!
How to hang a plant pegboard wall
Creating a pegboard plant wall is an easy DIY project, perfect for spring and summer!
STEP 1: Plan
First, you need to design the layout of your pegboard plant holder.
I originally tried to lay my planters out on the floor, but it was hard to envision. It's much easier to hang planters or at least hooks on the pegboard to decide a layout before plant shopping.
One cool idea is to add a workspace to the pegboard - the shelf brackets are perfect for that.
Just hang the shelf at countertop height (about 36 inches off the ground) to create a great little space to do some potting if you don't have space for a full sized potting bench!
Another cool idea is to use pegboard hardware to hang tools like shovels or gloves so they are ready to go! So many possibilities!
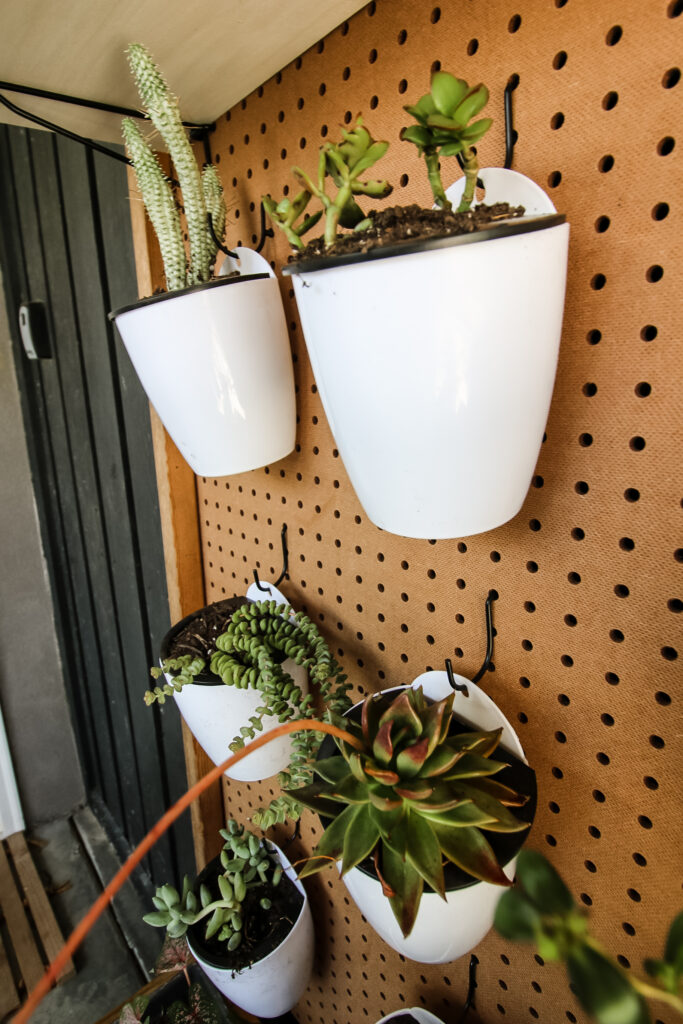
STEP 2: Pot your plants
Once you feel good about your planter layout and spacing, add plants to the pot. Pay attention to the lighting and water needs of the plants to ensure they will be compatible with the space.
Our pegboard plant wall is on our covered patio (under our screened in porch) but it gets a lot of sun in the afternoon.
So, I chose a mixture of succulents. I actually disassembled an old mixed succulent pot that had gotten overgrown and scraggly.
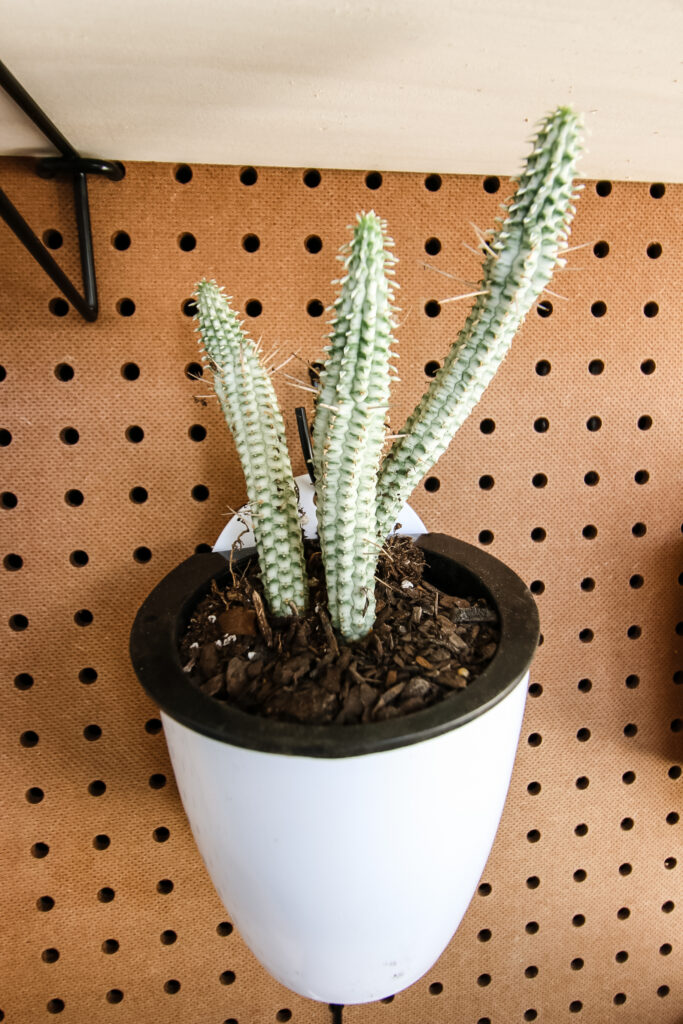
STEP 3: Hang
Hang your planters according to your plan. But, be willing to tweak it as you hang your plants for the perfect aesthetic pegboard plant vibes.
The Pegboard Hardware Kit from National Hardware made this really easy. Their hardware slides in and out of the peg holes easily, so it was simple to rearrange as needed.
I tried a few different layouts before deciding on exactly what worked best for this space!
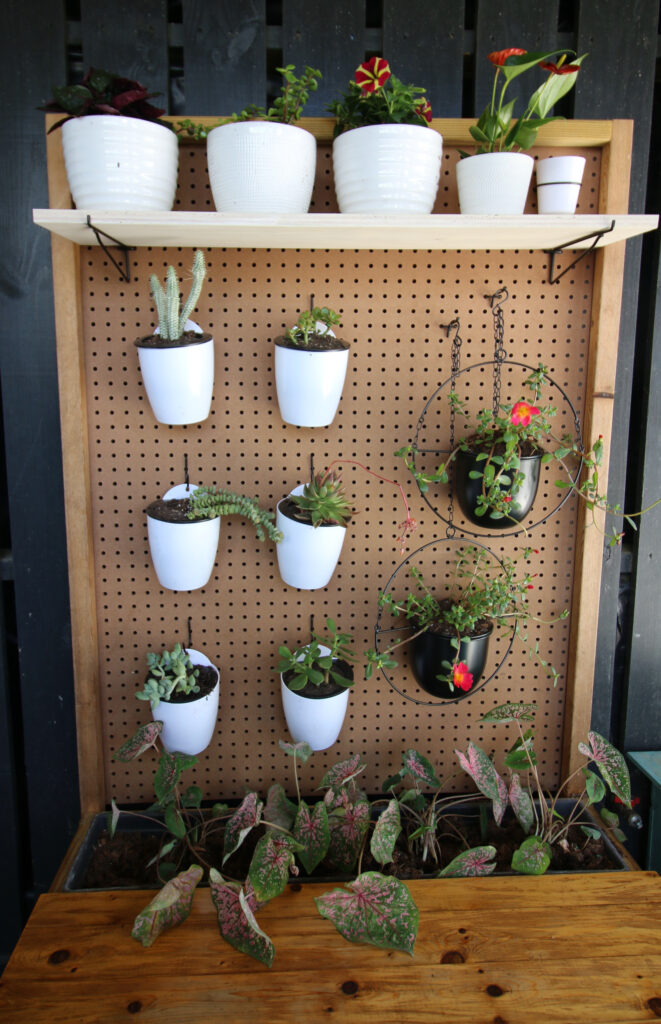
STEP 4: Maintain
Plan a watering schedule and stick to it. Remember that if you used particle board pegboard, it will not be water resistant. Avoid getting water on the pegboard as much as possible when watering!
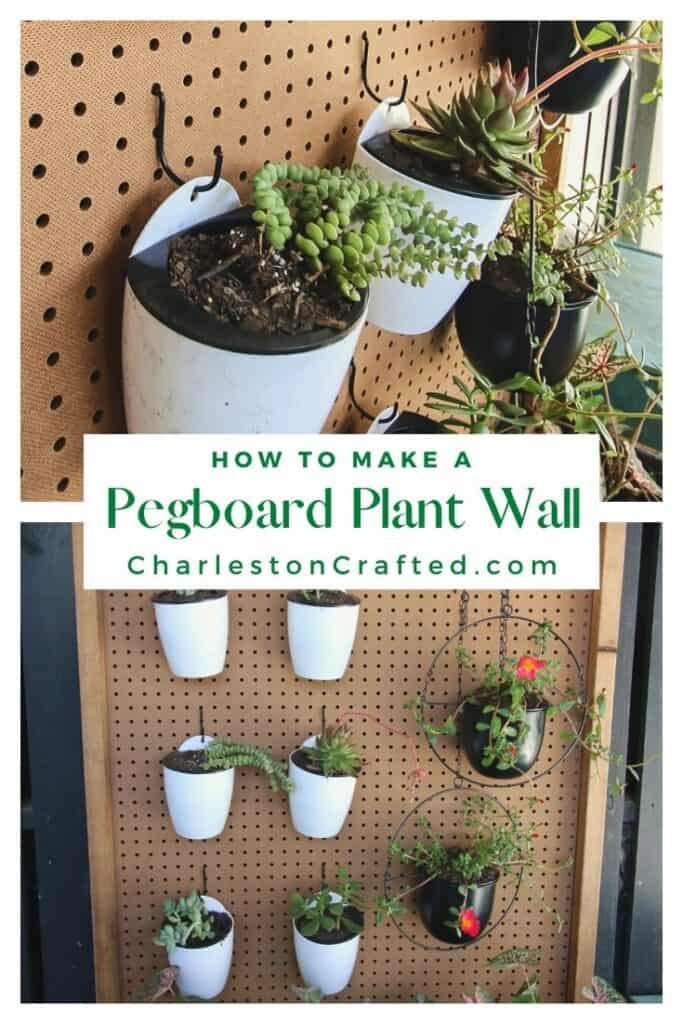
I am beyond obsessed with how this project turned out and think that it adds a lovely pop of color and life to our patio! I'm excited to watch the plants grow all season long.
Looking for something?
We've been doing this since 2012 so we have a LOT of blog posts!
Search stuff like: Ceiling Projects | DIY Plant Stands | Thrift Flips


Hello, I'm Morgan, half of the creative force behind CharlestonCrafted.com! With a passion for DIY that dates back to 2012, I've transformed three homes and now I'm dedicated to helping others craft their dream spaces. Let's turn your house into a home together!


