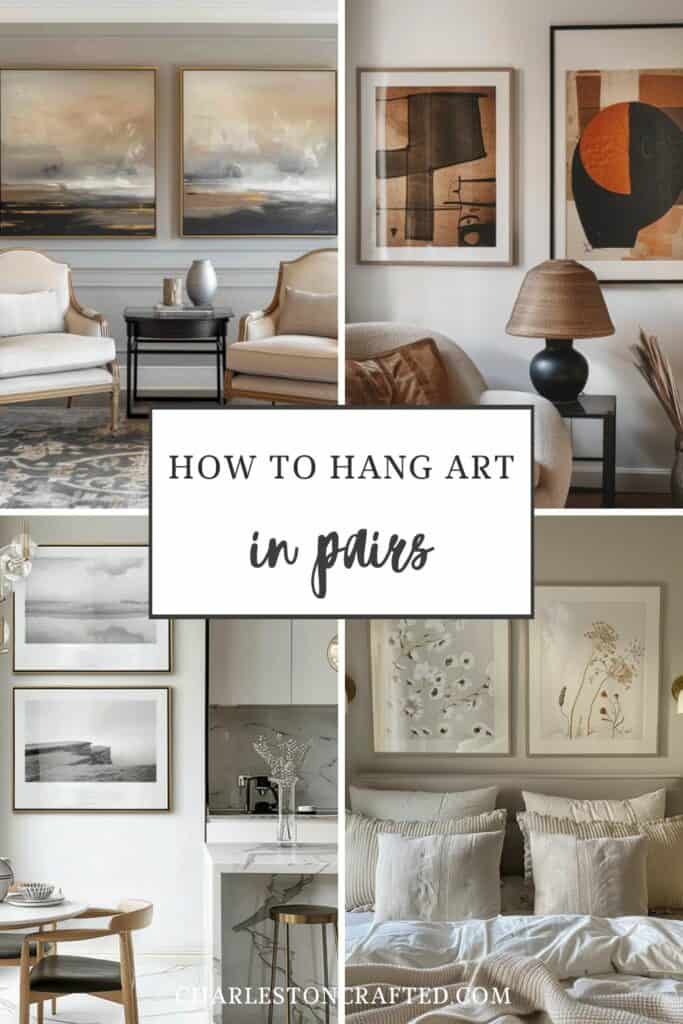
Learn how to hang art in pairs to create symmetry, focal points, and a cohesive look in your home. This guide covers everything from selecting the right pieces and finding color harmony, to the best layouts for arranging your art beautifully.
Hanging art is one of the easiest ways to make a home feel personal. Whether you are hanging framed family photographs, an heirloom painting, or some thing that you found at the thrift store that just really speaks to you, wall art has a huge impact.
Lots of people hang gallery walls when they have tons of art to display. And of course you can always hang one piece of art on a wall. But what about art wall art that falls somewhere in between those two things?
Today I want to take a look at the idea of hanging art in sets of twos and give you some inspiration for beautiful layouts and pairing ideas for pairs of art work.
The Rule of Threes in Decor
Typically when decorating, you hear about the rule of threes. This is the idea that accessories and decor should be grouped into sets of 3 (or, in the very least, odd numbers).
Ideally, you will have 3 objects of different sizes: #1 taking up 60% of the visual space, #2 taking up 30% of the visual space, and #3 taking up 10% of the visual space.
I always recommend following this best practice, especially when styling shelves and arranging smaller decor on tabletops.
While odd numbers capture the eye, you can still get away with pairings in certain circumstances. And one of those circumstances is wall art!
When Two Works Better Than Three
The Rule of Threes isn't a hard rule. There are some situations when pairs work just as well.
Creating Focal Points
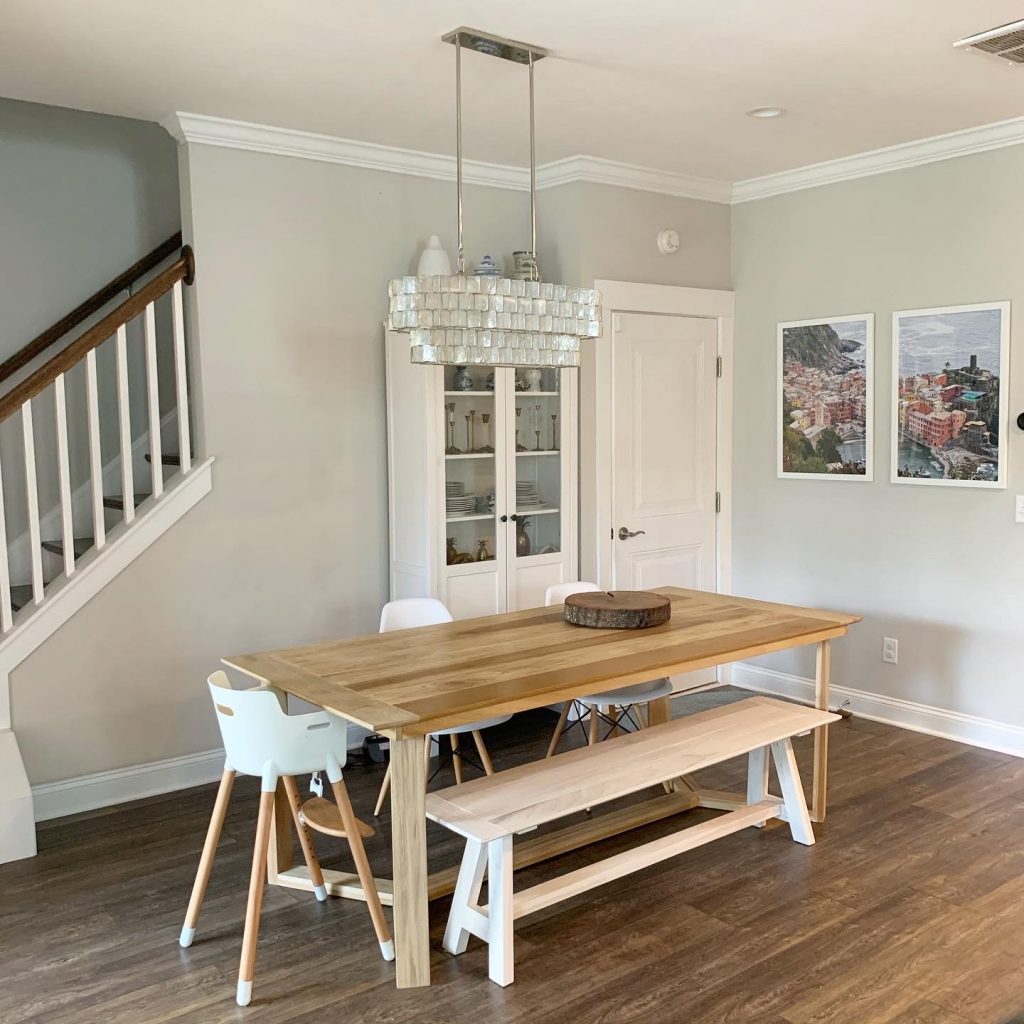
Paired artwork can be used to create a strong focal point without being as busy as a gallery wall. This is a great way to create a large statement with smaller pieces, if you don't have any one piece of art that is large enough to hold its own.
Leaning into Symmetry
In symmetrical spaces, there is no better solution than a pair of matching artwork. I love symmetrical decor especially in a formal room - such as matching art over armchairs in a formal library.
Minimalist Spaces
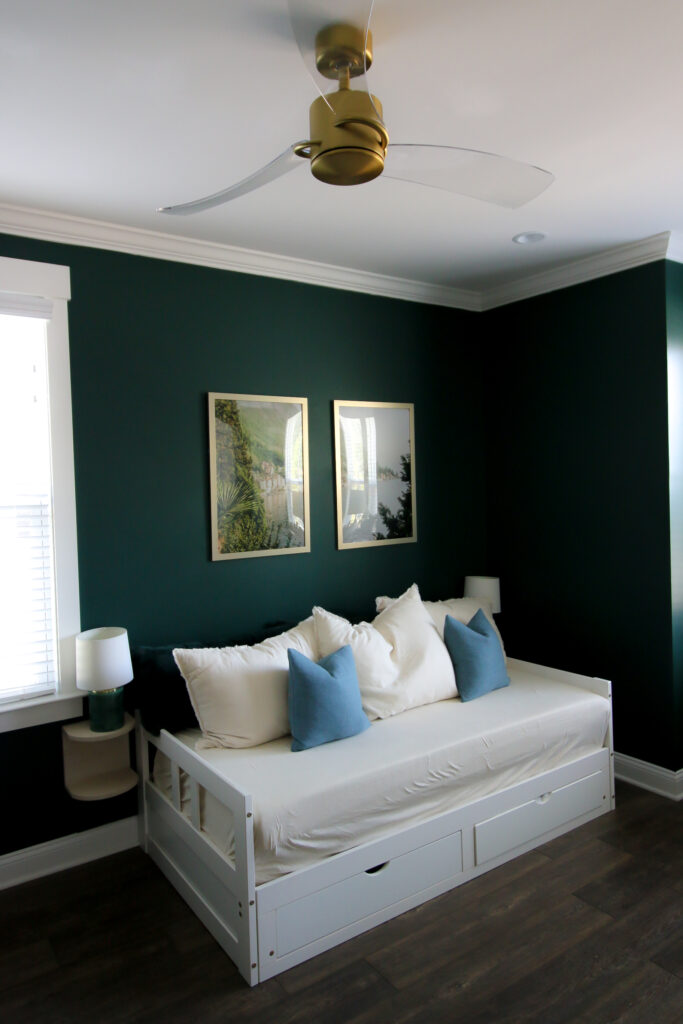
Another case when pairs of art works great is in minimal spaces. While a blank wall can look unfinished and a gallery wall can look busy, a stacked pair of art pieces can give a space a finished feeling - without feeling busy or overwhelming.
How to Pair Art
If you are going to pair 2 pieces of art, it is important that they flow well together. You can match or mix and match, if you do it strategically.
Remember: the two pieces of art need to relate to each other in some way. This could be color, style, aesthetic, or even the frame. If they are totally random, it will feel totally random.
Here are some things to consider when choosing art to pair together!
Color Harmony
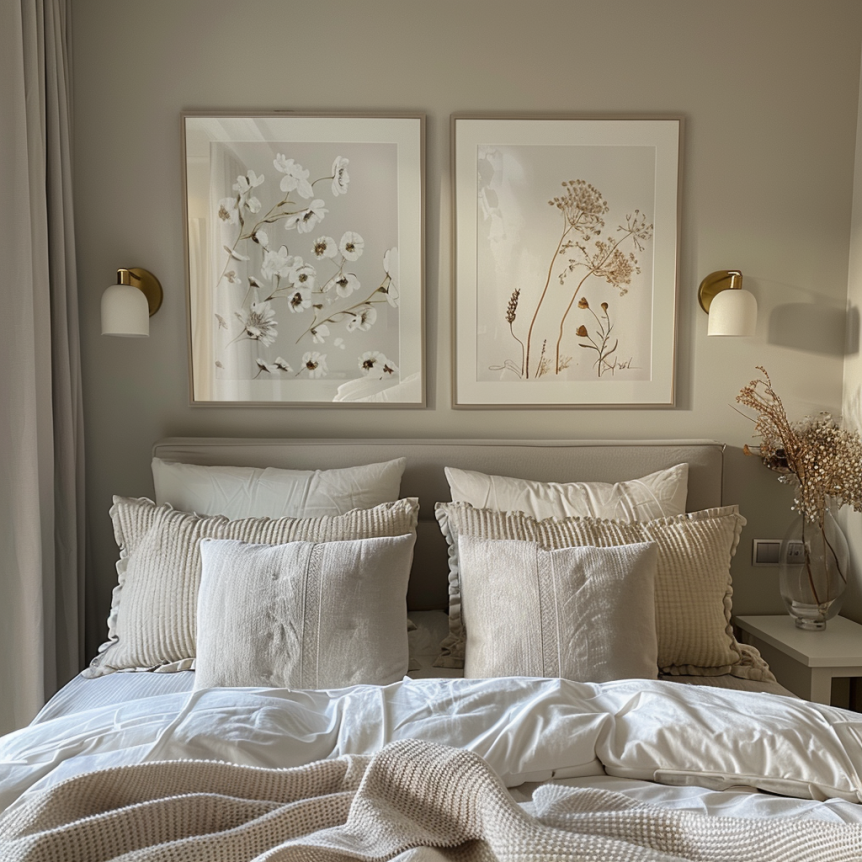
In general, it is best if you're hanging multiple pieces of art that they have a cohesive color scheme. This doesn't mean that they need to match exactly, but they should have similar colors throughout.
Maybe one is mostly blue with a little accents of pink, and the other is mostly pink with accents of blue.
That's a great way to get to pieces to go together without precisely matching them.
Definitely pay attention to the overall undertones of the colors in your art. If one piece feels cool, toned and the other piece feels warm toned, they might feel like they clash.
Matching vs Mix and Matching
Of course, one of the easiest ways to hang a pair of art is to have two very very similar pieces. This could be art by the same artist, photos from the same photo, shoot, or even a picture, split in half to create a diptych.
If you are new to matching art, using one of these methods is the easiest way to make it work!
Matching Frames
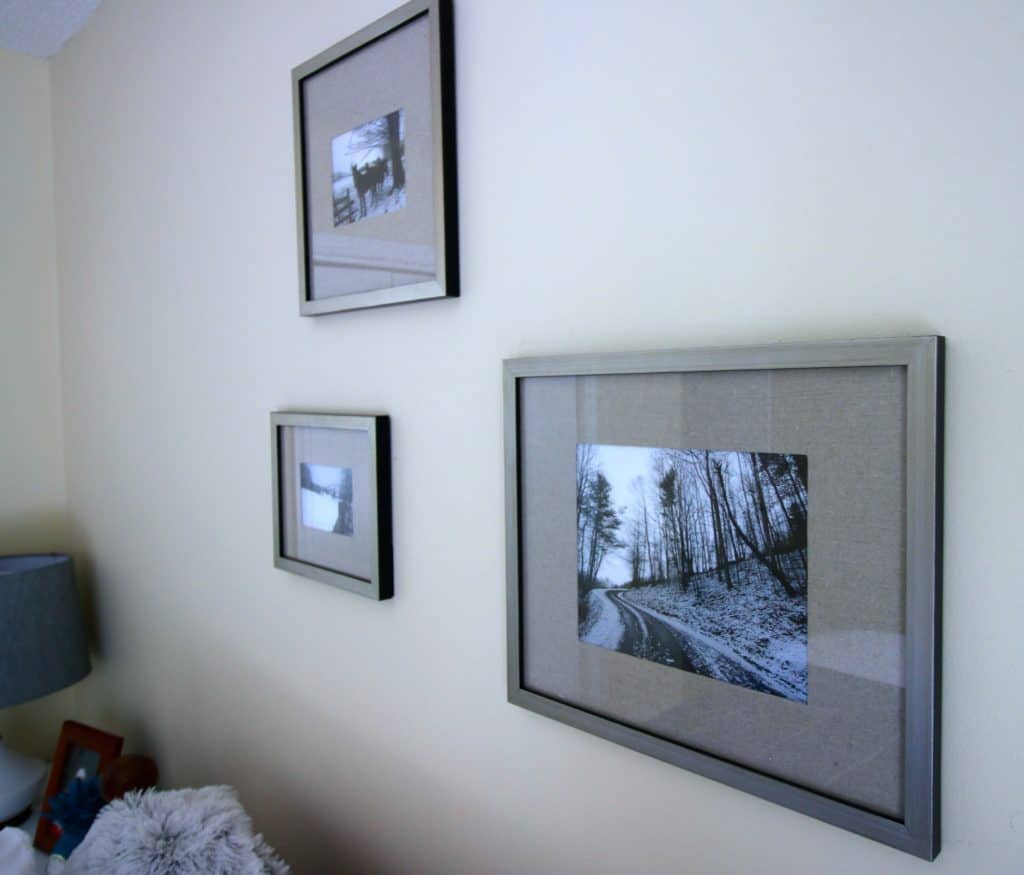
One of my favorite ways to bring pieces together that might otherwise feel kind of random is to put them in a matching frame.
You'd be surprised how to pieces of art that are totally different, but have a similar color aesthetic put into the exact same frame, even in different sizes, can suddenly feel like they were always meant to be a matching set.
The Best Layouts for Hanging Art in Twos
There are several options for hanging art in 2s. This will of course depend on the size of art you are hanging, but hopefully these ideas will inspire you!
Symmetrical Arrangements
If you have identical pieces and want a balanced look, hang them symmetrically. For a symmetrical look, you have basically 2 options:
Two frames stacked
Stacking your artwork can draw the eye up and fill a narrow space in an interesting way.
This is the easiest way to hang two pieces of art and be guaranteed it looks good - assuming that the pieces are large enough for the wall that you are hanging them on.
How far to space stacked art
Generally, you want to allow 3-6 inches of space between the frames of stacked artwork. Adjust this up or down depending on the size of your art and wall. Smaller art should be closer together than larger art.

Two frames side by side
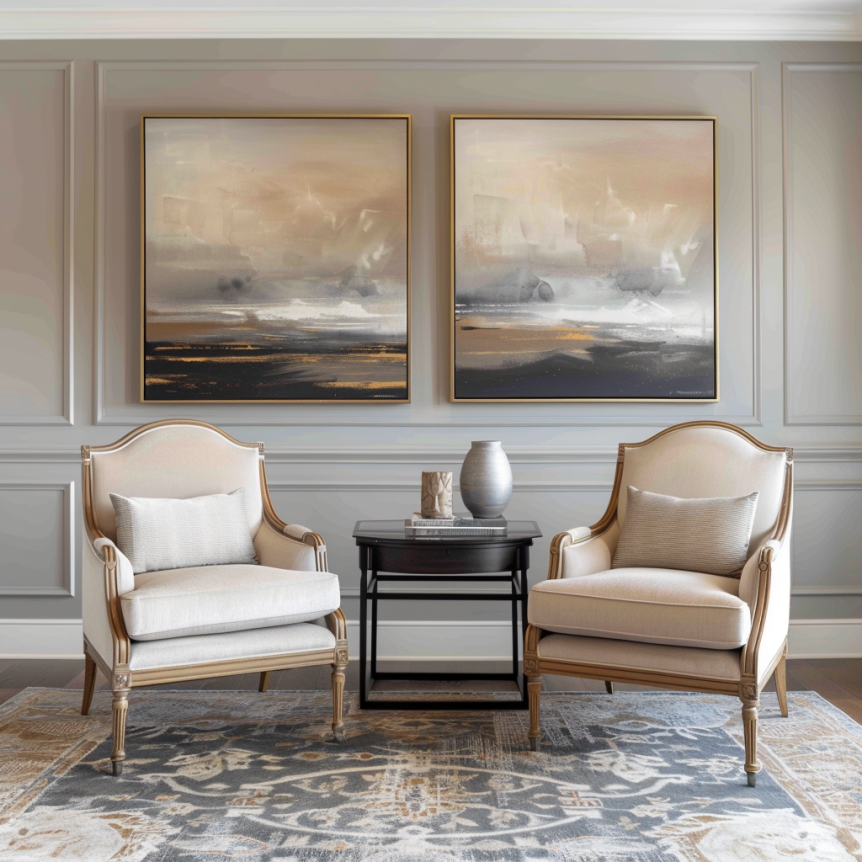
You can also hang art symmetrically side by side. Generally, this is best centered over something - such as a side table.
I love this look. Consider adding picture lights overtop for an even more formal aesthetic.
How far to space frames hanging next to each other
You have a bit more wiggle room on spacing art hanging next to each other. You want at least 3 or 6 inches, but instead of focusing on the spacing, focus on centering them in the space and over a central focal point.
Asymmetrical Options
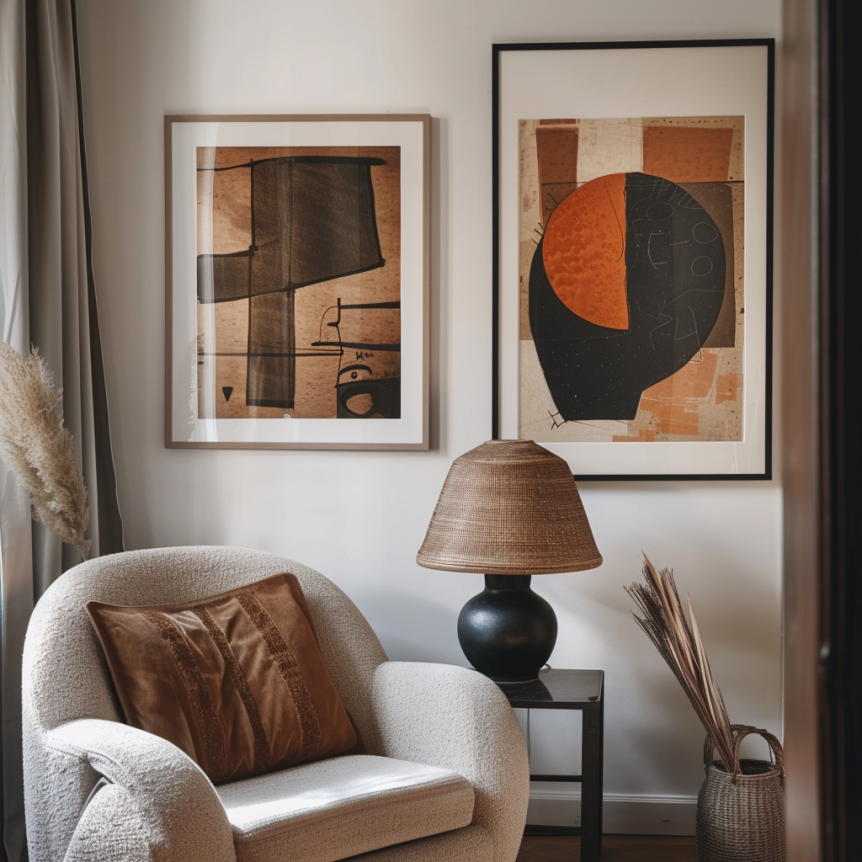
You can also hang your art in an asymmetrical way. This is the way to go if your art is different sizes or orientation.
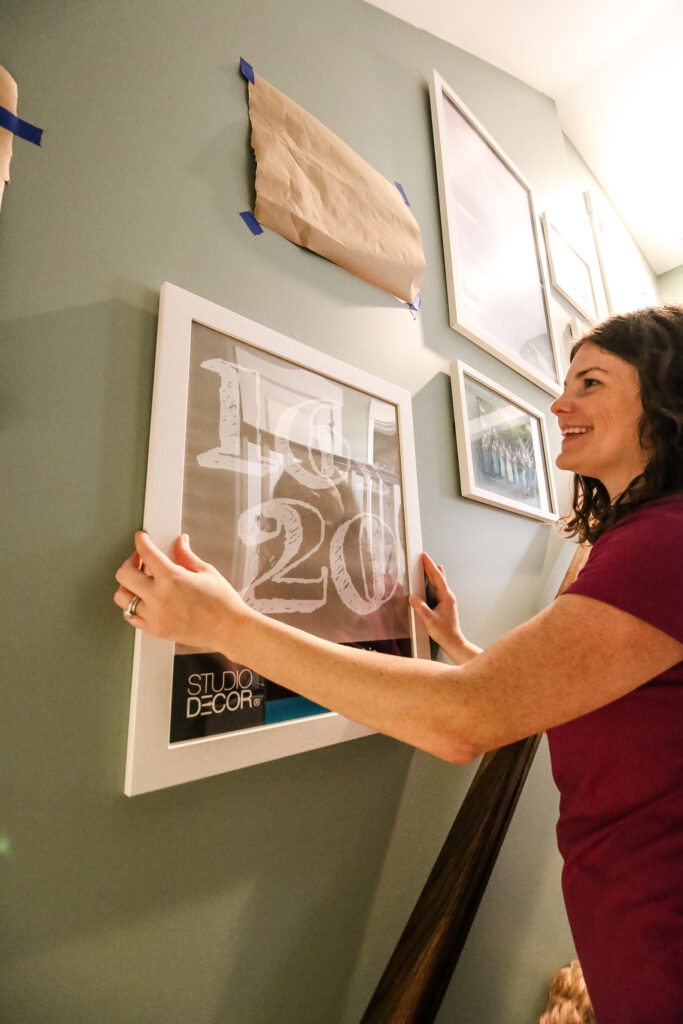
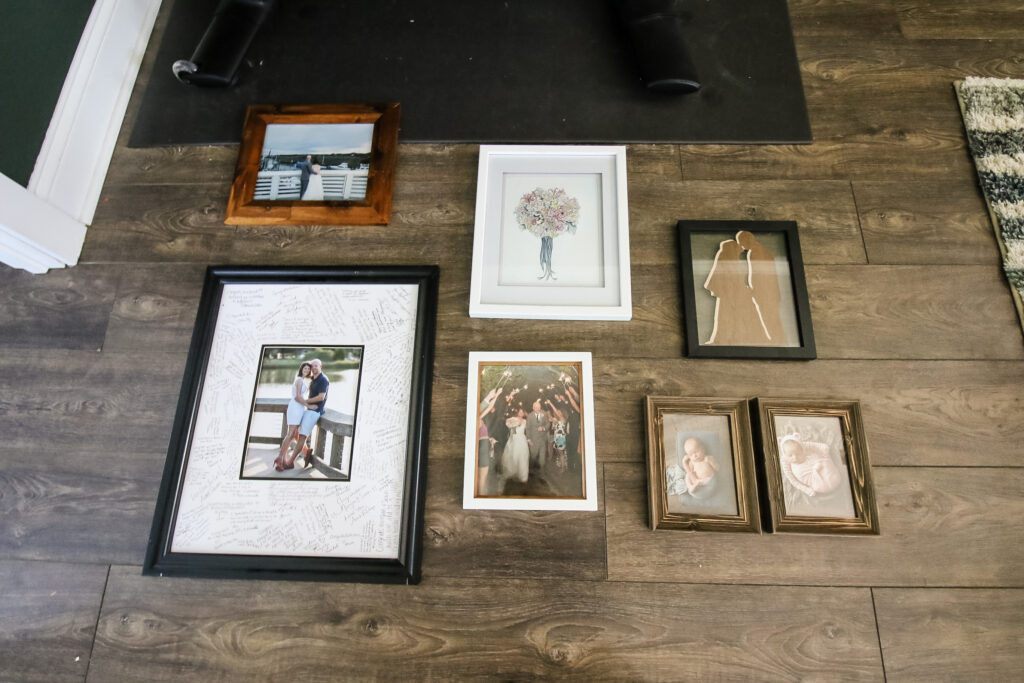
In this case, you want to play around with groupings of the art - I like to move them around on the floor until I settle on a look I like. Then, hang them on the wall, and treat is visually like 1 piece of art.
That means that ideally the center point of the arrangement will hit about 60 inches from the floor.
Committing to your choice
Art is a hugely personal choice. The art that you hang and how you hang it should be a reflection of you and your personal aesthetic.
Hopefully these tips will help you to assess your collection, curate some beautiful art pairings, and hang them up in a way that excites you!
Free printable project planner
Need help getting organized? Our free printable DIY project planner will help you get it all organized and planned on one page!
Looking for something?
We've been doing this since 2012 so we have a LOT of blog posts!
Search stuff like: Ceiling Projects | DIY Plant Stands | Thrift Flips


Hello, I'm Morgan, half of the creative force behind CharlestonCrafted.com! With a passion for DIY that dates back to 2012, I've transformed three homes and now I'm dedicated to helping others craft their dream spaces. Let's turn your house into a home together!


