For most of us cat parents out there, where we place the litter box can be a challenge. You want to place it somewhere the smell won’t be noticeable and the box itself won’t clash with your home’s aesthetics.
Most importantly, you want it to be accessible to the little cat even if it’s behind closed doors! That’s why today we’ll teach you how to install a cat door on an interior door to solve your litter box problem!
So, if you place the litter box in the closet or your laundry room, get ready to make a little door for the cat. Let’s begin!
Are you wondering how to handle your litter box? Here are our favorite DIY litter boxes!
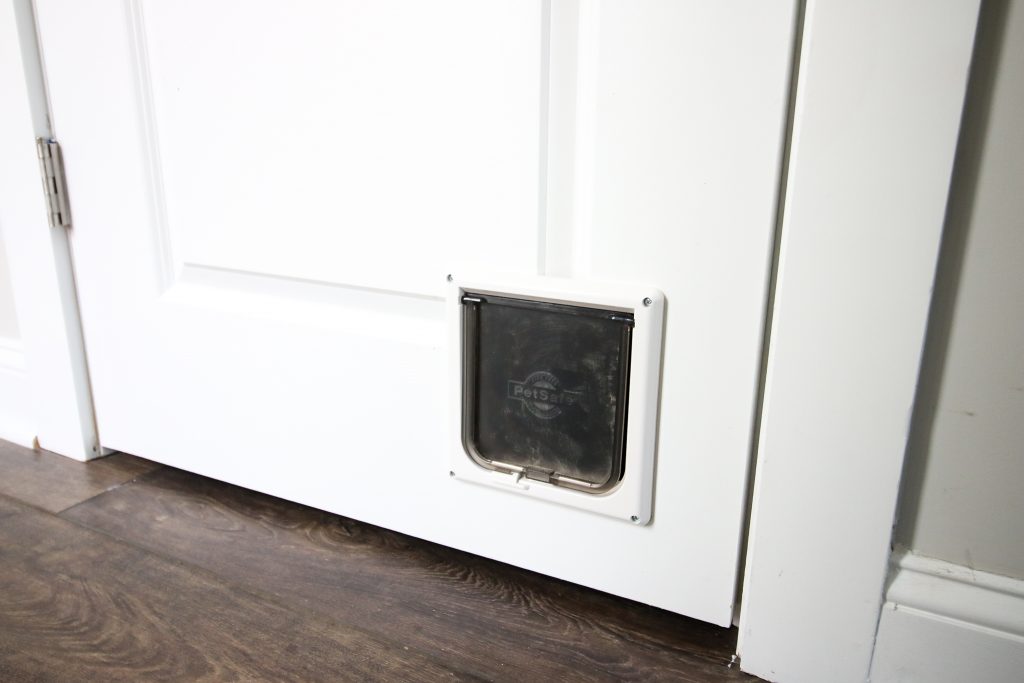
How to Install a Cat on an Interior Door
| Active time | Additional Time | Total time | Difficulty | Estimated cost |
| 20 minutes | 5 minutes | 30 minutes | Easy | $20-50 |
Most interior doors are hollow-core doors and are just panels. This means it’s very simple to cut through these.
However, if you have a solid wood door, you’ll need to use a little more force to cut through the door, but the steps for the cat door installation are the same.
Tools You’ll Need to Install the Cat Door
- Pencil
- Cat door installation kit for an interior door (this is the best cat door we could find for a hollow door)
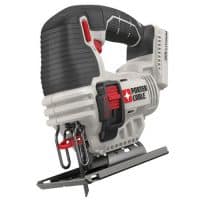
- Jig saw
- Drill with ½″ drill bit
- Measuring tape
- Protective gear (such as safety gloves and goggles)
Steps to Install a Cat Door:
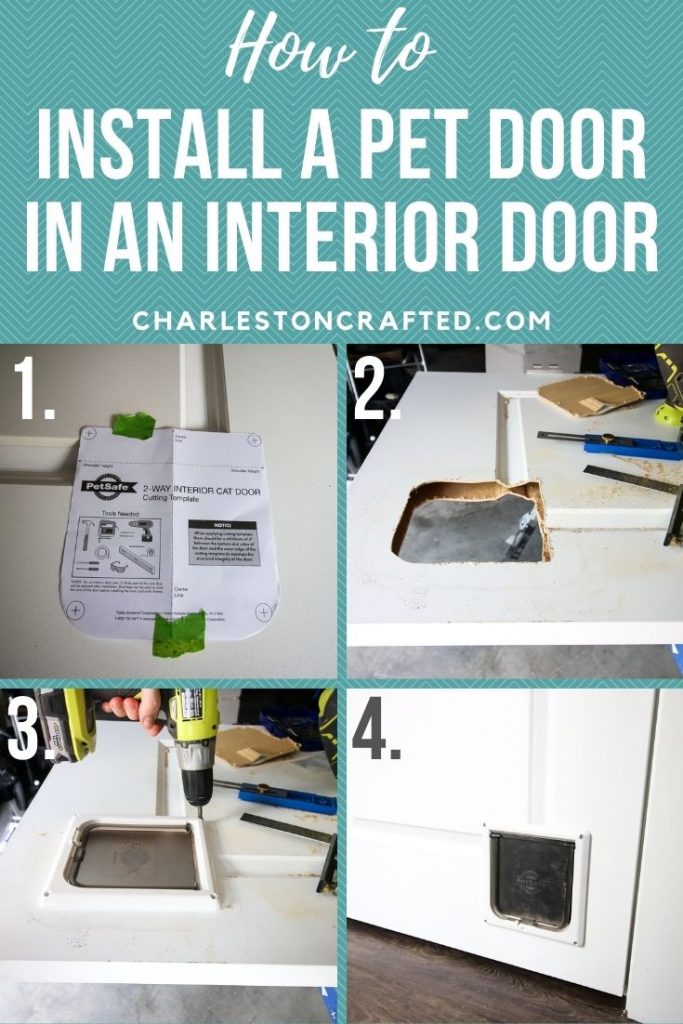
- Carefully remove the door from the hinges.
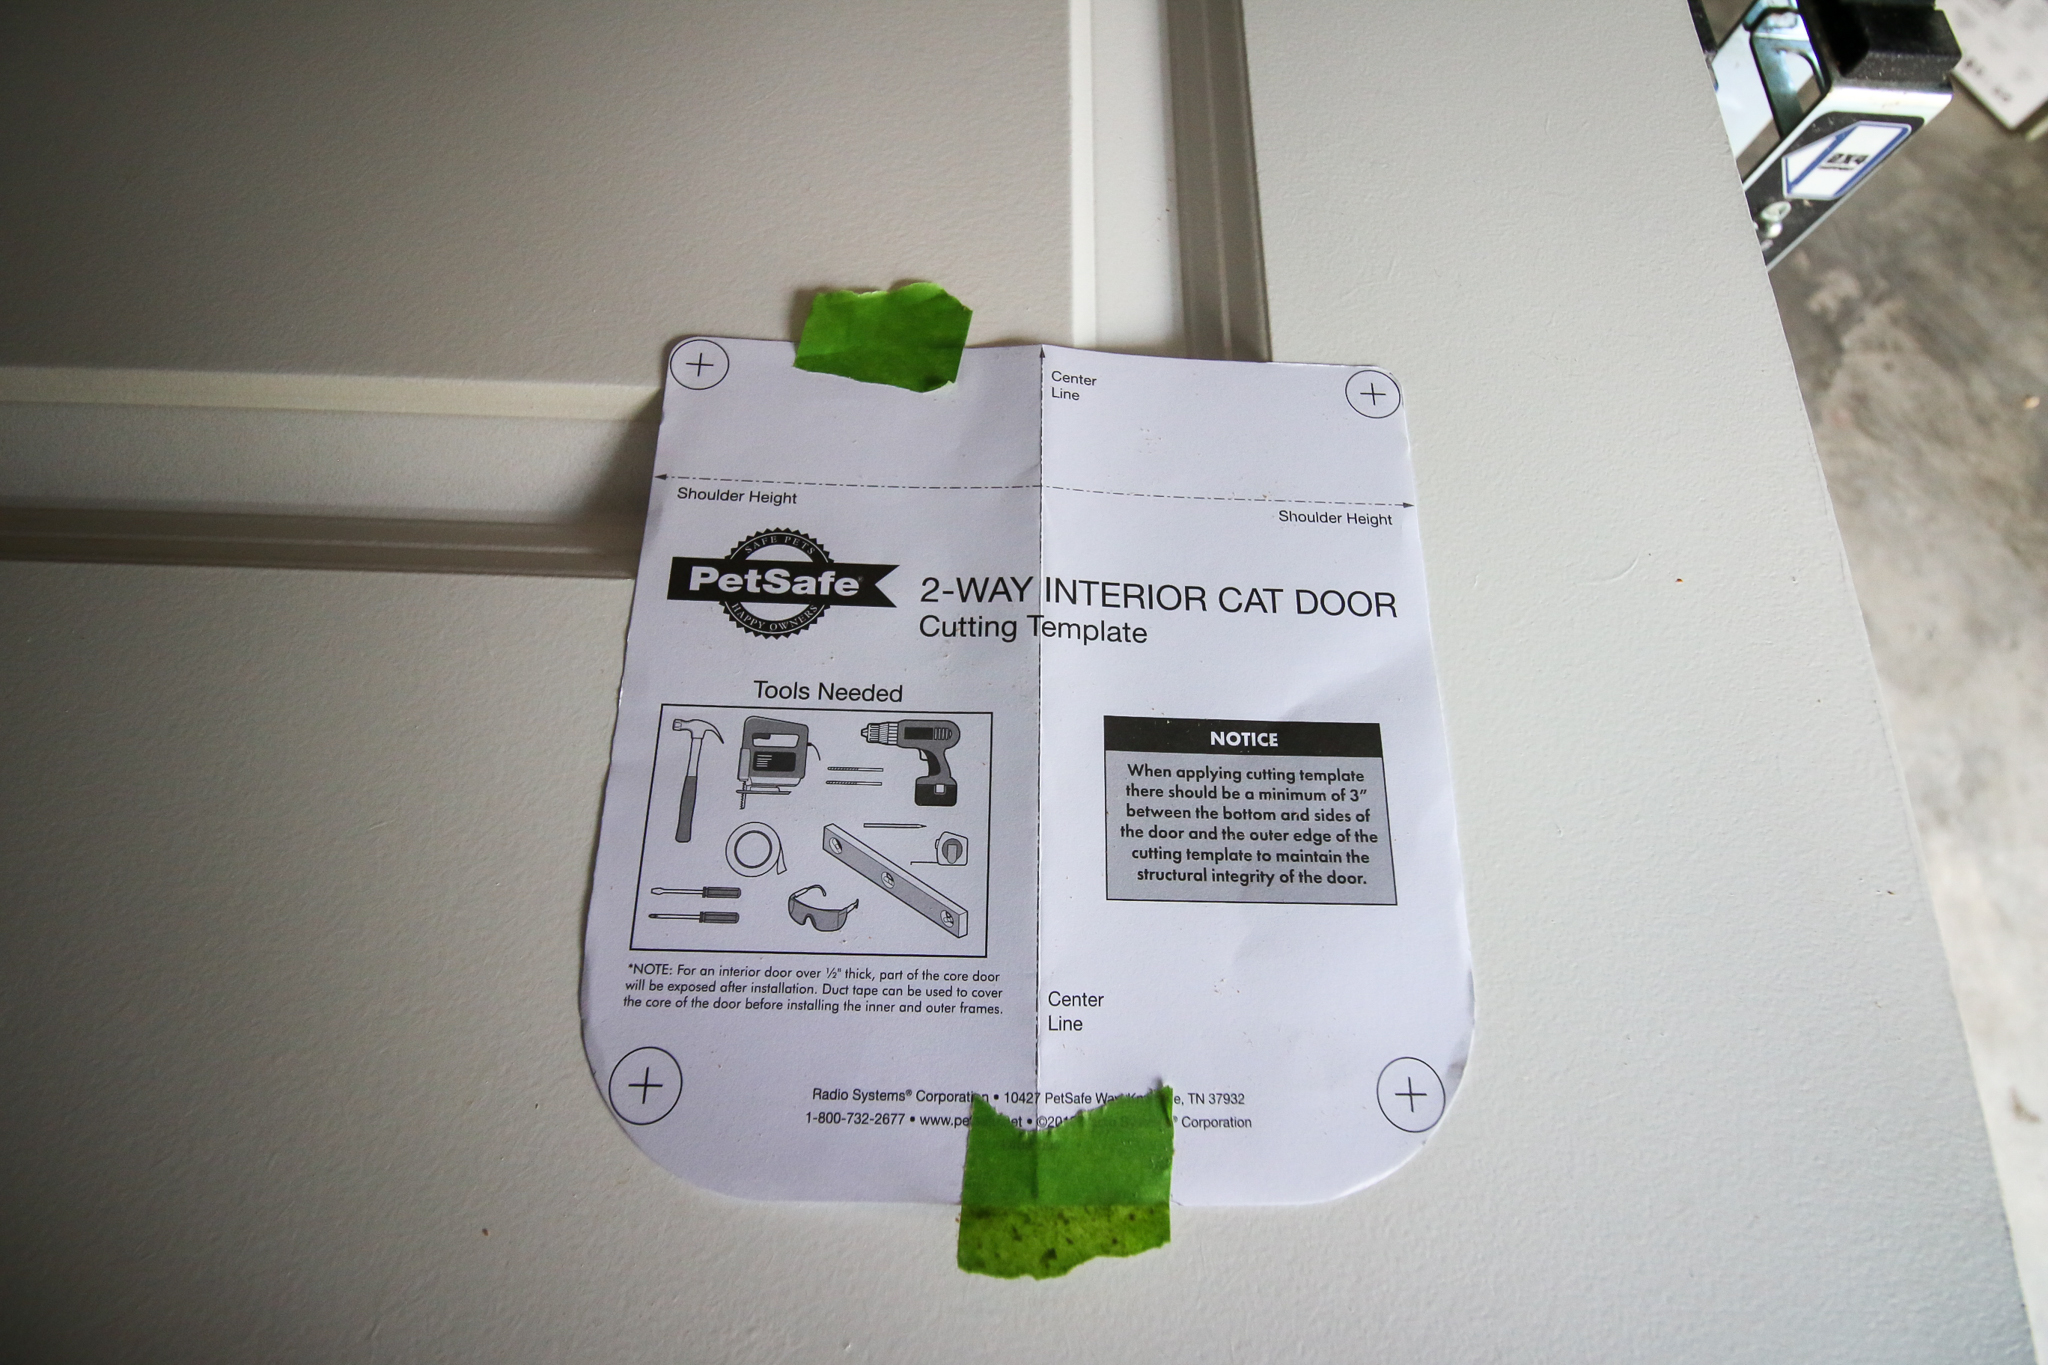
- Trace the door using the template that comes with your cat door kit. Ensure it’s at least 3″ from all door edges.
- Drill all the way through the door into one corner at the edge of the tracing.
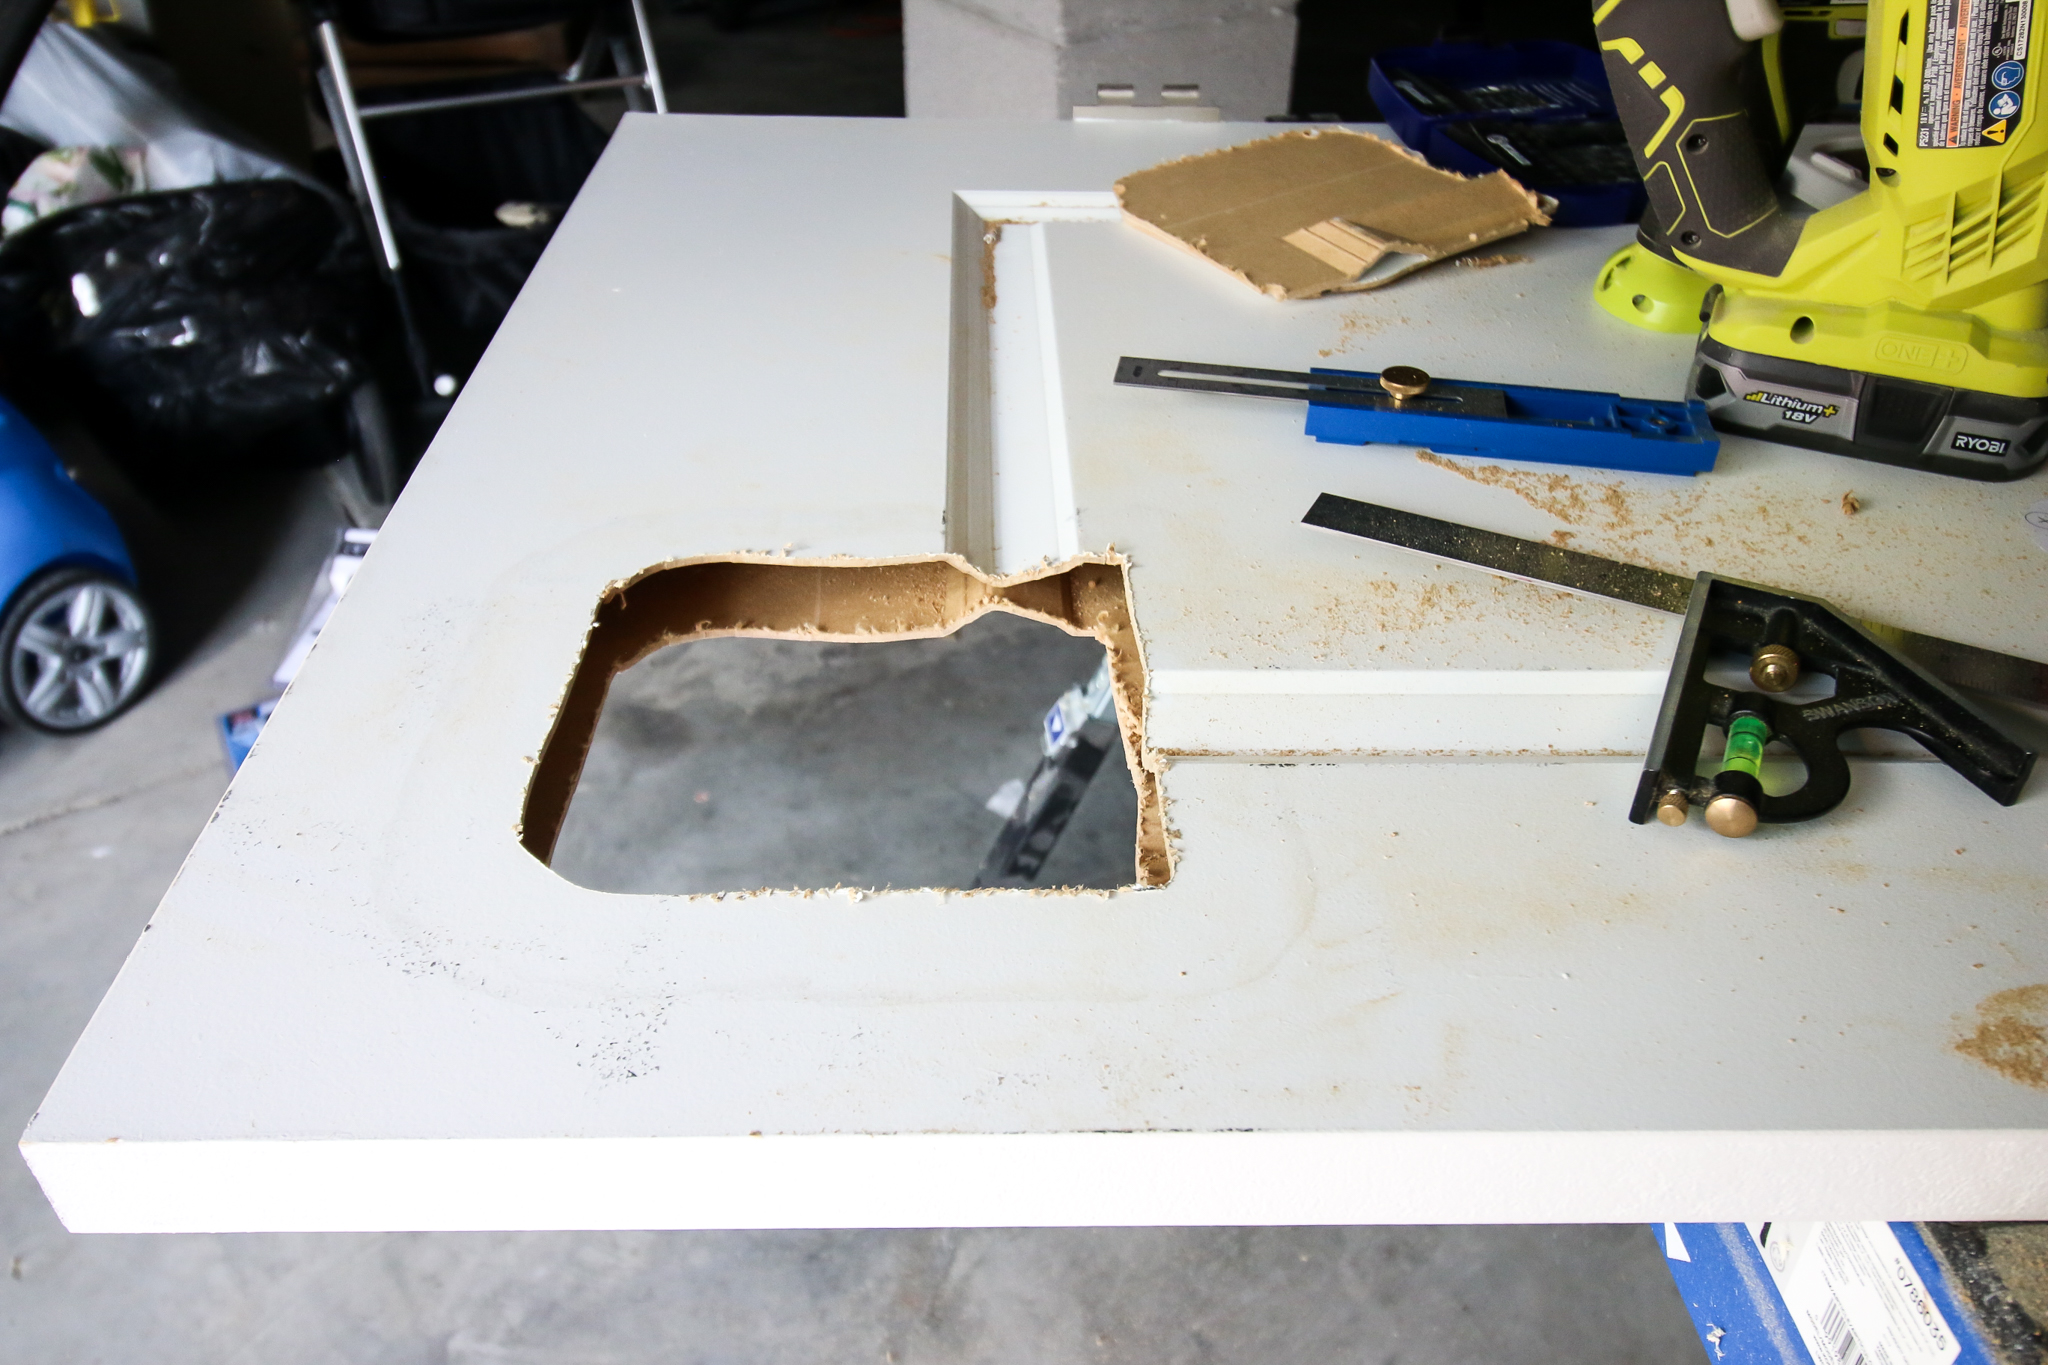
- Use the jigsaw to cut along your tracing, creating the hole for your door.
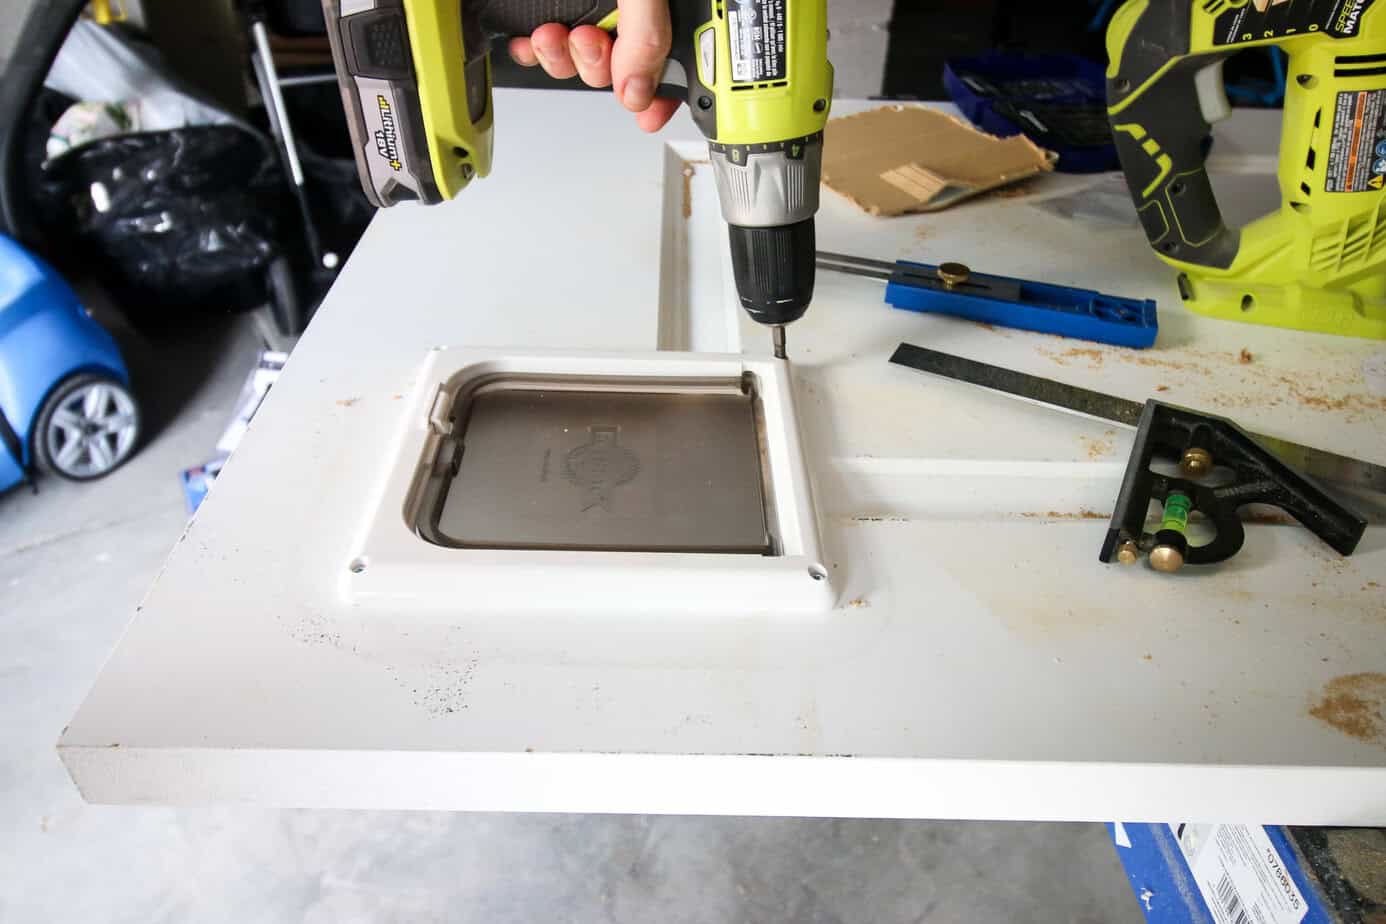
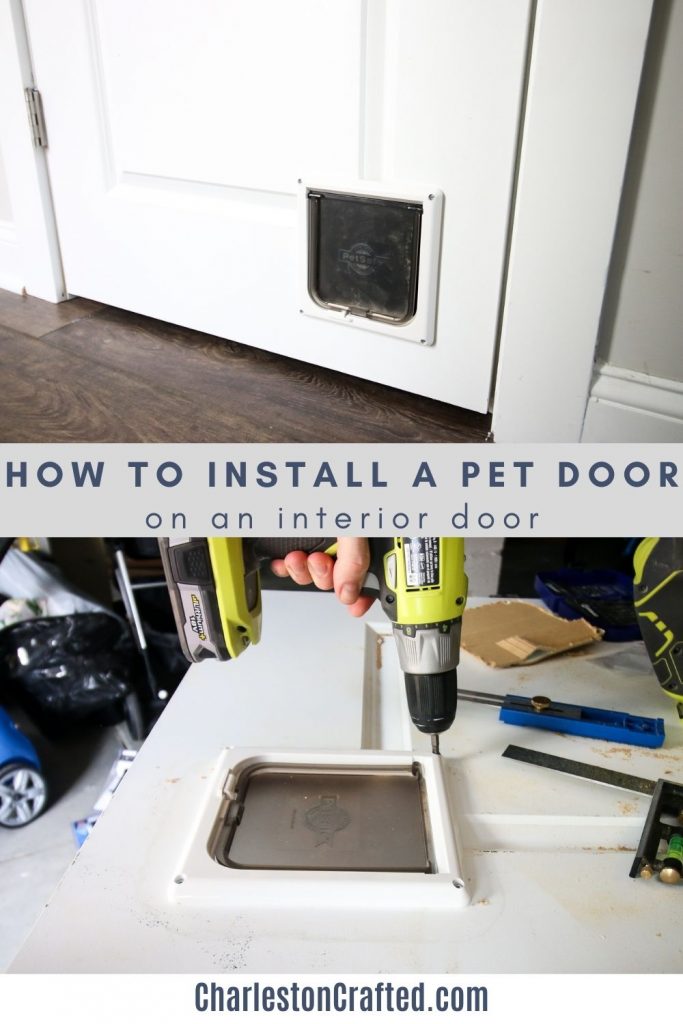
- Insert the two sides of the cat door into the holes on each side of the door. Affix to the door using screws as directed.
- Install the cat flap if desired.
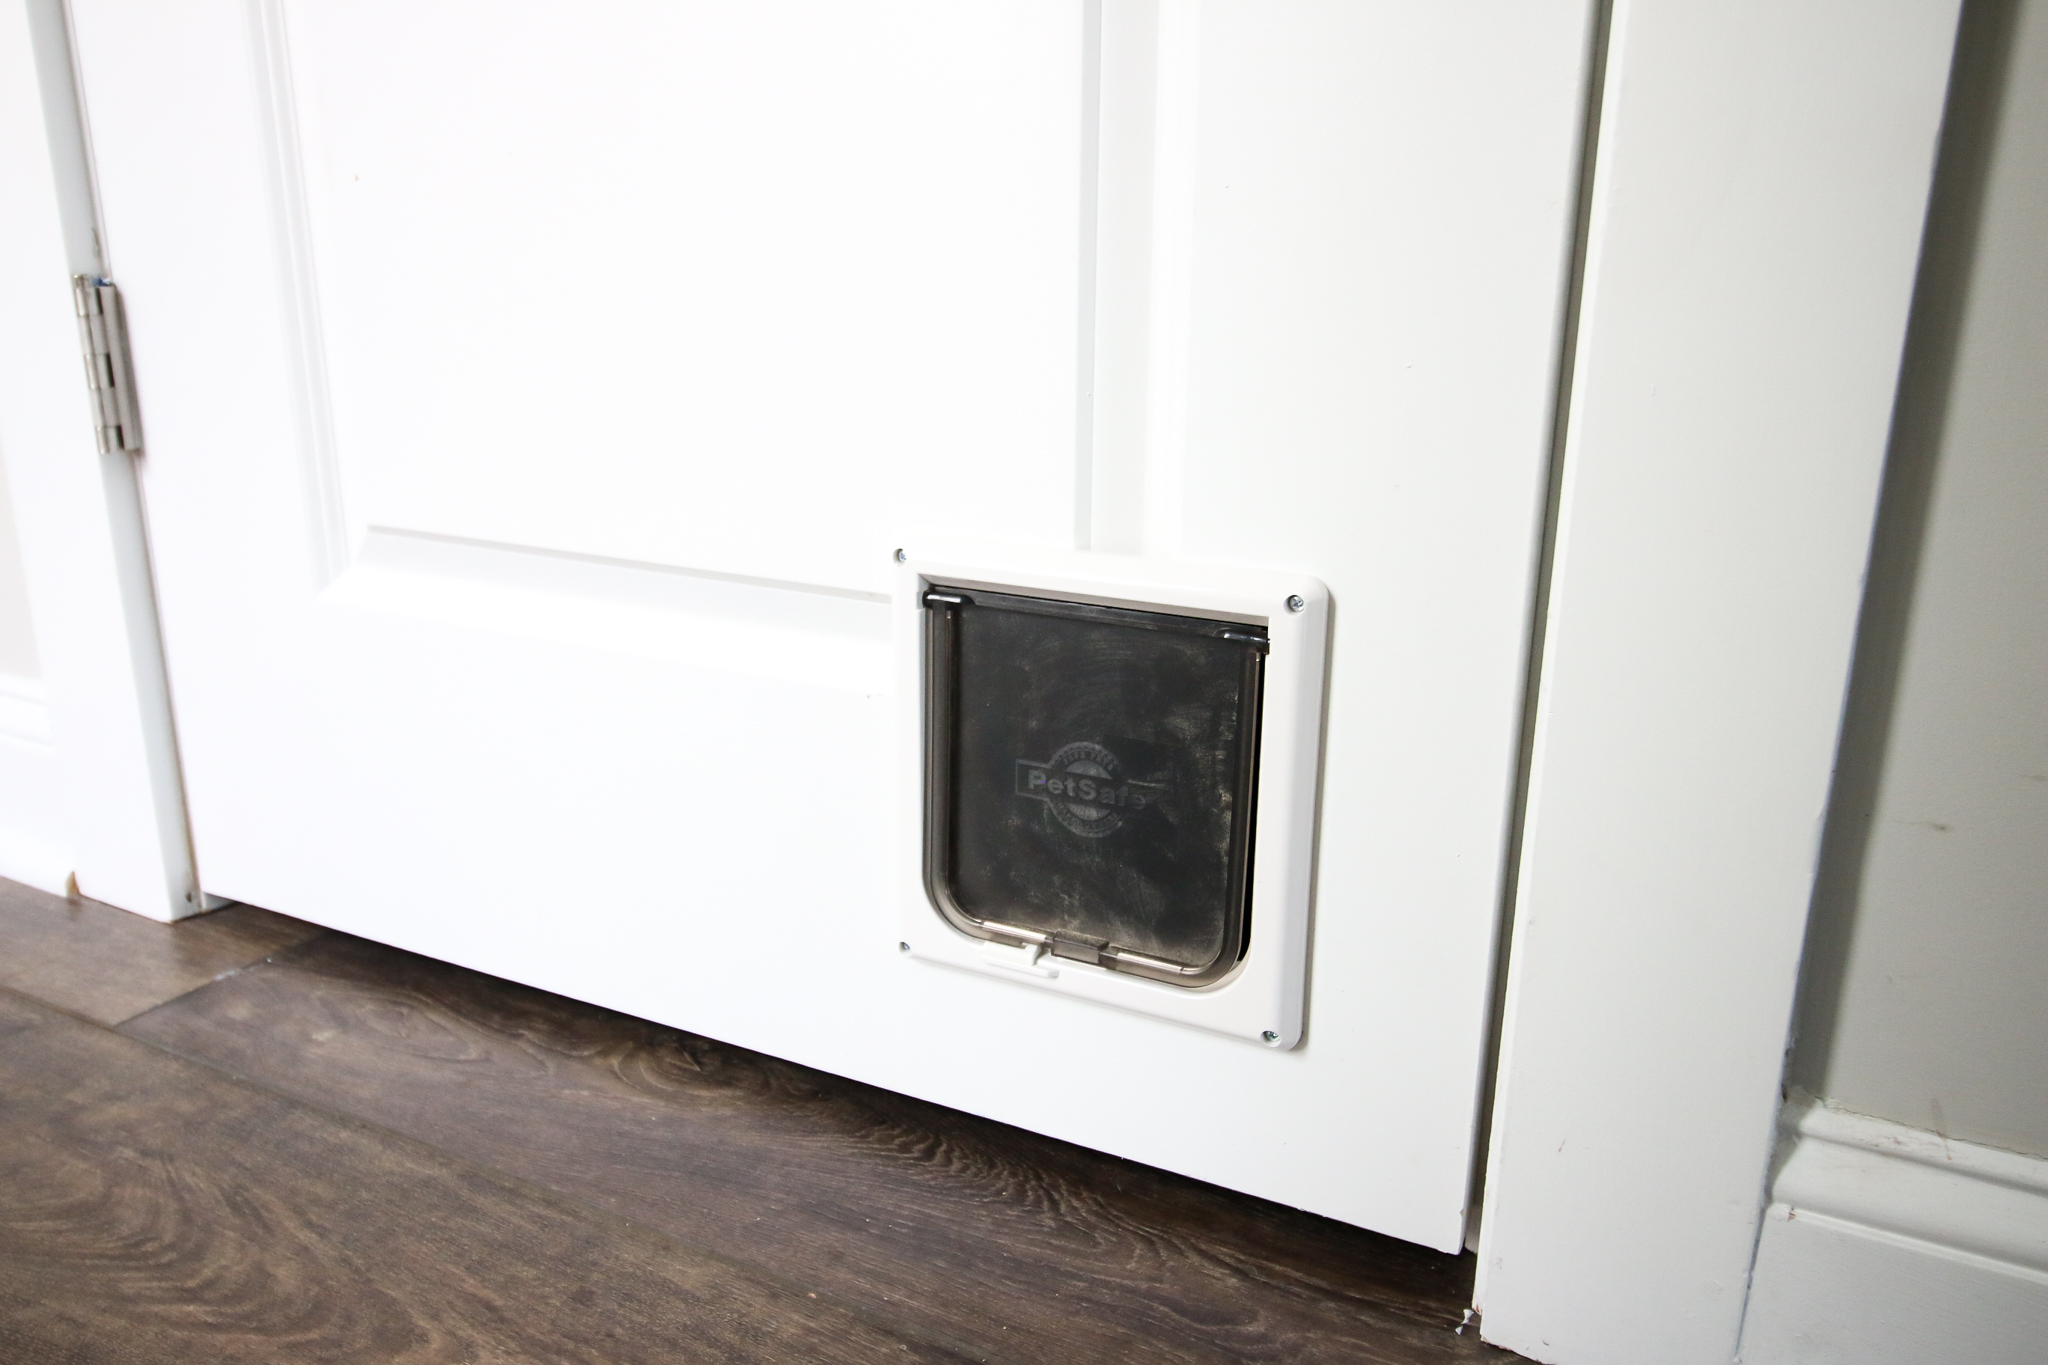
- Rehang your door and watch your cat go in and out without help!
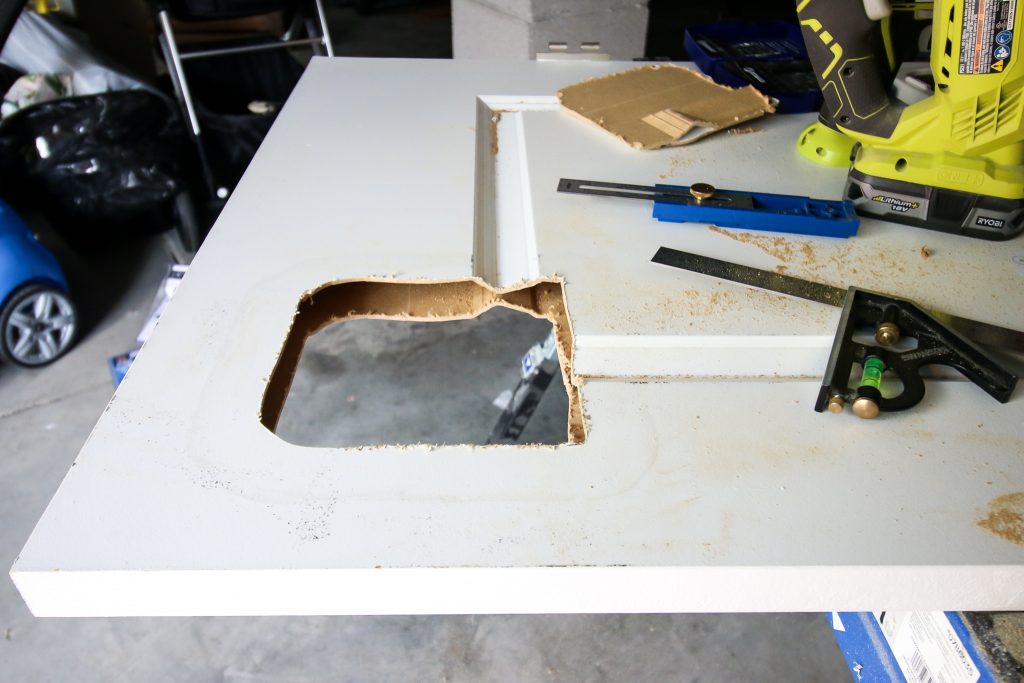
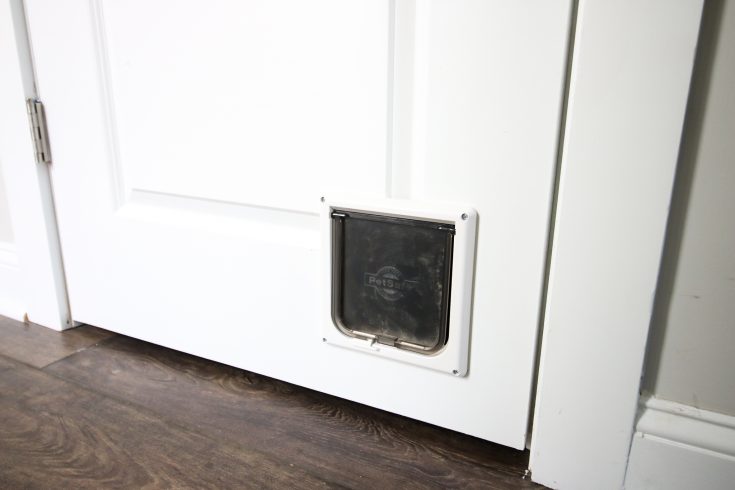
How to install a cat door on an interior door
It's incredibly simple to install a cat door on an interior door of your home in order to hide your litter box from view and allow your cat to use it. Cutting a hole in the door is easy and a cat door installation kit will pop right into the hole.
Materials
- Cat door installation kit
- Door in your home
Tools
- Jigsaw
- Drill
Instructions
- Remove your door from the hinges.
- Trace the cat door using the template in the kit.
- Drill a hole in one corner of the tracing.
- Use a jigsaw to cut out the tracing.
- Install the two sides of the cat door with the provided screws or adhesive.
- Rehang your door.
Recommended Products
As an Amazon Associate and member of other affiliate programs, I earn from qualifying purchases.
How to Install Cat Door Without Jigsaw
Installing a cat door without a jigsaw isn’t impossible. You’ll have to follow the same steps but replace the jigsaw with a handsaw or a strong utility knife. Here’s how:
Tools Required
- Pencil
- Measuring tape
- Cat door installation kit for an interior door
- Drill with ½″ drill bit
- Handsaw or a strong utility knife
- Protective gear
Steps to Follow:
- Remove the door from the hinges.
- Trace the door with the cat door kit template. Keep it around 3″ from all door edges.
- Drill through the door into one corner at the edge of the tracing.
- Use the handsaw or utility knife to cut along your tracing, creating the hole for your door.
- Insert the two sides of the cat door into the holes on each side of the door. Affix to the door using screws as directed.
- Install the cat flap if desired.
If you don’t have anything to saw with at all, then your chances of cutting through the door are incredibly slim, especially if it’s solid wood.
All you can do in this case is use a cat door latch until you have the required tools. This buddy latch can keep the door ajar for the cat to come in and out as it pleases.
The Best Height for a Cat Door
Of course, not all cats are the same size. From the slim Siamese cats to the regal main coons, your pet door will need to be sized for your particular pet.
To do so, you’ll need to follow the steps below:
- Measure from the floor to the top of your pet’s shoulder blades when they’re standing on all four legs.
- Add an extra two inches to that number.
- Measure from the floor to the top of your pet’s elbow when they are standing on all four legs.
- Subtract the second number from the first. This is the minimum height of door you need—from knee to shoulder since they‘ll bend and lift at the knee.
- Measure your pet’s width at their widest spot. This is the minimum width door you need.
- Look for a door that can accommodate the height and width that you calculated for your pet.
Important note: if you have a young pet, factor in what their full-grown size will be! For example, a female main coon starts at 6–9.2 lbs when they’re just five months and can grow up to 10–15 lbs as they age.
How to Install a Cat Door Without a Template
If your cat door doesn’t include a template, there’s no need to panic!
Bring your required tools, and start by tracing the inner edge of the sides of the door and cutting that out.
If you’re installing a cat door without an installation kit, you’ll need to cut a hole large enough for your cat and then finish off the edges to make them smooth for your cat.
How to Get Your Cat to Use the Pet Door
Your cat will be a little bit suspicious of the door during the first couple of days, especially if it has a flap. It’ll sniff around it, maybe hit it with a little paw, but it won’t go through initially.
The trick here is to remove the flap entirely or install the door without it from the start. This can mean some extra work, as pet doors require you to unscrew frames to get to the flap.
Once you have the flap out of the way, though, your cat will be able to see inside and take tentative steps inside the room.
Once the cat gets used to the door, you can reinstall the flap and use treats or their favorite meal to coax them through the door.
Another trick is to open the flap with your hand and push your cat gently beneath it so it can get an idea of how it works. After a couple of times, your little pet will get used to it.
Frequently Asked Questions
Now that you know how to install your cat door, it’s time to look at some of the most common questions!
How much does it cost to install a cat door?
Pet doors are inexpensive to install. Most standard doors are under $20. You’ll also need a jigsaw. Take a look here for some tips to get inexpensive, yet super helpful tools!
Is it easy to install a cat door?
Absolutely! Pet door kits come with templates that make them relatively effortless to install. However, cutting your door is very permanent—you can’t un-cut it!
This means you need to steady your hands, take your time, and move slowly to avoid making any errors.
Can you install a cat door in a rental?
If you live in a rented home, you don’t want to cut your door as it’s technically not yours to cut. Instead, install a door like this one that’s designed to go in a sliding glass door or a pet door that goes right into your window.
How can you install a cat door in a sliding glass door?
You’ll need a door like this one that’s designed to go in a sliding glass door. It’s a great temporary option, too, since no cutting is required.
What kind of cat door can you install on an exterior wall instead of a door?
This cat door goes in a wall instead of a door—just keep in mind that it’s pretty hard to patch and repair if you decide you want to remove it in the future.
What kind of pet door can I install on a screen door?
This pet flap was designed especially to be installed on screen doors!
What kind of pet door can I add to a window?
This pet door goes right into your window—no cutting or complicated installation is necessary.
What jigsaw blade should I use for a hollow door?
Use a standard jigsaw blade for cutting wood if you’re cutting a wood or hollow core door. If you’re installing a metal door, make sure you use a metal-cutting one.
Any more questions?
Looking for something?
We've been doing this since 2012 so we have a LOT of blog posts!
Search stuff like: Ceiling Projects | DIY Plant Stands | Thrift Flips


Hey there, I'm Sean, the woodworking enthusiast and builder behind CharlestonCrafted.com! Since 2012, I've been sharing the magic of turning raw materials into beautiful creations. I love teaching others the art and satisfaction of woodworking and DIY. I try to inspire fellow crafters to make something extraordinary out of nothing at all.

