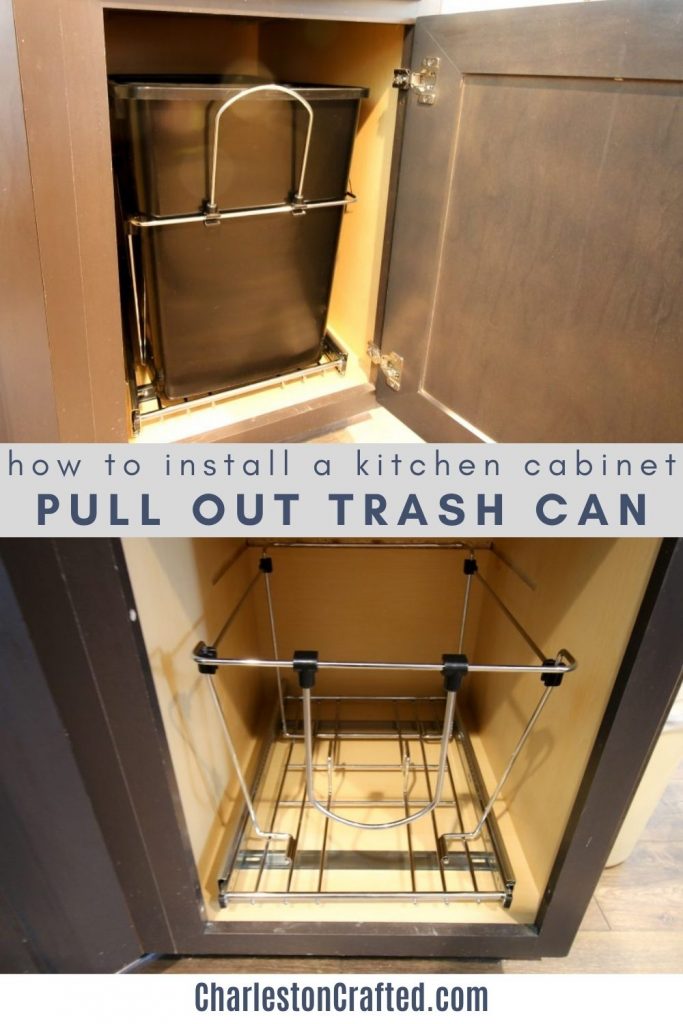
When we moved into our new home, we didn't have anywhere to put a trash can except out in the open. That wasn't going to work because of the dog and toddlers, so we decided to install a pull out trash can in one of our kitchen cabinets.
If you need a way to hide your trash can out of sight and can't fit it in your pantry, a pull out trash can kit can easily be installed in a cabinet.
If you're looking for something a little more custom, be sure to check out how we build a tilt-out trash can in our old home and installed it on the end of our cabinets.
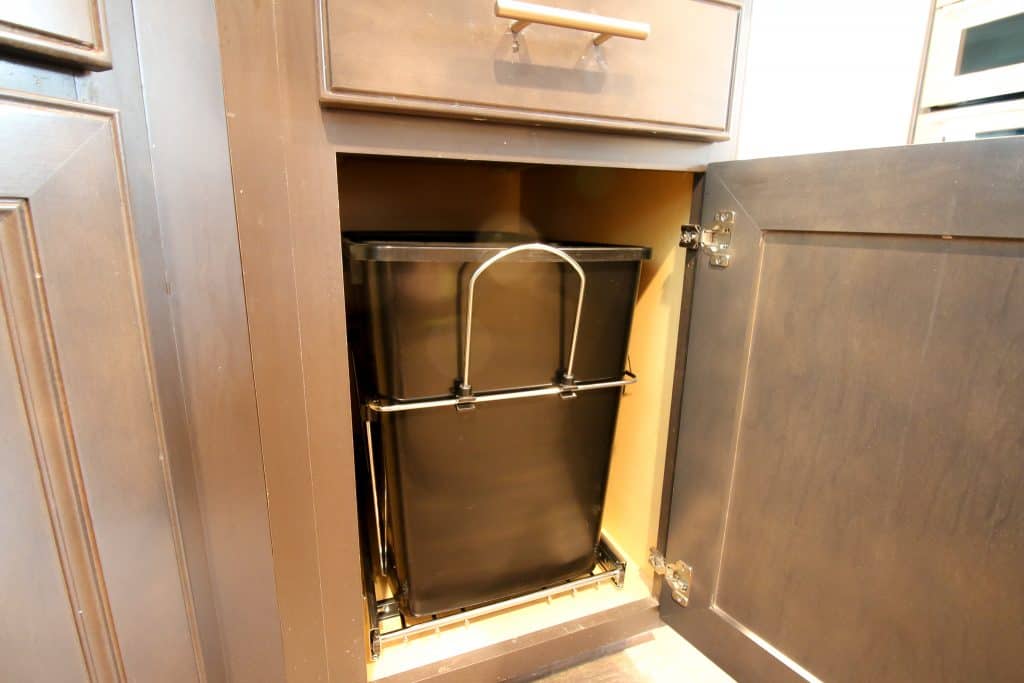
Installing a pull out trash can
It's really easy to install a pull out trash can in a kitchen cabinet.
What you'll need:
- Pull out trash can kit
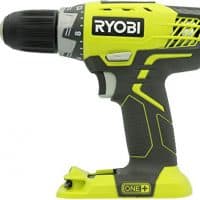
- Cordless drill
- Empty cabinet
We used the Rev-A-Shelf pull out trash can kit, which is available on Amazon and at The Home Depot. This kit is simple and snaps together in a few minutes.
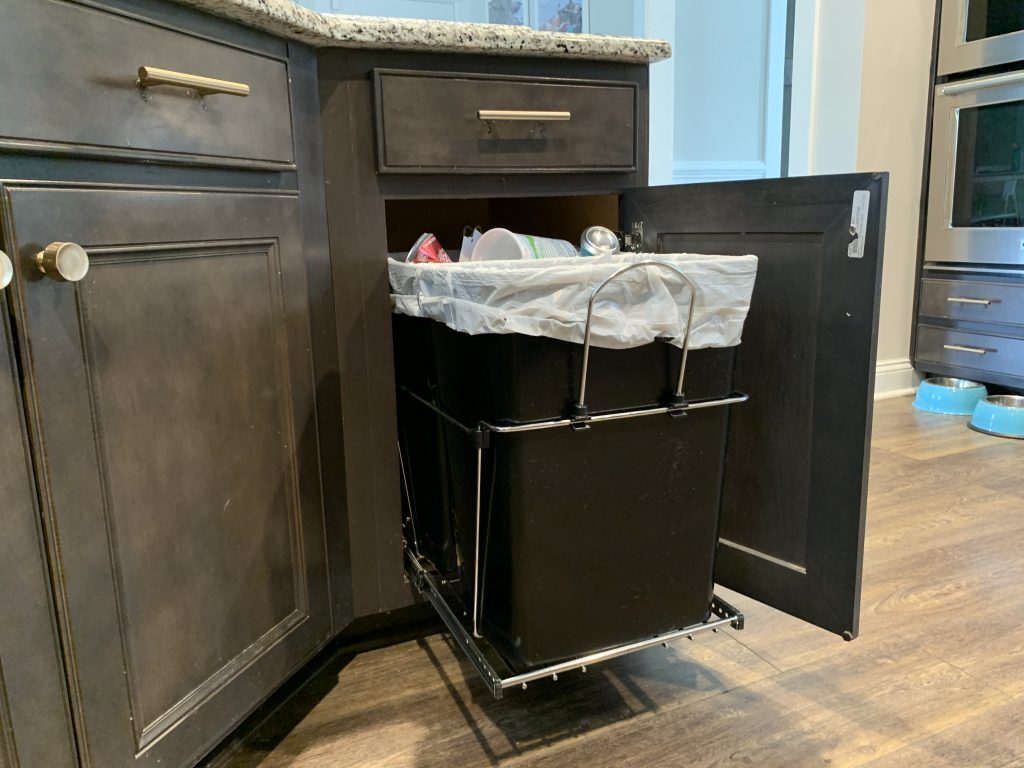
This specific kit has space for both a trash can and a recycling bin or 2 35 quart bins.
The first thing to do is measure your cabinet. Make sure that your cabinet is wide enough and tall enough to fit the dimensions listed in the pull out trash can kit.
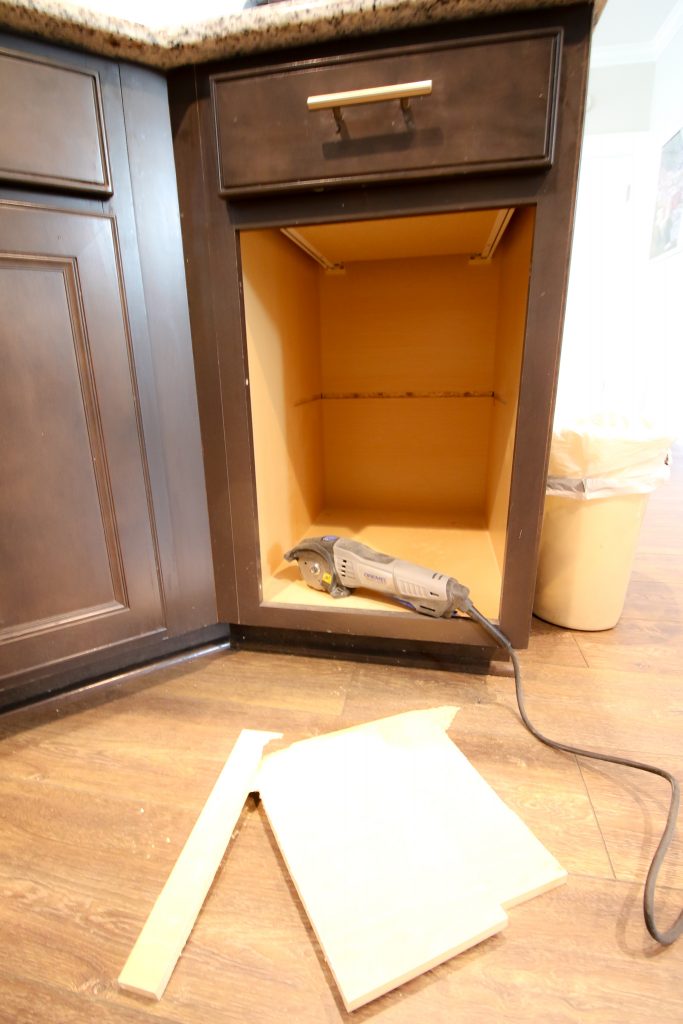
Second, if you have a shelf in the cabinet, you'll need to remove it. This should be as simple as popping out the shelf and removing the shelf pins.
If you're like ours and the shelf is built into the cabinet, you'll need to use a saw, like the Dremel Saw-Max, to cut it out.
At this point, go ahead and use a screwdriver or drill to remove the cabinet doors so you have easier access to the cabinet.
You can get a door mount kit for these cabinet trash cans, but we did not use that, we just pull it with our hand!
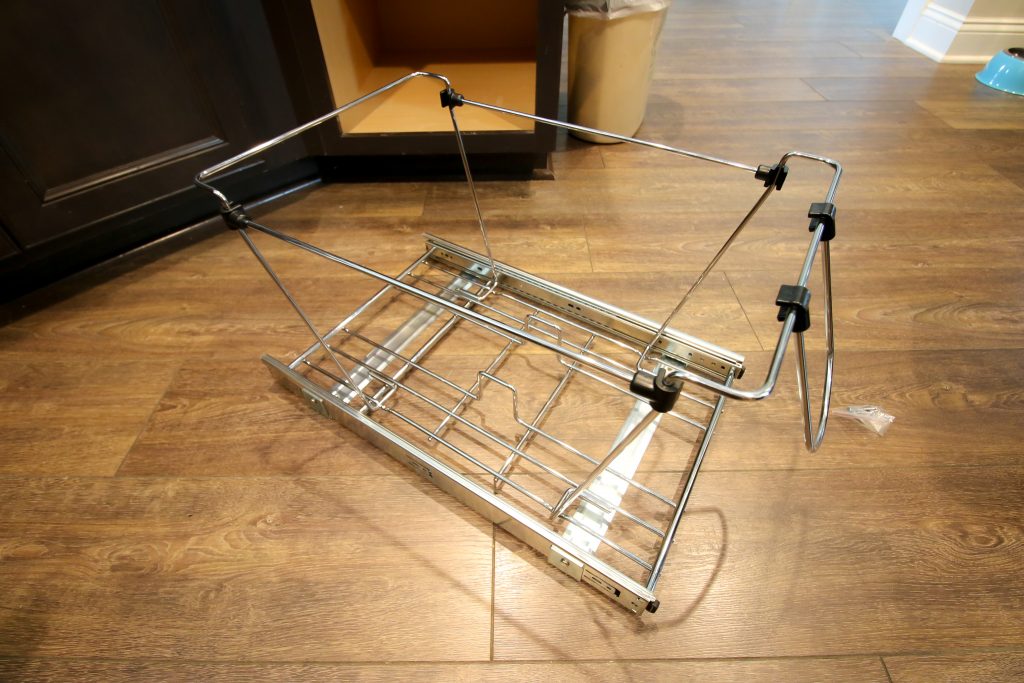
Next, assemble the pull out trash can slider. The Rev-A-Shelf pull out trash can came in a few pieces that snapped together. The arms that hold the two trash cans in place snap together with another metal bar and it's good to go.
This kit was SUPER easy to assemble - we definitely recommend it!
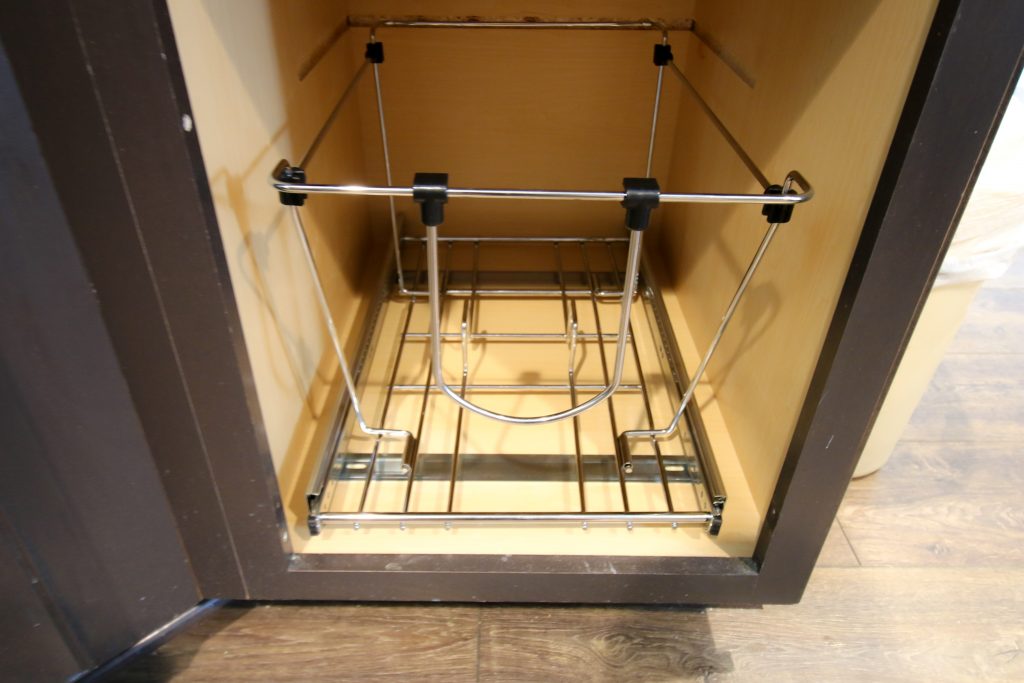
Place the system inside the cabinet and ensure that it slides smoothly without hitting the edges of your cabinet face.
The final step is to secure the system inside the cabinet. This is done by drilling four screws into the base of the system.
Place the screws in the screw hole of the metal base and screw it into placwe.

Once you put in the trash cans and bags, you're good to go for trash and recycling!
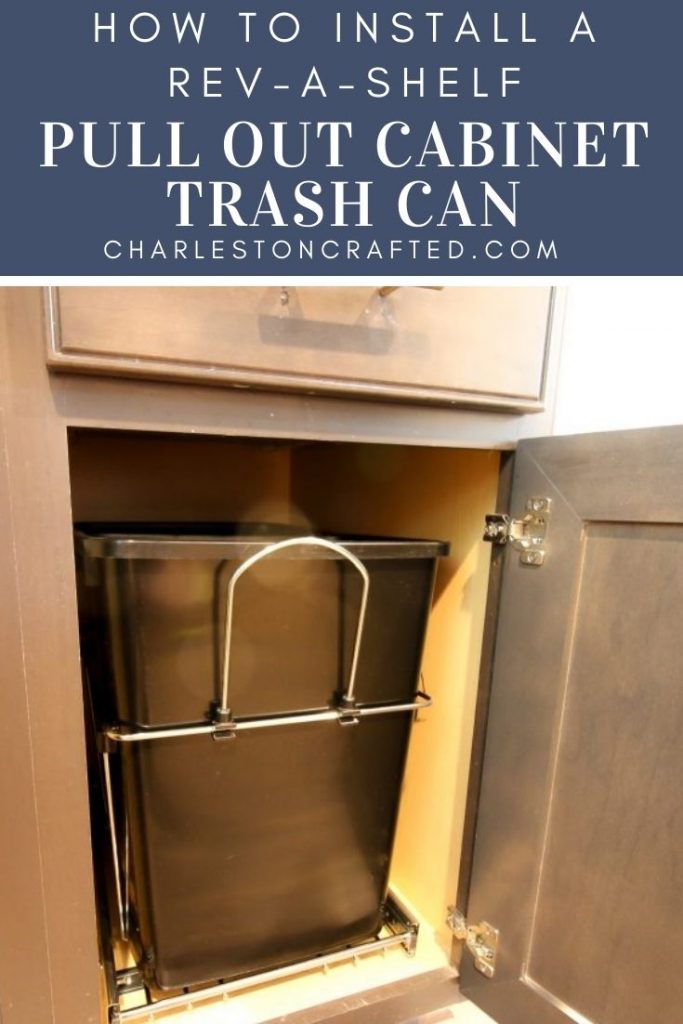
Installing a pull out trash can is a great way for how to hide kitchen trash cans, but be able to access them easily when needed.
If you want to see exactly how we did it, check out the video below of the step-by-step instructions!
How long does it take to install a pull out trash can?
It takes about 15 minutes to install a pull out trash can kit, like the Rev-A-Shelf version.
Is it hard to install a pull out trash can?
Absolutely not! It is very simple. All you need is the pull out trash can kit and a drill.
How much does it cost to install a pull out trash can?
It depends on what system you buy, but the two can pull out trash can system from Rev-A-Shelf that we bought costs about $65 and you can buy it on Amazon.
Do you need to buy trash cans separately for a pull out trash can?
No, pull out trash can kits will come with trash cans that fit their system.
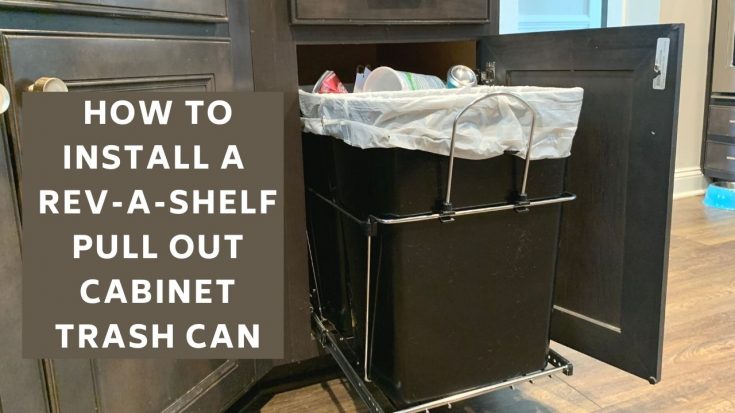
How to install a Rev-A-Shelf cabinet pull out trash can
Want to add a hidden trash can to your kitchen cabinets? Here is how to install the Rev-A-Shelf pull out trash can kit!
Materials
- Pull out trash can kit
- Empty cabinet
Tools
- Drill
- Saw (if you need to remove a built in shelf)
Instructions
- Measure your cabinet & the door opening to ensure that the kit will fit.
- Use drill to remove cabinet door from the hinges.
- If you have a removable shelf, remove it.
- If you have a built-in shelf, use a saw to remove it.
- Assemble the trash can kit slider.
- Place the system inside the cabinet, ensuring that it can slide out without hitting anything.
- Screw into the bottom of your cabinet. Place cans into slider.
- Re-attach your cabinet doors.
Recommended Products
As an Amazon Associate and member of other affiliate programs, I earn from qualifying purchases.
Any more questions?
Looking for something?
We've been doing this since 2012 so we have a LOT of blog posts!
Search stuff like: Ceiling Projects | DIY Plant Stands | Thrift Flips


Hello, I'm Morgan, half of the creative force behind CharlestonCrafted.com! With a passion for DIY that dates back to 2012, I've transformed three homes and now I'm dedicated to helping others craft their dream spaces. Let's turn your house into a home together!


