Looking to add a snowy touch to your Christmas decor? Maybe you just want a furry pom pom to put on your keychain? Here is a super easy tutorial for making Fur Ball Pom Poms!
I am feeling the snowy Christmas vibes this year. Well, I mean, I like the 75 degree weather we have been having. But I am liking some slight snow vibes inside our house.
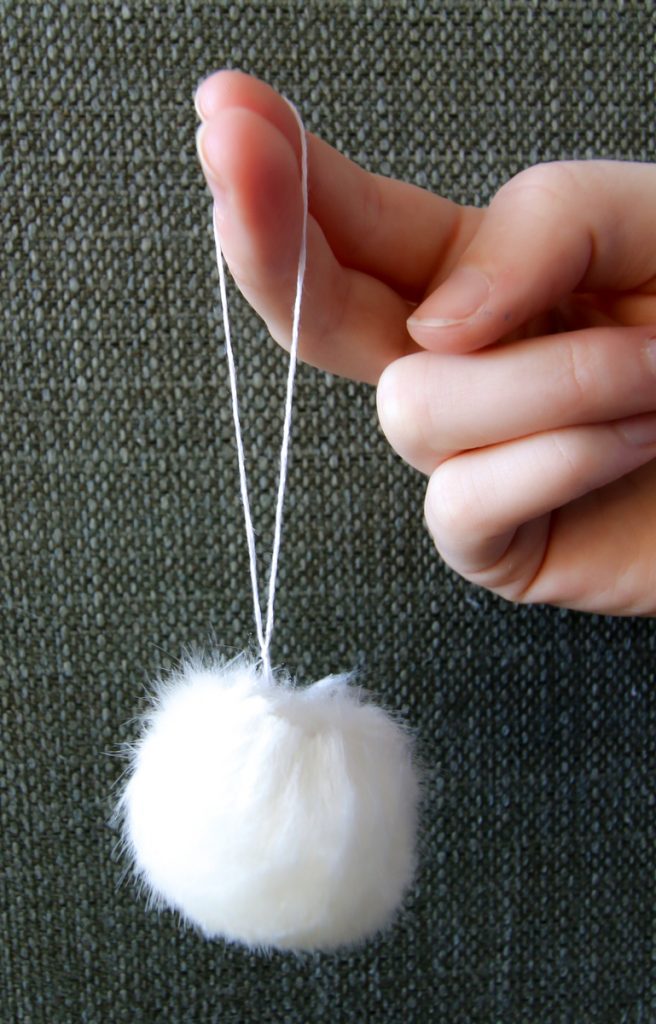
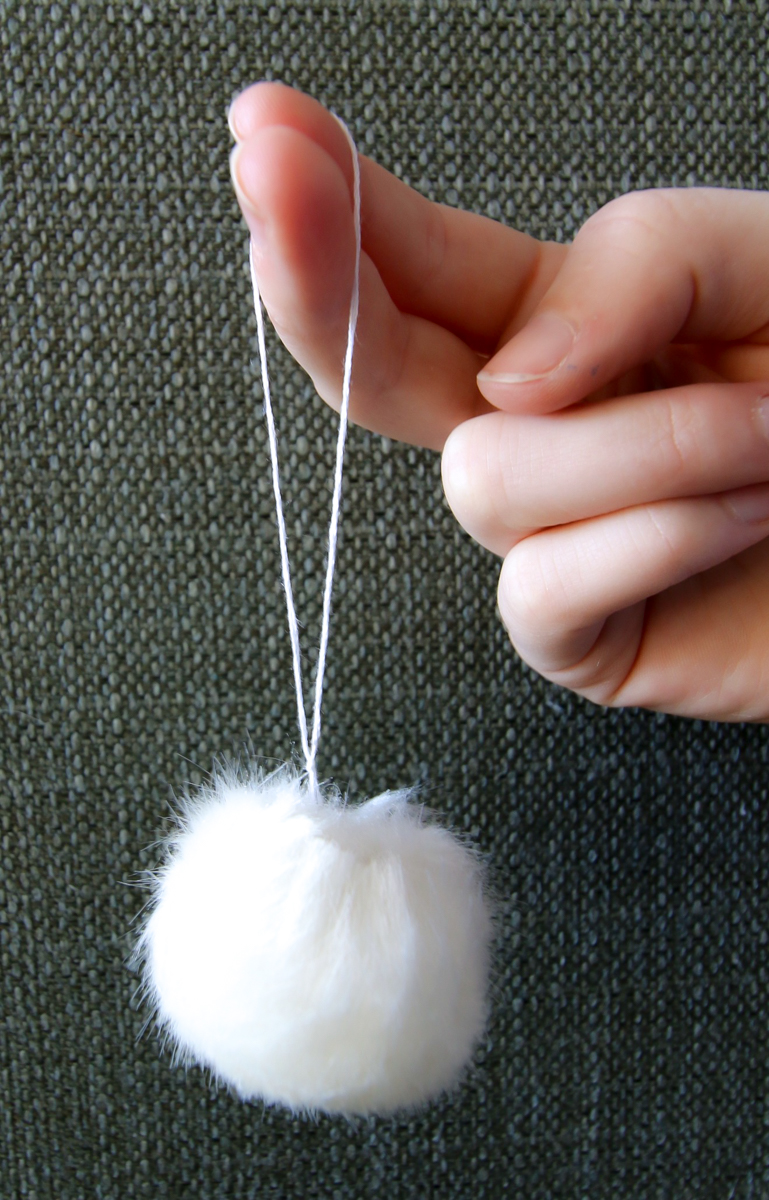
I already shared how I painted snow ball ornaments for our tree. Today I will share how I sewed really simple fur ball ornaments, too!
Love Christmas? Click here to get FREE printable funny gift tags sent to your inbox!
These ornaments are super simple to make. And, while I used them as ornaments, you could use them as gift toppers, keychains, or even in a big bowl!
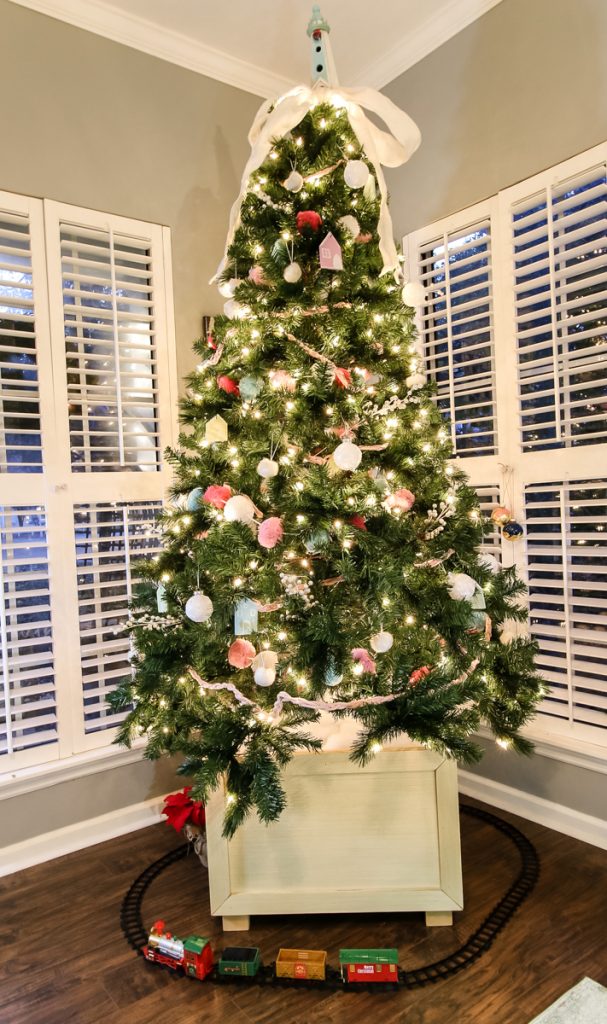
As far as size goes, you can make them in any size. I used furry ribbon as my material, so I was limited by the width of the ribbon. However, if you buy faux fur by the yard at the fabric store, you will be able to make any size that you want!
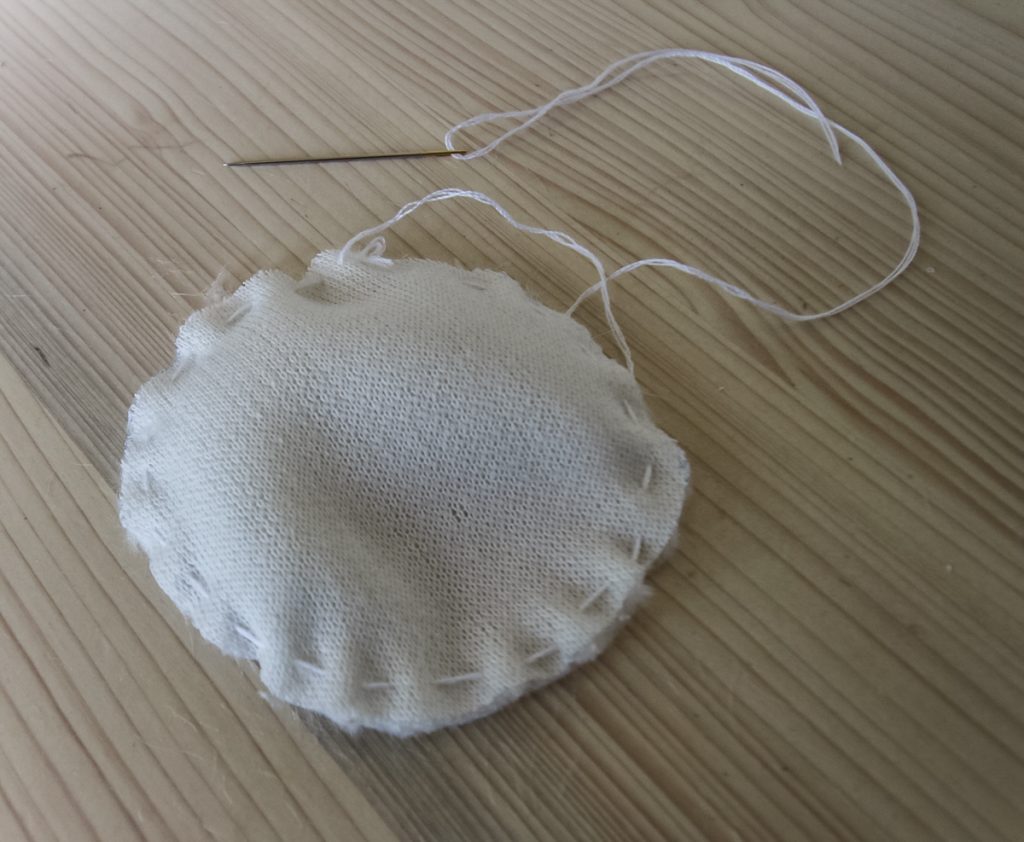
It's really easy to make these ornaments - even if you aren't a big sewer. All you need to know how to do is baste.
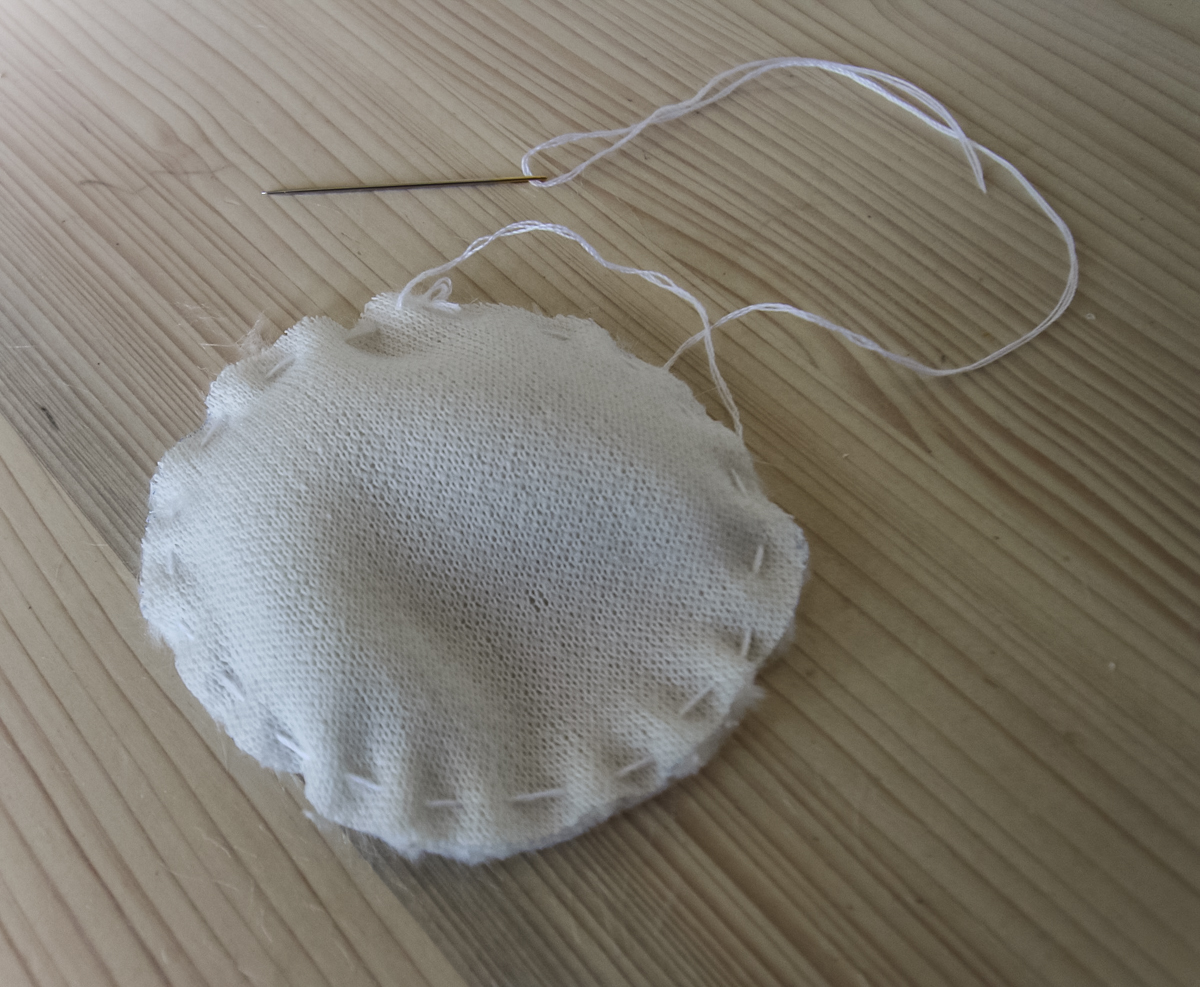
Basting is sewing in and out in a pretty loose stitch. It's a straight line - if you accordion fabric and press your needle thru the folds, that results in a baste.
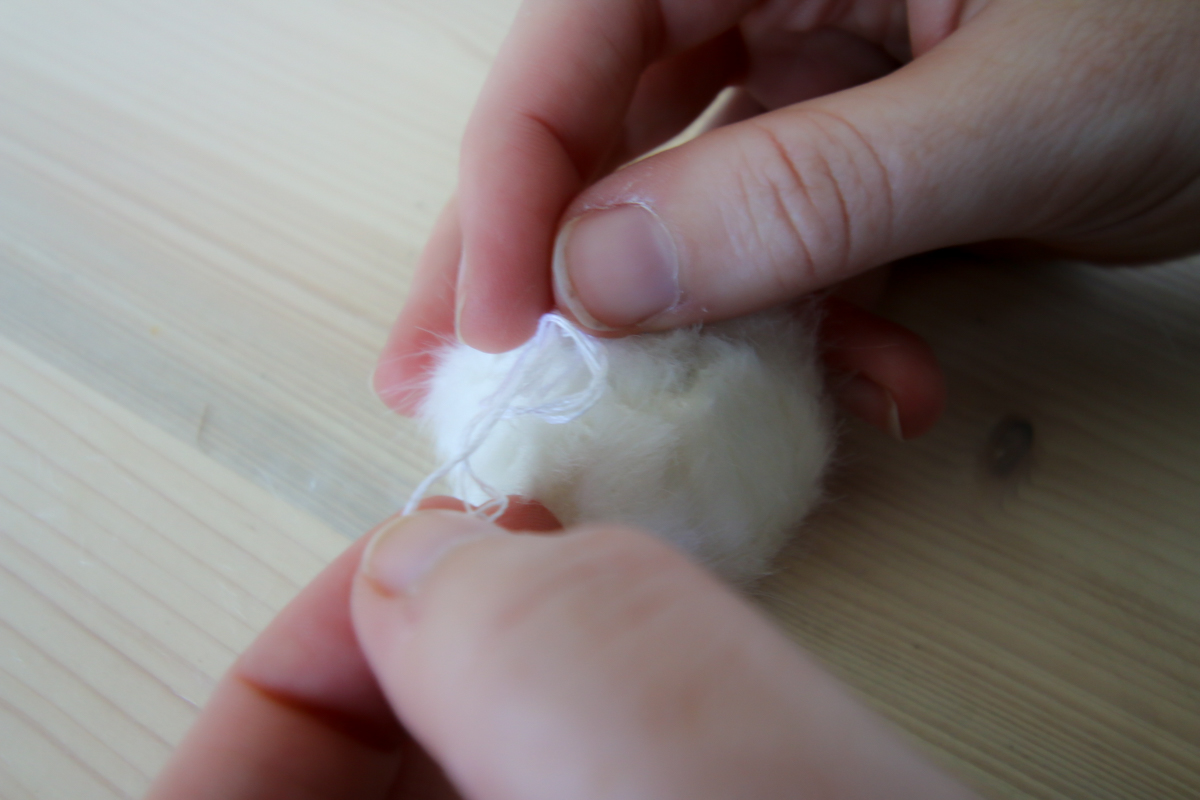
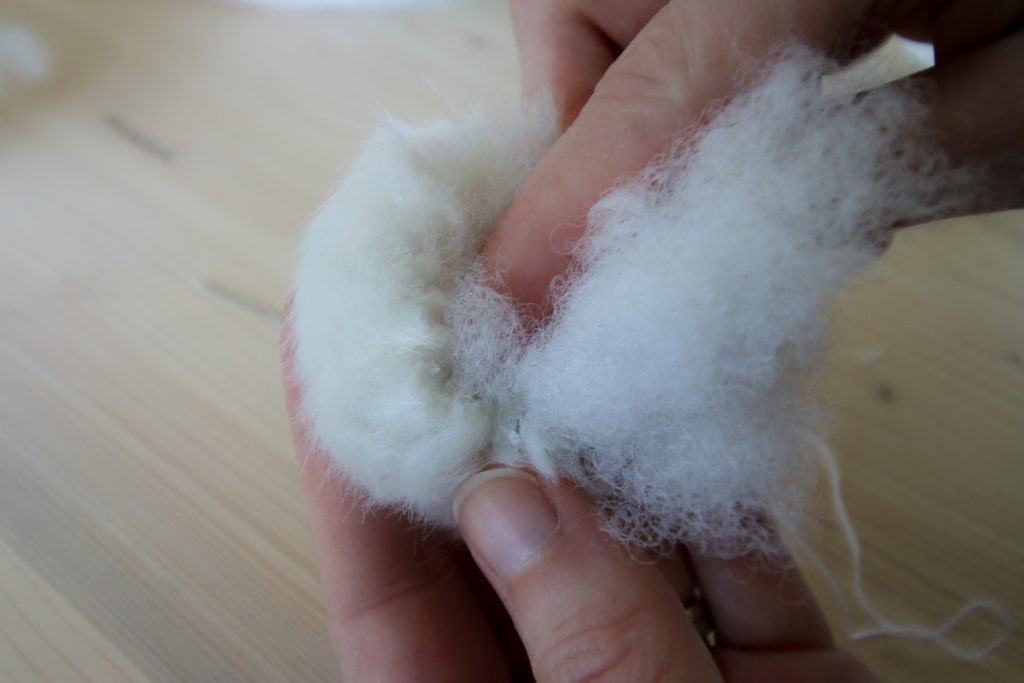
You are basically making little drawstring pouches and filling them with pillow stuffing. No stuffing, no problem - use cotton balls!
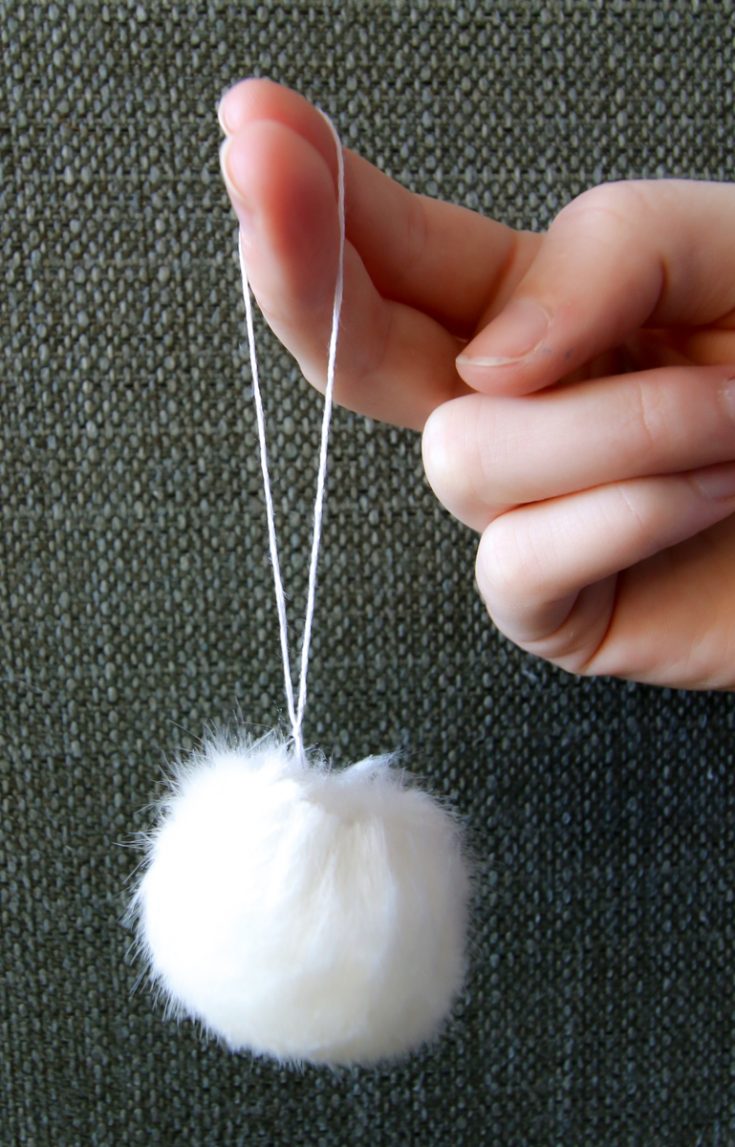
I added an embroidery floss loop before hanging my pom poms on the tree. You could also sew the ball onto metal hardware to attach this to a keychain or hair bow.
I hope you see the possibilities in this simple sewing project!
How to make fur pom poms
These DIY fur balls are a super easy sewing project. They make great ornaments, keychains, and home decor!
Materials
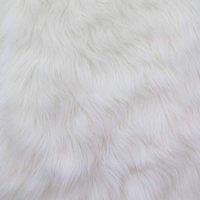
- Faux fur fabric
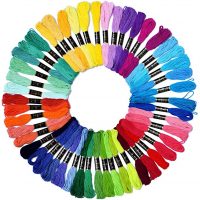
- Embroidery floss or thread
- Stuffing
Tools
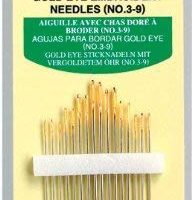
- Needle
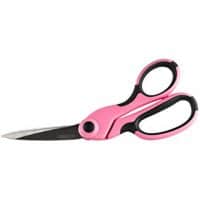
- Scissors
- Pen
Instructions
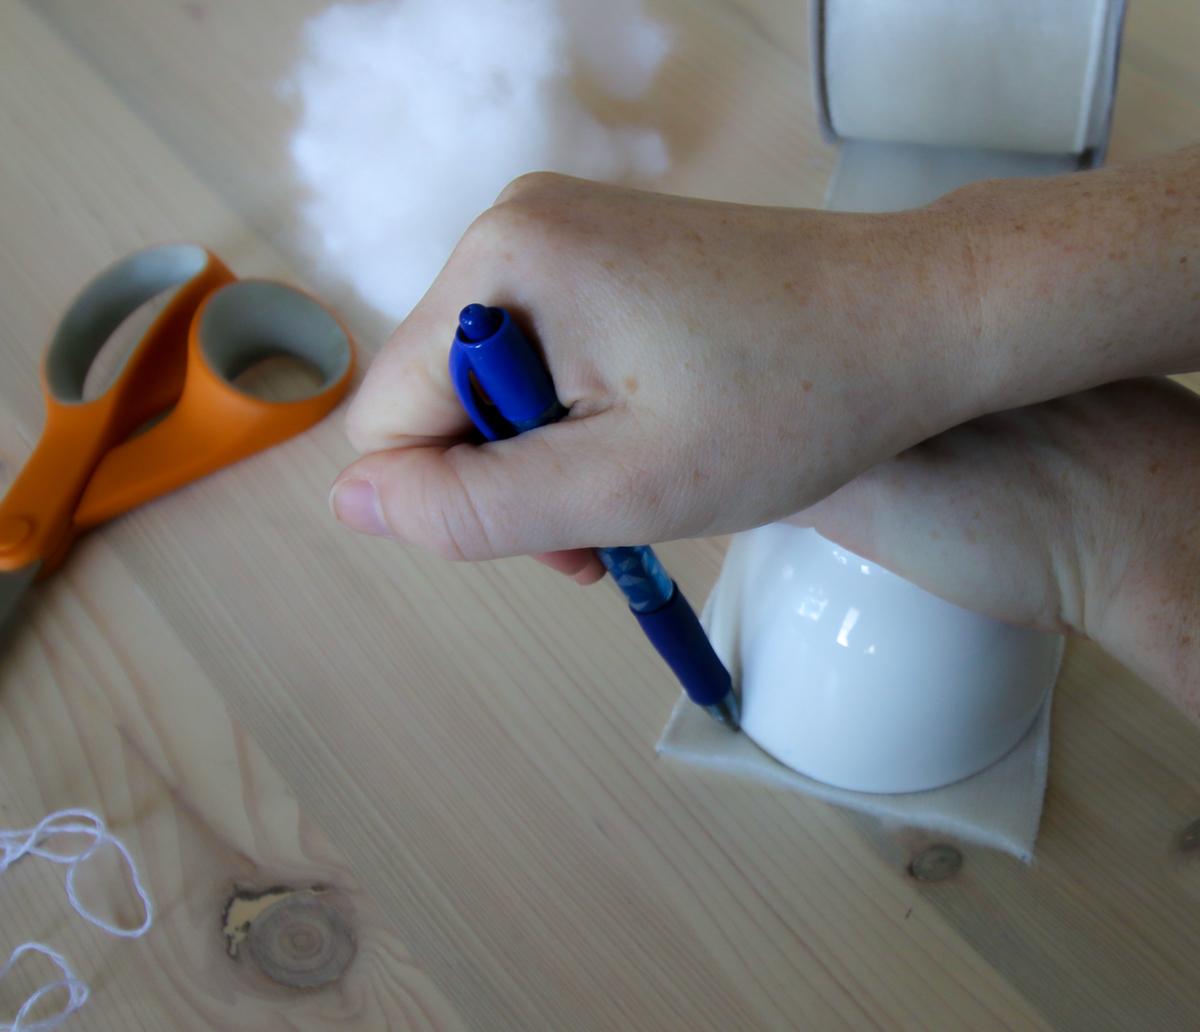
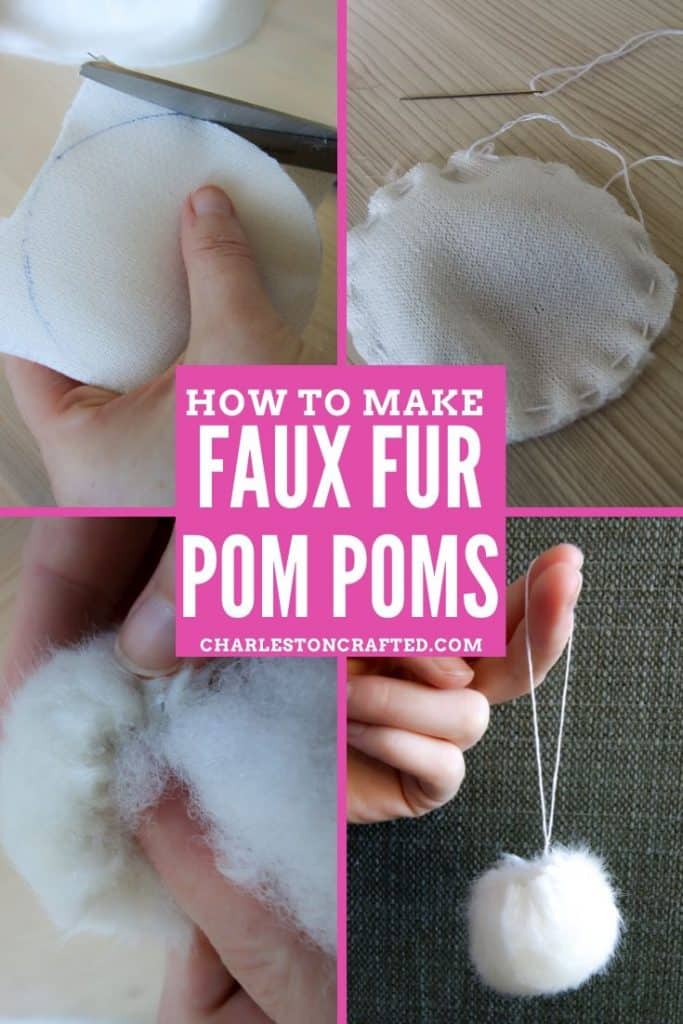
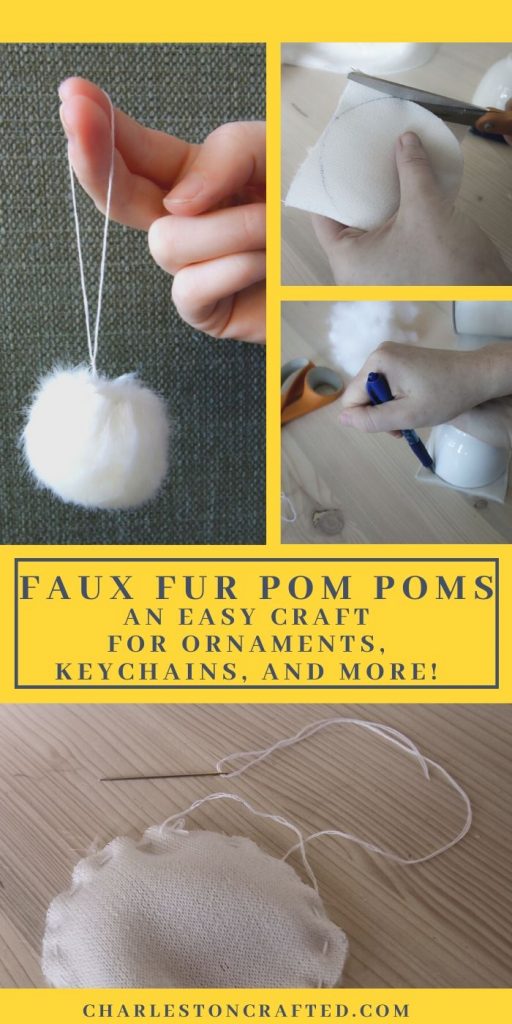
- Trace a circle onto the back side of your fur.
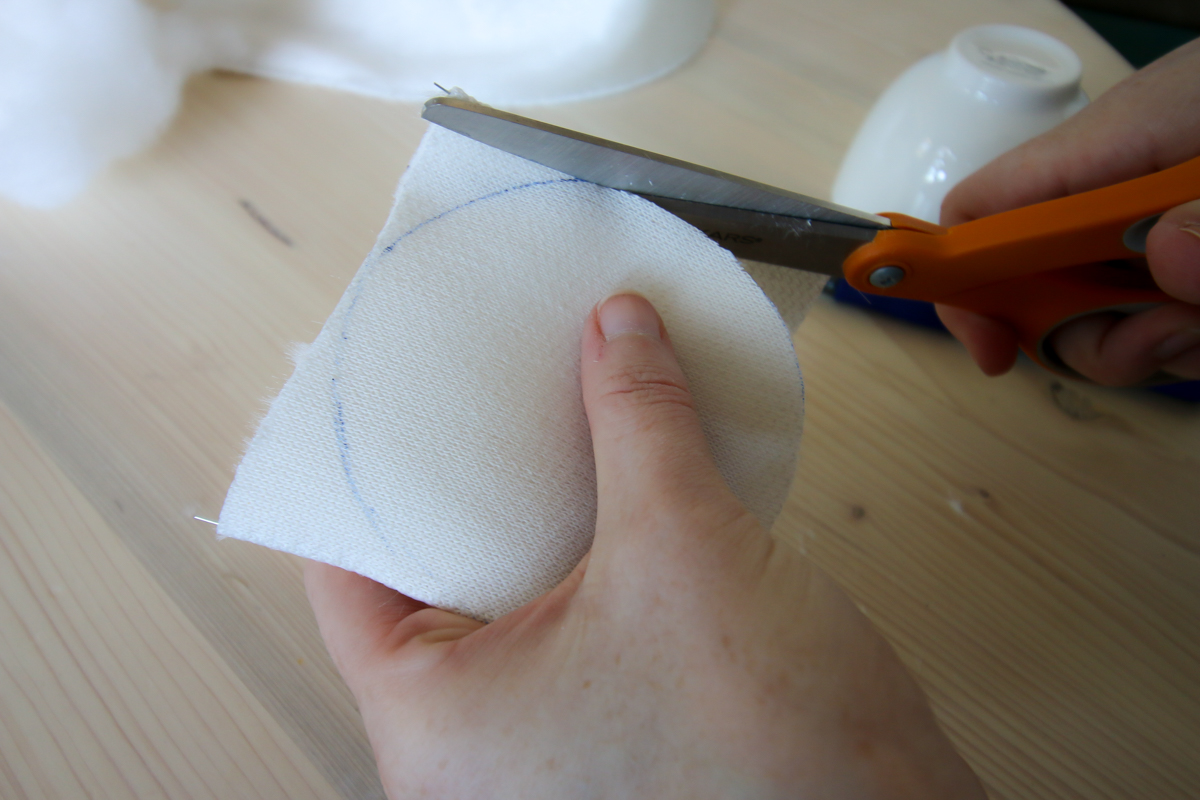
- Cut the circle out.
- Tie knot in end of thread. Thread needle. Use needle and thread to baste around the edges of your circle.
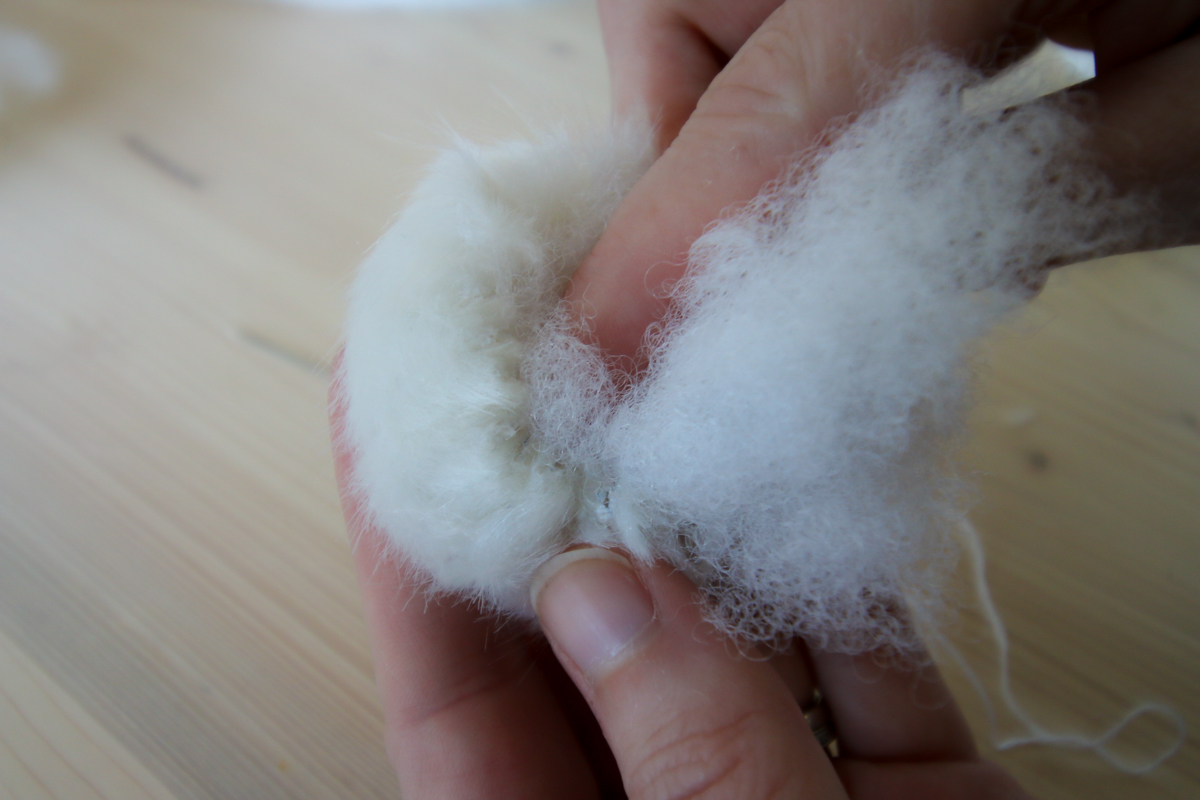
- Pull the end of the thread and the circle should close up like a drawstring bag. Once about ½ closed, fill with stuffing.
- Pull the rest of the way closed. Stitch across the opening.
- Tie the excess thread in a loop for an ornament OR stitch onto any desired hardware.
Recommended Products
As an Amazon Associate and member of other affiliate programs, I earn from qualifying purchases.
See all of our handmade ornament ideas:
- How to make photo ornament balls
- DIY sea glass ornaments
- Sand ball ornaments
- How to make beach ornaments
- DIY pier post nautical ornaments
- Fur ball pom pom ornaments
- DIY snowball ornaments
- Citrus felt ornaments
- Mink snowman ornament
- Deviled egg felt ornament
- Metallic dipped textured ornaments
- Paper ball 3D ornaments
- Toilet paper roll starburst ornaments
- Bottle brush tree terrarium ornaments
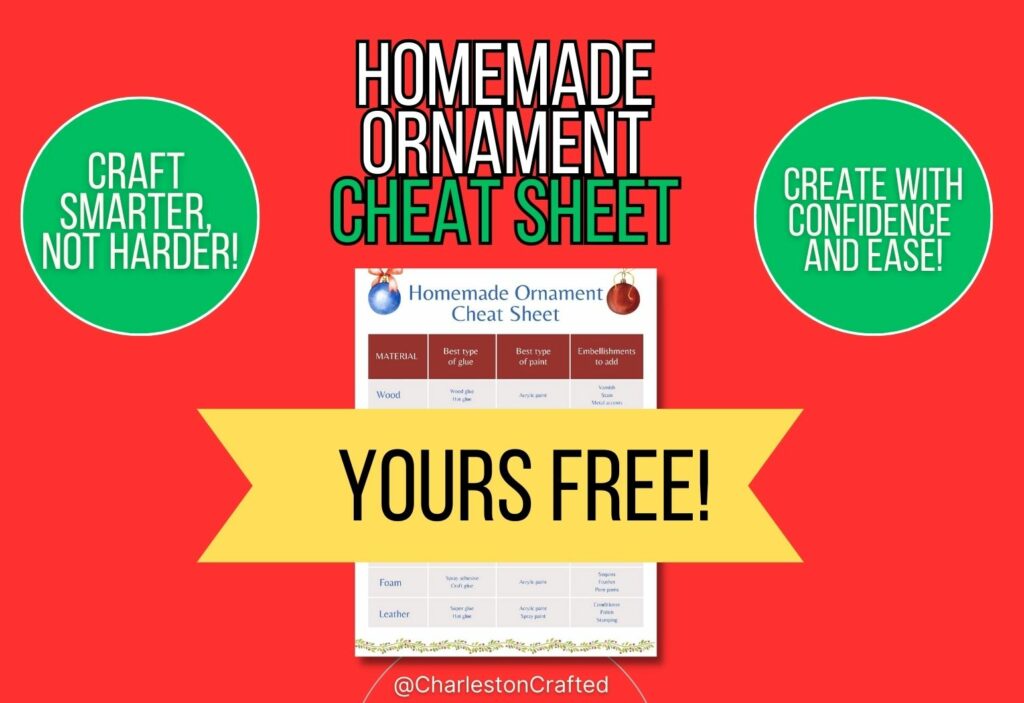
Simplify your crafting journey and eliminate guesswork with our free ornament crafting cheat sheet – your essential guide to selecting the right materials and tools with ease! Click here or the image below for the free download!
Looking for something?
We've been doing this since 2012 so we have a LOT of blog posts!
Search stuff like: Ceiling Projects | DIY Plant Stands | Thrift Flips


Hello, I'm Morgan, half of the creative force behind CharlestonCrafted.com! With a passion for DIY that dates back to 2012, I've transformed three homes and now I'm dedicated to helping others craft their dream spaces. Let's turn your house into a home together!

