Want to add a BIG BOW to your holiday decor? It could be a wreath, door hanging, or wall decor! Here's how to make a giant bow pillow!
Is there anything that says Merry Christmas more than a big red bow?
I mean, sure, baby Jesus, but let's focus on the home decor for now 🤣
I love a big red bow for holiday decor. I have been having a lot of fun making bows - like this fun bow garland - for our home this Christmas.
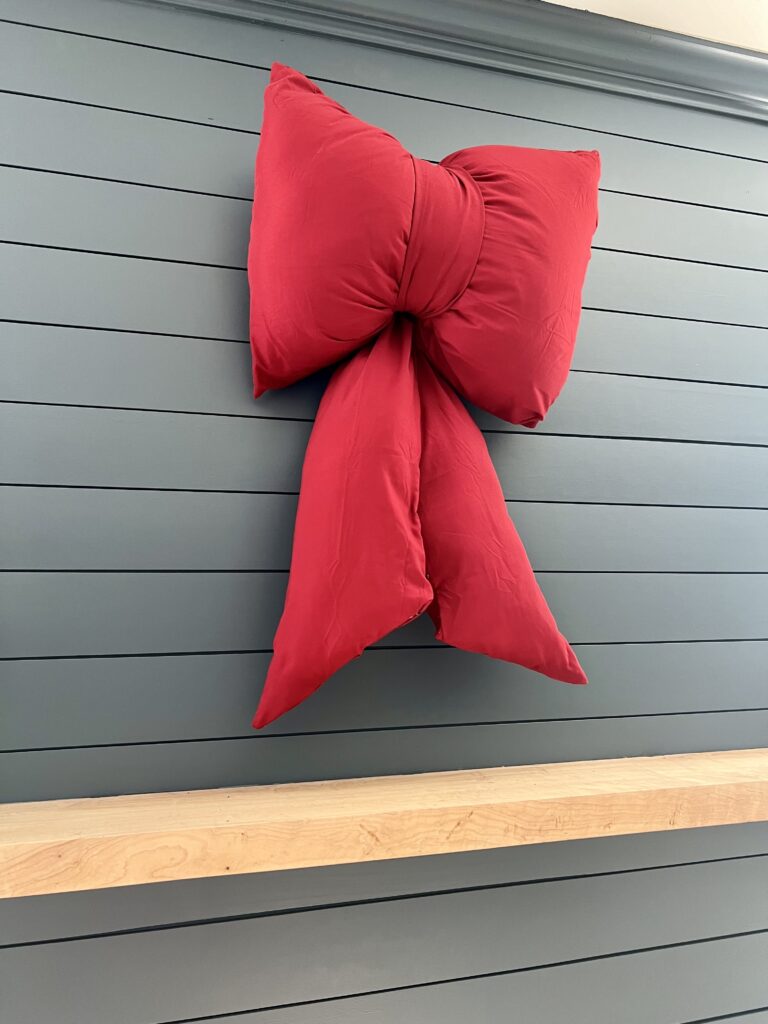
I decided that, instead of a wreath, I wanted to hang a giant bow over our mantel this year. I had a lot of fun making this one - for just under $11 (with a few craft supplies like hot glue and scissors I already had on hand).
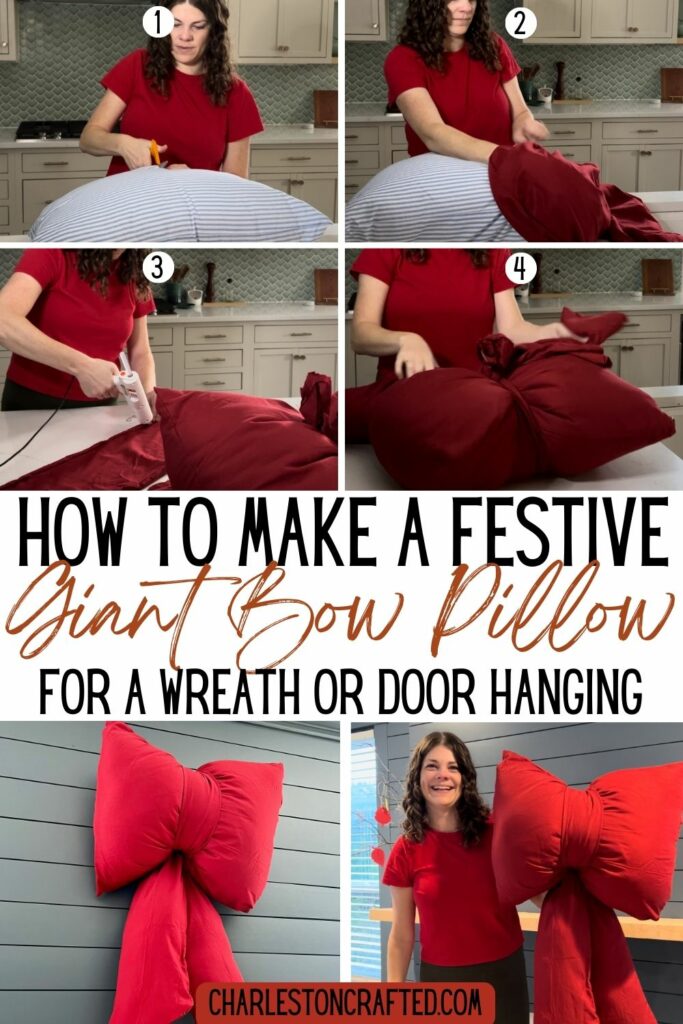
How to make a giant bow pillow
Here's how easy it is to make this oversized bow for your holiday decor!
Supplies needed:
- 2 king sized pillow cases
- 1 standard sized pillow
- Scissors
- Hot glue
- Optional to hang: twine
Steps to make:
STEP 1: Cut Pillow
Start by making a cut in the center face of the pillow. You are NOT cutting the pillow in half, just cutting a slit into the fabric of it.
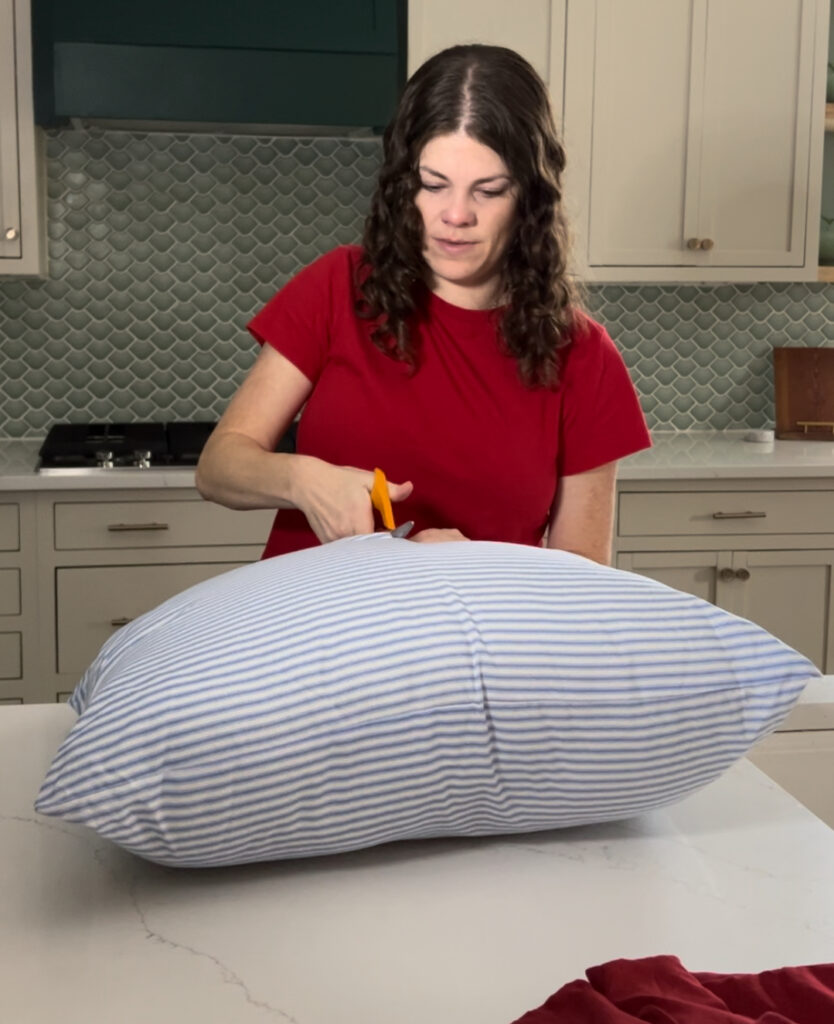
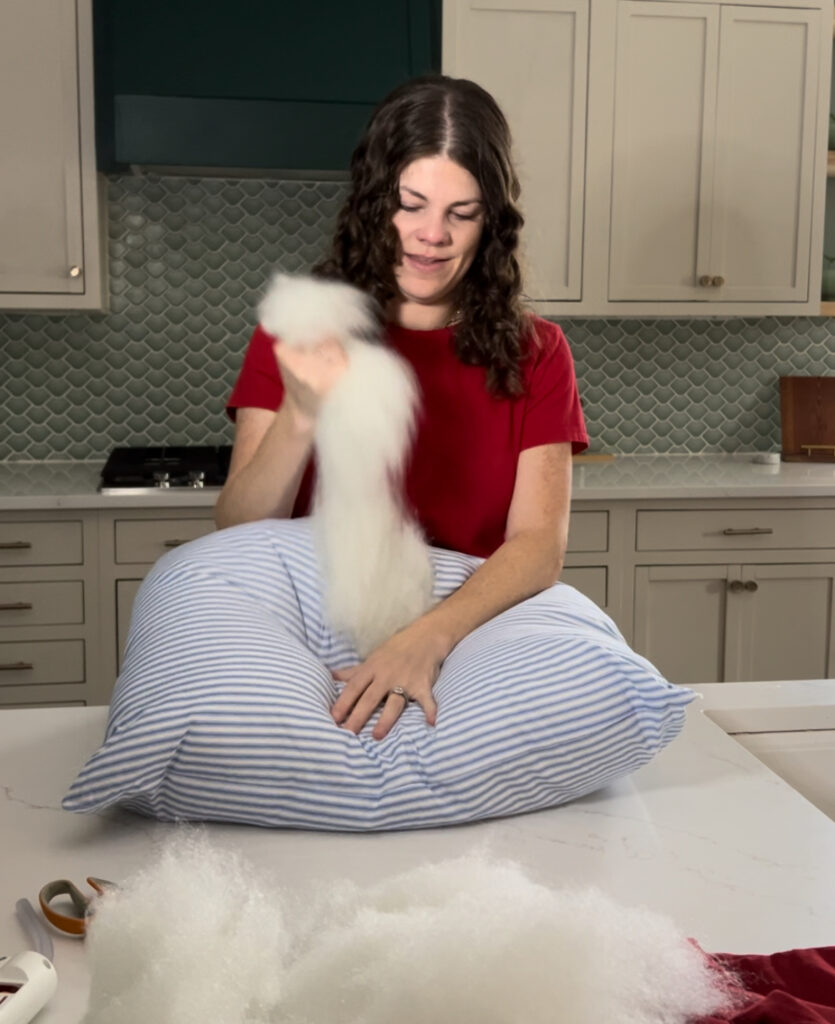
Remove some stuffing. You want the pillow to be shrunk enough to easily squish into a bow shape.
Save the extra stuffing - we will use it in step 4!
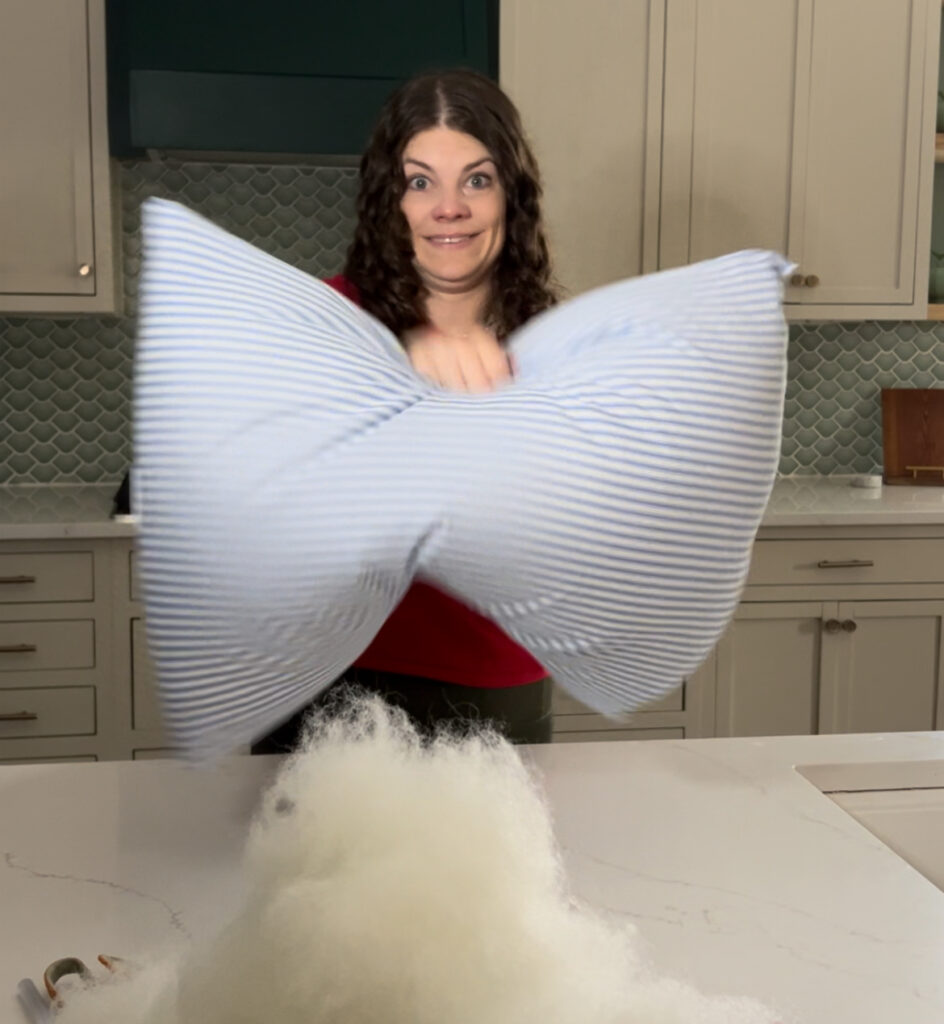
STEP 2: Wrap Pillow
Place the cut pillow inside the pillow case, like normal. Squash it slightly into the end for the squished bow look.
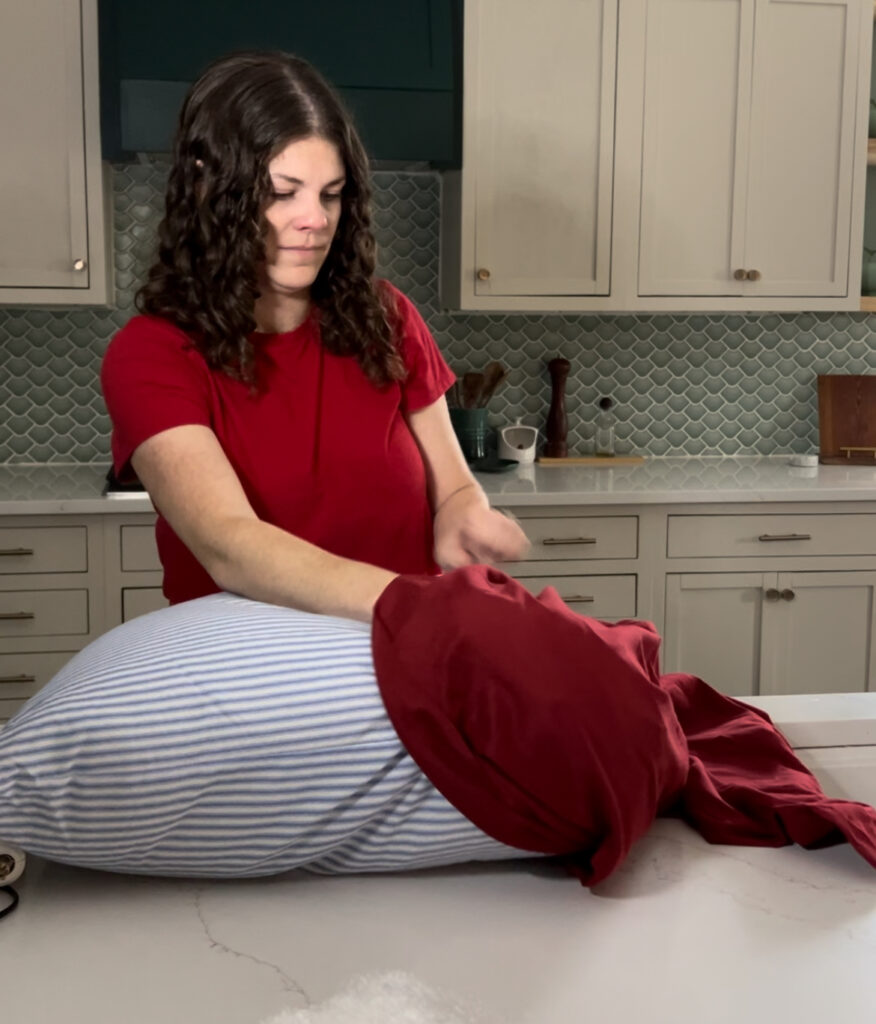
Because you removed stuffing AND because this is a standard pillow in a king pillowcase, you will have excess fabric.
Pull the excess fabric so that you have enough to bring it together and completely encase the pillow. Trim the excess with scissors - carefully, we will re-use this!
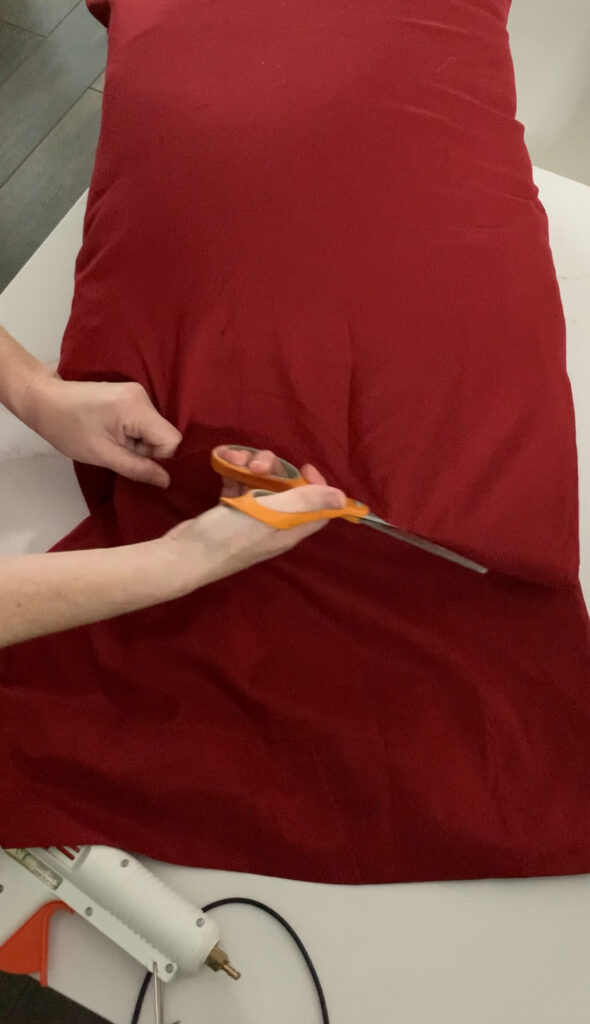
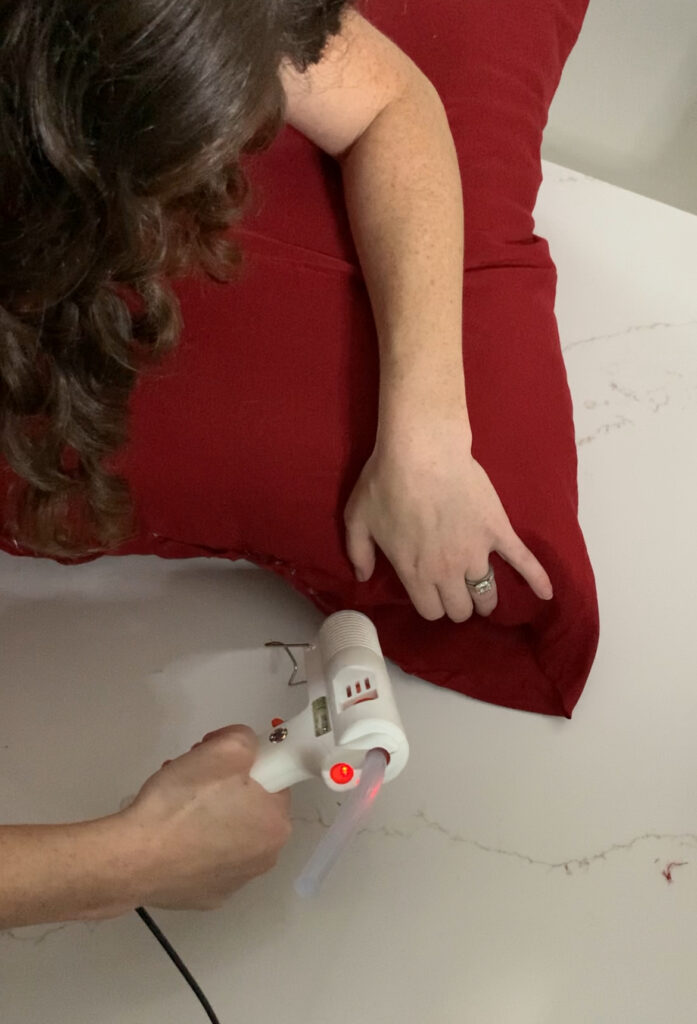
Use hot glue to glue the pillow inside the case, along the newly cut edge of the pillow case. I folded the edge, then applied glue and folded a second time, so no cut edge was exposed.
Let the glue dry completely. Using clips (like chip clips) can help to hold the side together until the hot glue has had time to dry - about 10 mintues.
STEP 3: Tie Pillow
Now, take the long strip of excess you cut off your pillowcase. If it is still a loop, cut across the seam to turn into a long strip instead.
You should have one finished/hem side and one rough cut side.
Fold the rough cut side in so you have 2 "finished" sides. You can add hot glue to hold the folded edge in place here if you prefer.
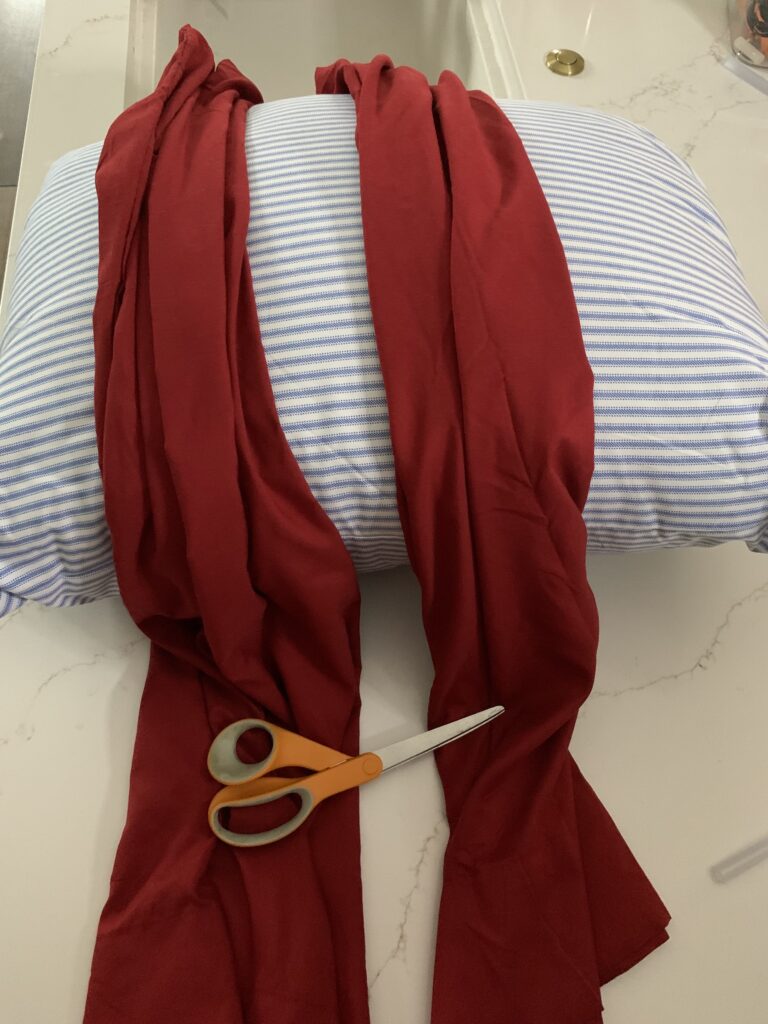
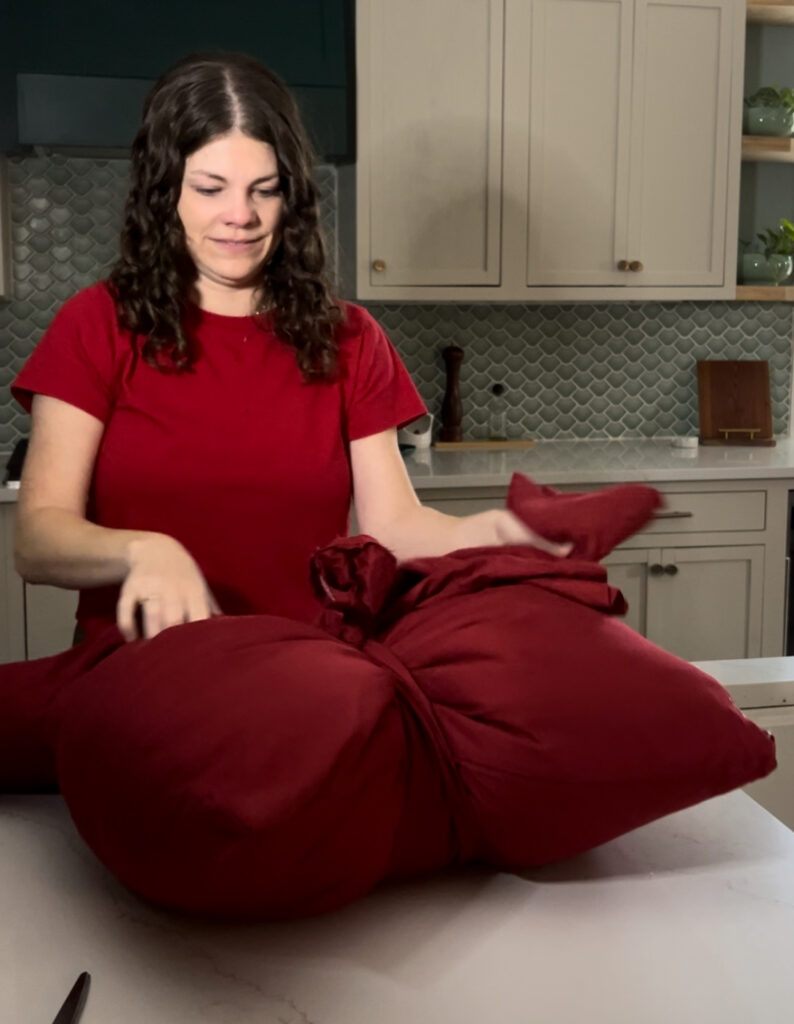
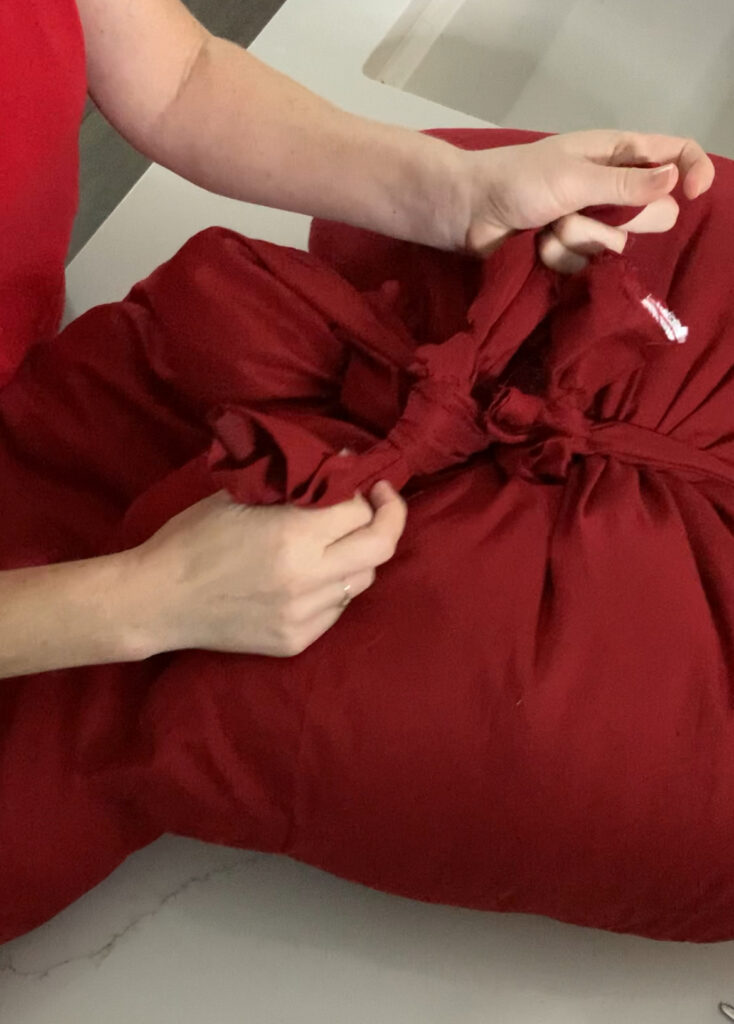
Wrap around the center of your wrapped pillow to form the center knot of the "bow". Pull both ends tightly and tie in a square knot in the back. Cut excess fabric if you have it.
Stop here if you love it, or keep crafting if you want to add tails to your bow.
STEP 4: Create Tails
Now, we will create the tails of the bow!
Grab your second king sized pillow case. Fold it in half, lengthwise (hotdog style) and cut along that fold so you have 2 long strips. Each strip should have one closed end and one closed side, as well as one open end and one open side.
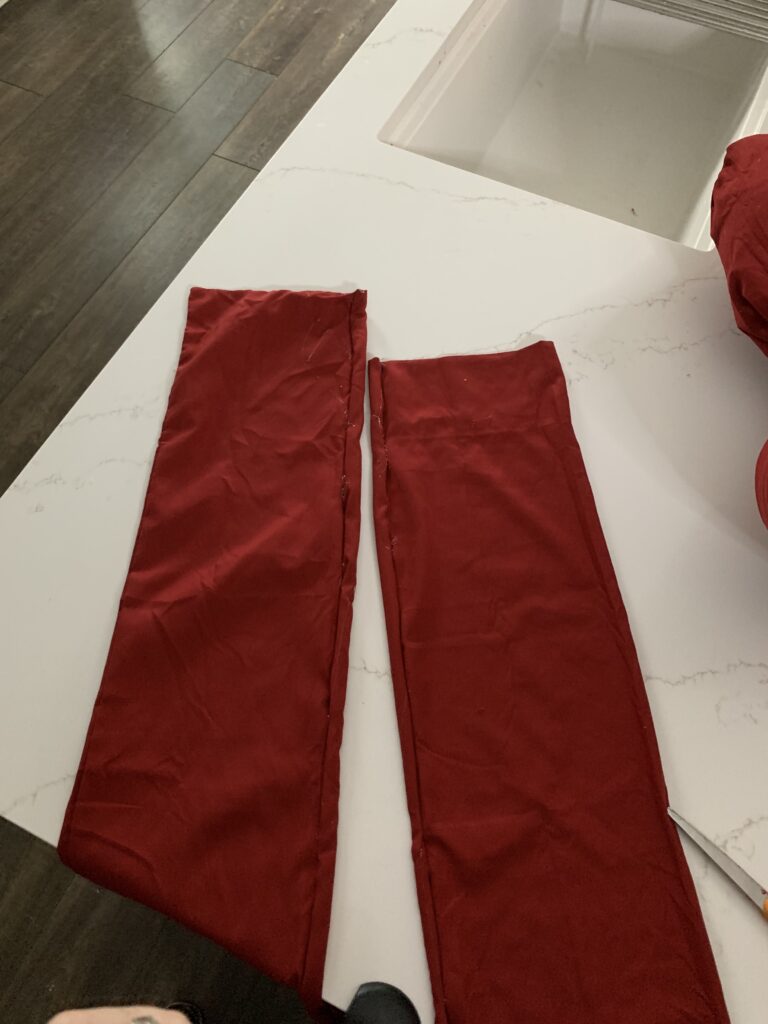
Fold over the long cut side and then hot glue in place. (I once again folded along the cut, applied glue, then folded a second time so no cut edges were exposed.)
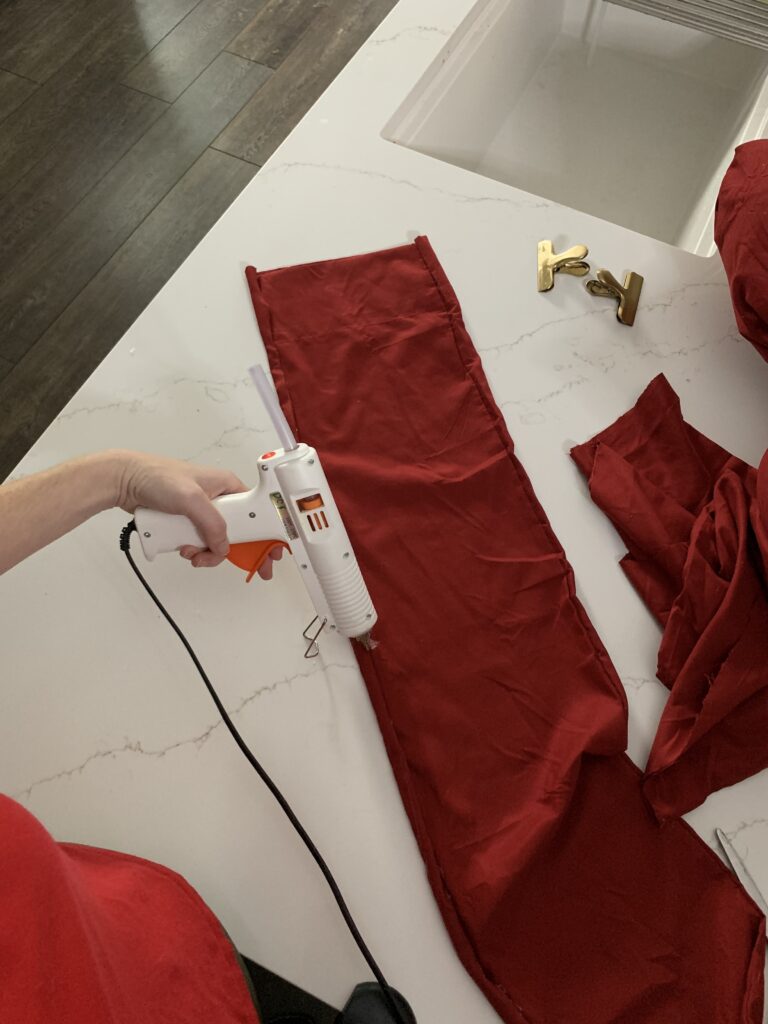
I also took the end, tucked in one corner to make it diagonal, like cut ribbon, and glued in place.
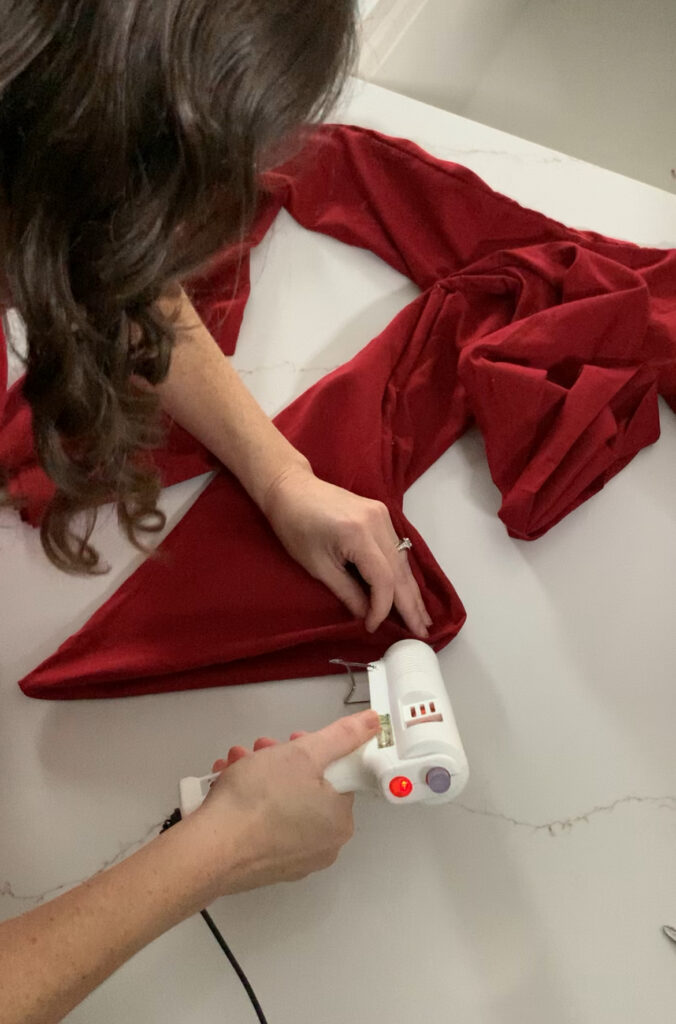
You should now have a long, tubular sock-like thing with 1 open short end. Repeat this on the other half of the pillowcase so you have 2 "socks".
Now, grab your excess stuffing you pulled from the pillow earlier. Divide in half into two equal piles of stuffing. Stuff one pile into each of the "socks" of fabric. It will not fill it - keep it loose, don't pack it in, but it should fill about half the way up.
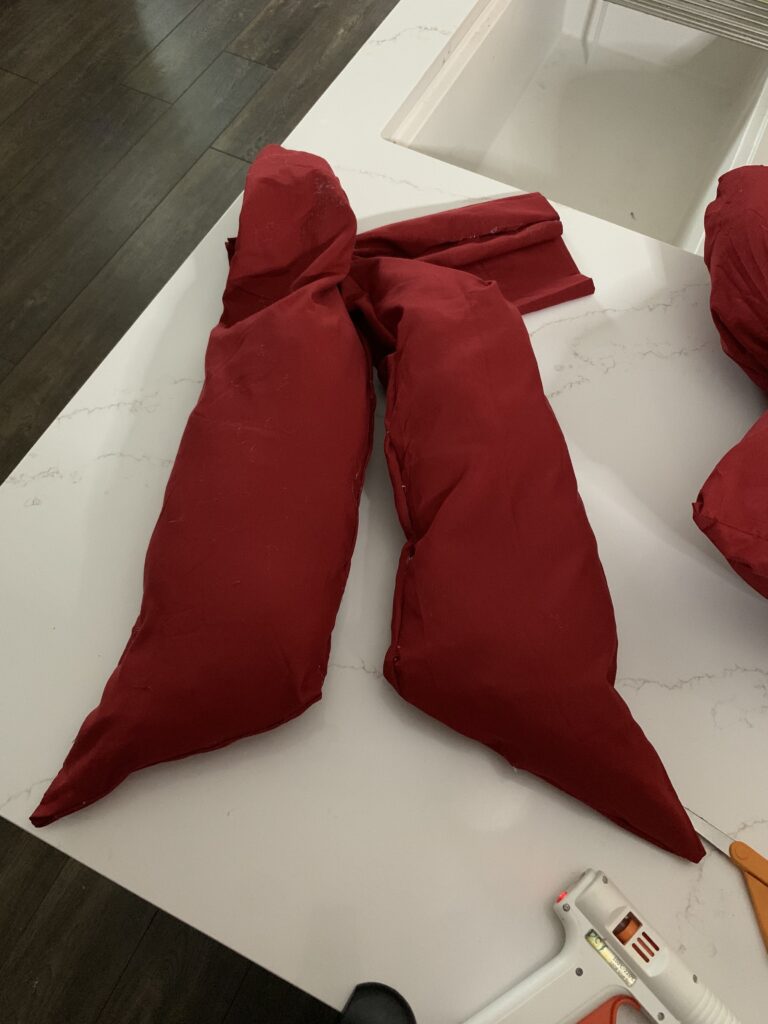
These are your tails.
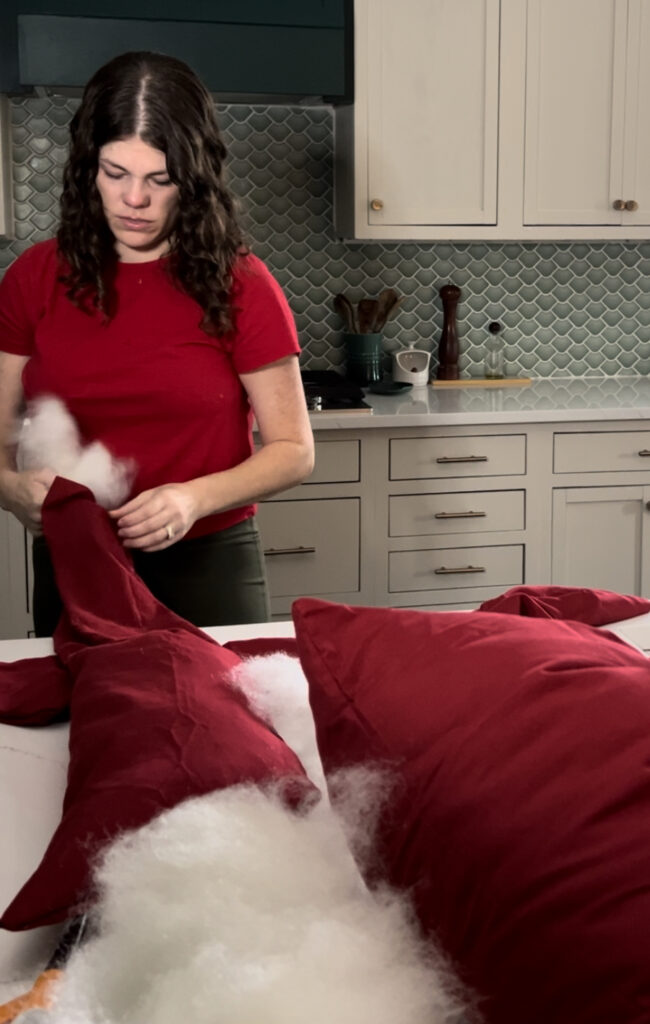
STEP 5: Attach Tails
Grab the base of the bow that we made in step 3 and flip it over so the back/side with the knot it facing up. Slide the tails in under the tie of the knot. Knot them together to hold in place.
STEP 6: Add Hanger
If you plan to hang your giant bow, I suggest adding a loop of twine to use to do so.
To do this, cut a piece of twine about 8 inches long. Fold in half and tie the ends to create a loop.
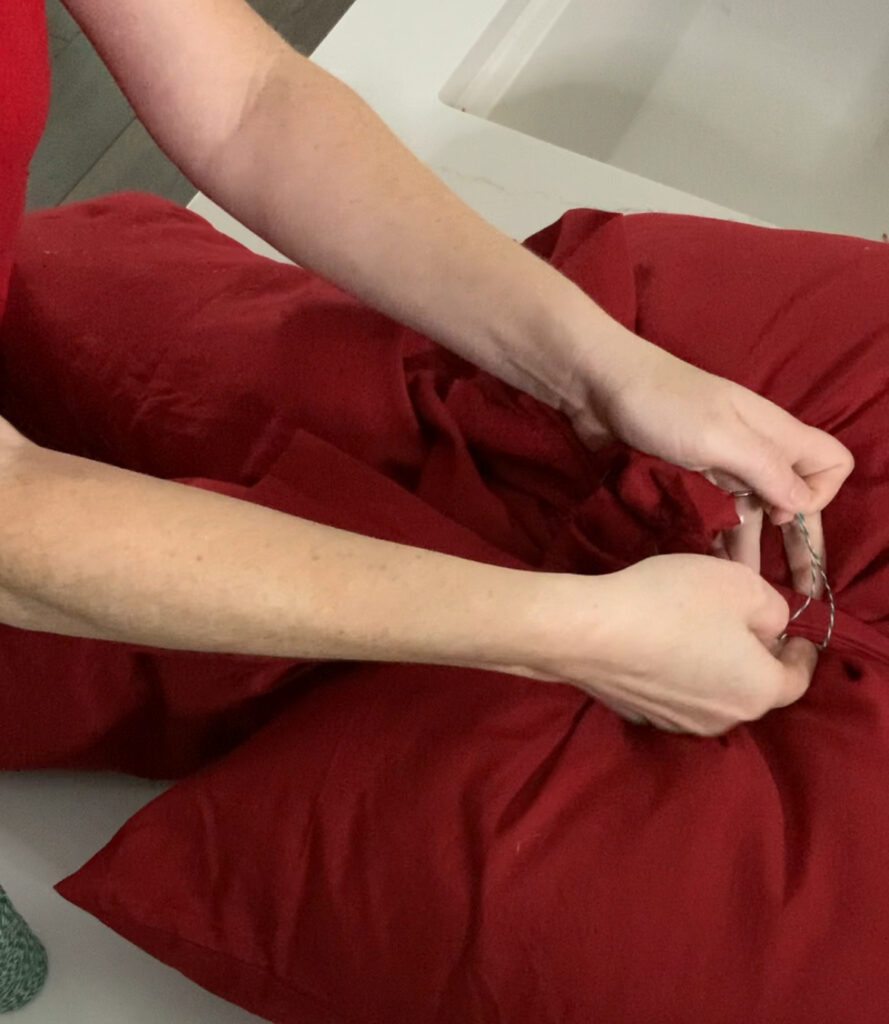
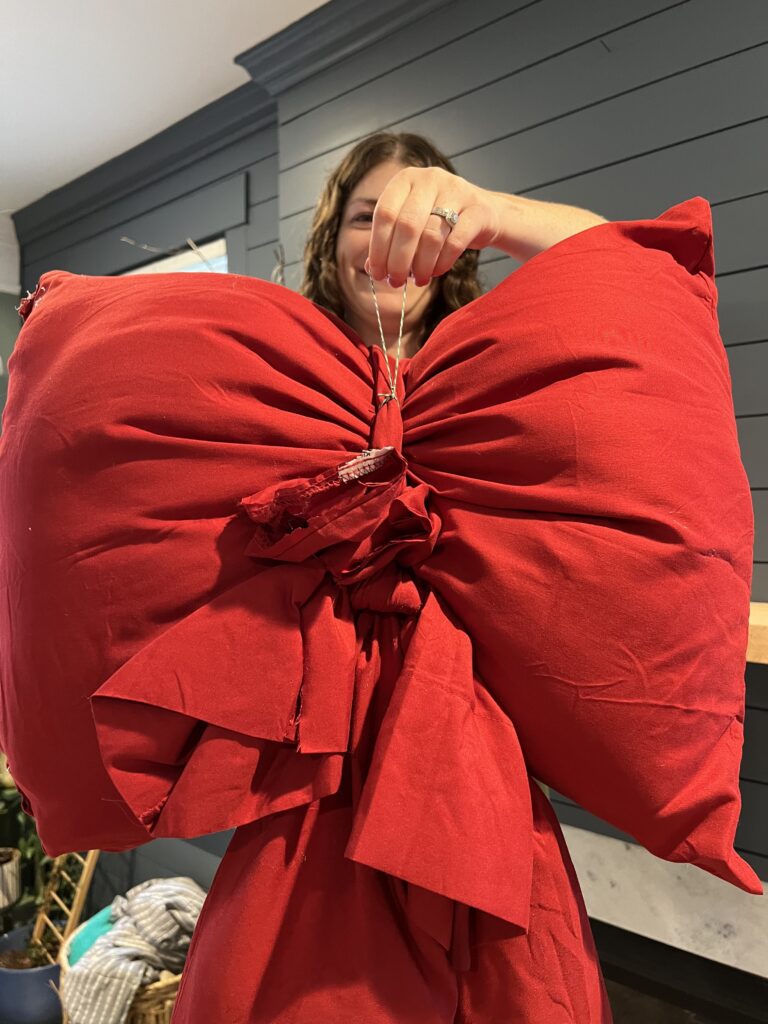
Run the loop through the tie on the back of the bow. Pull the loop of twine through itself to secure.
STEP 7: Hang
Hang on a nail over the mantel, a hook on your front door, or from the top of your Christmas tree!
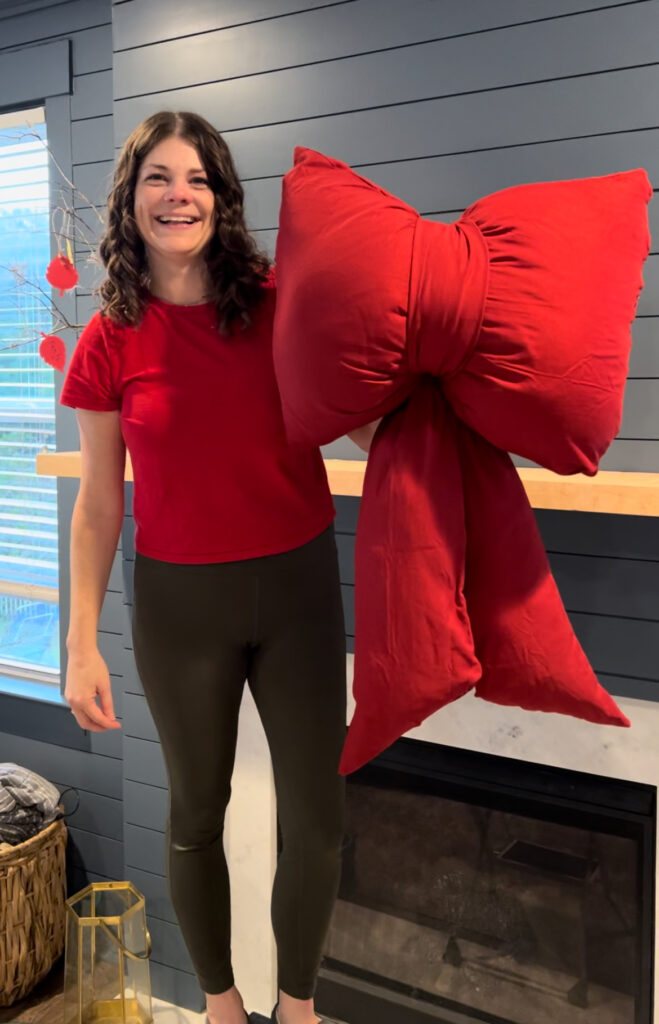
There are so many possibilities for enjoying this giant bow - I can't wait to see what you do with yours!
Video tutorial
Prefer to watch? Click here to see my video tutorial!

Get my Christmas Color Scheme Cheat Sheet!
With our free printable cheat sheet, you can easily bring your vision to life and create a festive atmosphere that will be remembered for years to come.

Looking for something?
We've been doing this since 2012 so we have a LOT of blog posts!
Search stuff like: Ceiling Projects | DIY Plant Stands | Thrift Flips


Hello, I'm Morgan, half of the creative force behind CharlestonCrafted.com! With a passion for DIY that dates back to 2012, I've transformed three homes and now I'm dedicated to helping others craft their dream spaces. Let's turn your house into a home together!


