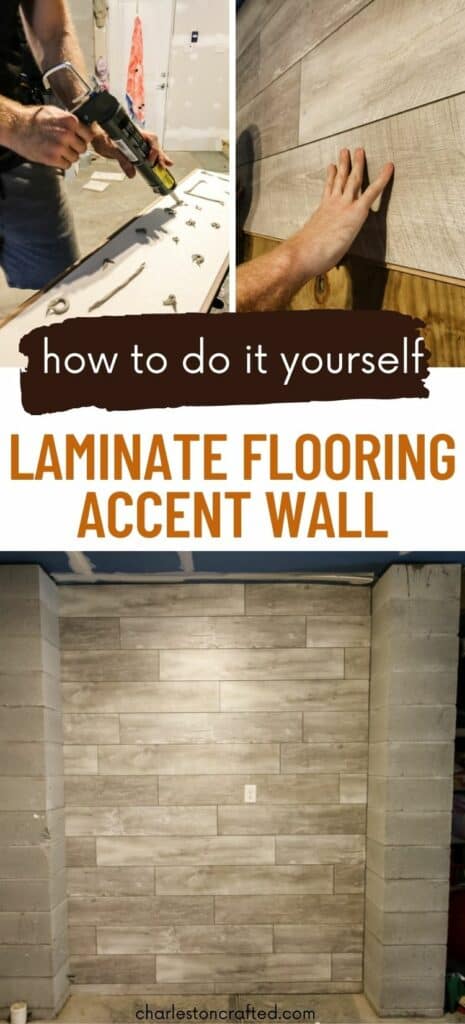
This post will show you how to use laminate flooring to make a beautiful accent wall! This is a great option for a feature space or as a photo backdrop. It's easy to attach laminate flooring to the wall, so let's show you how!
We're deep into our garage and workshop makeover and have been super excited about this project since the beginning!
Our garage is great, with tons of space for storage and our workshop.
However, the garage was left very undone when it was built. For example, a week after we moved in and our daughter was born, we spent $400 having someone hang drywall in the stairwell because thousands of exterior nails from the siding were poking through.
One thing that was very strange too was the way the contractors hung what seems to be leftover scrap plywood between two columns to create an under stair storage area.
Here's what it looked like before:
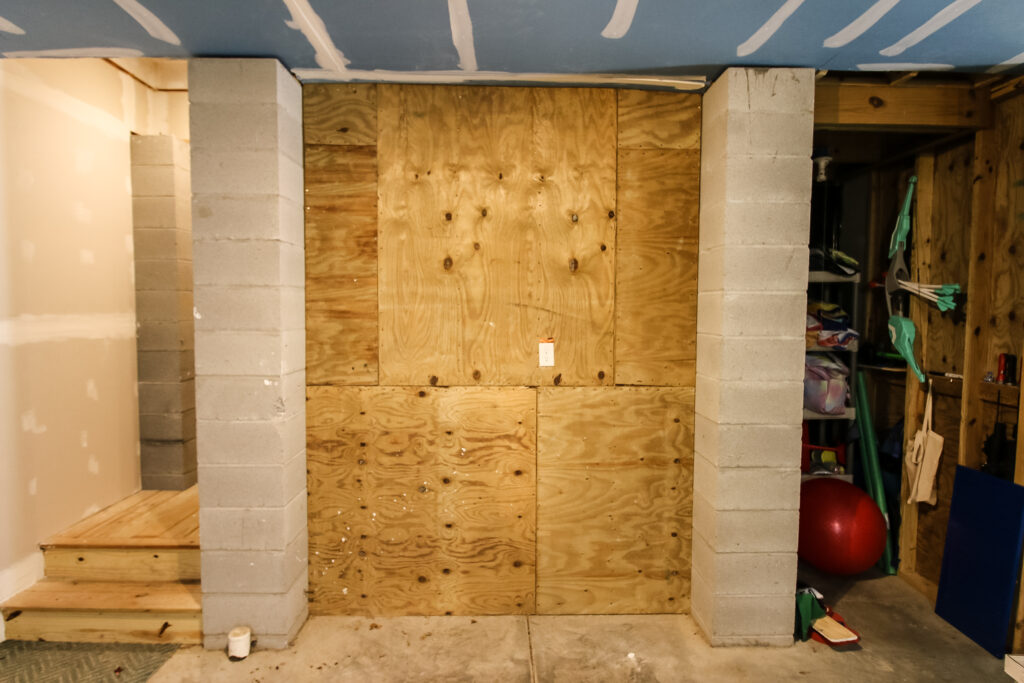
We love the space, but this wall was hideous.
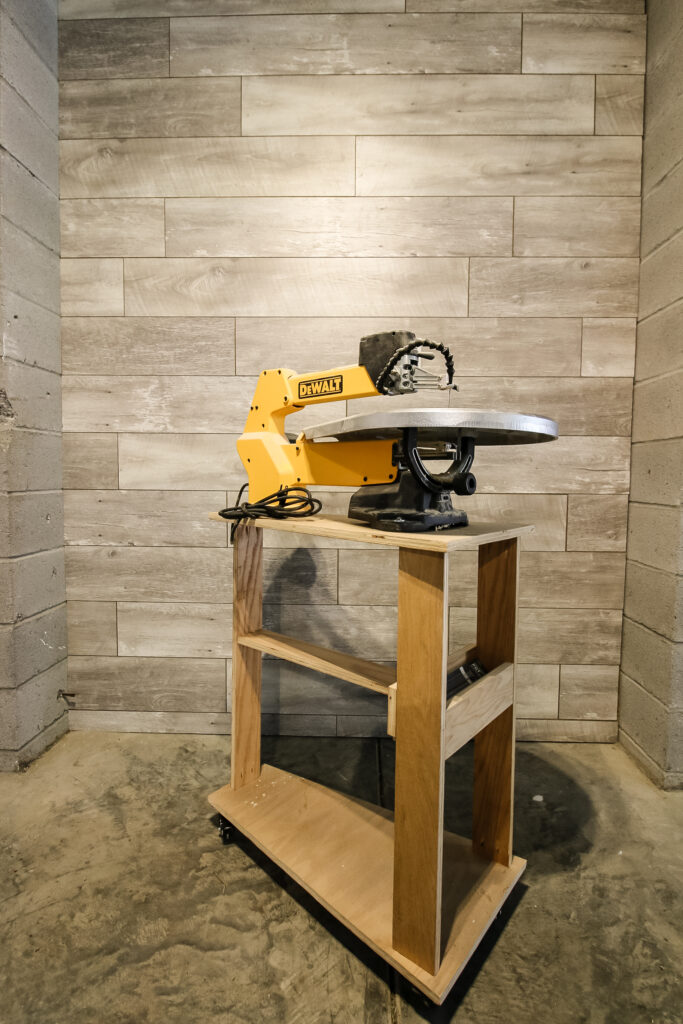
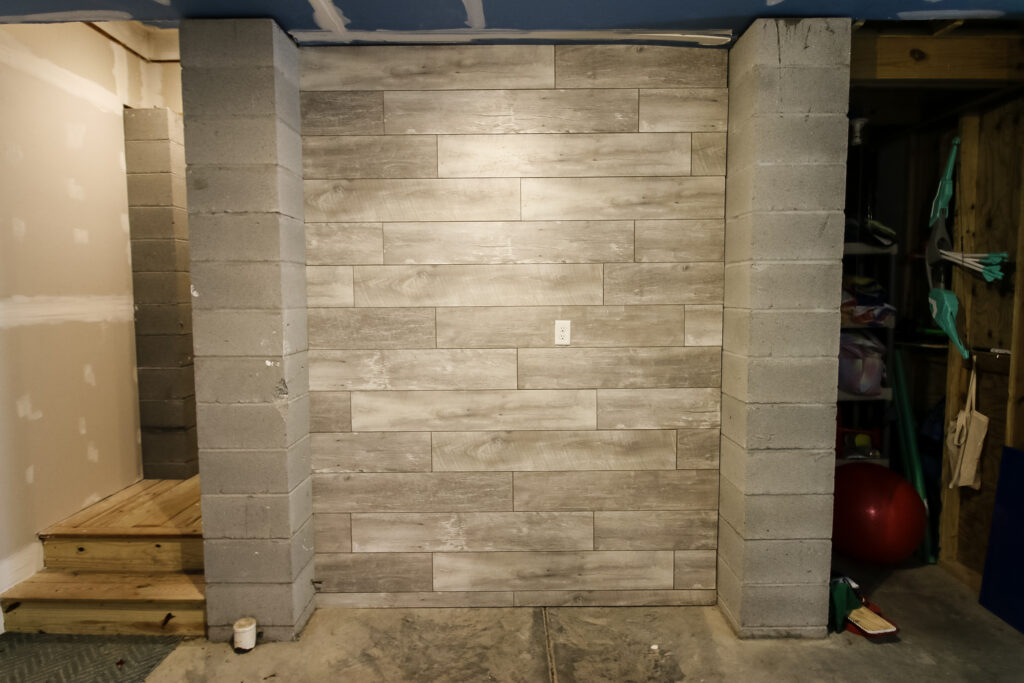
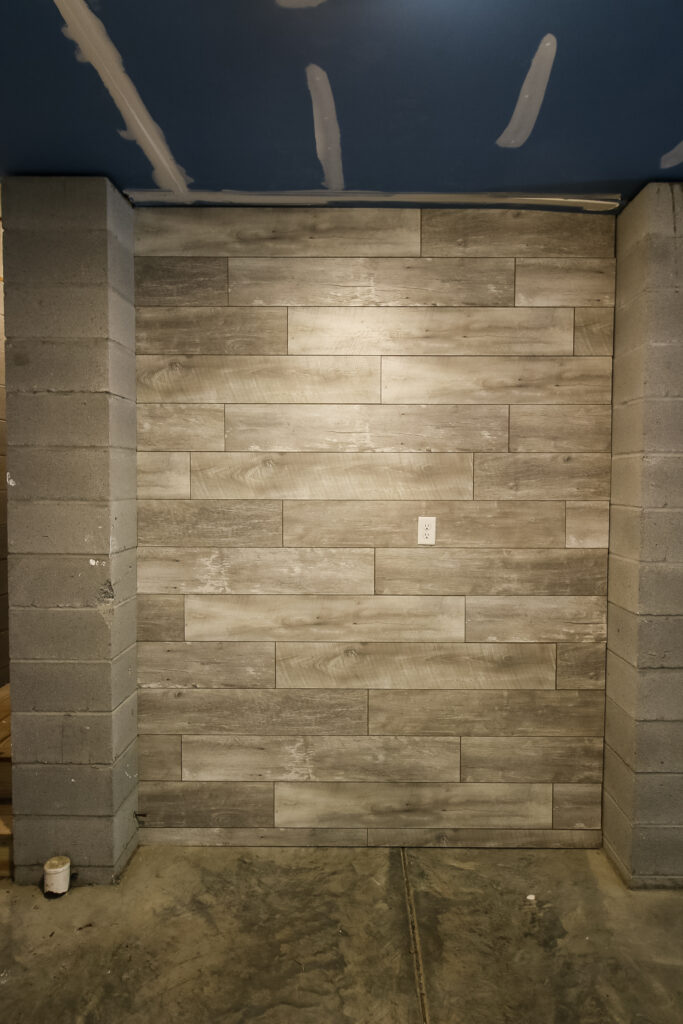
We thought it would be a great place to create a backdrop for photos and filming of our projects by adding laminate flooring on the walls.
How to create an accent wall with laminate flooring
You might not immediately thing of putting flooring on walls. But, using laminate flooring is a great way to create an accent wall in any room of your home.
Laminate flooring is user-friendly, tung and groove and comes in a variety of shapes, sizes and finishes.
This makes it a great DIY option for creating a focal point in one of your living spaces.
Laminate flooring is also fairly cheap. We got four boxes of laminate flooring at the local Habitat for Humanity ReStore. You'll usually find great deals and great variety at a place like that.
Materials needed to make an accent wall with flooring
If you want to create a feature wall with flooring, you'll need a few things. It's pretty easy to install and doesn't require a lot of materials.
- Laminate flooring
- Adhesive caulk
- 1" brad nails (optional)
Tools needed to make an accent wall with flooring
You actually need more tools to hang a feature all than you do materials. Here's what you need to get the job done.
Steps for how to hang laminate flooring on the wall
Laminate accent walls are a great way to break up a room or create a feature spot in your home.
We're hanging ours in the garage as a photo wall, but they are usually done in a living room, dining room or bedroom.
Step One: Hang first piece
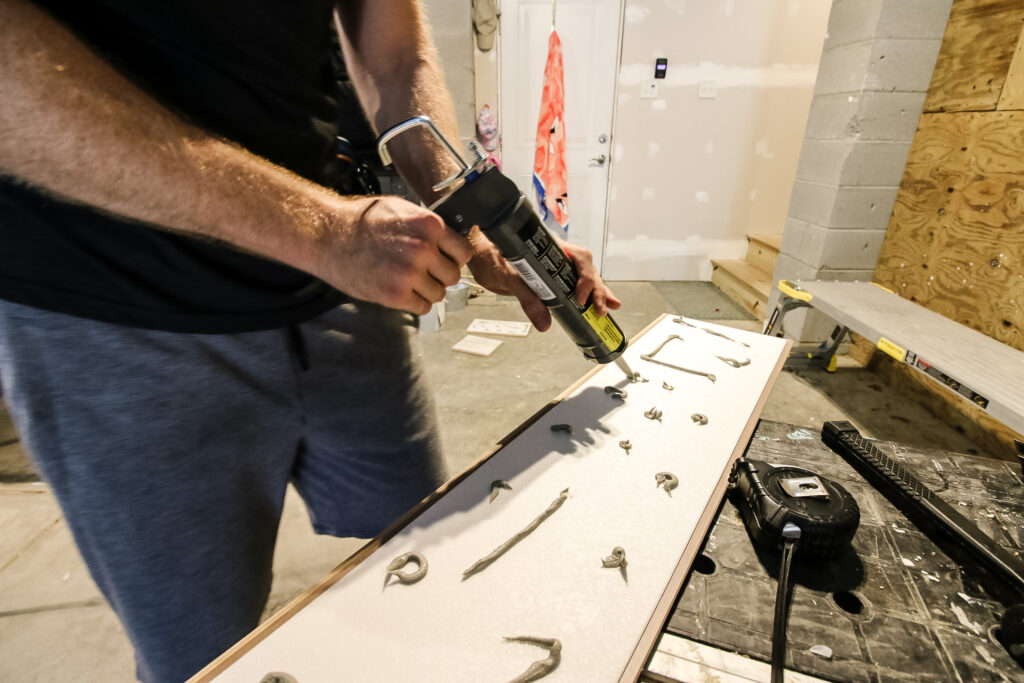
Start by applying adhesive caulk to the back of a full piece of flooring. You'll apply the caulk on every piece of flooring you hang, but I won't mention it again.
Square that piece up in the top left corner of your wall.
It might seem easier to start on the floor, but the tongue and groove concept of installing laminate means you need to start in the top left and work right and down.
Make sure this piece is level as this is the base for the entire wall.
Step Two: Finish first row
Work to the right until you hit the opposite wall.
When you reach the end, measure how much you need and then use a miter saw to cut another piece of flooring.
Install the piece on the end in the same way as the rest of the pieces on the first row, clicking the side into place. Use a pry bar or a pull bar and hammer to slide it into place if needed.
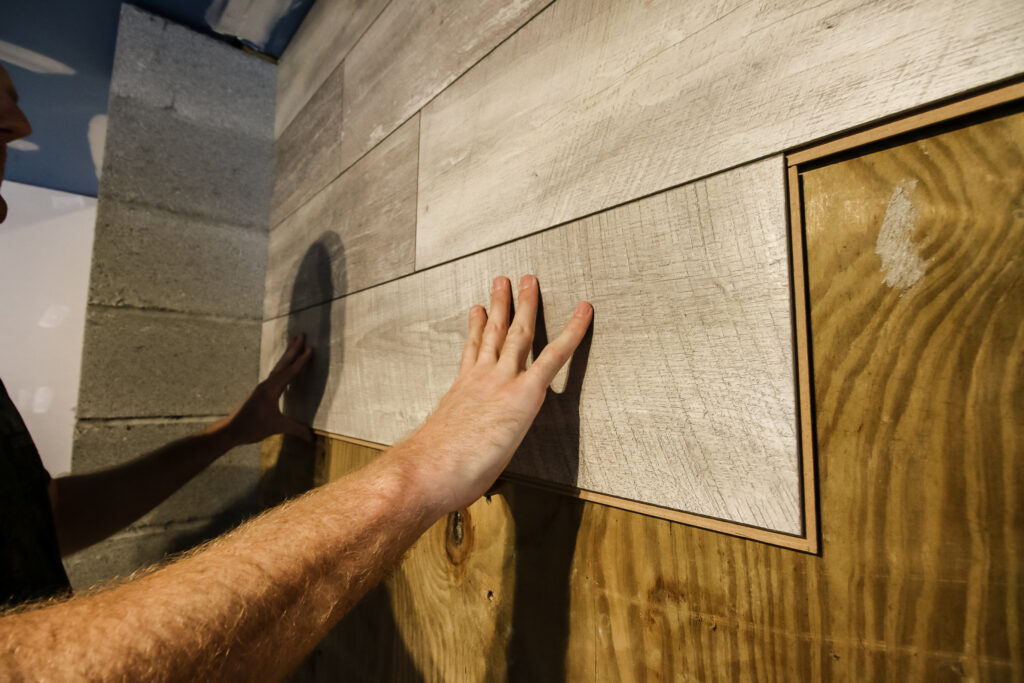
Step Three: Start second row
Start the second row using the excess cut off from the end of the first row.
Snap the tung into the groove at an angle.
Next, use a full piece of flooring. Snap the long edge of that piece into the row above it. Then slide it over into the short edge using a mallet and a piece of wood or a block.
Step Four: Continue as needed for all rows
Continue to do the same steps as above for all remaining rows until you get to the last row.
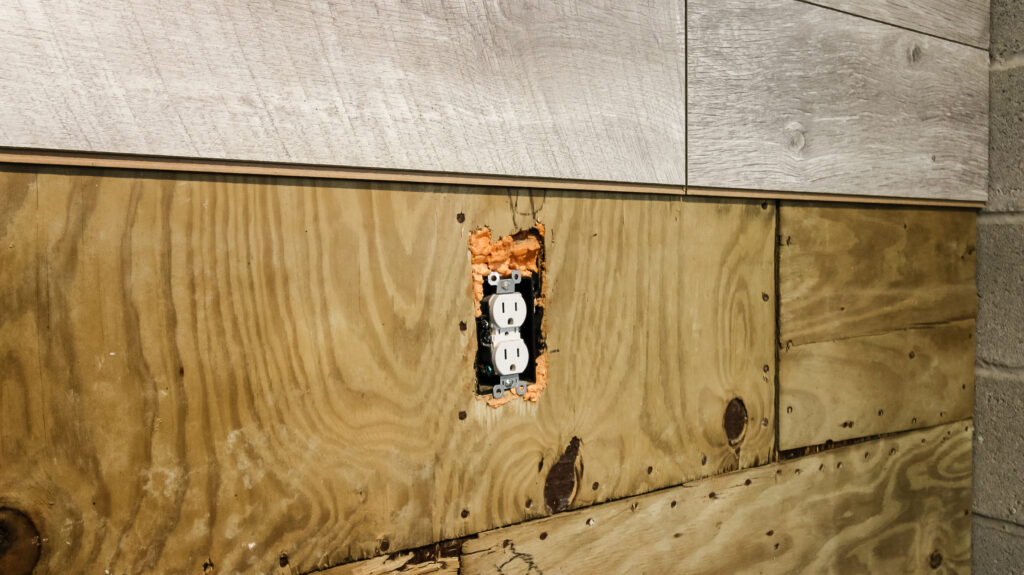
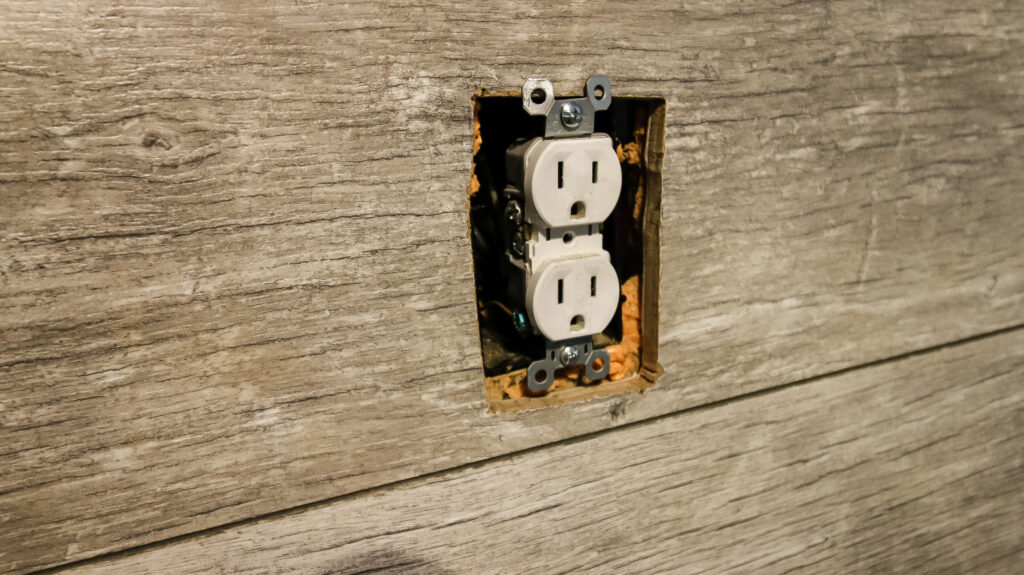
If you encounter any outlets or switch plates when installing the flooring on the wall, you'll need to use outlet spacers to make the outlet flush with the wall panel. Click here to see how to install outlet spacers!
Step Five: Last row
If your last row is magically the same width as your flooring panels, go you. If not, use a table saw to trim any panels to the right width and install as you have with the other rows.
Video Tutorial
If video tutorials are your thing, here's a quick video of how we hung laminate flooring on the wall in our garage to make a feature wall for photos and video.
Frequently asked questions about using laminate flooring to make an accent wall
You can absolutely use laminate flooring to create an accent wall in your space. Just be sure that you like the color and grain - and that it coordinates with any existing flooring or wood tones in the space!
The cost to make an accent wall depends on your flooring source. You can likely get a box of flooring for $25-40 at a thrift store, but multiply that times the number of boxes you need. You'll also need to buy the other supplies need. You'll likely be spending a couple hundred dollars, unless you are using supplies from other projects.
You definitely can hang laminate flooring on a garage wall, that's what we did in this project. However, the box of flooring will likely have recommendations on temperature and humidity that the product should be used in. If hanging in a garage, it might not last as long, so know your needs ahead of time.
You can hang laminate flooring or planks on a ceiling. We hung tongue and groove planks on a guest room ceiling and it turned out great!
Yes, you can use vinyl flooring for an accent wall the same way you can use laminate flooring.
You do not need to worry about wall studs for an accent wall. The flooring planks are secured to the wall using adhesive caulk. This will just stick to the drywall itself and not the studs.
Laminate flooring can be secure to the wall using construction adhesive and a few nails! The more adhesive you add, the harder it will be to remove down the line.
Looking for something?
We've been doing this since 2012 so we have a LOT of blog posts!
Search stuff like: Ceiling Projects | DIY Plant Stands | Thrift Flips


Hey there, I'm Sean, the woodworking enthusiast and builder behind CharlestonCrafted.com! Since 2012, I've been sharing the magic of turning raw materials into beautiful creations. I love teaching others the art and satisfaction of woodworking and DIY. I try to inspire fellow crafters to make something extraordinary out of nothing at all.


