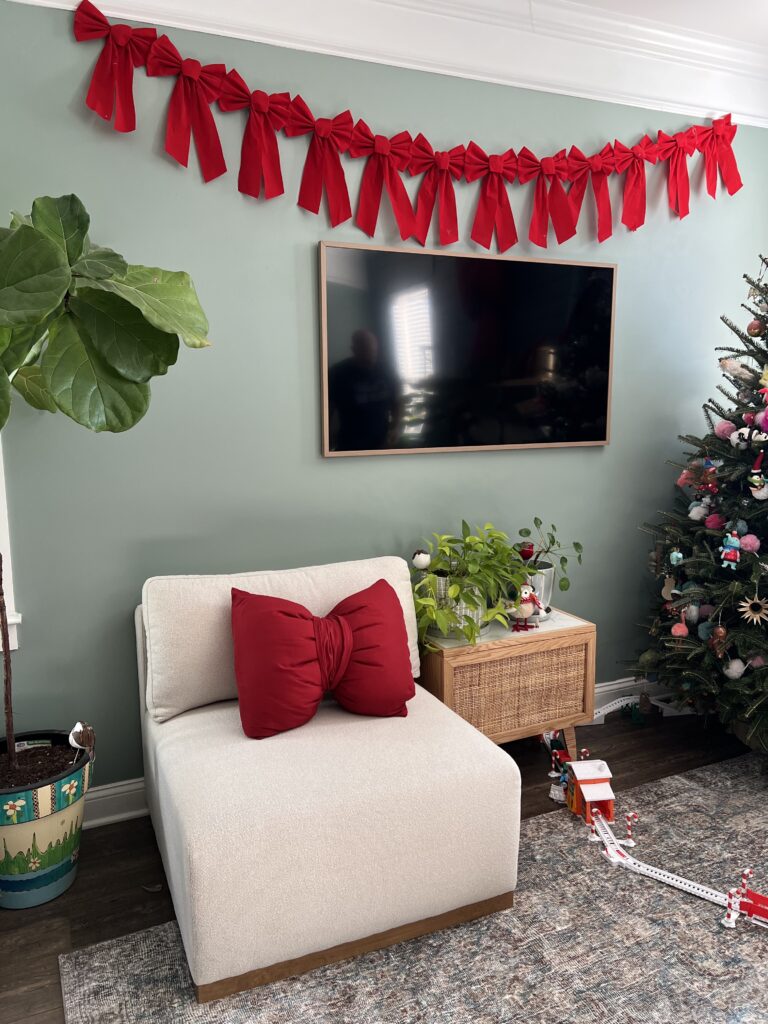
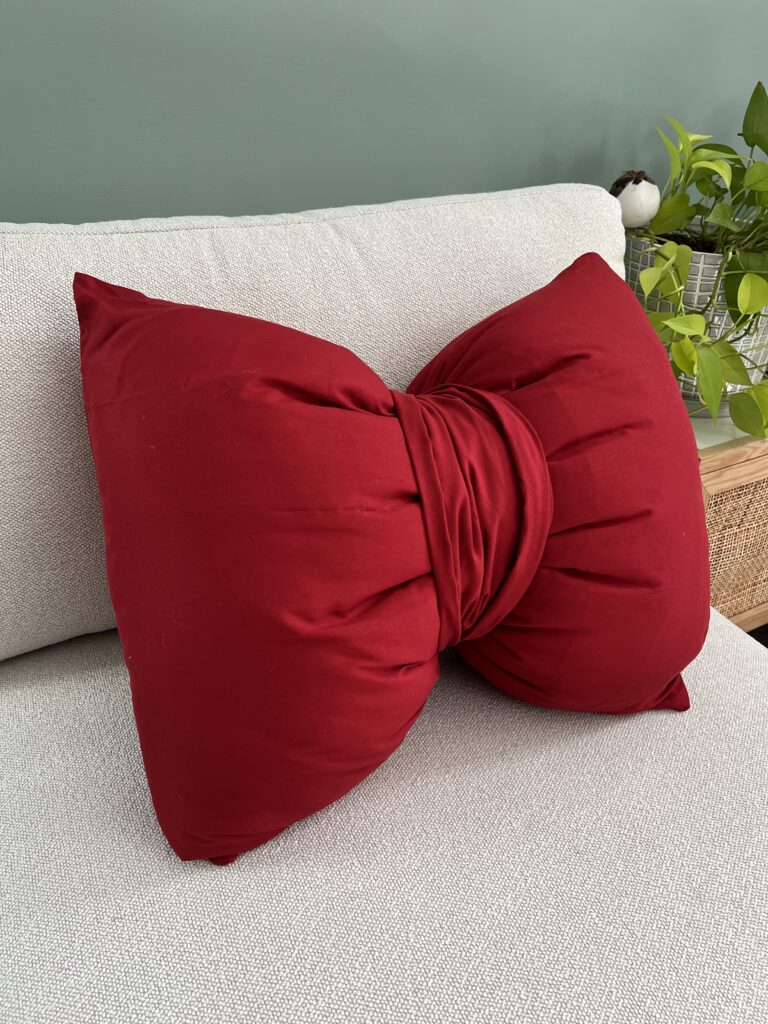
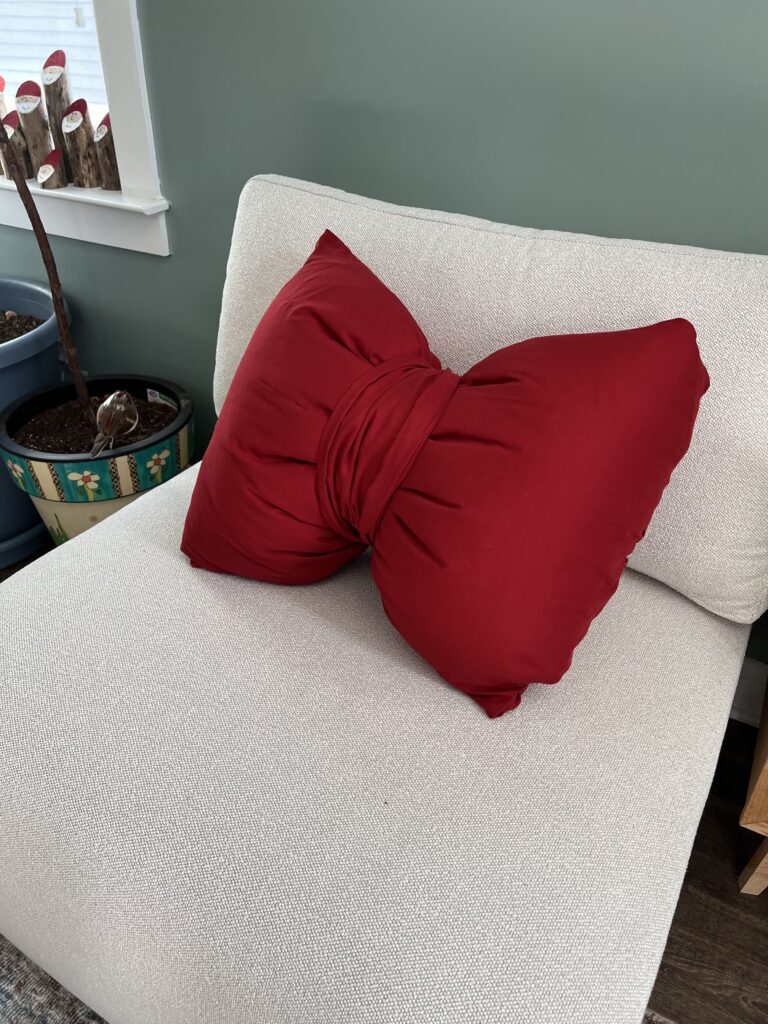
Want to add a festive touch to your home this holiday season? Here's how to make a no sew bow pillow!
I am going a little bow crazy this holiday season. There's just something so fun and festive about a big, red bow.
Well, I decided that I wanted to make a red bow pillow for our living room chair.

I actually previously made a no-sew bow pillow (in 2014!) and decided I wanted to make another one this year, following a similar method.
This time, I decided to use a standard sized sleeping pillow (so it's pretty big and very fluffy!) and a pillowcase for the fabric. This combination of materials made this a super affordable craft (thanks, Walmart!) and easy to do.

How to make a no sew bow pillow
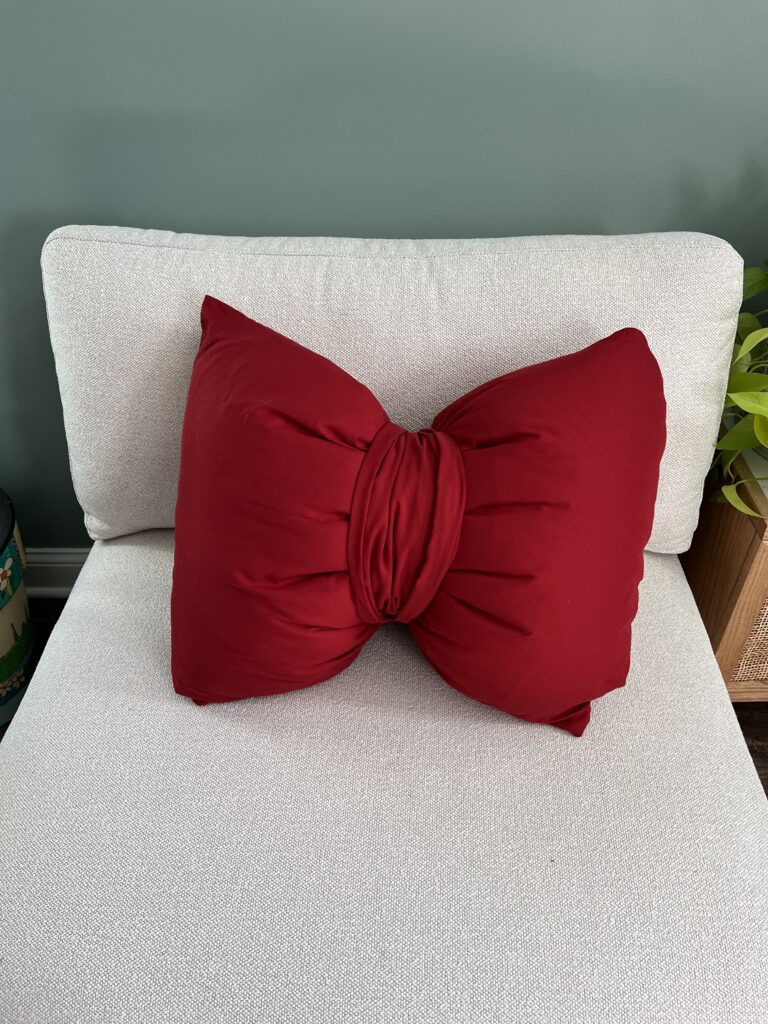
Here's how easy it is to make a no-sew bow pillow from a pillowcase!
Supplies needed:
- 2 king sized pillow cases (same color)
- 1 standard sized pillow
- twine
- scissors
- hot glue
Steps to make:
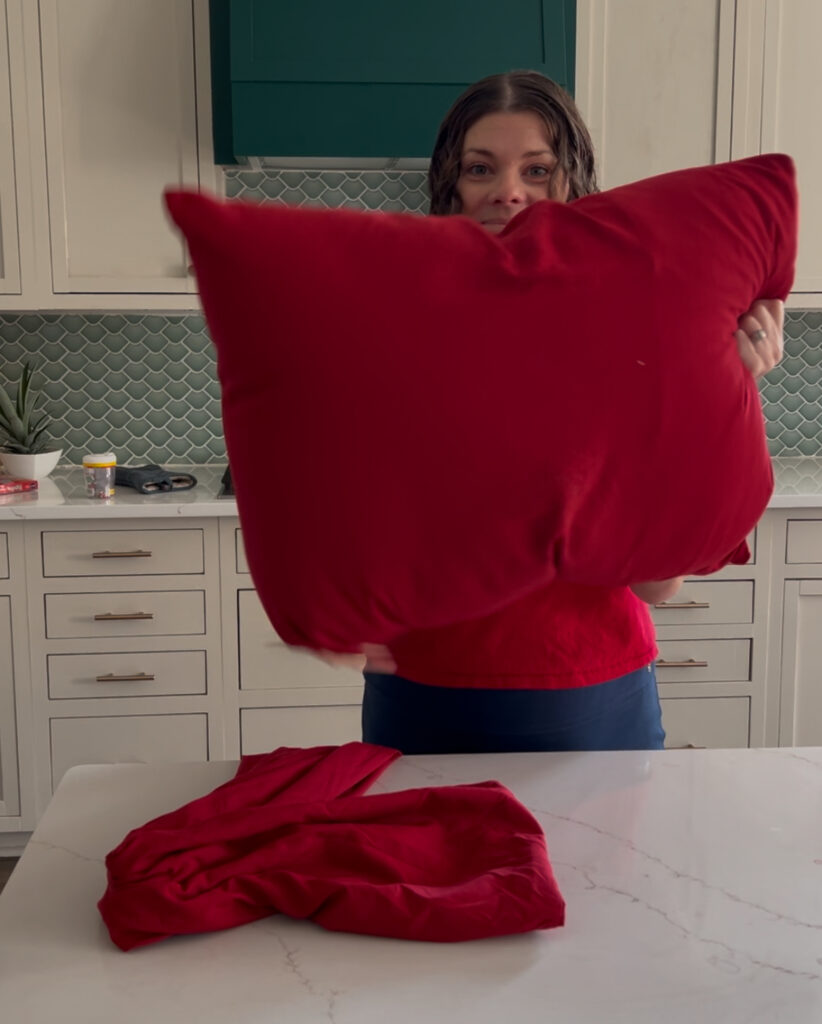
STEP 1: Put the pillow in the case
Put the pillow inside the pillow case. There should be lots of excess fabric, since this is a standard pillow inside a king sized pillow case.
*Technically, you could use a regular sized pillow case here, but since the second one needs to be king sized, I prefer to buy a 2 pack and just use 2 of those!
STEP 2: Seal the case
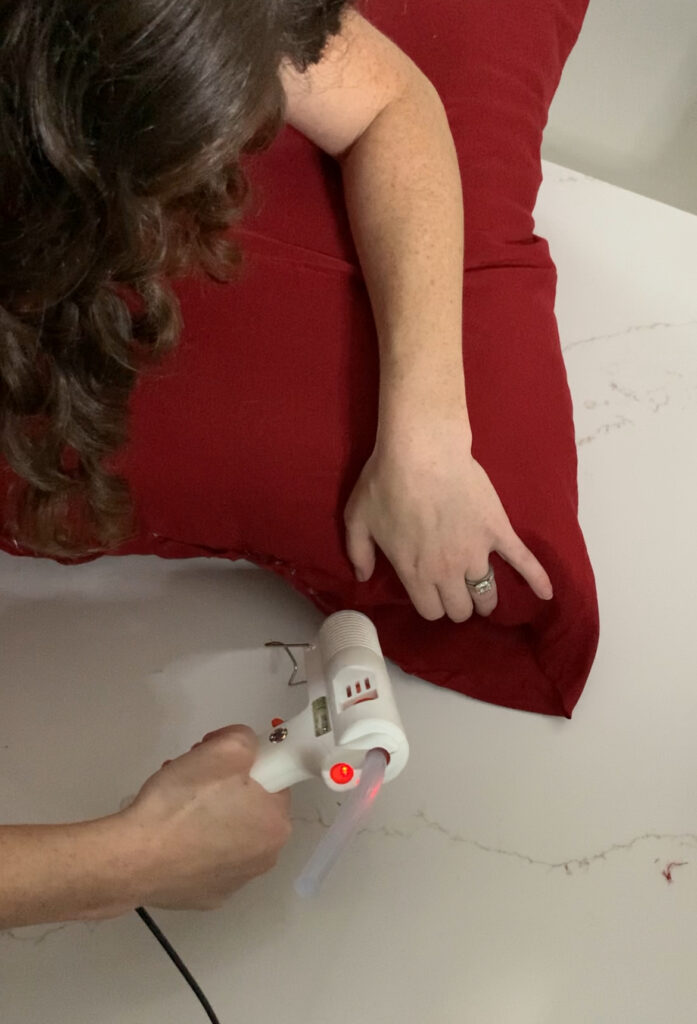
Fold excess case inside itself and fold to create a seam. Apply hot glue to the seam. Hold it with your fingers so it dries in place. Seal up the whole pillow with hot glue this way.
You should have what looks just like a fully fabric covered pillow when you are done.
STEP 3: Tie a knot
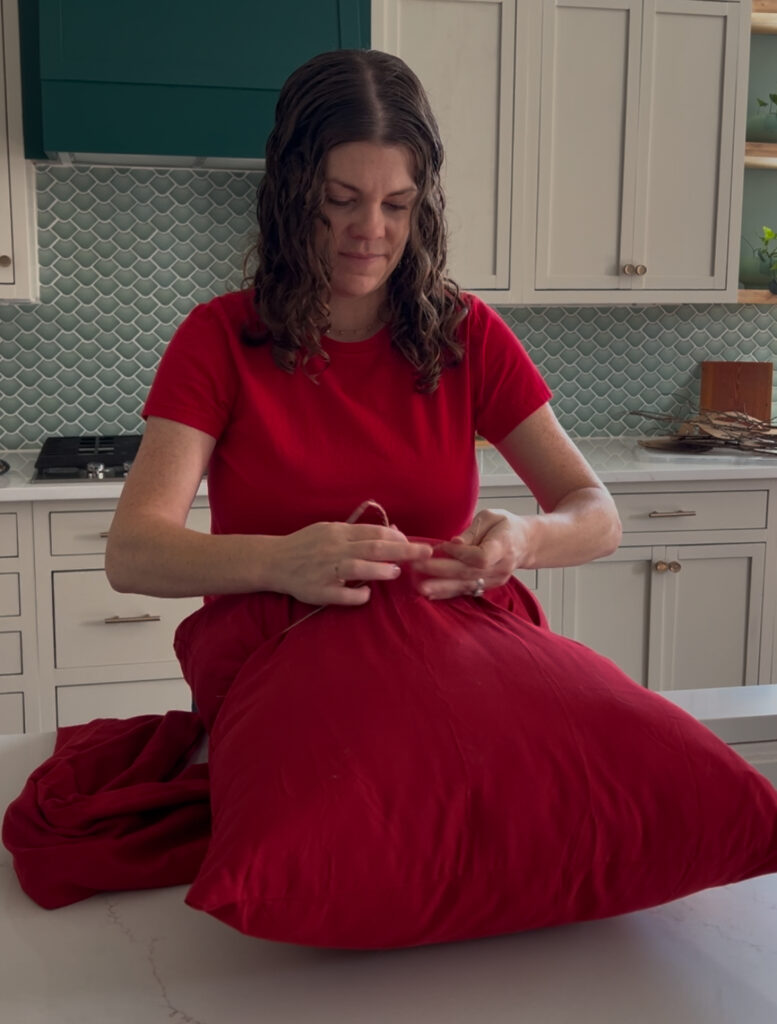
Cut a piece of twine about 2 feet long. Wrap it around the center of the pillow and tie a double knot.
This will compress the pillow to create the bow shape. Take the time now to carefully center the twine so the bow looks great. Trim excess twine.
STEP 4: Fold the second pillowcase
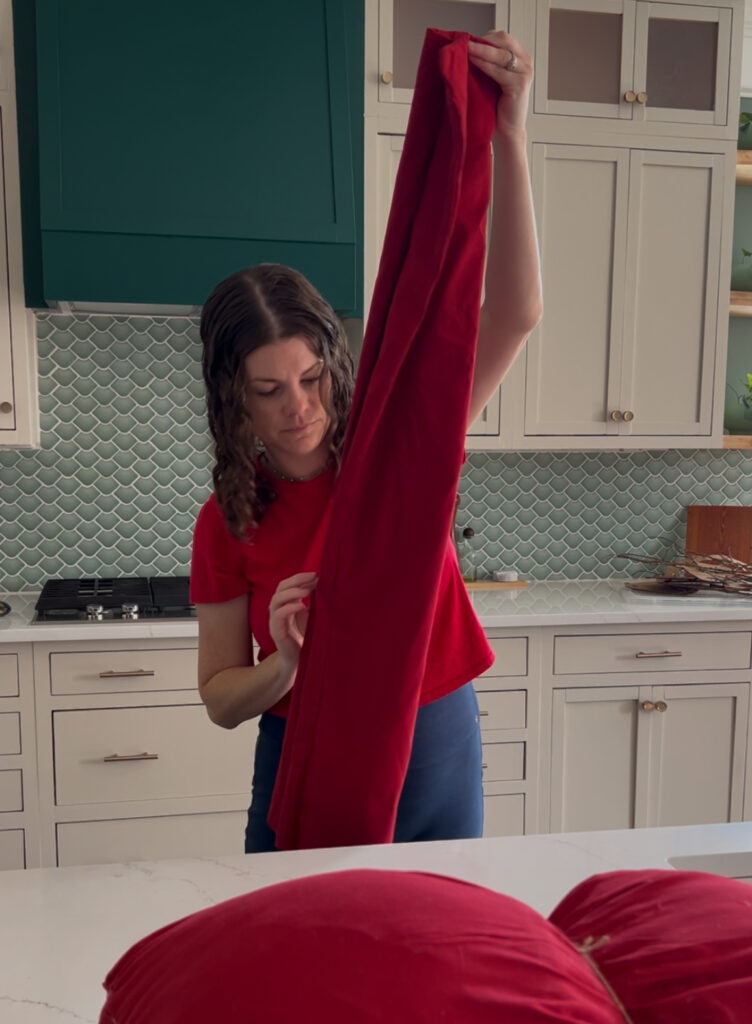
Take your second pillowcase and fold in hotdog style, folding into 3rds. It should be one long skinny strip when you are done folding.
Lay the strip flat on your tabletop and lay the pillow on top, lining the twine around the pillow with the strip of fabric.
STEP 5: Tie the knot
Pull the ends of the strip of pillowcase up and around the pillow. Tie a knot. Repeat to tie a double knot.
Pull tightly to keep that tight, squished bow look.
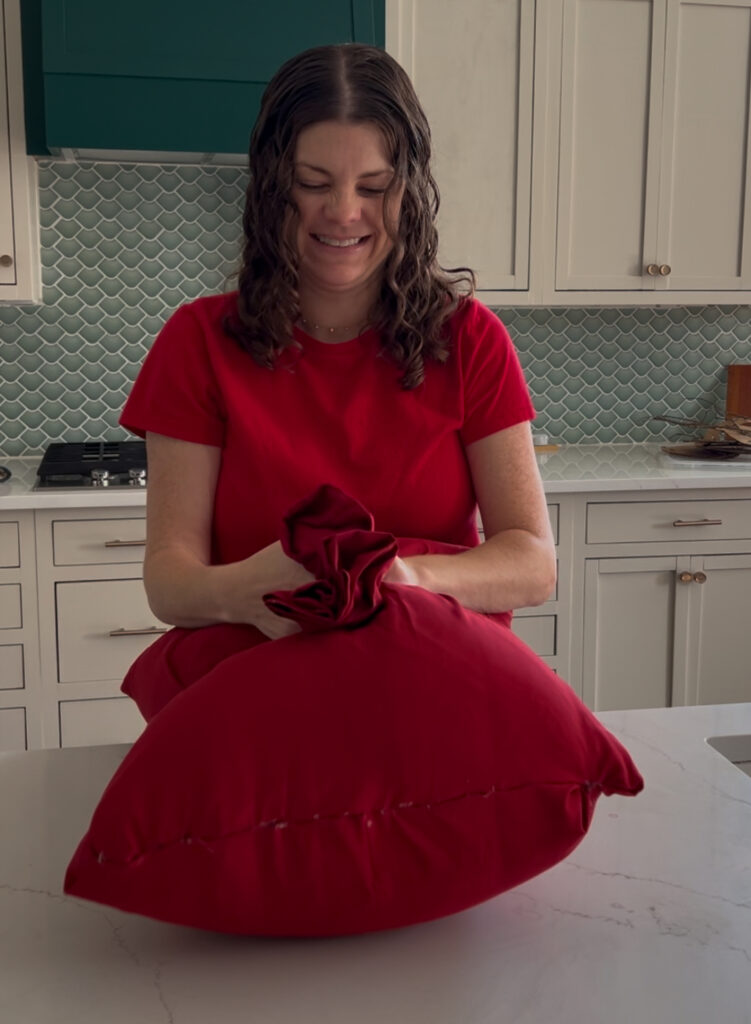
That's it! Now, you can enjoy your pillow! I am using mine as seasonal decor, but how fun to display it all year round, too!
Love bows? Check out my DIY bow garland tutorial and oversized bow wall hanging tutorial, too!
Video tutorial
Prefer to watch? Click here to see my complete video tutorial!
Looking for something?
We've been doing this since 2012 so we have a LOT of blog posts!
Search stuff like: Ceiling Projects | DIY Plant Stands | Thrift Flips


Hello, I'm Morgan, half of the creative force behind CharlestonCrafted.com! With a passion for DIY that dates back to 2012, I've transformed three homes and now I'm dedicated to helping others craft their dream spaces. Let's turn your house into a home together!


