This easy homemade wooden dowel Christmas tree adds the perfect minimalist, boho or Scandinavian touch to your holiday decor. Here's a step by step tutorial on how to make it!
I have been loving boho holiday decor this year (did you catch my Christmas tree wall hanging?!).
Boho style features a lot of natural elements as well as a minimalist feel.
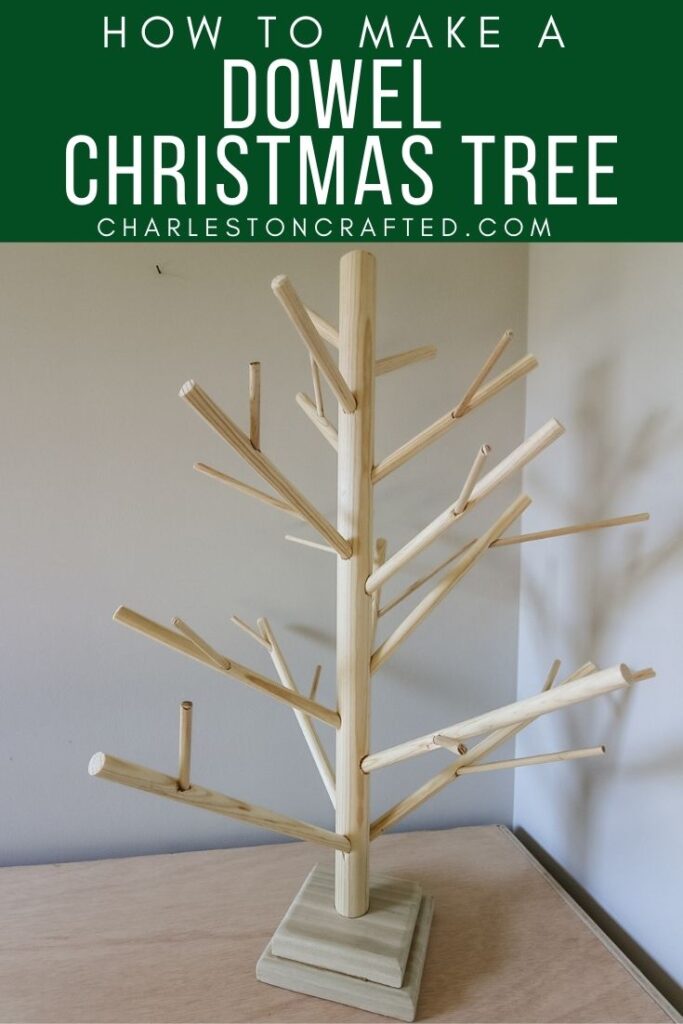
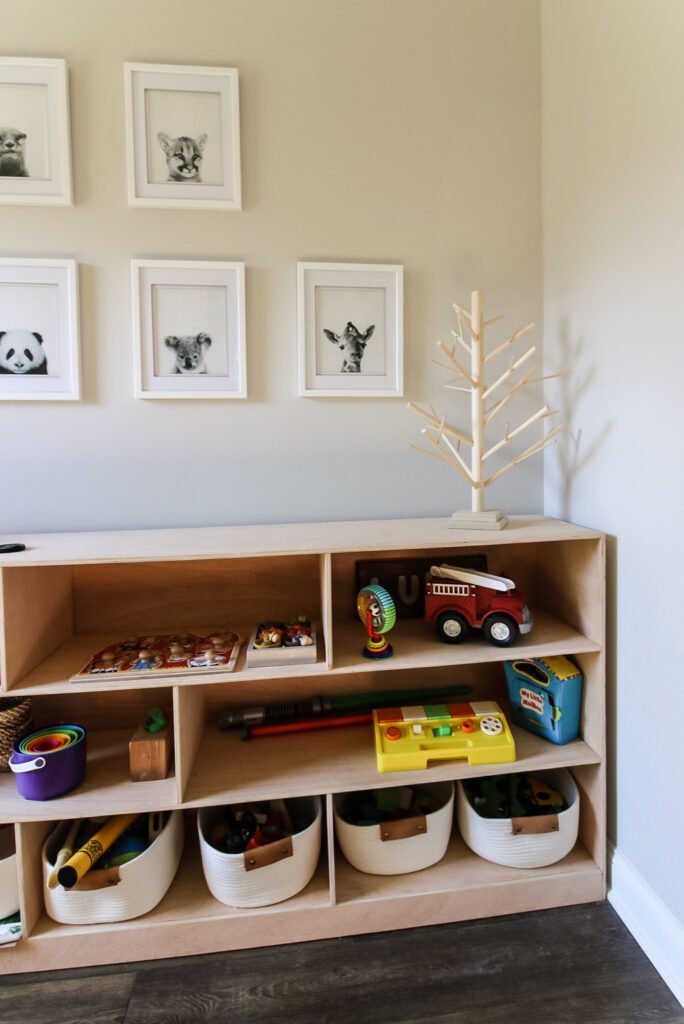
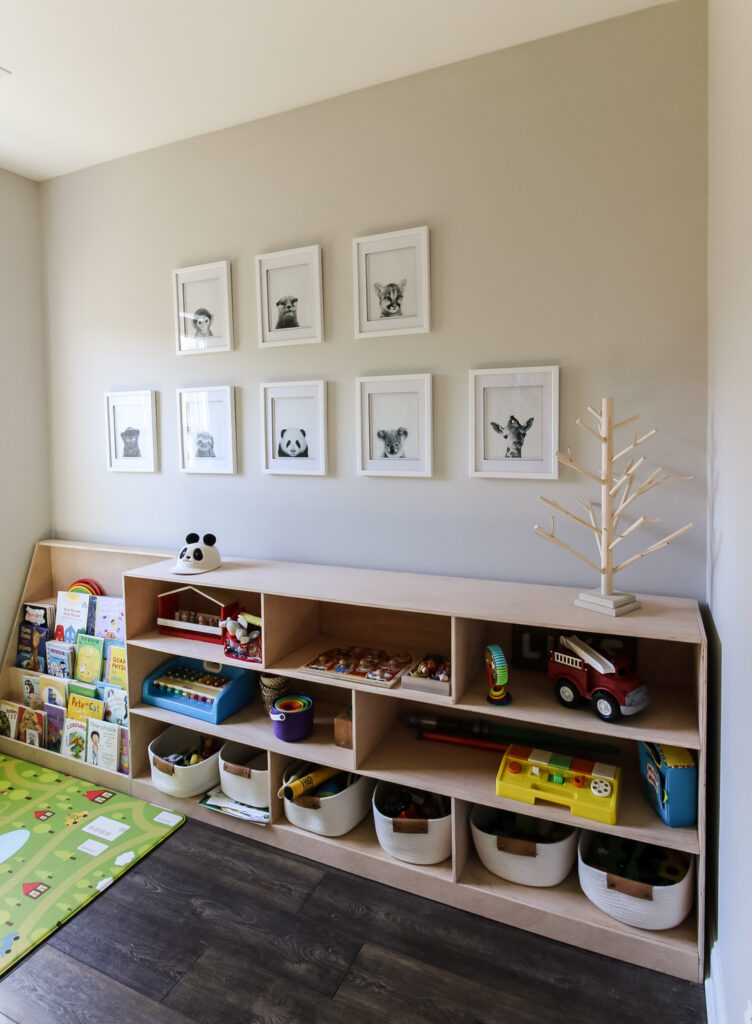
I am trying to decorate the loft with a little bit of festive boho touches, so I decided to make a DIY wooden dowel Christmas tree for that space.
I chose to make a 2 foot tall tabletop version, but this tutorial could easily be adjusted to make a full sized tree. You will just need a longer and thicker "trunk" and more "branches."
This is obviously a modern and non-traditional take on the Christmas tree.
It could be great for those with allergies, people who have small spaces, or - like we are using it - just as an additional Christmas decorating piece!
How to make a Wooden Dowel Christmas Tree
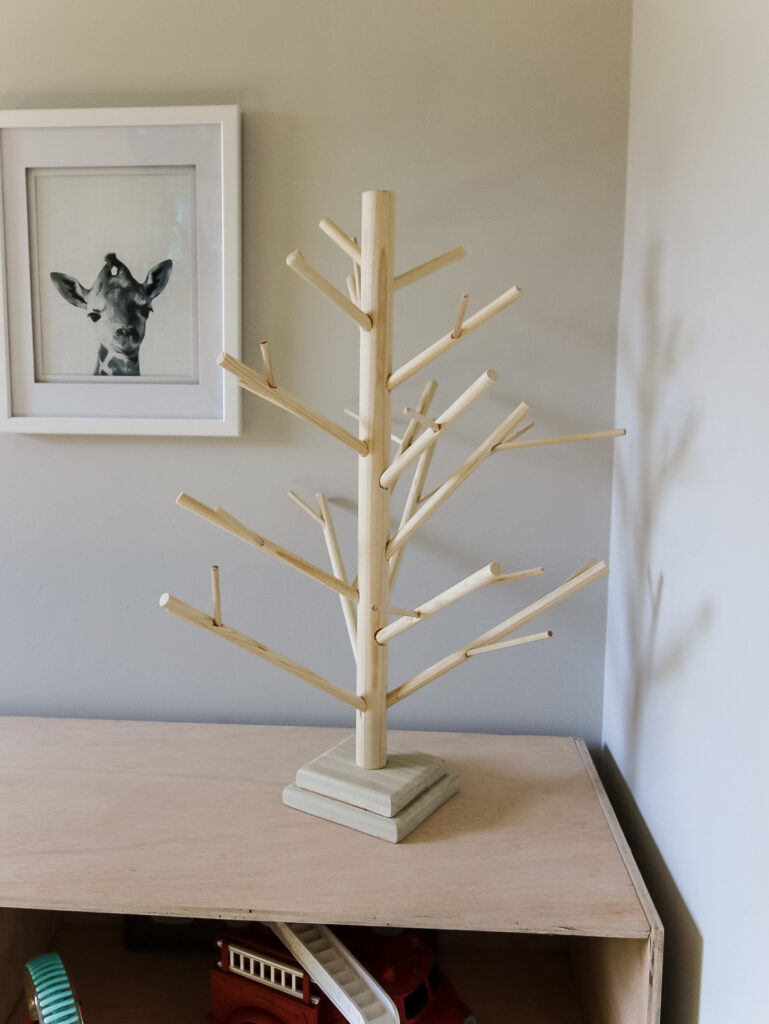
Making this dowel tree is slightly tedious but not at all difficult. You will need a few common tools to get it done!
Other DIY Christmas tree shaped decor ideas
Don't miss some of our other tree-shaped DIY Christmas decor ideas to keep you busy this holiday season!
- DIY wooden tabletop Christmas trees
- DIY outdoor slatted Christmas tree
- DIY dowel Christmas tree
- Boho wall hanging Christmas tree
- DIY Christmas tree poinsettia stand
- DIY Christmas tree shaped card holder
Materials & tools needed:
- 3 sizes of 4' dowels - I used 1.25" (1), .75" (3) and .25" (2)
- 1"x6" board - 1 foot long
- Drill with drill bits for each dowel size except the trunk (¾" drill bit and ¼" drill bit for my dowels)
- Scissors or garden clippers
- Sander
- Saw of choice
- Pencil
- Wood glue
What you do:
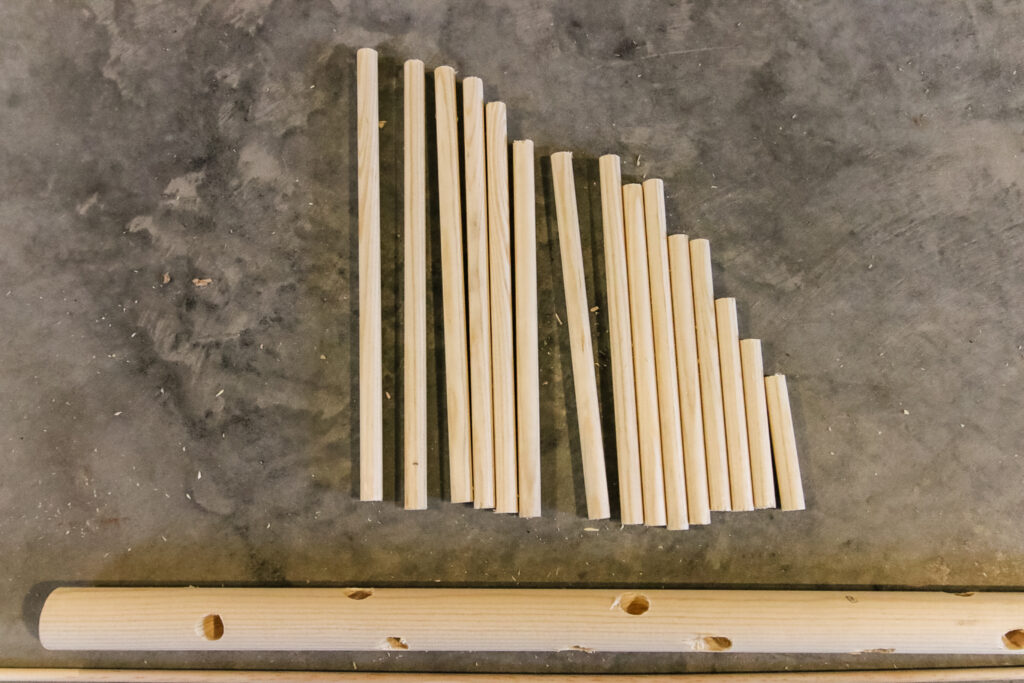
First, cut your trunk to size. I used a 1.25" dowel for my trunk.
Use your saw to cut the dowel to 2 feet tall or whichever height you prefer.
Once cut, sand the cut end of your dowel for a smooth finish.
Now, decide where you want branches. Use a pencil to mark the branch locations.
My locations were selected at random for a more eclectic look. If you prefer a streamlined, modern or even look, measure out your branches more evenly.
Drill holes for each branch. Use the ¾" drill bit for your ¾" branch dowels.
On the trunk dowel, in each spot that you marked for a branch, begin by drilling at a 90 degree angle into the trunk.
Once your hole is established enough that the drill bit is not slipping off the curved surface, tilt your drill to be at a roughly 45 degree angle.
Continue drilling until you are about ⅔ of the way through the dowel.
Use a test piece for your ¾" branch dowel to be sure the hole is deep enough. It should be a snug fit. Repeat for each dowel spot.
Use your saw to cut the ¾" dowel to length for each branch. I liked doing this after drilling the branch holes so I could stick branches in as I go to determine lengths.
My branches are shortest at the top, each getting longer as you spiral towards the base of the trunk, like a real tree.
Sand the holes you drilled in the trunk and the cut ends of the dowel branches. Stick each dowel in the holes.
Next, repeat this process with ¼" dowels and a ¼" drill bit. Mark on your branches where you want sub-branches or "twigs."
Use your ¼" drill bit to drill in at a 90 degree angle, then shift to a 45 degree angle. Repeat for all branches until you are happy with the look.
Instead of cutting these tiny dowels with a saw (they tend to splinter) I used my gardening shears! They cut it perfectly.
Once satisfied, sand everything.
Now, remove each branch one at a time. Put a dab of glue on the end then place it back in the hole. Repeat for any twigs on each branch. Repeat for each branch.
To create the base, you'll need two pieces of ¾" thick wood stacked on top of each other.
We cut one piece to be 5 ½"x5 ½" using a 1x6, then cut a second piece to be 4 ½"x4 ½".
We routed off the top edge of both pieces and then glued them together.
Finally, we drilled a 1 ¼" thick hole about ¾ of the way through the stack and filled it with some wood glue and insert the tree.
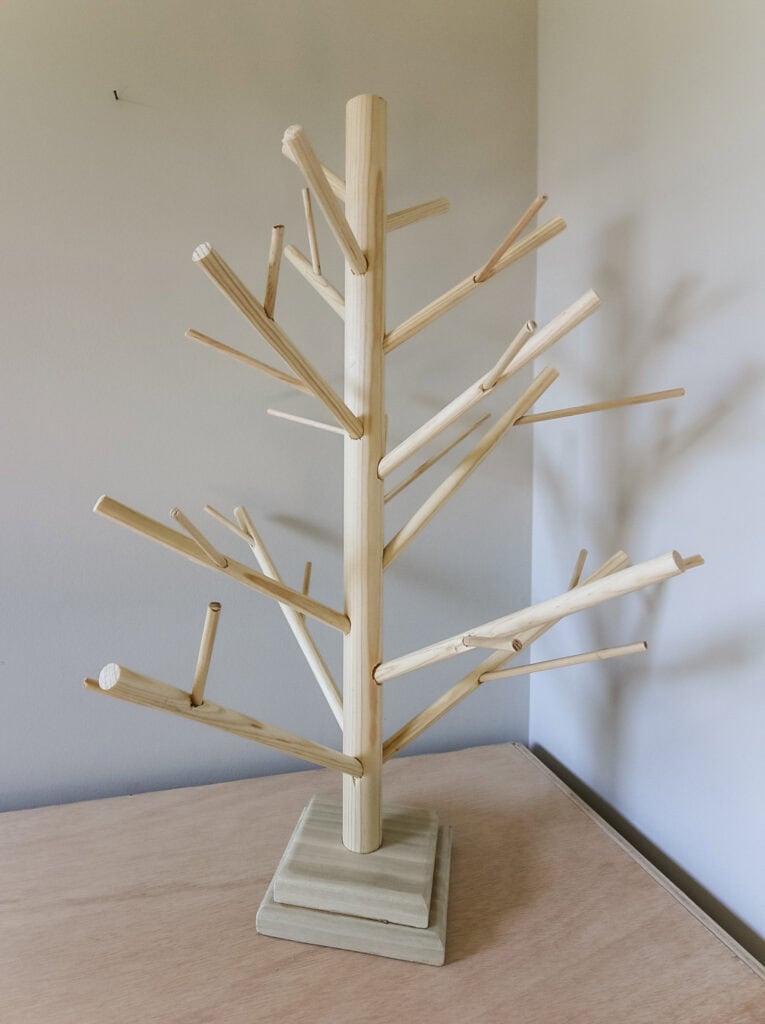
Dowel Christmas Tree Pattern
To get the most natural "tree" look, alternate around the tree in a staggered pattern. Try not to have any two branches on the same horizontal plane.
You want to space them out so that the holes that you drill are at least an inch apart to help avoid splitting or breaking the dowel.
I have 13 dowel branches on my 2 foot tall tree.
Tips for this project
Drilling at an angle
When drilling your holes for branches, you want the branches to be angled upwards like a tree and not flat or at a 90 degree angle.
To achieve this look with your drill, you will first need to carefully drill straight into the dowel at a 90 degree angle.
Once the hole is established, change the angle of your drill to about 45 degrees. Drill the rest of the hole at that angle.
Make sure to keep your hand away from the hole you're drilling in case you slip.
It is best to have a scape of your branch or twig piece to test each hole before you move onto the next one.
It is really imperative that you do practice holes in scrap dowel pieces to get a feel for the drilling process.
Don't drill too close together
Be careful not to drill your holes too close together. If they overlap, it could crack all of the way through and compromise the strength of the dowel.
Don't drill too far
Don't drill too far into the dowels. Measure ⅔ the depth of the dowel and mark that distance on your drill with painter's tape. Don't drill past this point!
To glue or not to glue
Using wood glue is a personal choice. I have a toddler who I knew would destroy this if it was not glued.
However, leaving the dowels unglued allows you to remove the branches for easier off-season storage.
To decorate or not to decorate
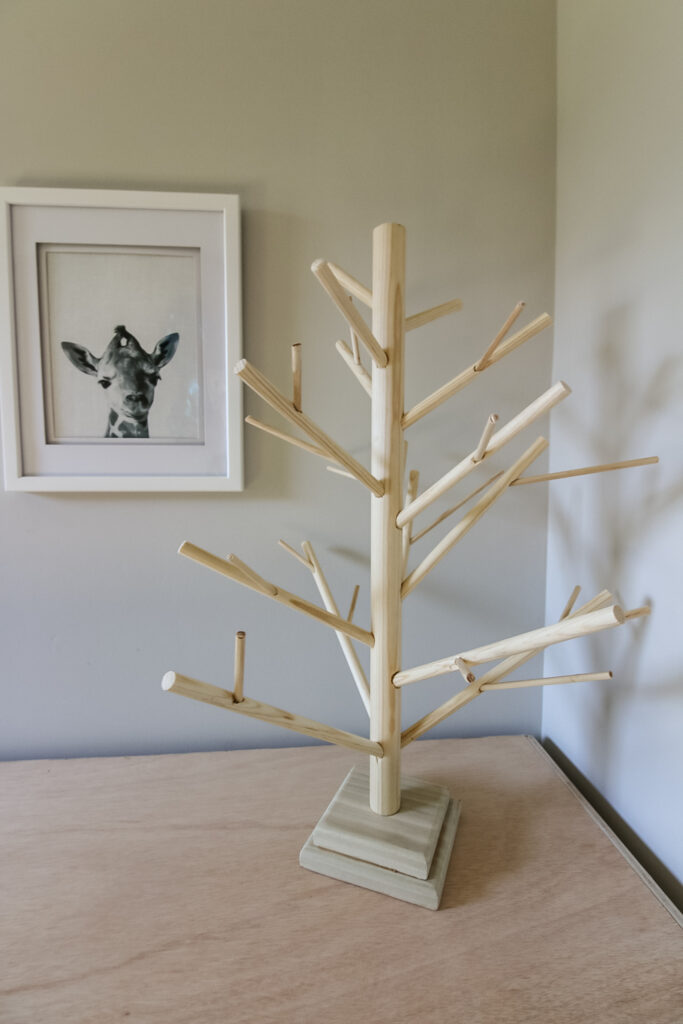
You can do anything that you want with this tree! Decorate it with small ornaments or a felt ball garland.
Additionally, you could use this tree as an advent calendar. Hang 25 small tags or pouches on the branches for a fun treat every day!
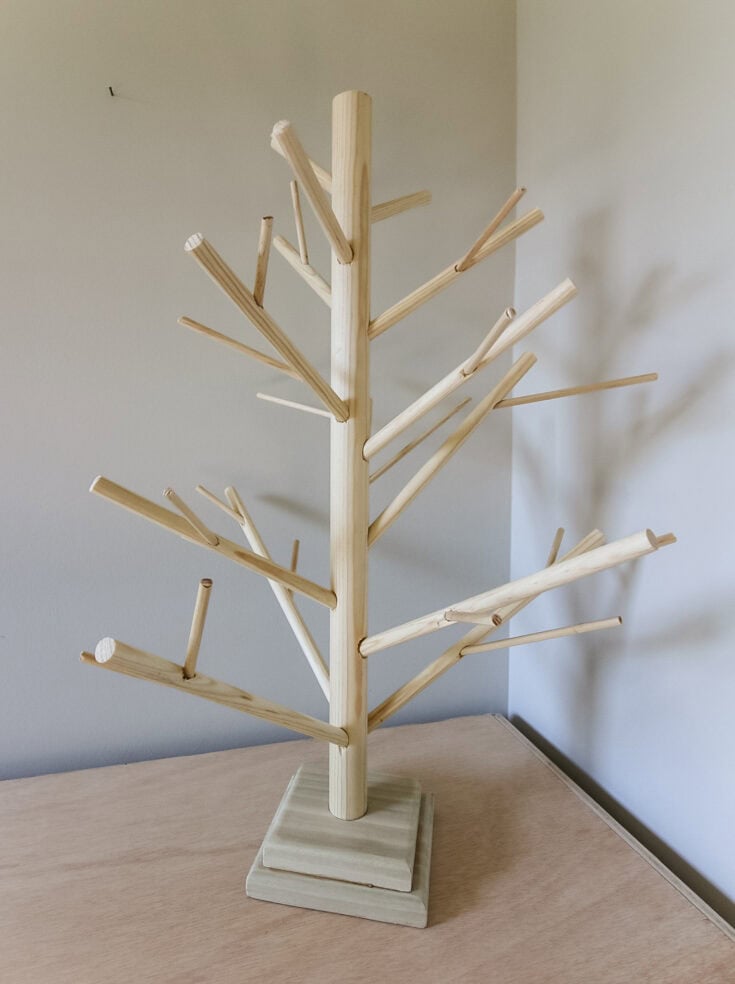
How to make a wooden dowel Christmas tree
Dowel trees are great for a minimalist or Scandinavian vibe for Christmas. Here's how to make a DIY wooden dowel Christmas tree.
Materials
- 3 sizes of 4′ dowels – I used 1.25″ (1), .75″ (3) and .25″ (2)
- 1″x6″ board – 1 foot long
- Wood glue
Tools
- Drill with drill bits for each dowel size except the trunk (¾″ drill bit and ¼″ drill bit for my dowels)
- Scissors or garden clippers
- Sander
- Saw of choice
- Pencil
Instructions
- Cut your trunk (thickest dowel) to desired height. Mine is 2 feet tall for a tabletop tree.
- Sand your cut ends for a smooth finish.
- Decide where you want branches and use a pencil to mark the placements.
- Drill ¾" holes at an angle for each ¾" dowel branch. Begin by drilling at 90 degrees and once the hole is established rotate to be at more of a 45 degree angle. Drill no more than ⅔ of the way through the dowel.
- Place a ¾" dowel in each hole and use a pencil to mark desired branch length. Branches usually get smaller at the top of the tree and are longer lower down.
- Cut with a saw and sand.
- Repeat with ¼" dowels and ¼" holes for sub-branches off of the branches. For the ¼" dowels, I used garden shears instead of a saw since they tend to split on the saw.
- Cut ¾" thick wood to create 2 squares - 5 ½″x5 ½″ using a 1×6, then cut a second piece to be 4 ½″x4 ½″.
- Round off the top edge of both pieces and then glue them together.
- Drilled a 1 ¼″ thick hole about ¾ of the way through the stack and filled it with some wood glue and insert the tree.
- Once you are happy with the final look, remove all branches. Add a tiny dot of glue in each hole and replace.
- Let dry and enjoy!
Video tutorial
Here is a video showing how I made this wood dowel Christmas tree!
Love Christmas? Click here to get FREE printable funny gift tags sent to your inbox!
Looking for something?
We've been doing this since 2012 so we have a LOT of blog posts!
Search stuff like: Ceiling Projects | DIY Plant Stands | Thrift Flips


Hello, I'm Morgan, half of the creative force behind CharlestonCrafted.com! With a passion for DIY that dates back to 2012, I've transformed three homes and now I'm dedicated to helping others craft their dream spaces. Let's turn your house into a home together!


