Looking for a handmade stocking stuffer for your toddler this Christmas? Try making a wooden lacing toy to give them endless fun while teaching them hand-eye coordination and dexterity!
We're all about handmade gifts for Christmas, and have tried to make something from wood as a gift for our children each of their Christmases.
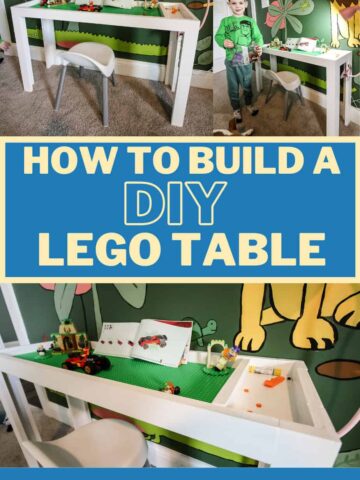
For our son's first Christmas, he got a wooden name puzzle, before he could even hold up his head. This year, they are getting this arts and crafts table (but don't tell them).
In their stockings this year, they will also be getting a couple of DIY wooden lacing toys in their favorite shapes to try to help them work on their minds and dexterity.
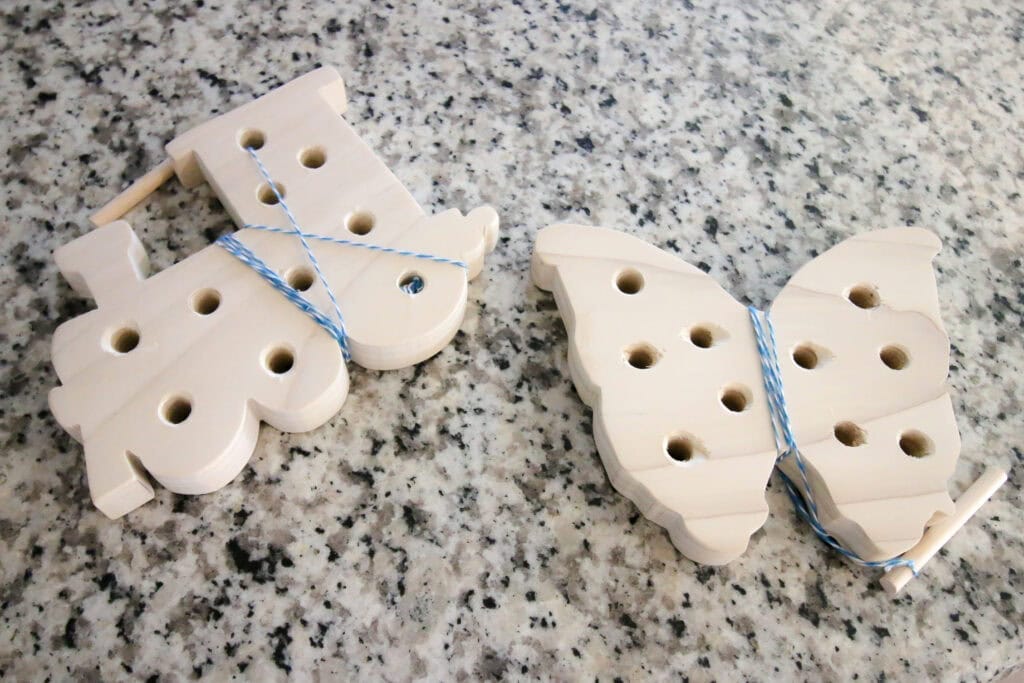
These DIY Montessori toys for toddlers are easy to make and can be replicated with any shape you want.
We'll show you how to make these gifts for your kids this Christmas and give them something to try!
How to make a lacing toy
A wooden lacing toy is a great DIY toddler gift idea! These are endless fun for them because they can try new things each time they do the activity.
Of course, if your child is too young to understand, you will need to keep an eye on them because there is a string involved that can become a choking hazard.
But the great thing about a lacing toy is that you can trace or draw any shape that will spark joy in your child.
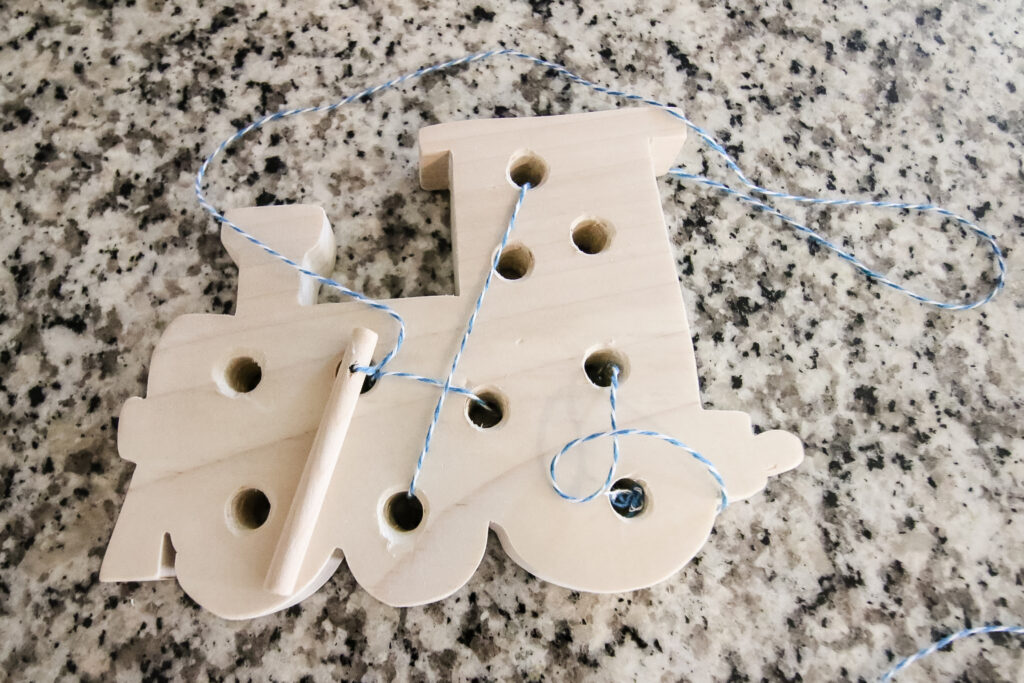
We chose a butterfly for our daughter (who sees butterflies over her crib every morning when she wakes up) and a train for our son (who is obsessed with Thomas the Tank Engine).
These designs were easy to make and print on a Cricut and then go from there.
Let's dive into how to make these super easy wooden toys for kids!
Handmade lacing toy tutorial
Here's how to make a wooden lacing toy for a toddler or young child.
Step One: Determine your design
The first thing you need to do is determine what design you want your lacing toy to be.
That could be based on the holiday or based on one of their favorite interests.
For us, we chose a butterfly and a train for our two kids. We chose to print out generic butterfly and train designs on a Cricut and print them out on stick on vinyl.
You could also just print a pattern from the internet or plan to freehand a design of your own.
Step Two: Attach or trace your design to wood
Next, get a piece of wood that will work for your design.
The best size wood for a toddler lacing toy is about 6" x 6" x ¾" thick.
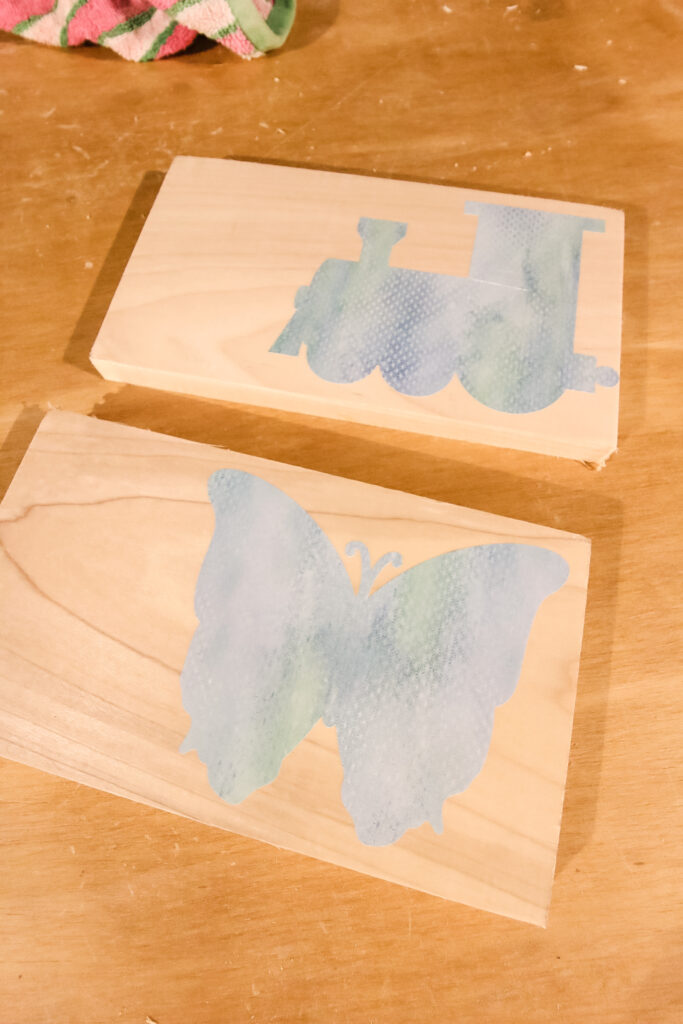
We used stick-on vinyl from the Cricut, so we just attached our design to the wood.
You can also use double sided tape or draw or trace your design onto the wood piece you'll be using.
Step Three: Cut out design shape
Once the design is on the wood, use your best cutting method for cutting out the design.
Depending on the design, certain methods might be more difficult.
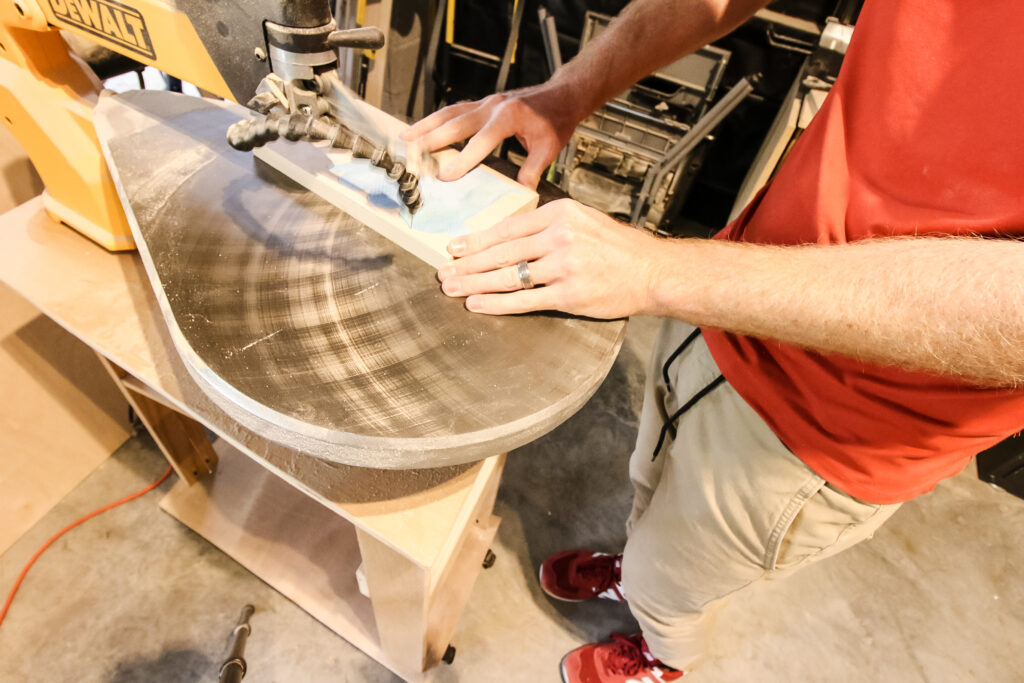
The easiest way to cut out a wooden lacing toy is to use a scroll saw, jig saw or band saw.
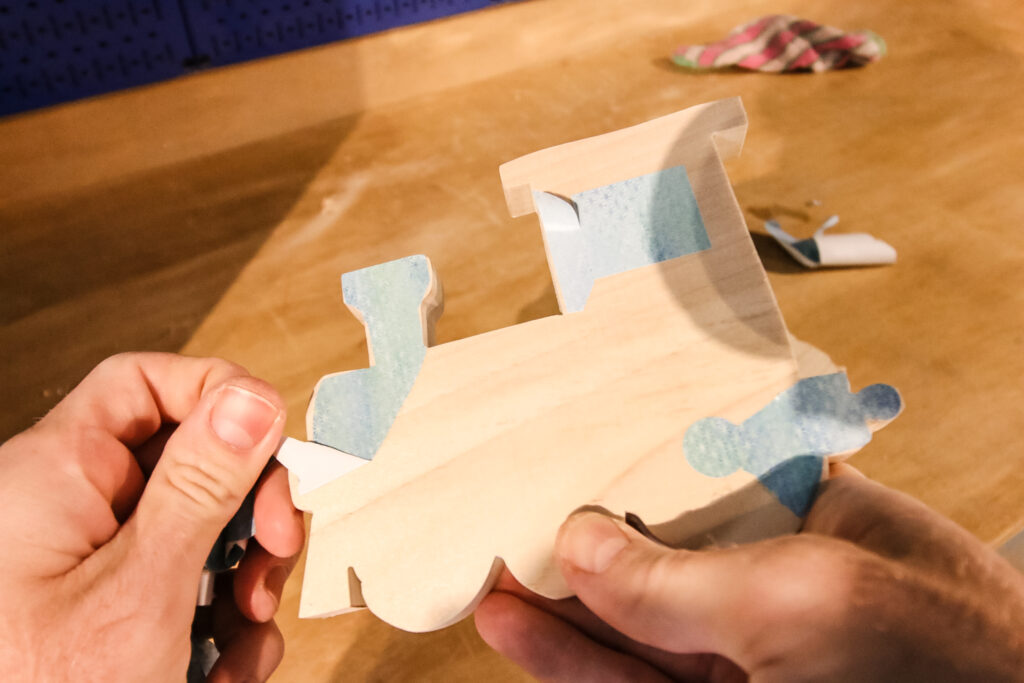
Cut out the shape then remove the pattern.
Step Four: Drill holes
Now, drill randomly spaced out holes throughout the design.
We used a ⅜" drill bit and interspaced the holes at random.
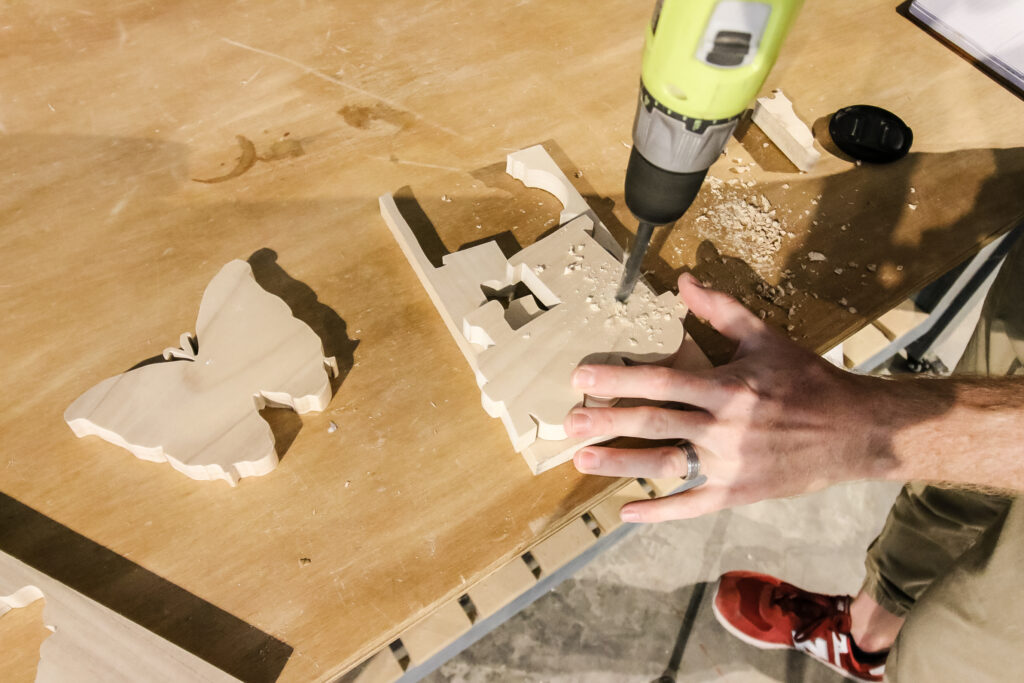
This works because the peg will be ¼" thick.
Speaking of, one of the holes closer to the edge should also get a very small hole drill through the side into the hole. This will be for stringing up the peg.
Step Five: String up the lacing peg
Finally, it's time to string up the lacing peg. Find a very thing piece of string and drill a hole in the peg that will fit the string.
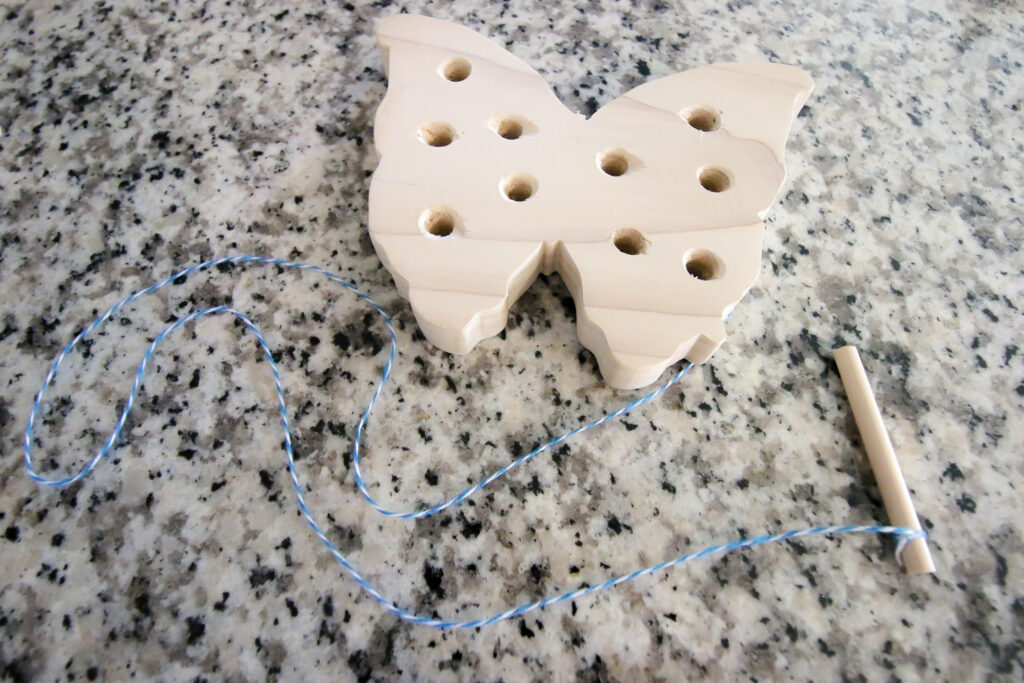
String and tie one end of the string into the toy and one into the end of the peg.
Step Six: Enjoy!
These wooden lacing toys are super cute and a great Montessori style gift idea.
We can't wait to see how our children react to them on Christmas morning to these homemade gifts when they open their stockings!

Other DIY Montessori ideas:
Here's some other great DIY Montessori projects that are great for children and can be made with minimal skills!
Looking for something?
We've been doing this since 2012 so we have a LOT of blog posts!
Search stuff like: Ceiling Projects | DIY Plant Stands | Thrift Flips


Hey there, I'm Sean, the woodworking enthusiast and builder behind CharlestonCrafted.com! Since 2012, I've been sharing the magic of turning raw materials into beautiful creations. I love teaching others the art and satisfaction of woodworking and DIY. I try to inspire fellow crafters to make something extraordinary out of nothing at all.



Ivory says
What cute and fun diy. To bad I don’t have small kids. Thanks for sharing