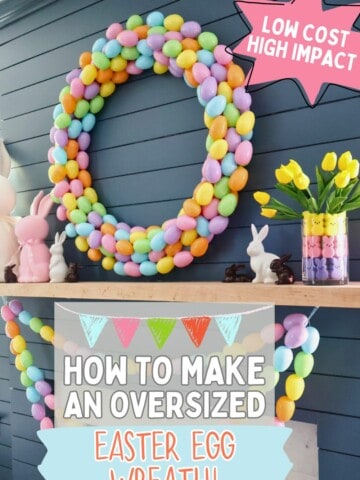
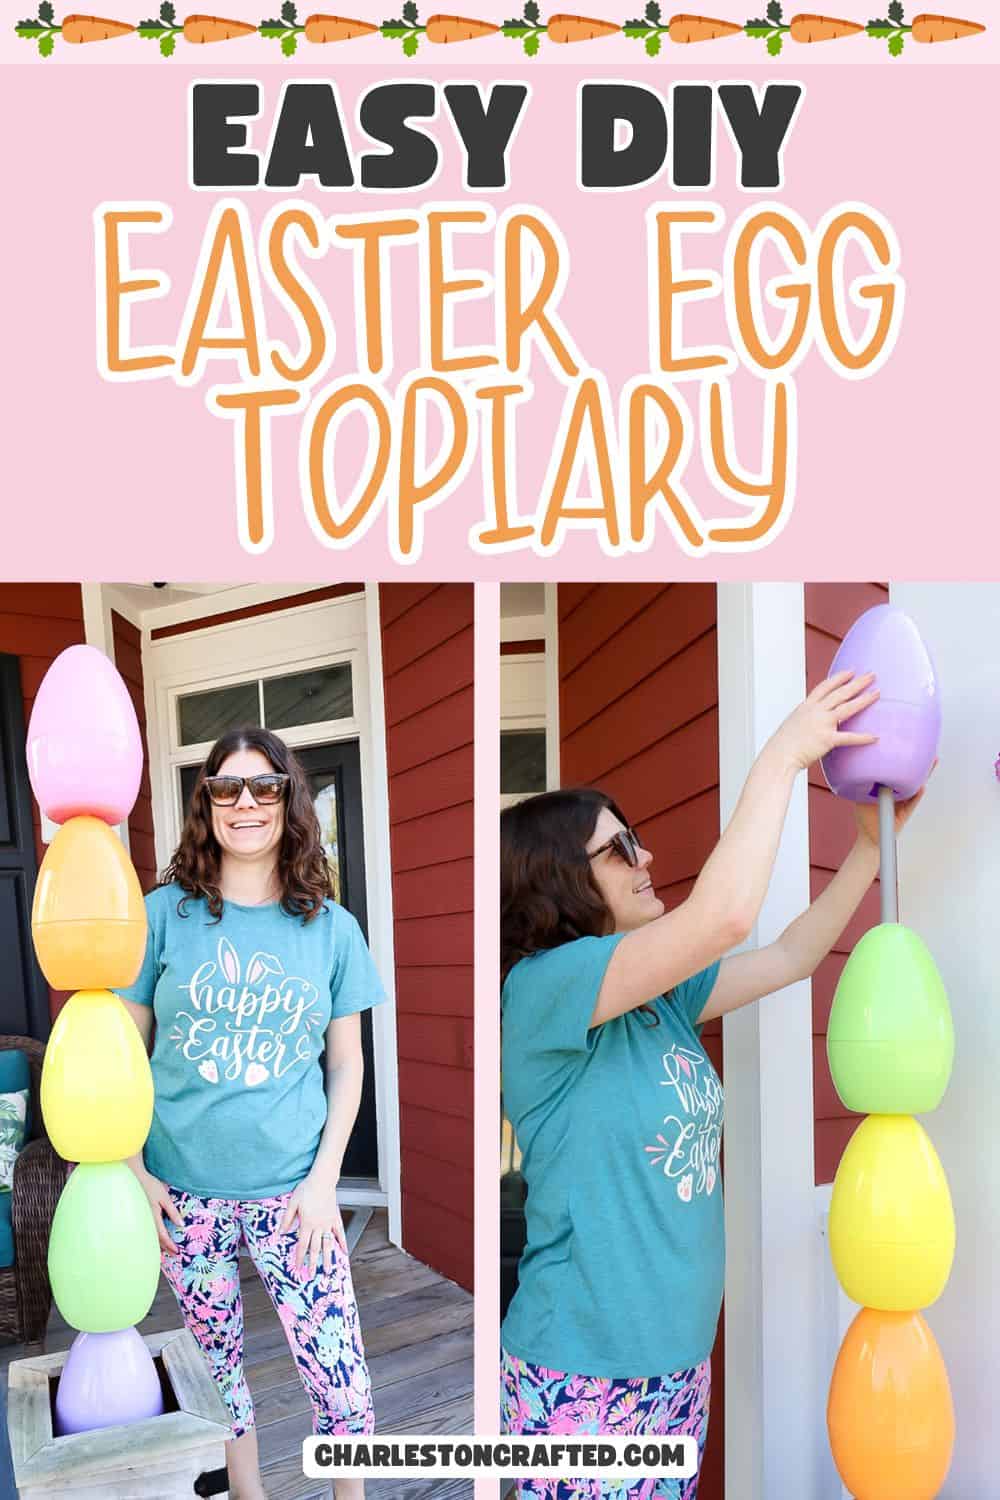
Want to add a pop of color and fun to your Easter porch decor? Here's how to make an oversized Easter egg topiary!
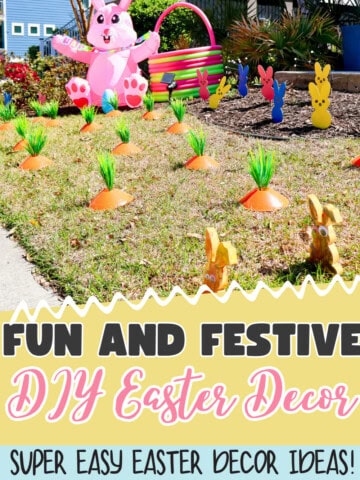
Hippity, hoppity, the Easter bunny is coming to town. This year, we decided to do a whole yard display for Easter.
Is it necessary? Absolutely not.
But, our kids are at this age where they find decorating for holidays so so magical. I just can't resist any chance to put a smile on their faces!
I wanted a touch of height for our porch, so we decided to make giant egg stacks for either side of the steps.
They were super quick and easy to make - and have such a fun impact!
How to make an oversized Easter egg topiary
Here's how easy it is to make this XL Easter egg topiary!
Supplies needed:
For the base:
- Rebar + mallet to hammer directly into the ground OR
- Small plastic pot, concrete mix + supplies to mix + PVC pipe
For the topiary:
Steps to make!
Here's everything you need to do to make these oversized Easter egg topiaries!
Step 1: Prepare the bases
To do this project, you will need a sturdy base to slide your eggs onto. You have two options, both of which we have done for projects.
Option 1- Directly in the ground
The first option is to hammer a piece of rebar into the ground.
This is a great option if you want these in your yard or in grass.
Simply use a mallet or hammer to drive the rebar into the earth. Make sure it is in deep enough to be very secure and not wobble.
Then, you will string your eggs onto that bar.
You can see an example of this in our oversized present topiary project.
Option 2- In a pot or planter
If you want your topiary in a more moveable spot or don't have grass to hammer into, you will need to put it into a self-standing planter.
To do this, get a plastic pot for each topiary. We used the sort of disposable pots that plants come in from the store.
Mix a small batch of concrete, pour into the pot, and insert a piece of rebar OR a PVC pipe, making sure it is centered and straight and wait for it to dry.
We made these years ago for our Pumpkin Topiaries and love having a chance to re-use them for other holidays, too!
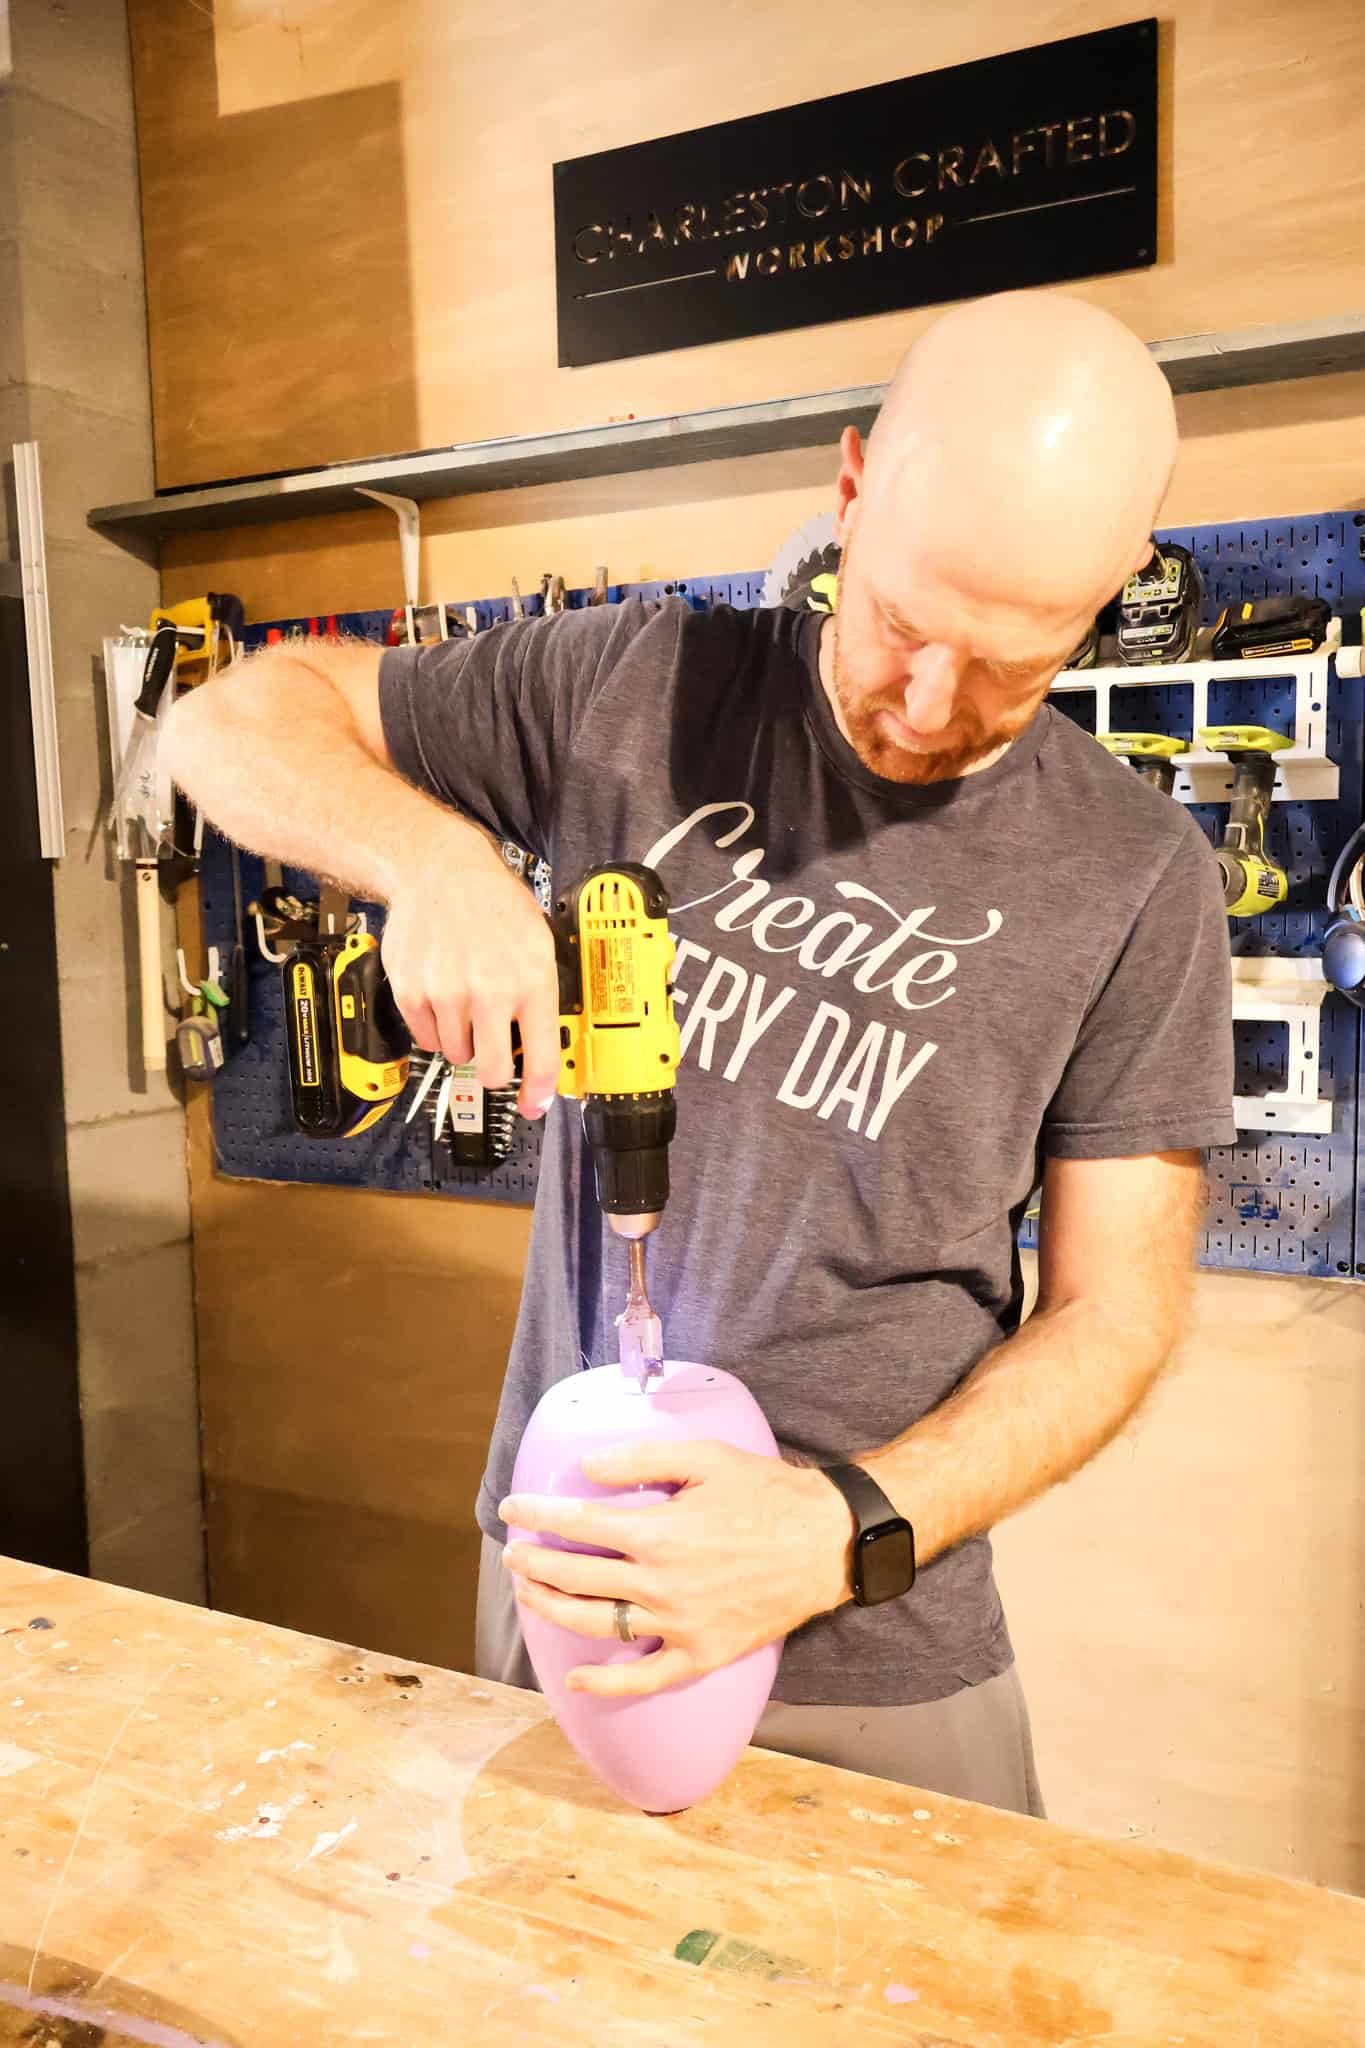
Step 2: Prepare the eggs
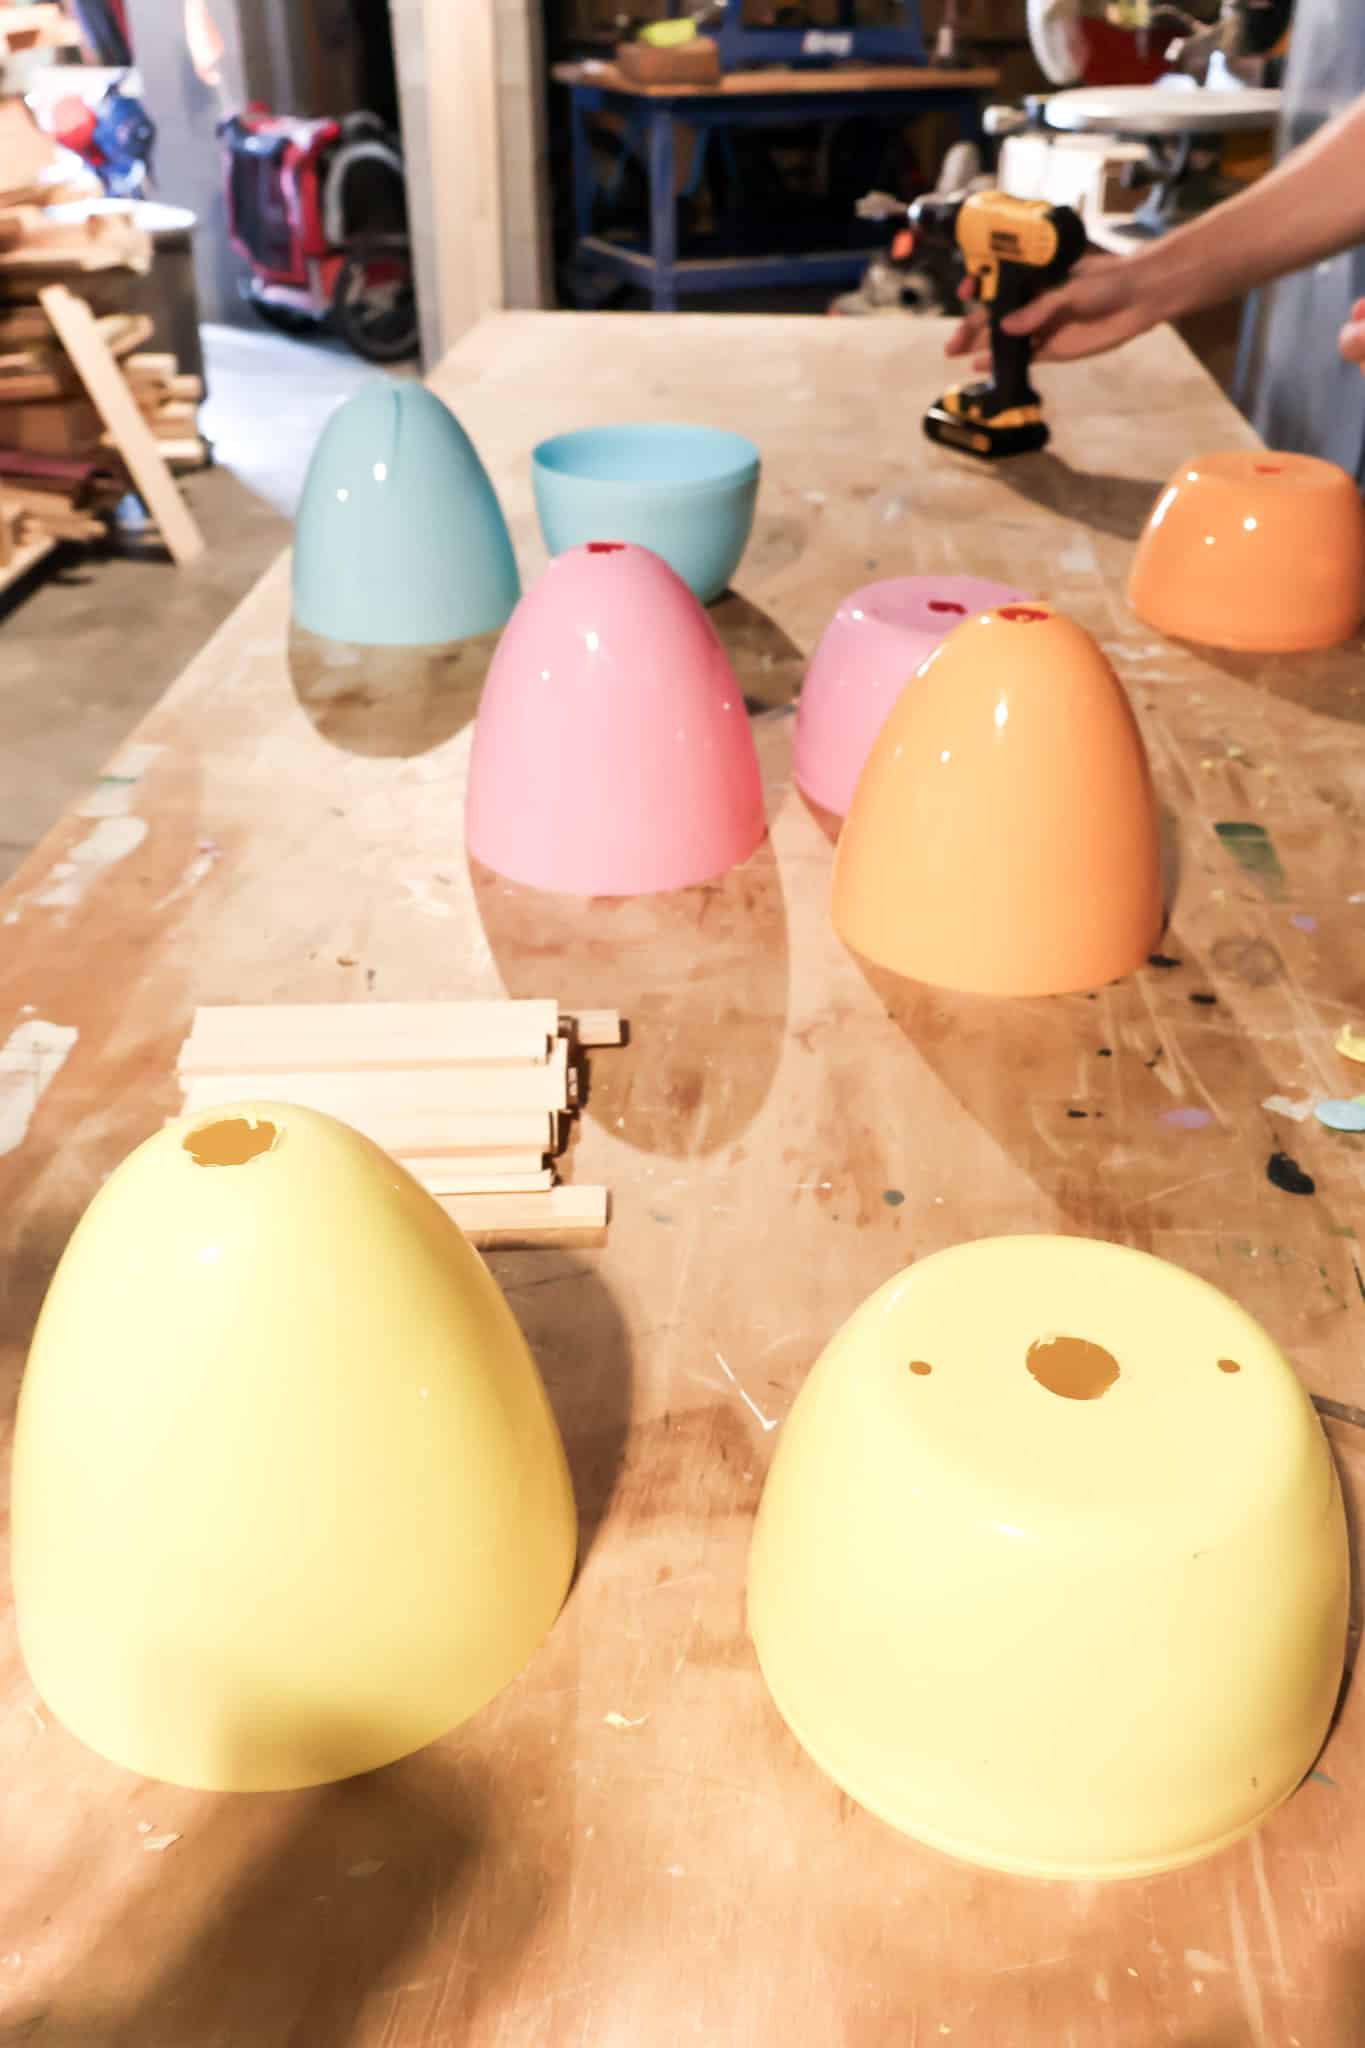
To string up your eggs, you will need to drill two holes - one in the bottom and one in the top.
You could choose to do these a bit diagonal - just play with your design and choose the best spot to drill your holes.
You will need to drill holes with a spade drill bit. These insert into your drill just like any other bit, but drill a larger hole.

Choose a bit that is sized ever so slightly larger than your pole.
To drill into the egg without cracking the egg, the trick is to NOT apply pressure. Drill gently, while holding the egg in place with your other hand so it doesn't spin.
Take your time and don't let the drill drop into the egg. Just let the edges of the bit scrape away the egg layer by layer until it gets all the way through.
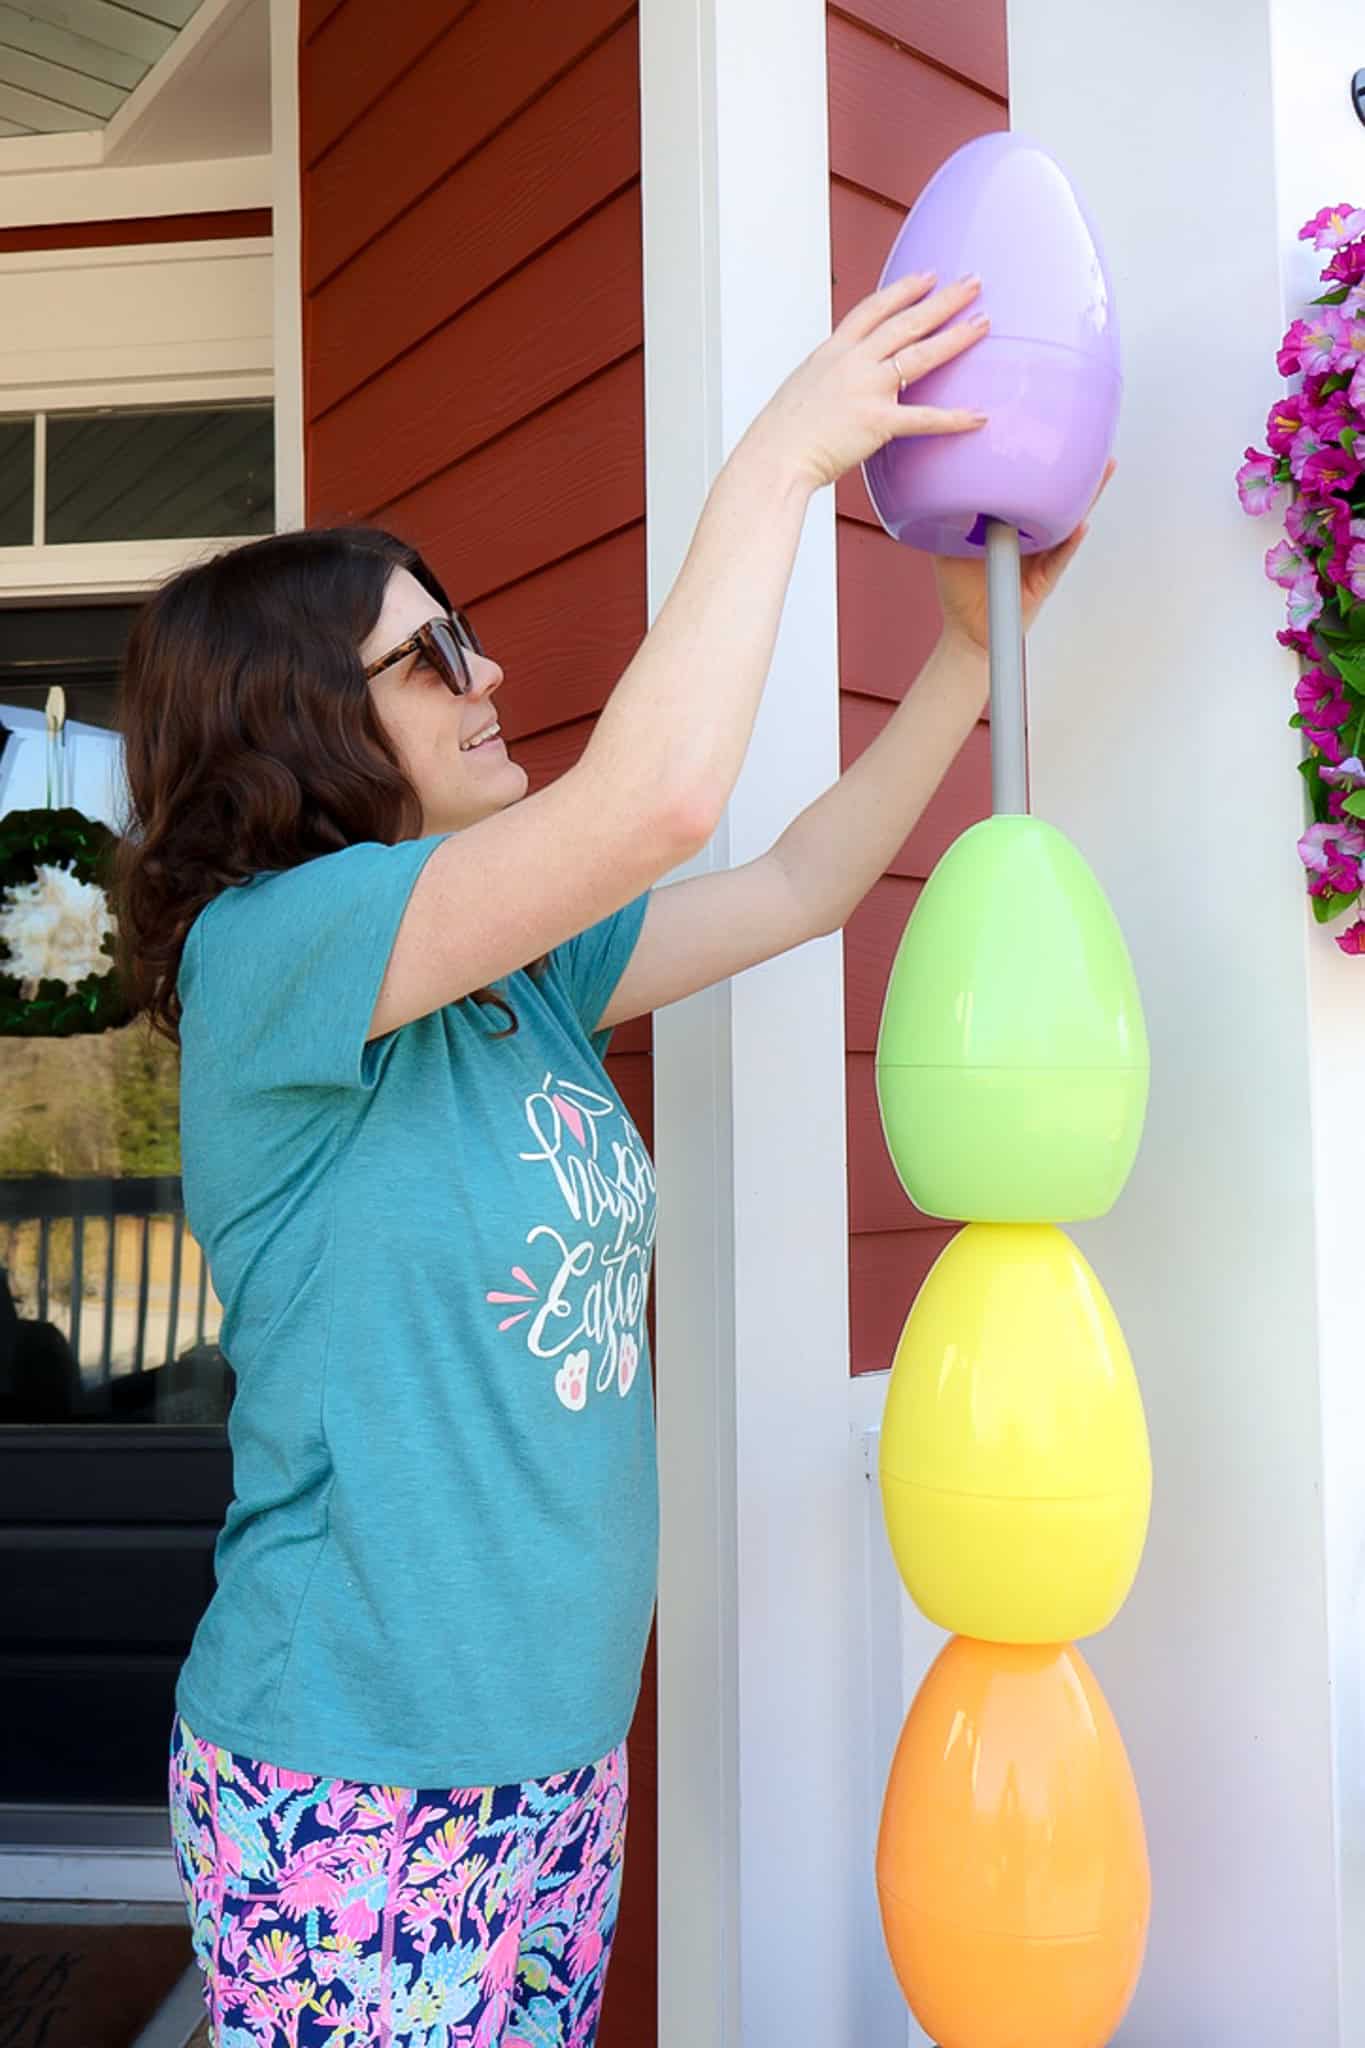
Step 3: String the eggs
Decide on the order you want your eggs in and string them on to the pole in that order.

NOTE: we decided to do a half egg (top half only) on the bottom, just to fit the height correctly for our pole. This is just one option - lay them out however you prefer!
We do recommend that your top egg NOT have a hole in the top so it will stay securely in place and look cuter.
Step 4: Display and enjoy!
You are ready to display your eggs! Be careful when carrying them - it's best to hold under the pot as well as on the pole to hold it securely.
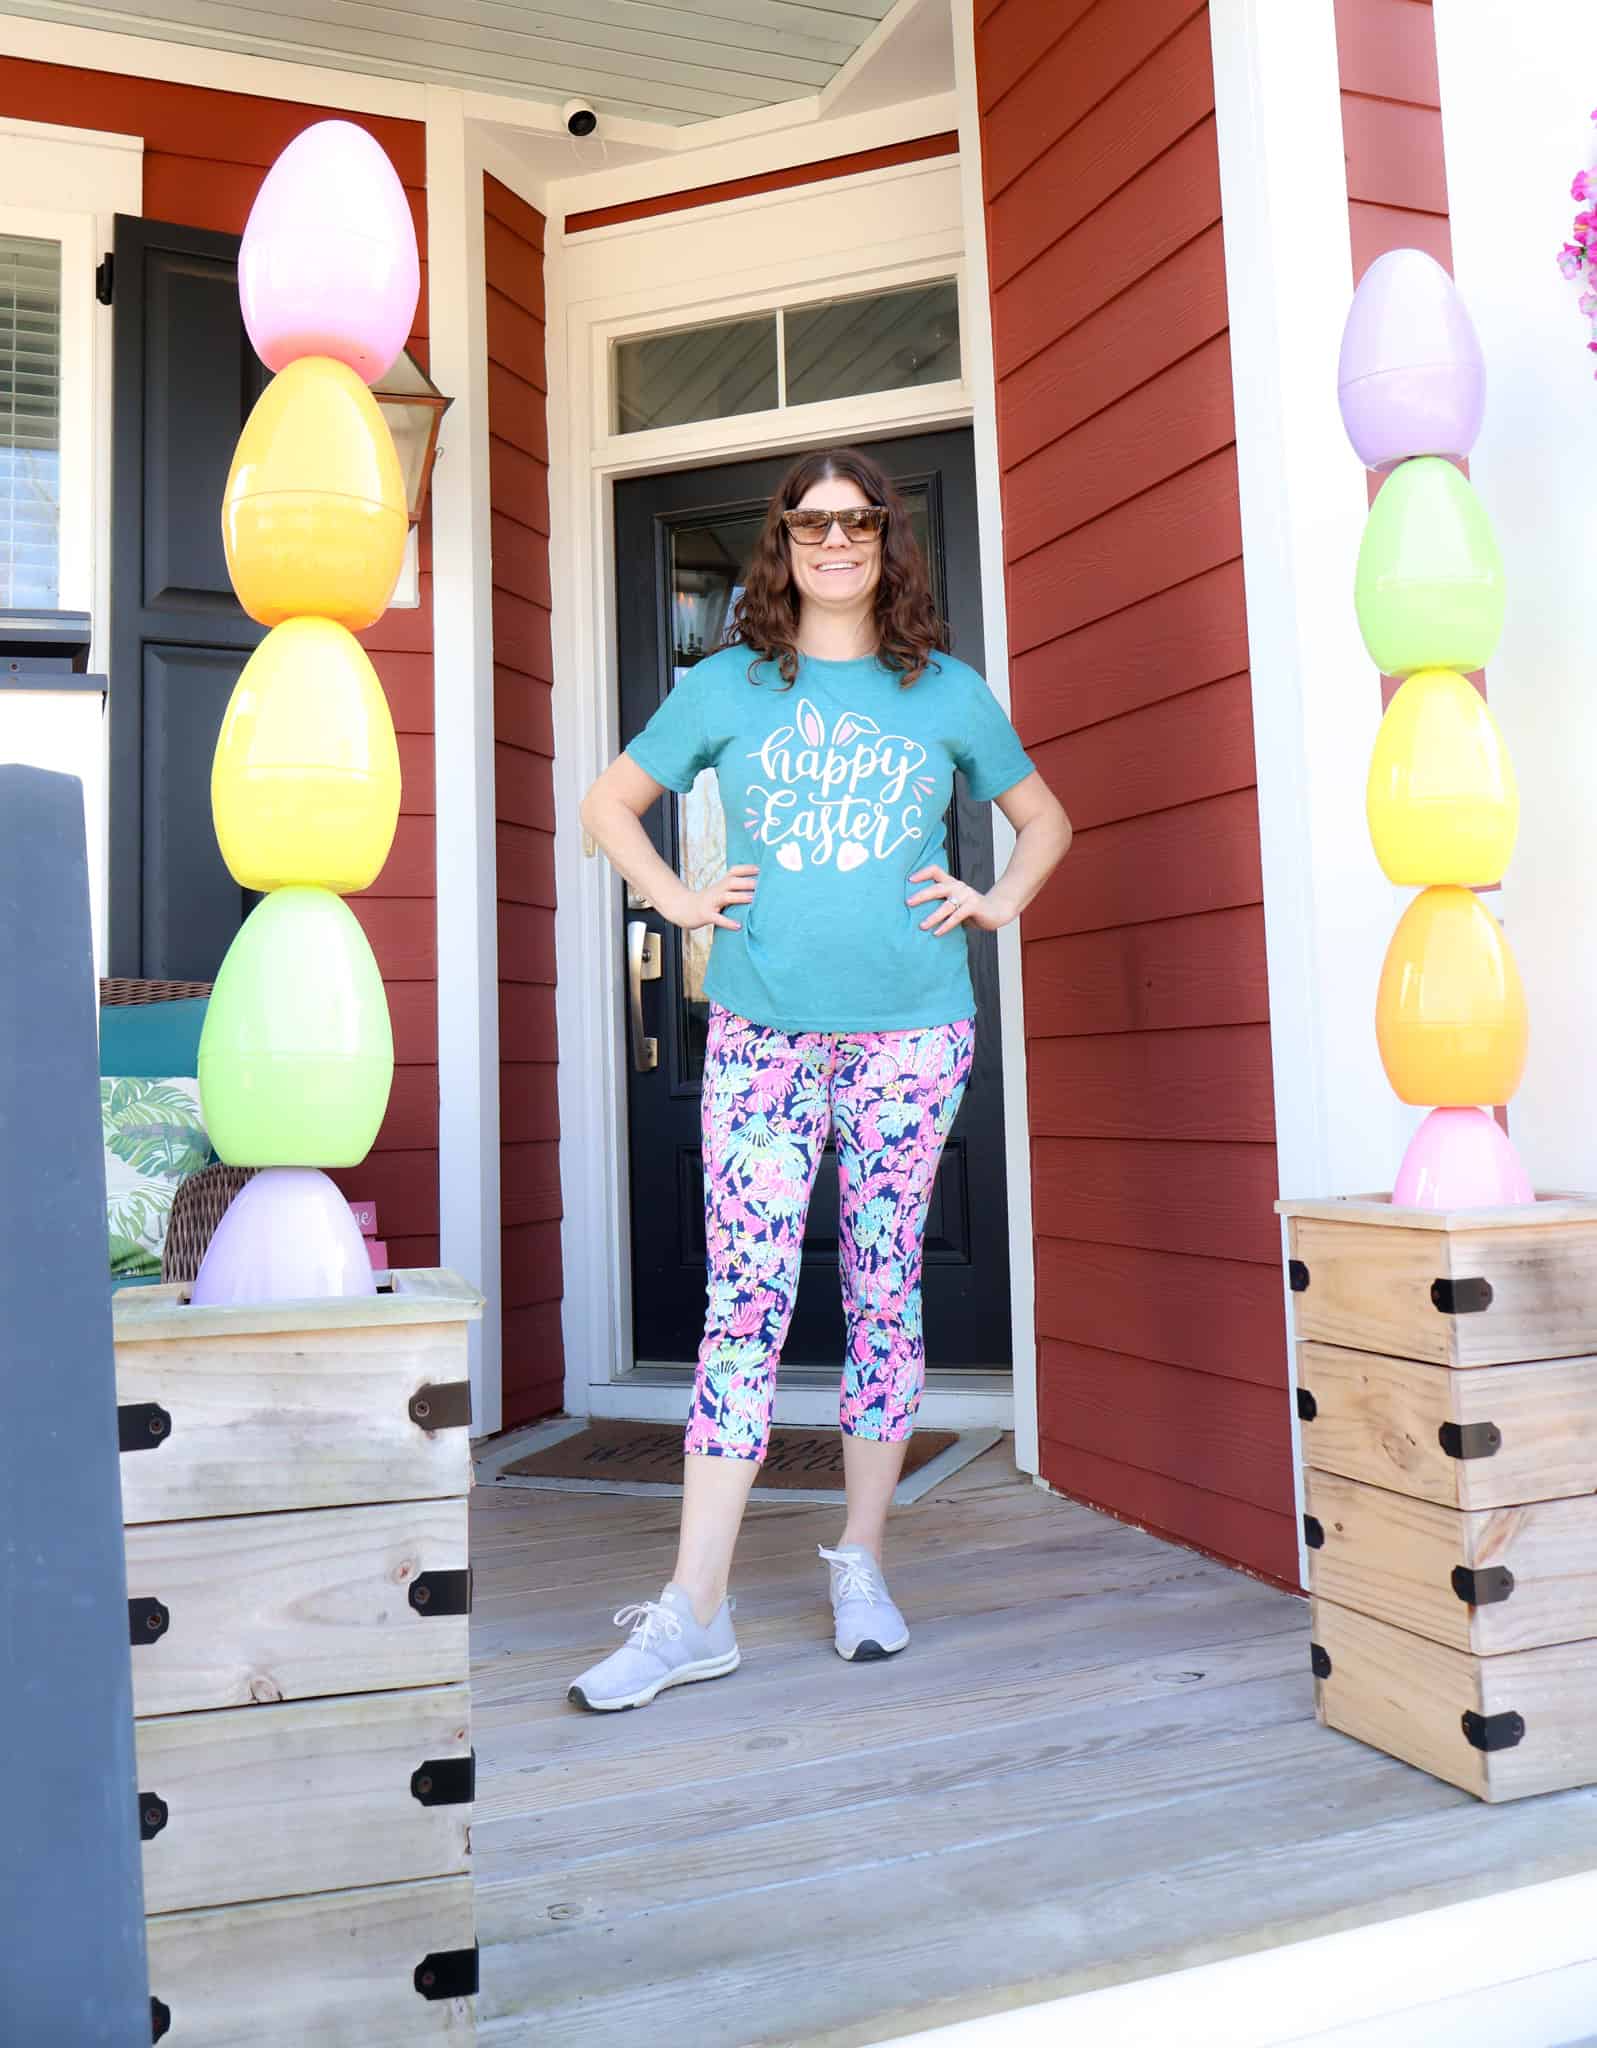
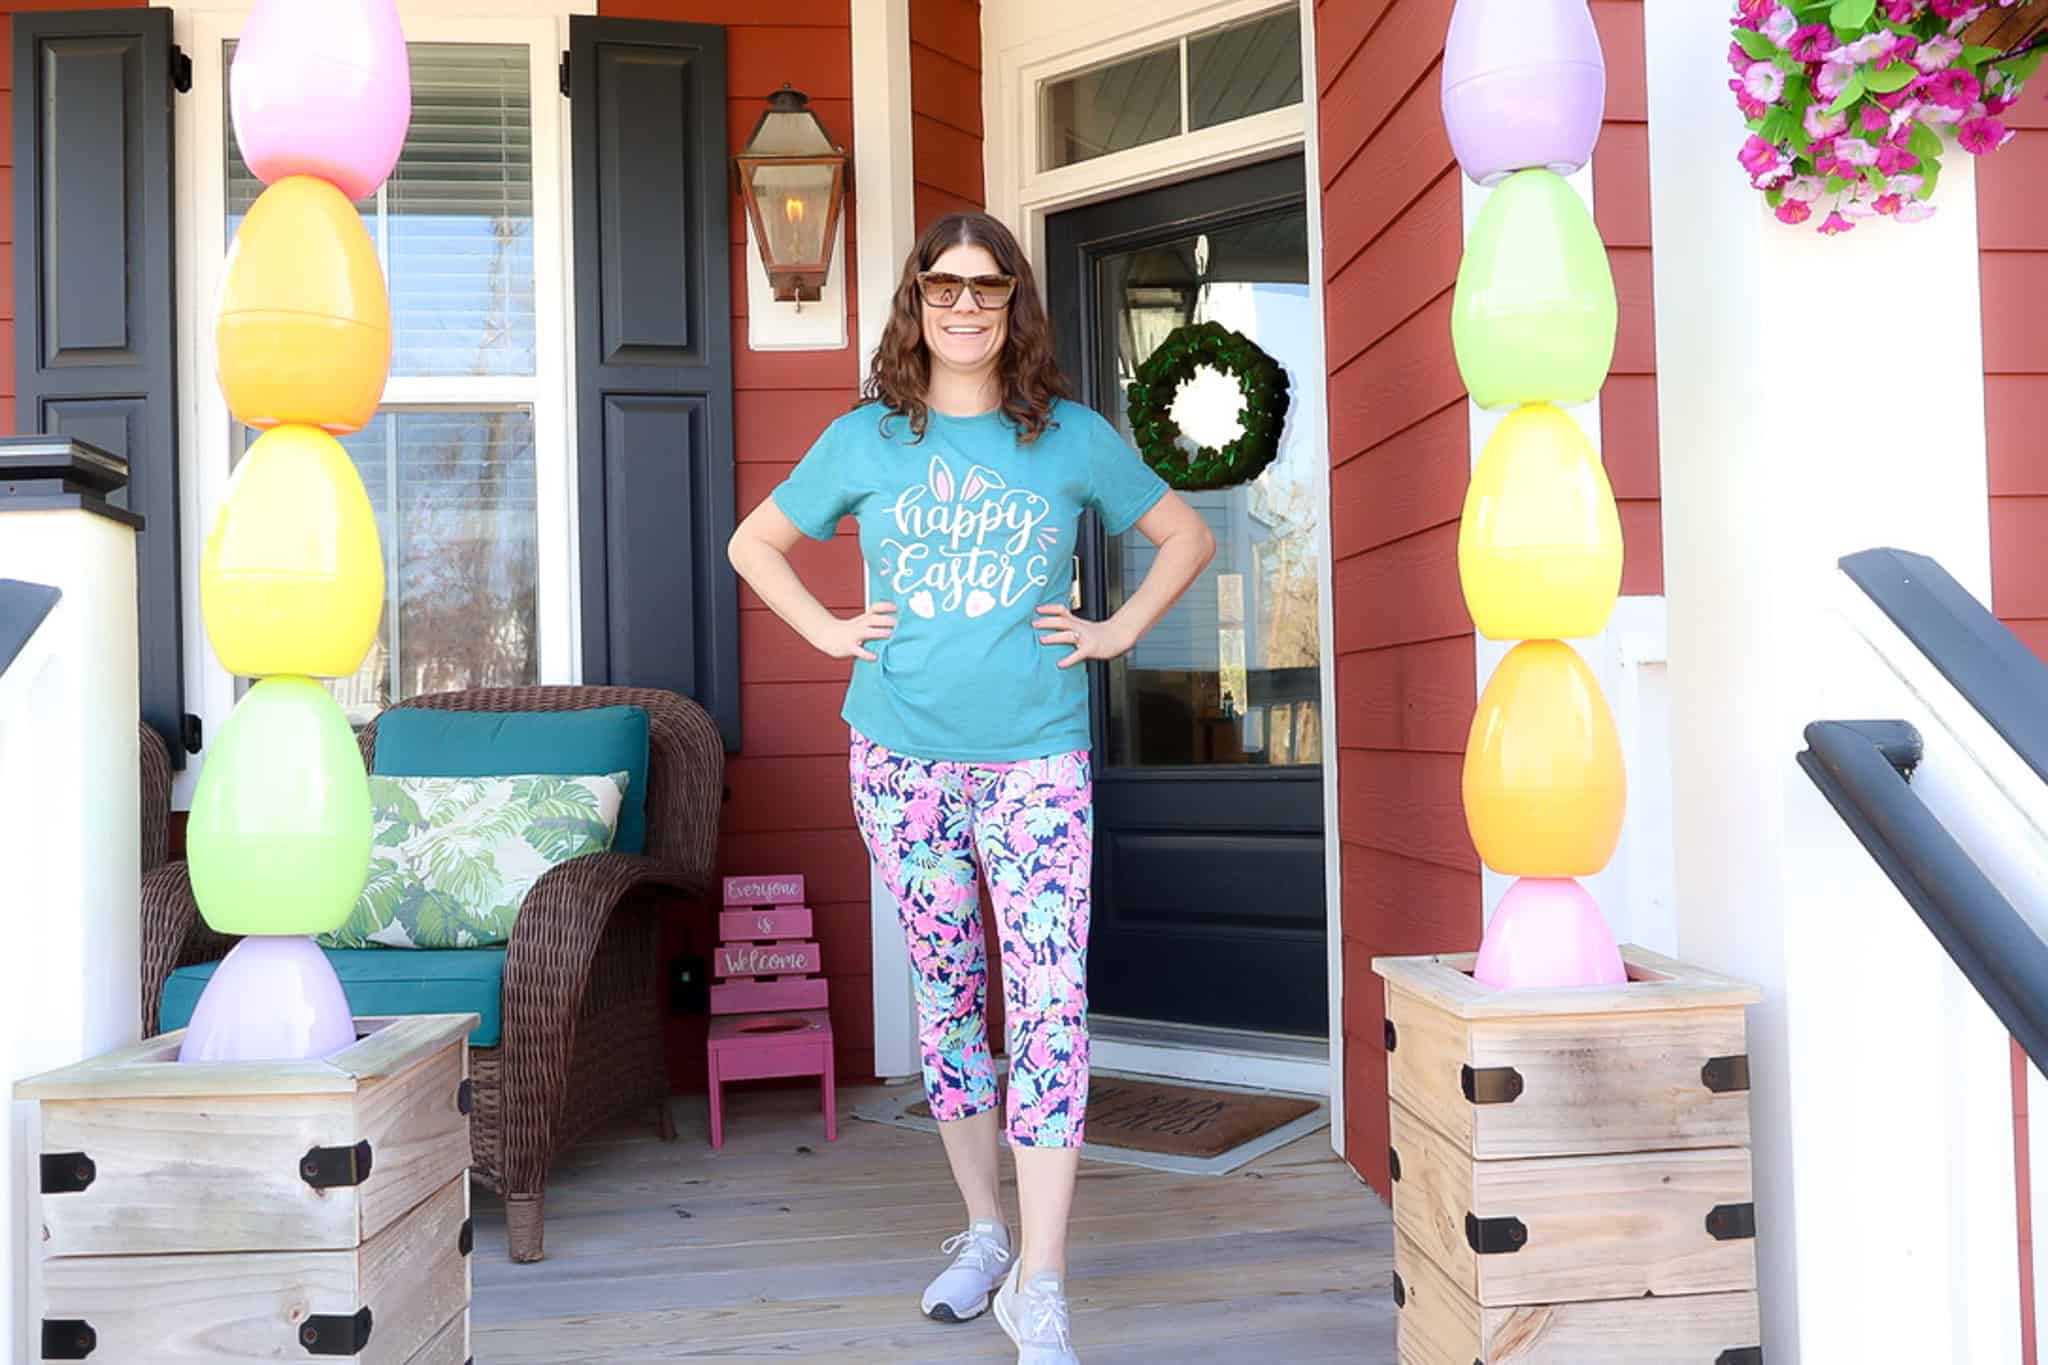
Place inside a wooden planter for an extra cute (and extra tall!) look.
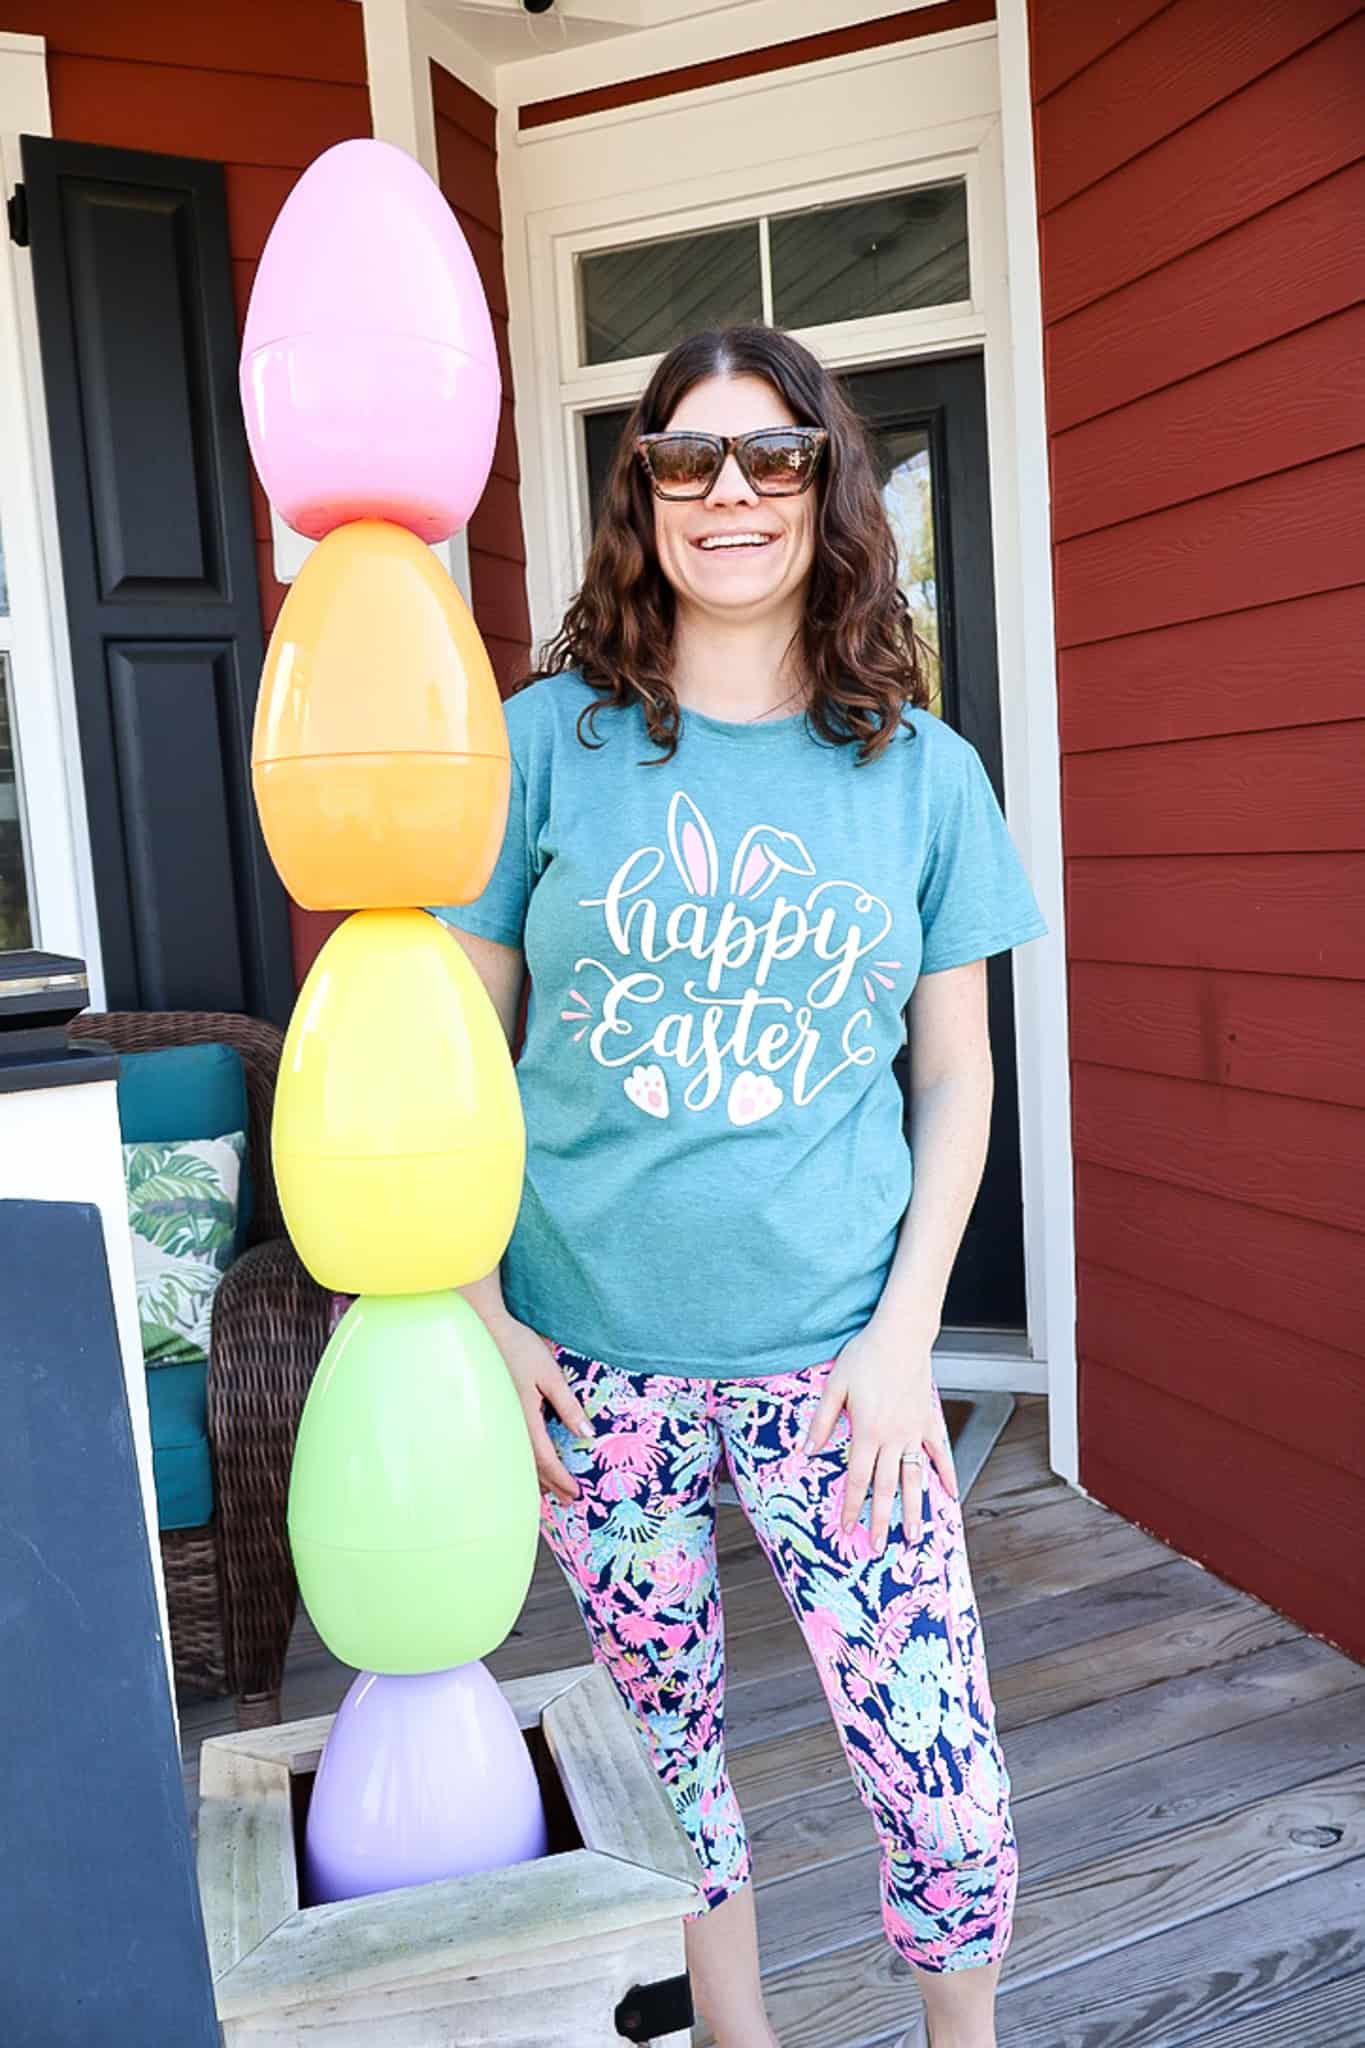
We made two and put them in planters on either side of our front steps. I love how they look and the fun colorful easter vibes they bring to the porch.
Happy crafting!

Looking for something?
We've been doing this since 2012 so we have a LOT of blog posts!
Search stuff like: Ceiling Projects | DIY Plant Stands | Thrift Flips

Hello, I'm Morgan, half of the creative force behind CharlestonCrafted.com! With a passion for DIY that dates back to 2012, I've transformed three homes and now I'm dedicated to helping others craft their dream spaces. Let's turn your house into a home together!