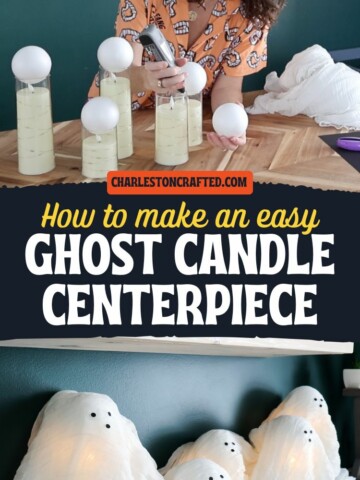
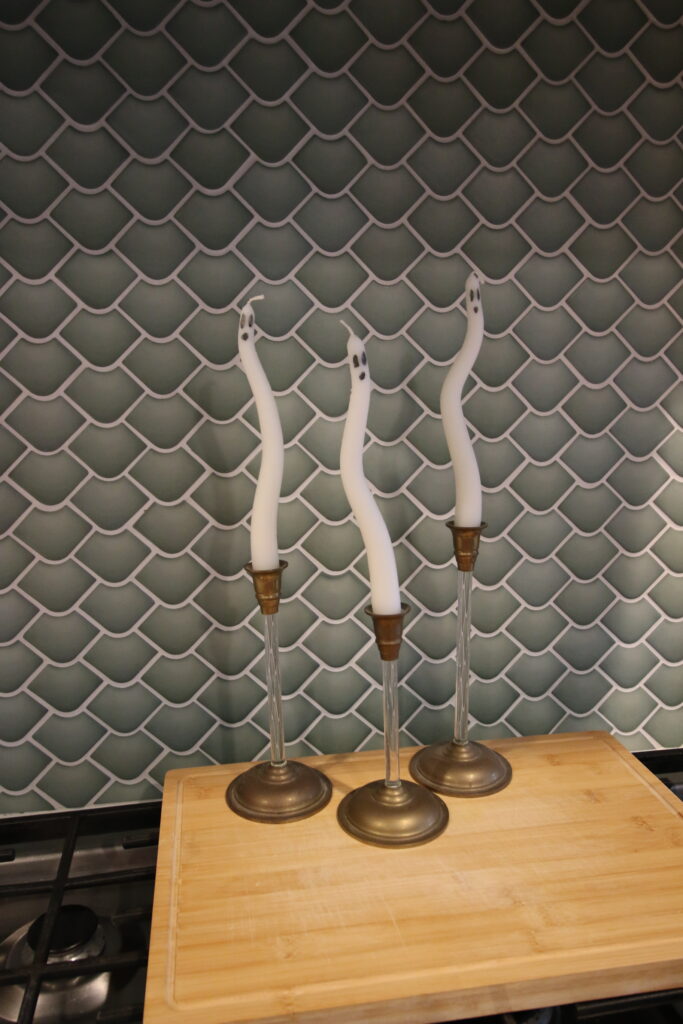
Learn how to make bent ghost taper candles and add some playful spookiness to your Halloween decor! These easy DIY candles are a fun way to bring ghostly charm to your home, making them a must-have for your Halloween celebrations.
Halloween is my very favorite holiday and decorating for it is just so much fun. We always go overboard with outdoor Halloween decorations, and this year I'm getting excited about indoor Halloween decorations too.
I love candles and thought it would be fun to make a few fun Halloween candles this year.
These bent ghost taper candles are the perfect addition to your Halloween setup!
I'm calling these semi-homemade because they are not made from scratch, but they are basic store-bought candles updated with a spooky touch.
They’re simple to make, require just a few supplies, and add a fun and whimsical vibe to your holiday decor.
Whether you're hosting a Halloween party or just want to add a touch of ghostly charm to your dining table, these candles are sure to be a hit.
Let’s jump into how you can make your own bent ghost taper candles!
How to make bent ghost taper candles
Here's how easy it is to make these Halloween candles!
Supplies Needed:
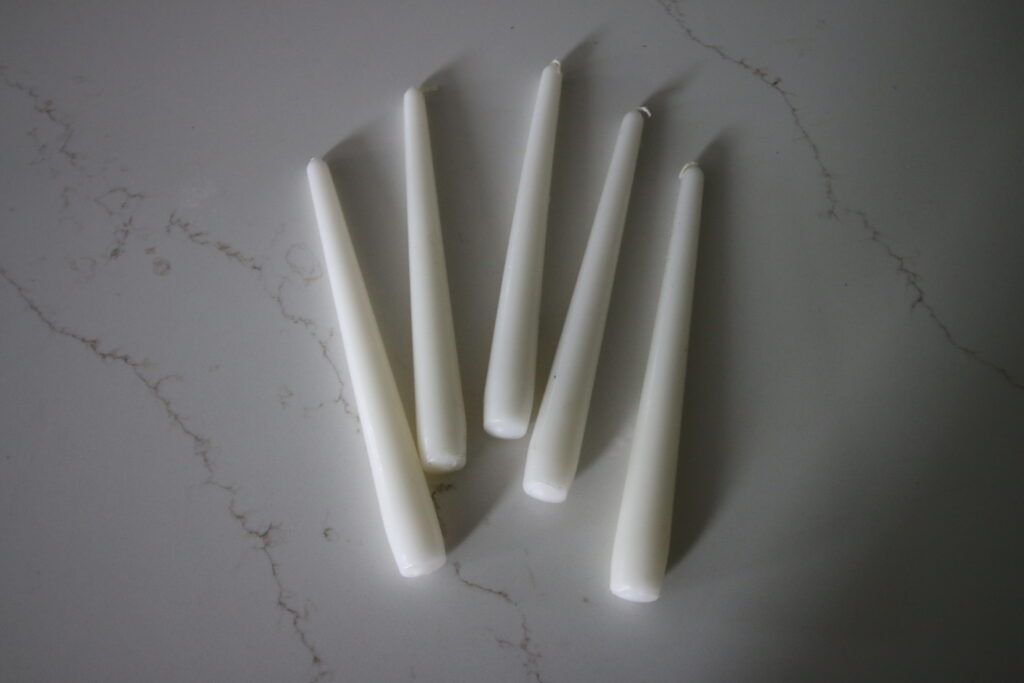
- White taper candlesticks
- Large glass dish (such as a brownie pan)
- Hot water (a kettle works great)
- Black paint pen
- Candlestick holders
Shop all of the supplies used here!
Steps to Make Bent Ghost Taper Candles:
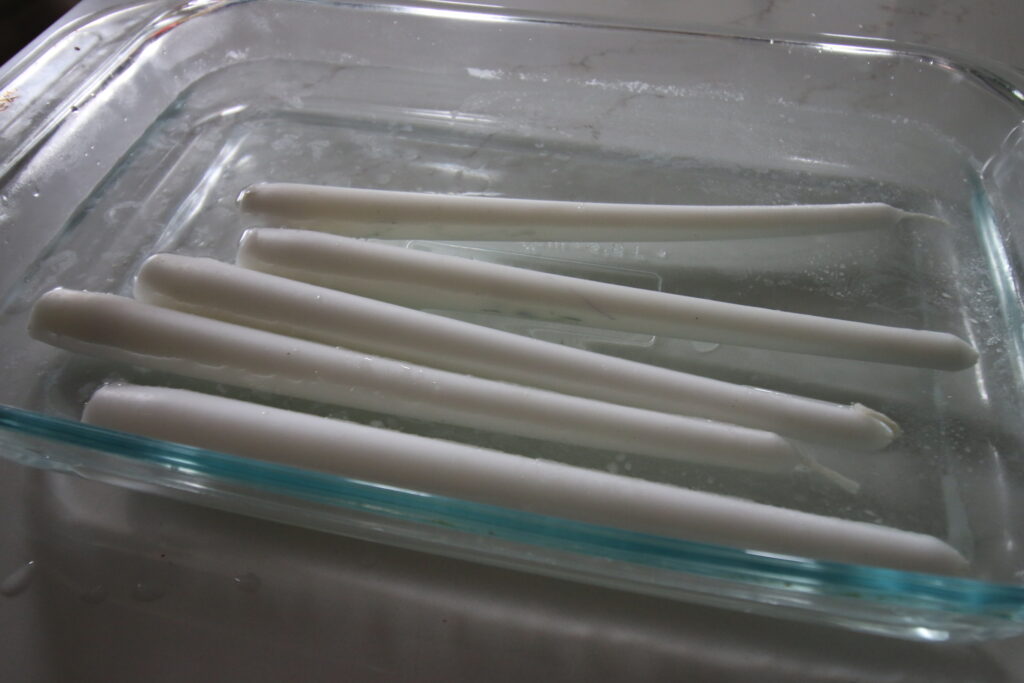
Step 1: Prepare the Candles
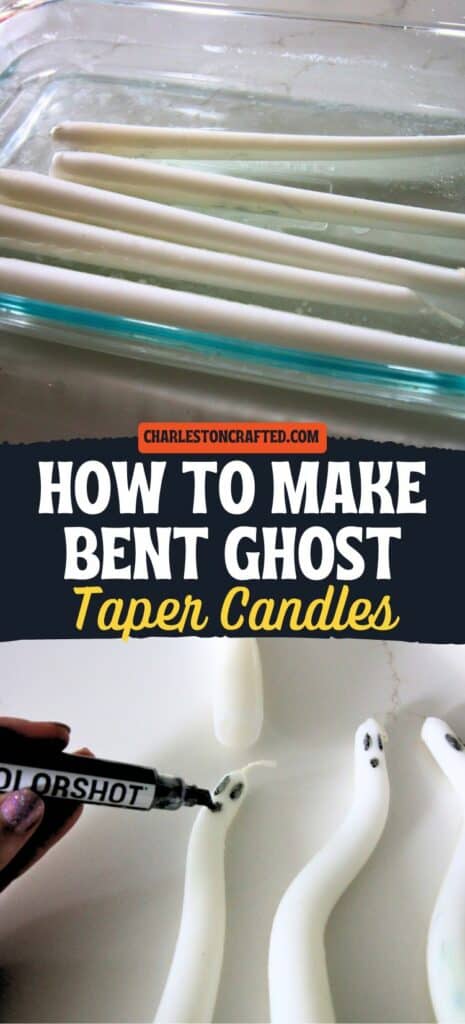
Get a large glass dish or brownie pan and fill it with hot water. You can use water heated in a kettle to ensure it’s warm enough to soften the wax.
Place your white taper candlesticks into the water and let them sit for about 5 minutes. This will soften the wax, making it easy to bend.
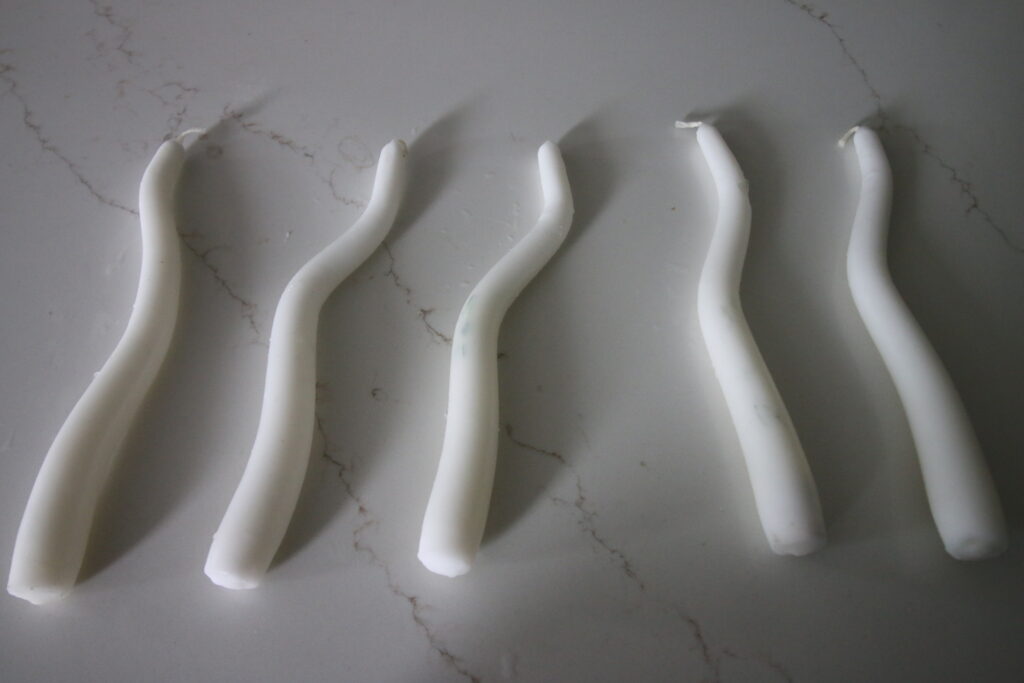
Step 2: Bend the Candles
Carefully remove the candles from the hot water (they will be hot, so handle with care!).
Begin to gently bend the candles back and forth to create a zigzag shape.
Bend until you achieve the desired shape, then let the candles cool completely so they hold their form.
NOTE: if your candle starts cracking, the wax is probably not warm enough or not warm all the way through. Let it sit in warm water for longer!
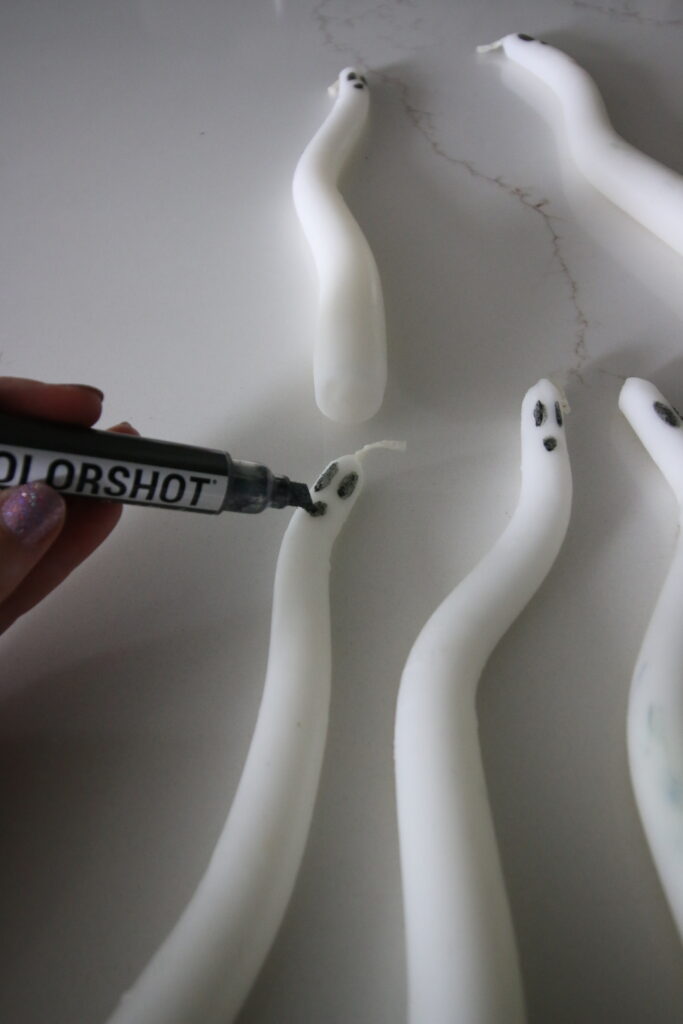
Step 3: Add Ghost Faces
Once your candles have cooled and hardened into their new shape, it’s time to give them some personality!
Use a black paint pen to draw two oval eyes and a round mouth on each candle, transforming them into little ghosts.
You can make the faces as spooky or as silly as you like!
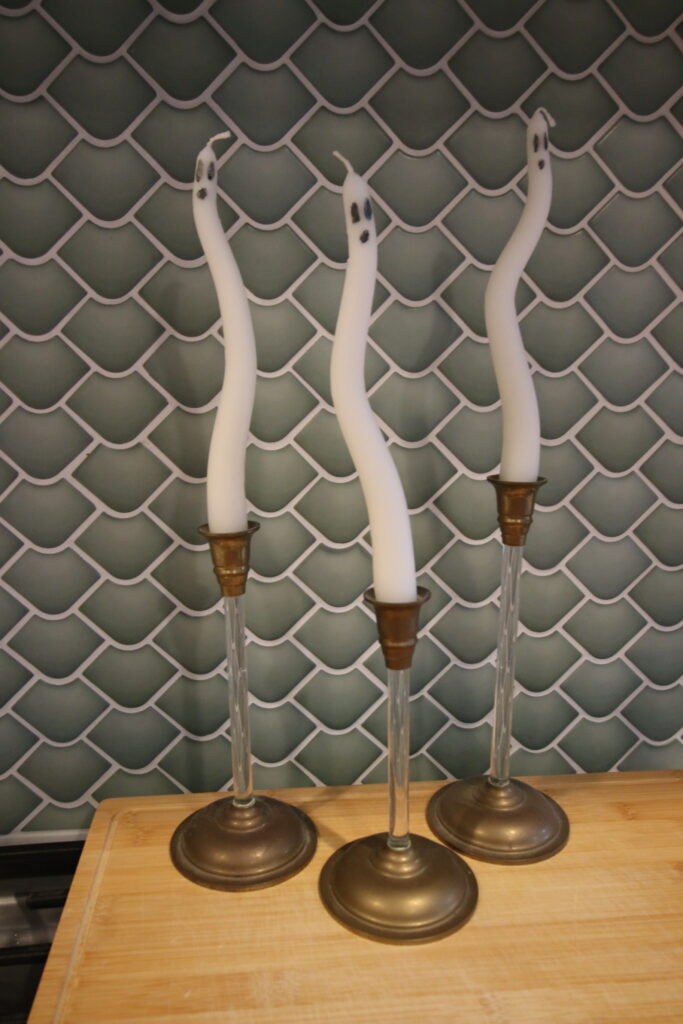
Step 4: Display and Enjoy
Place your bent ghost taper candles into candlestick holders and display them on your Halloween table, mantel, or anywhere else in your home.
When lit, the candles create a charmingly eerie atmosphere that's perfect for Halloween night!
If you burn them down - you can add a new face lower down for round 2! 🙂
And there you have it—a quick and easy Halloween craft that brings a playful, ghostly touch to your seasonal decor.
Enjoy your DIY bent ghost taper candles and have a hauntingly fun Halloween!
Planning a big Halloween?
Be sure to grab our FREE Halloween Decor Planner to get all of your plans organized!

Looking for something?
We've been doing this since 2012 so we have a LOT of blog posts!
Search stuff like: Ceiling Projects | DIY Plant Stands | Thrift Flips

Hello, I'm Morgan, half of the creative force behind CharlestonCrafted.com! With a passion for DIY that dates back to 2012, I've transformed three homes and now I'm dedicated to helping others craft their dream spaces. Let's turn your house into a home together!