These DIY wooden dowel hooks are perfect for hanging plants, towels, or even hats on a wall! They are super simple to make and are the perfect touch to your boho style room. Here's a step by step guide!
We recently shared with you our modern boho laundry room reveal and all of the natural elements in the space.
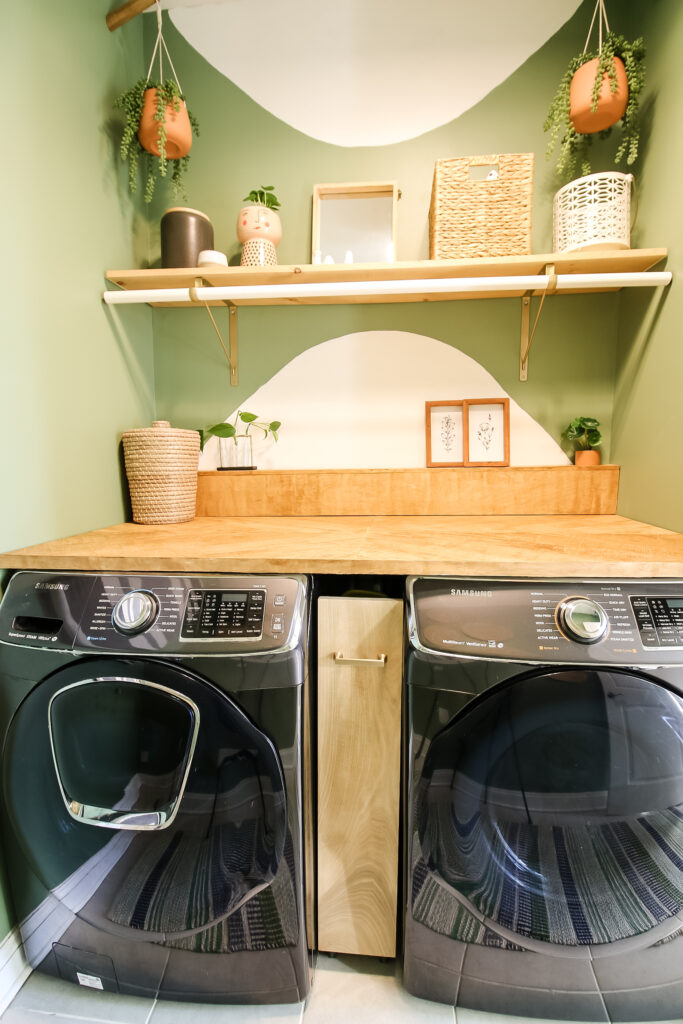
This room is completely interior to our home with no windows, but you can't have a boho style room without plants!
So, we used some hanging plants that we still had left over from our old guest bedroom.
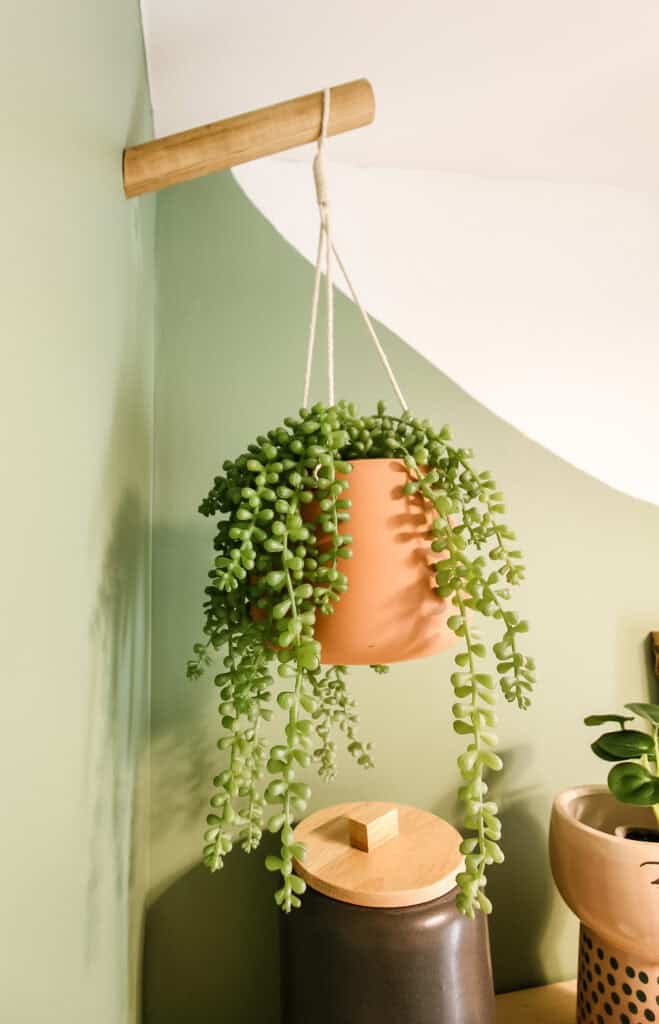
However, I didn't want to just hang them from a hook on the ceiling. I wanted to continue the natural vibes of our wooden countertop upward by making wood wall hooks!
So, we grabbed a dowel at the hardware store and got to work turning it into two wall hooks.
I wanted the dowels to pop out of the wall almost like branches from a tree.
Adding small notches to the dowels is an optional step that gives the rope of the plant hanger somewhere to sit so that it doesn't slide too close to the wall and knock the pot sideways.
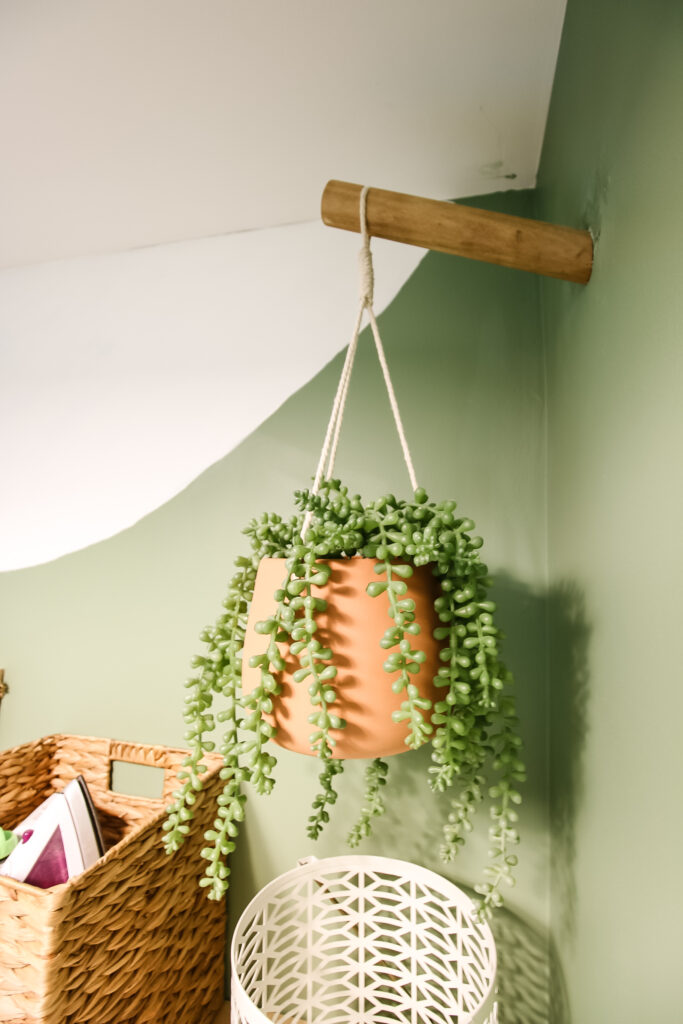
This was a really simple project - and I absolutely love how it turned out.
Here's how to do it yourself!
Be sure to check out this tutorial for how we built more traditional wooden hooks!
How to make DIY dowel wall hooks
These DIY dowel hooks are easy to make and have a modern look. This is a very inexpensive project that can add a unique aspect to your home.
Supplies needed:
- 1 ½" thick dowel (about 18" long, but they sell in 4' lengths)
- (2) 3/16"x2" dowel screws
- 5/16" screw size drywall anchors
- Wood stain or paint
- Sandpaper
Tools needed:
- Drill
- 3/16" drill bit
- Miter saw
- Pliers
- Orbital sander (optional)
Steps to make DIY wooden hooks from dowels:
STEP 1: Cut the dowels
Cut your dowels to the desired length. Ours are about 9 inches long. You want them to be long enough so that the plant you hang doesn't touch the wall.
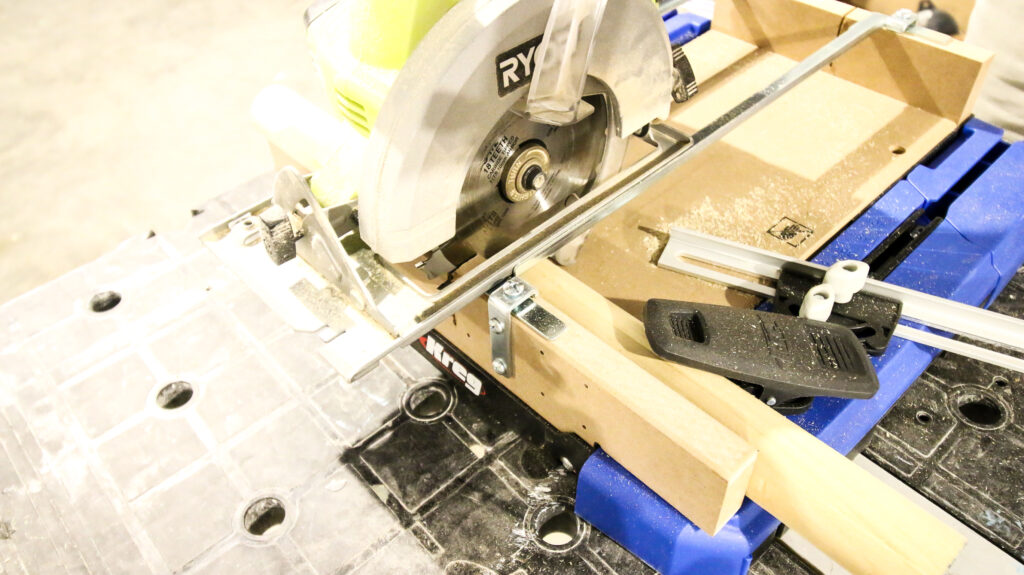
STEP 2: Cut the angles
Cut one end of each dowel at a 15 degree angle using a miter saw or the Kreg crosscut station.
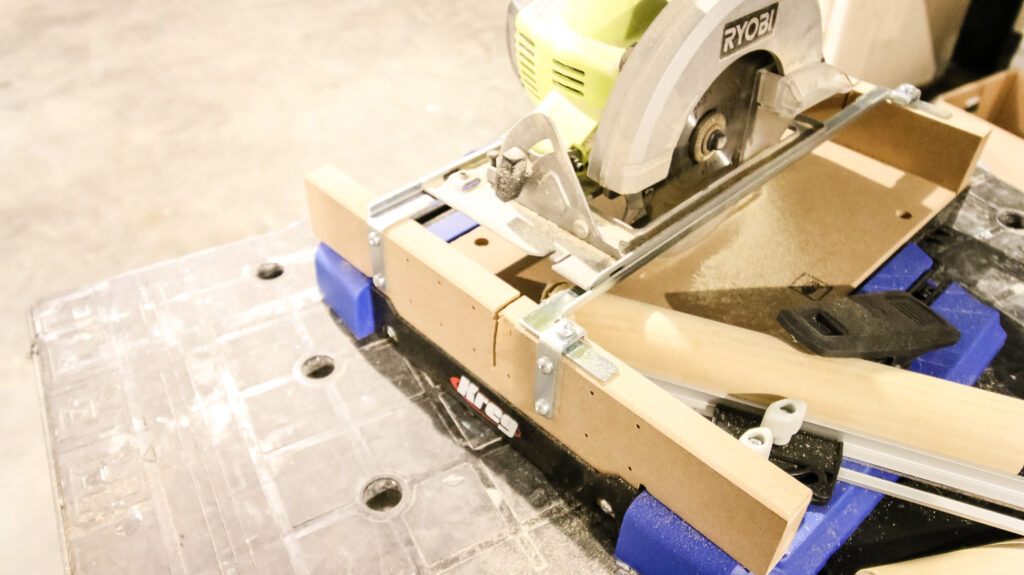
Choose whatever angle you want, but you don't want it to be too steep of an angle or the plant will slide or be very close to the wall.
STEP 3: Cut the notch
Cut a notch about a quarter of the way through the dowel about an inch down.
The notch should be cut parallel to the angle cu on the opposite end. This will make your plant hang down straight from the wall.
The notch we cut was two blades thick, enough to fit the rope on the pot.
STEP 4: Paint or stain
Apply the paint or stain of your choice. If you prefer a natural wood look, we suggest adding a matte polyurethane just to protect the wood.
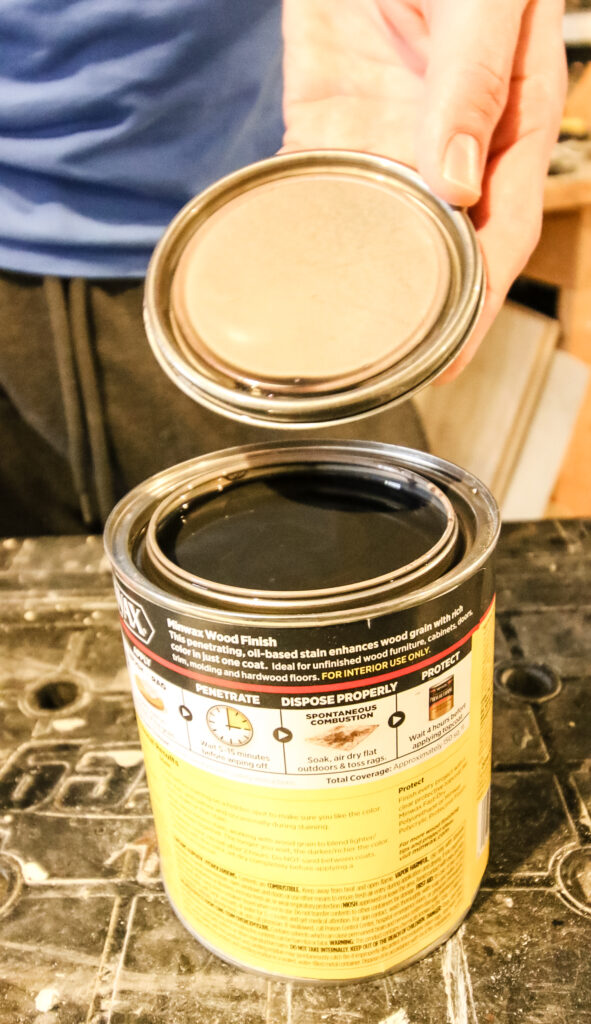
Check out our favorite wood stain colors tested on different types of wood!
STEP 5: Insert dowel screws
Drill a hole into the angled end of the cut dowel. Make sure you drill the hole not straight through the dowel, but instead at a 90 degree angle from the wall.
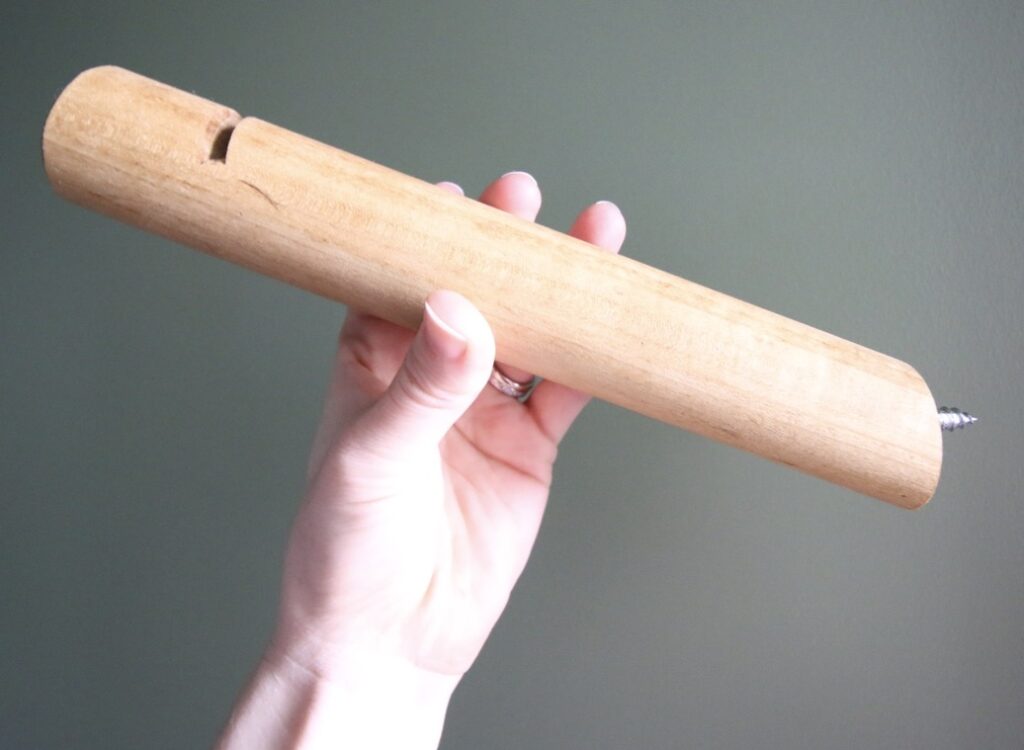
If that doesn't make sense, what I mean is remember that the screw will be going straight into the wall. The dowel will be angled. So make sure that the screw will allow the dowel to sit flush on the wall.
Then, twist a dowel screw into the hole using the pliers until it is halfway in.
STEP 6: Attach to the wall
Figuring out the dowel screw thickness and anchor thickness for this project was the hardest part. Ask me how I know...
We inserted the self-drilling anchors into the wall with the drill.
Then, twist the entire dowel into the wall, ensuring you keep the dowel screw straight and aligned with the anchor hole. This isn't as easy as it sounds.
Twist until the dowel hook is flush against the wall.
If the anchor starts to spin, you'll have to pull the whole thing out and try again because it will never hold (again, ask me how I know...).
Video tutorial on how to make dowel hooks
Take a closer look on how to make dowel hooks with our video tutorial. This will show you all the steps you need and give you some more pointers!

How much did it cost to make these wooden wall hooks?
We were able to make these two dowel plant hooks for about $10 in wood & hardware. This included buying a 48" long dowel - so we have a lot left over for other projects!
It would have cost us $0 extra to make 3 or 4 more hooks, since we had the extra dowel and the hardware came in larger packs.
So if you need a lot of these hooks, DIY is definitely the budget friendly option.
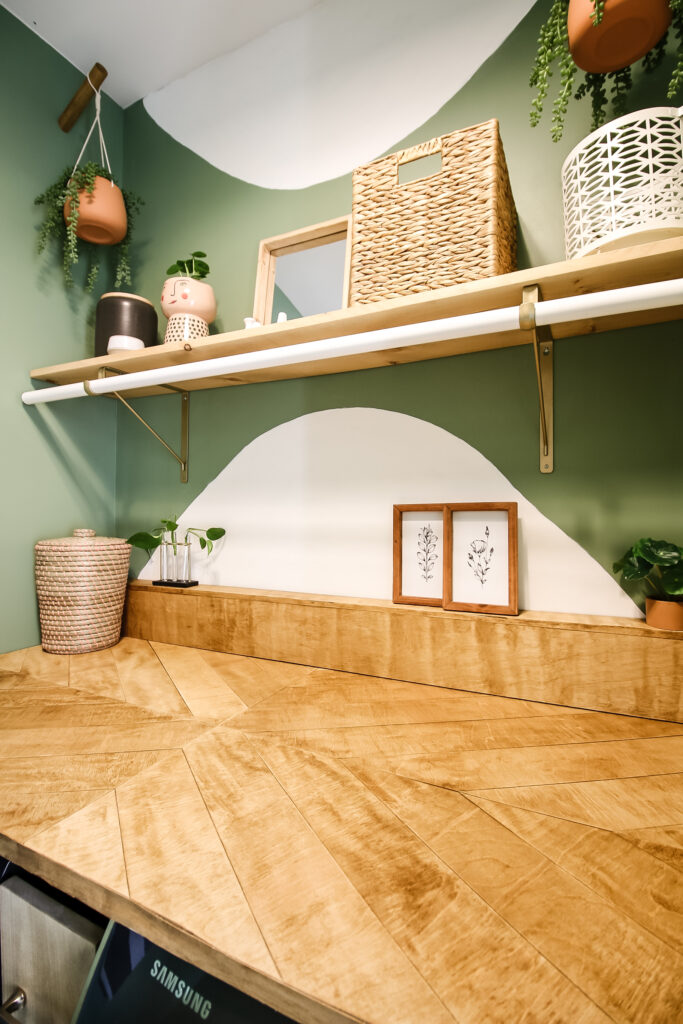
You can purchase similar hooks on Amazon, two for about $17, but they are much shorter and don't have the notch for the hanging plant.
Plus, this way we were able to customize the wood stain to match our space.
Frequently asked questions:
The easiest way to screw into a dowel and then screw the dowel into something else is by using double-sided screws - otherwise known as dowel screws! Both ends are pointed so you can screw one end into the dowel and the other into something else.
You will want to use a double sided dowel screw to screw a dowel into the wall. Screw one end into the dowel and the other into a drywall anchor that you have pre-placed in the wall.
Mark the center point using a ruler and drill straight through. Keep the hole angled to where it will be inserted into the anchor, not straight through the dowel.
Looking for something?
We've been doing this since 2012 so we have a LOT of blog posts!
Search stuff like: Ceiling Projects | DIY Plant Stands | Thrift Flips


Hey there, I'm Sean, the woodworking enthusiast and builder behind CharlestonCrafted.com! Since 2012, I've been sharing the magic of turning raw materials into beautiful creations. I love teaching others the art and satisfaction of woodworking and DIY. I try to inspire fellow crafters to make something extraordinary out of nothing at all.



Ivory says
I love, love, love this idea. You did a fabulous job. I got to do this. Thanks for sharing