If you've seen people making DIY outdoor giant Christmas lights and want to make them for your yard, here's how to do it!
Every holiday season, there's a viral trend for decorations that goes around and everyone wants to get in on the fun.
Last year, it was that viral 2x4 Christmas tree that we made, but this year it seems to be making oversized outdoor Christmas lights.
From what I've seen, there's a few different ways to make these, but I tried to figure out the easiest way to do it that combines limited expenses but also ease to do. That said, let's show you how to make them!
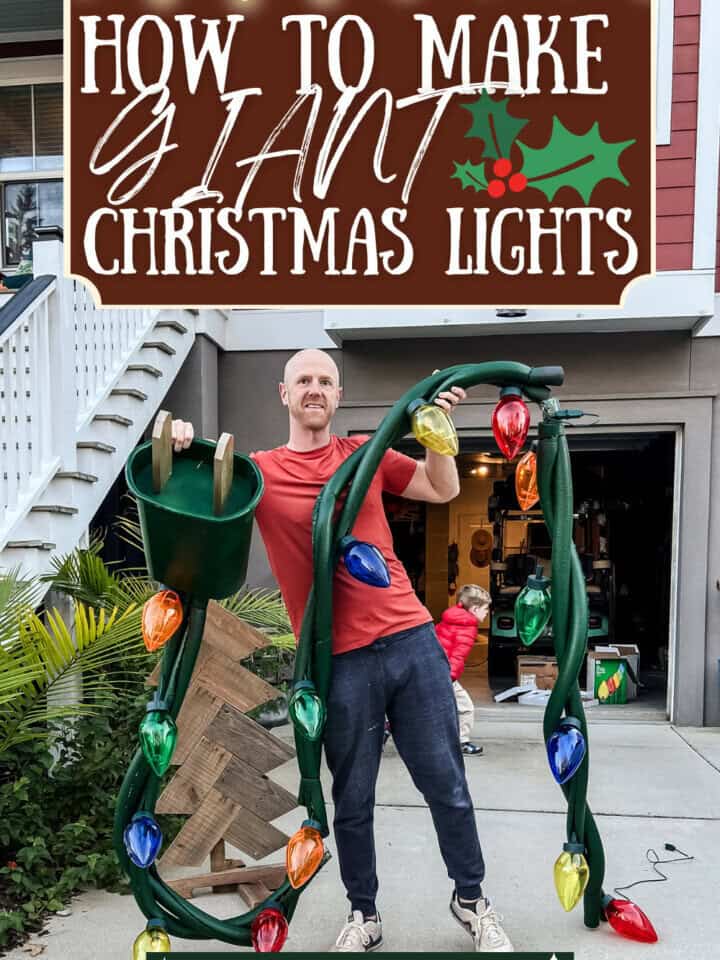
DIY oversized Christmas lights
These giant DIY Christmas lights are really easy to make and are a fun, large addition to your holiday decor. Some people make these with used soda bottles as the lights, but that adds a lot more work and you still need a strand of lights. Here's how we made the giant lights with Christmas light yard stakes!
Another great oversized Christmas project is these wooden snowflakes!
Materials needed to make giant Christmas lights
Here's everything you need to make these. Usually I say it's fine to get substitutes for supplies, but for this project, you at least need to get the exact lights I'm linking to.
- 3 packs of large outdoor Christmas light bulbs
- 6 tubes of pipe insulation
- Green spray paint
- Gold spray paint
- Zip ties
- Small trash can
- Scrap wood
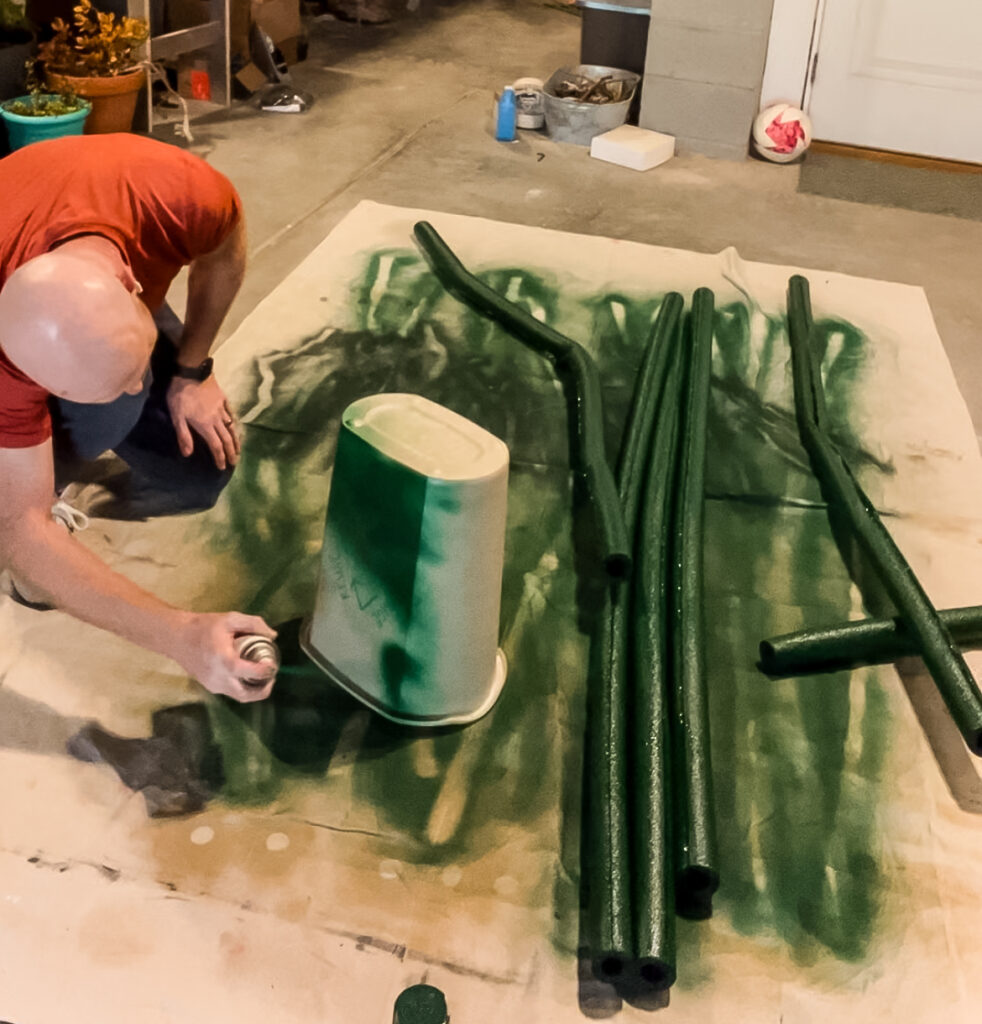
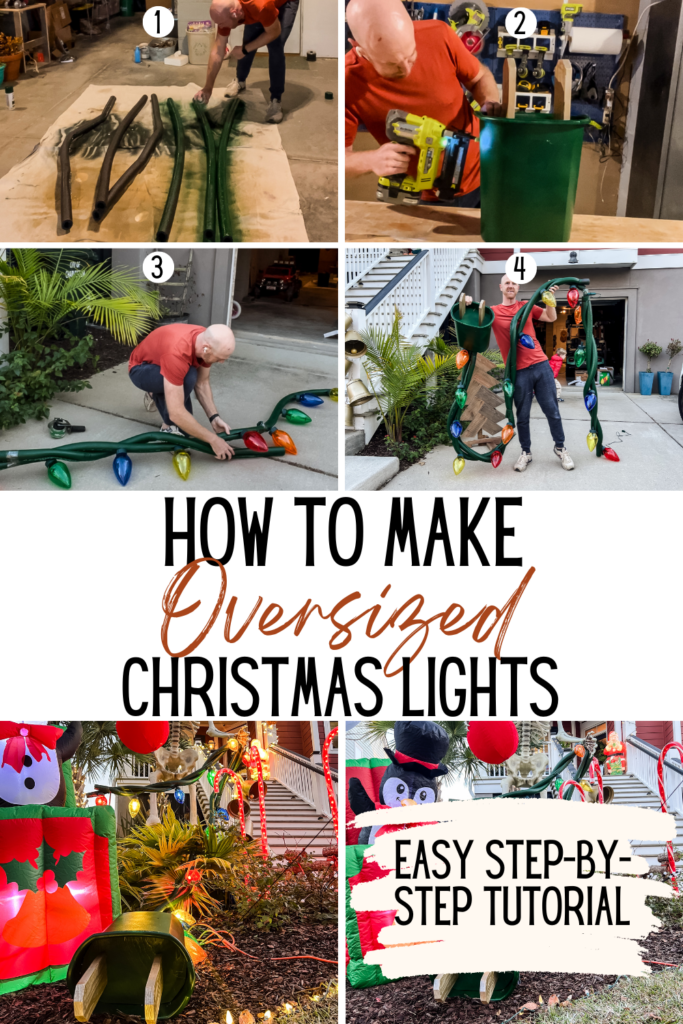
Step one: cut and paint
Start by cutting you boards for your plug. Cut scrap 1x4s into two 9" long pieces and cut the corners off of one end. Then, trace the inside of your trash can on a scrap of plywood and cut that out with a jig saw.
Next, lay out a big sheet and grab your spray paint. Use the green spray paint to paint all sides of the foam insulation, the trash can and the scrap of plywood. Then use the gold to spray paint the two plug pieces of wood.
If you have more scrap wood, make these oversized gift tag door hangers!

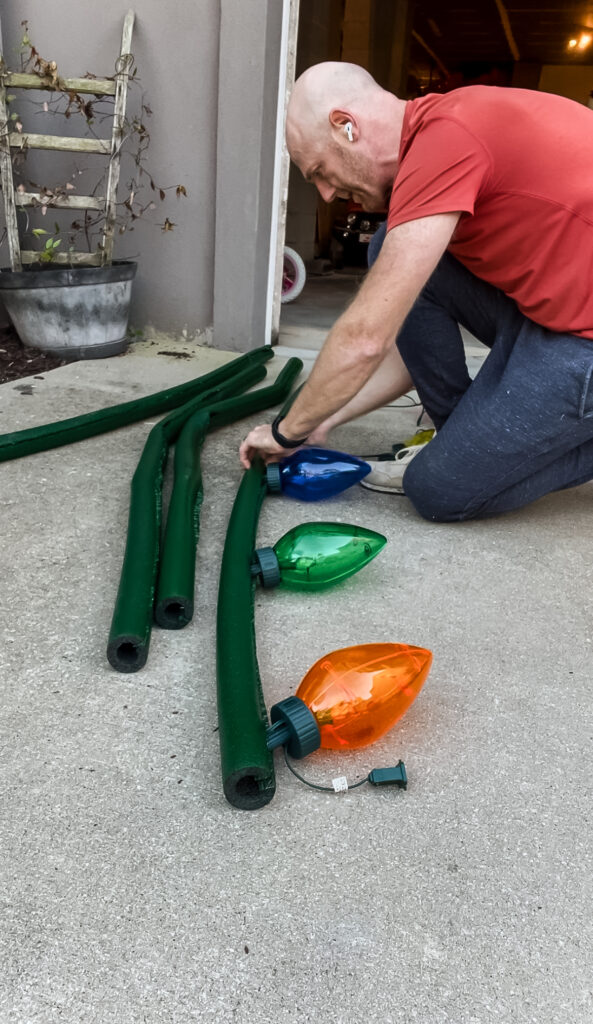
Step two: insert lights in insulation
When the paint is dry, grab one of the strands of large yard lights and start sliding the cord and the base of the light into the insulation. The insulation should keep a fairly decent hold on cord.
Repeat this for all three strands of lights, then remove the adhesive paper (if it has it) to keep it extra tight.
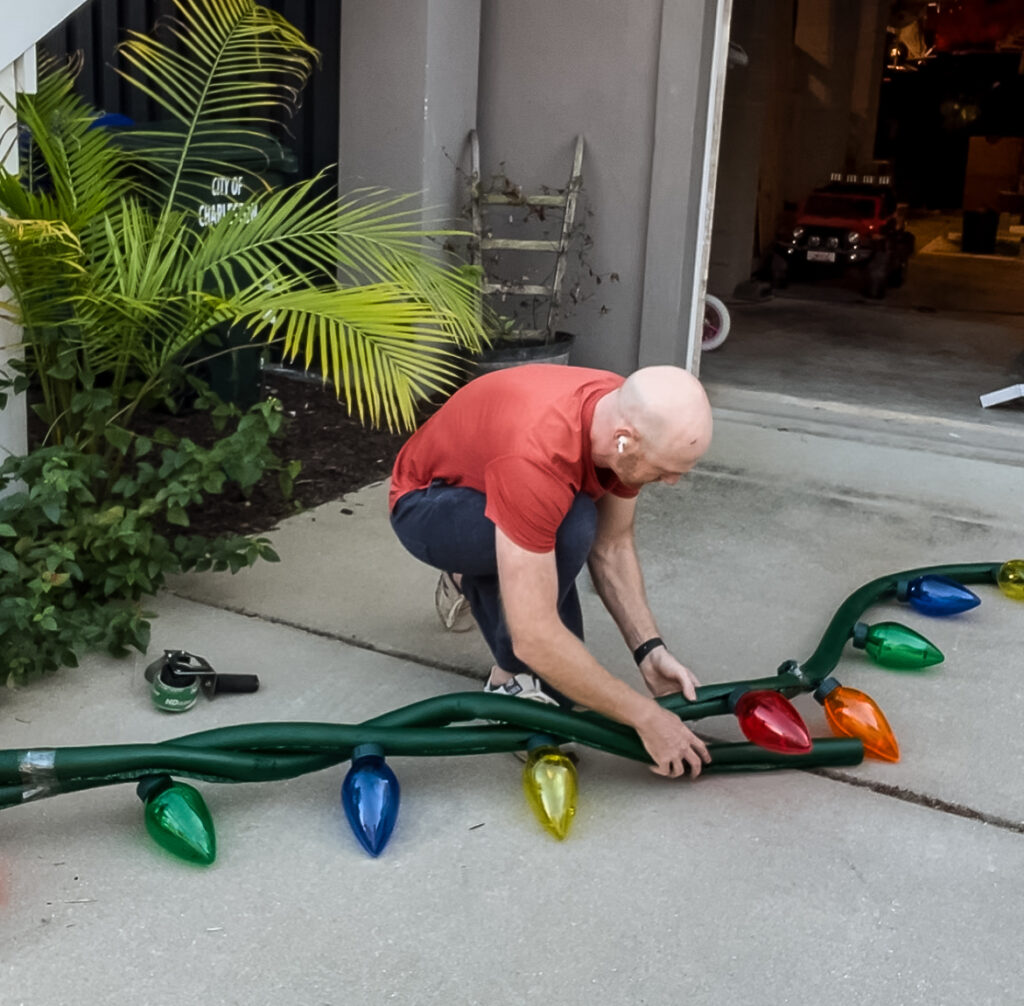
Step three: wrap wires
Next, grab your three extra pieces of insulation and zip tie one end near the end of one of the strands you made with the lights. Then slowly wrap this piece of insulation around the first one, alternating around the lights. Repeat for the other two.
Now that you have all three, connect them with the actual plugs that the lights came with and then use zip ties to connect the ends together so you have one long strand.
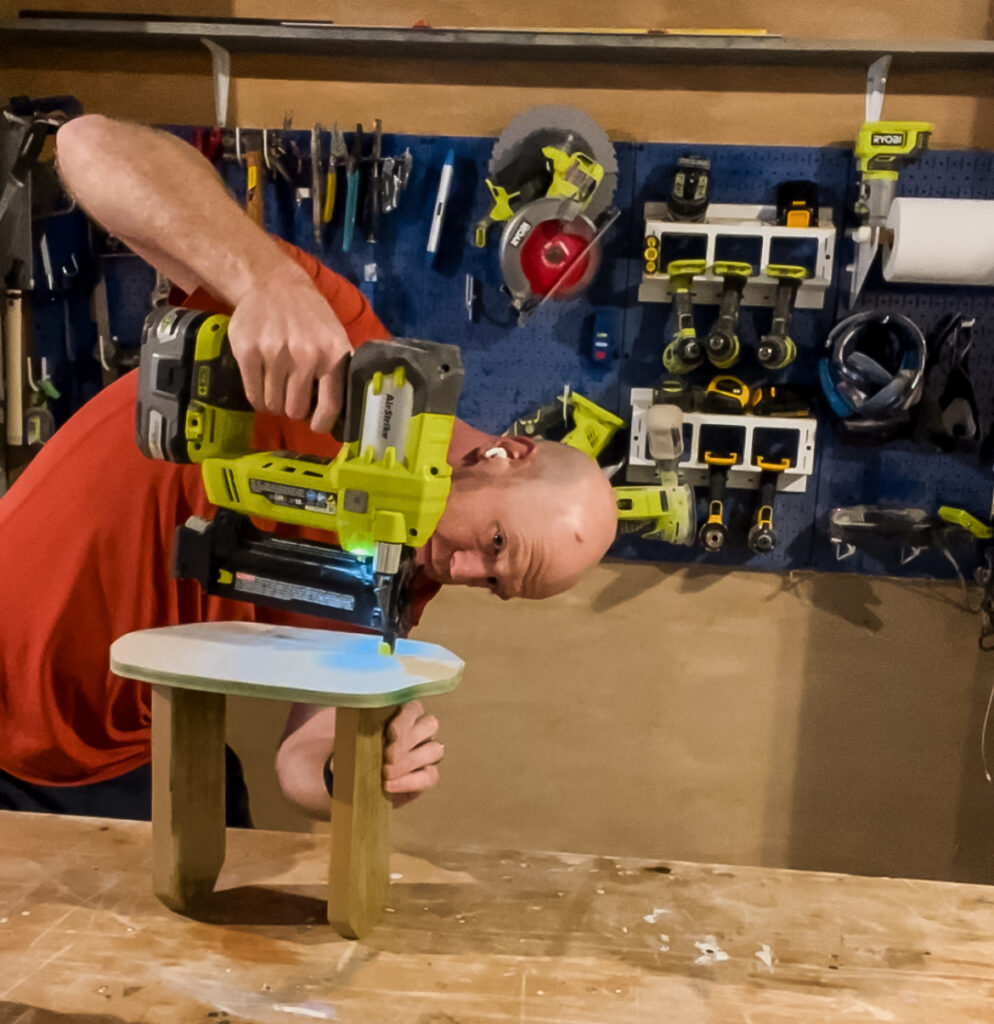
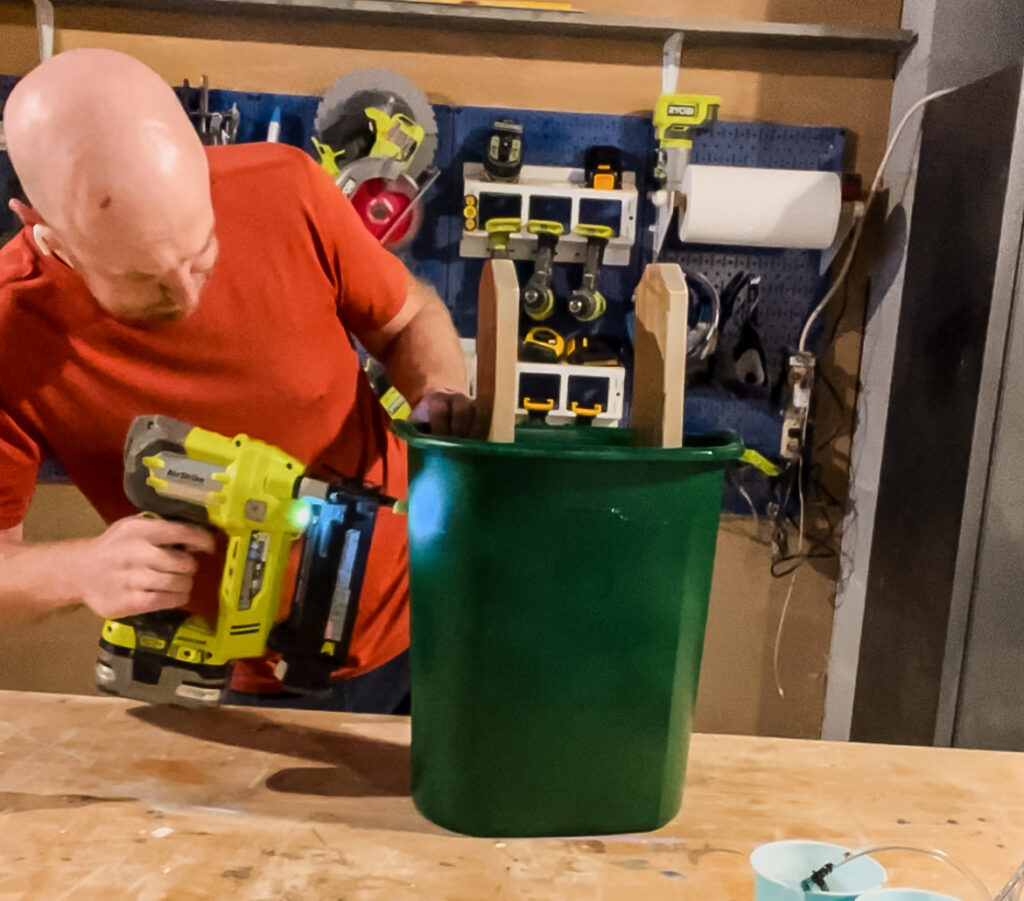
Step four: make plug
Next, make the plug. Using screws or nails, attach the two gold plug prongs into the green scrap plywood. Then, add a bead of glue or caulk around the edge and press that down into the trash can until it comes in contact with the sides.
I also shot a few nails in through the outside of the trash can into the edges of the wood to get that immediate hold.
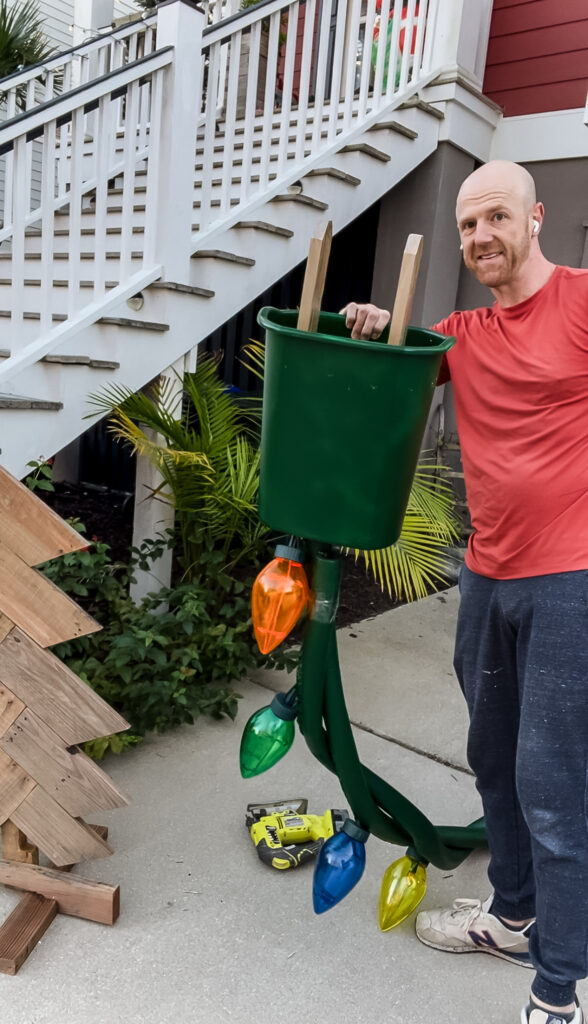
Step five: attach wires to plug
Last step is to cut a small slit or hole into the base of the trash can. You can use a knife or a jig saw. You want the hole or slit to be smaller than the end of the pipe insulation tubes.
Now, press the insulation into the hole (which should be tight) until it is securely in the hole a couple of inches.
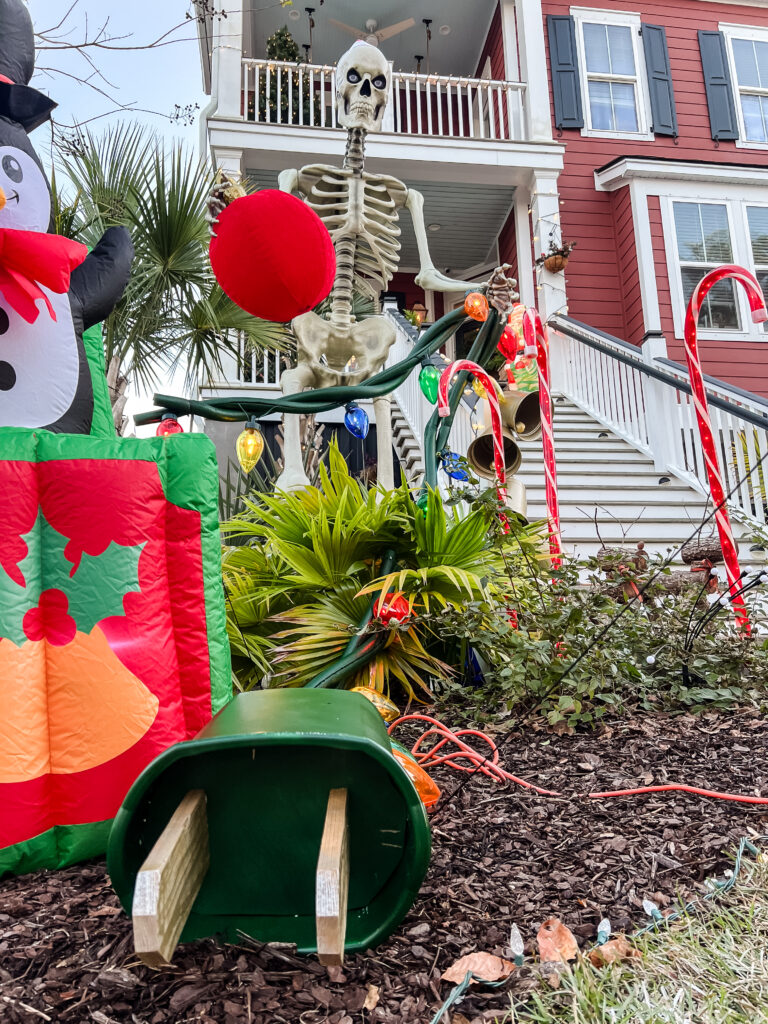
Step six: display
Now you can display your DIY giant Christmas lights! You can lay these on the ground, hang them around your front door or garage, drape them over a tree, or do like we did and let your giant skeleton hold them!
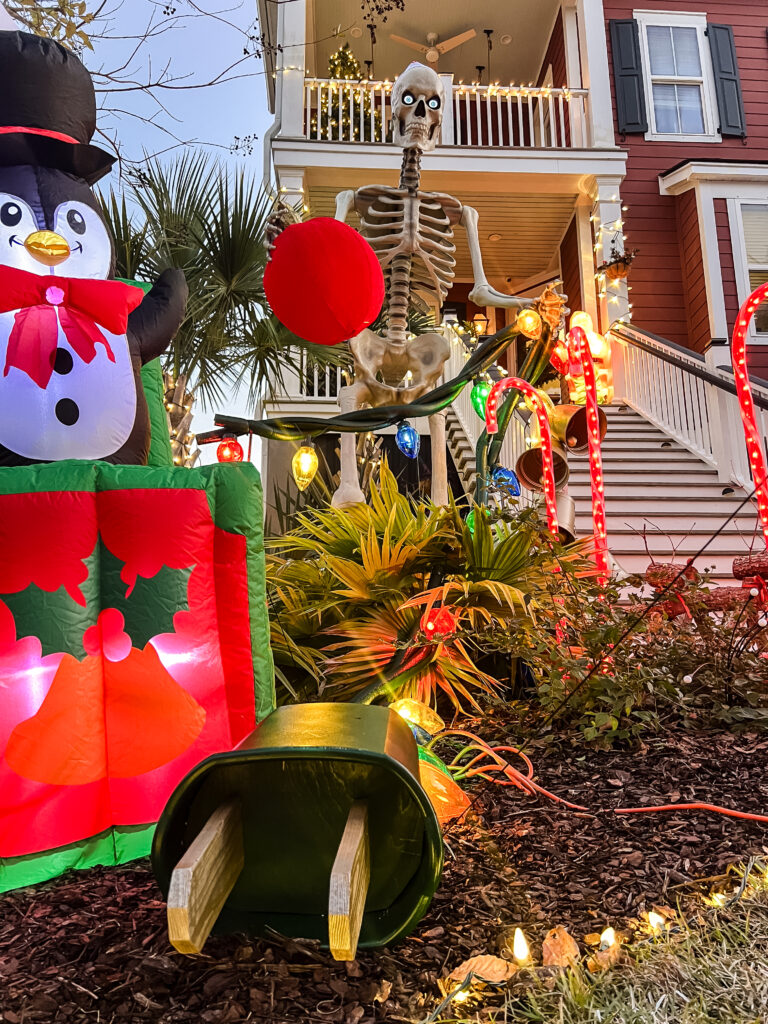
DIY giant Christmas lights
I love how simple and easy these lights were to make. I made these in less than one day, including paint drying time. Go have a great holiday!

Looking for something?
We've been doing this since 2012 so we have a LOT of blog posts!
Search stuff like: Ceiling Projects | DIY Plant Stands | Thrift Flips

Hello, I'm Morgan, half of the creative force behind CharlestonCrafted.com! With a passion for DIY that dates back to 2012, I've transformed three homes and now I'm dedicated to helping others craft their dream spaces. Let's turn your house into a home together!


