This post will show you how to make DIY Christmas trees from PVC pipes. This is a really fun project that totally customizable!
Do it yourself holiday projects are always a fun way to get creative and use new materials to make classic symbols.
We've made a lot of different wooden Christmas trees over the years, but we wanted to try to make a Christmas tree out of PVC pipe this year!
Last year, we made a pole Christmas tree with one long PVC pipe and string lights, but this time we wanted to make one where the structure was made from PVC.
A PVC Christmas tree is a great inexpensive project for this holiday season!
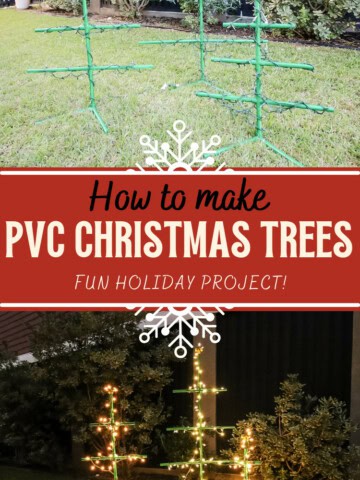
PVC pipe Christmas trees
PVC pipes are an inexpensive material and can be cut down to make the shape of a Christmas tree.
PVC pipe Christmas trees are totally customizable to be big, small or anywhere in between.
We made a set of three PVC Christmas trees to display together. Here's how to do it!
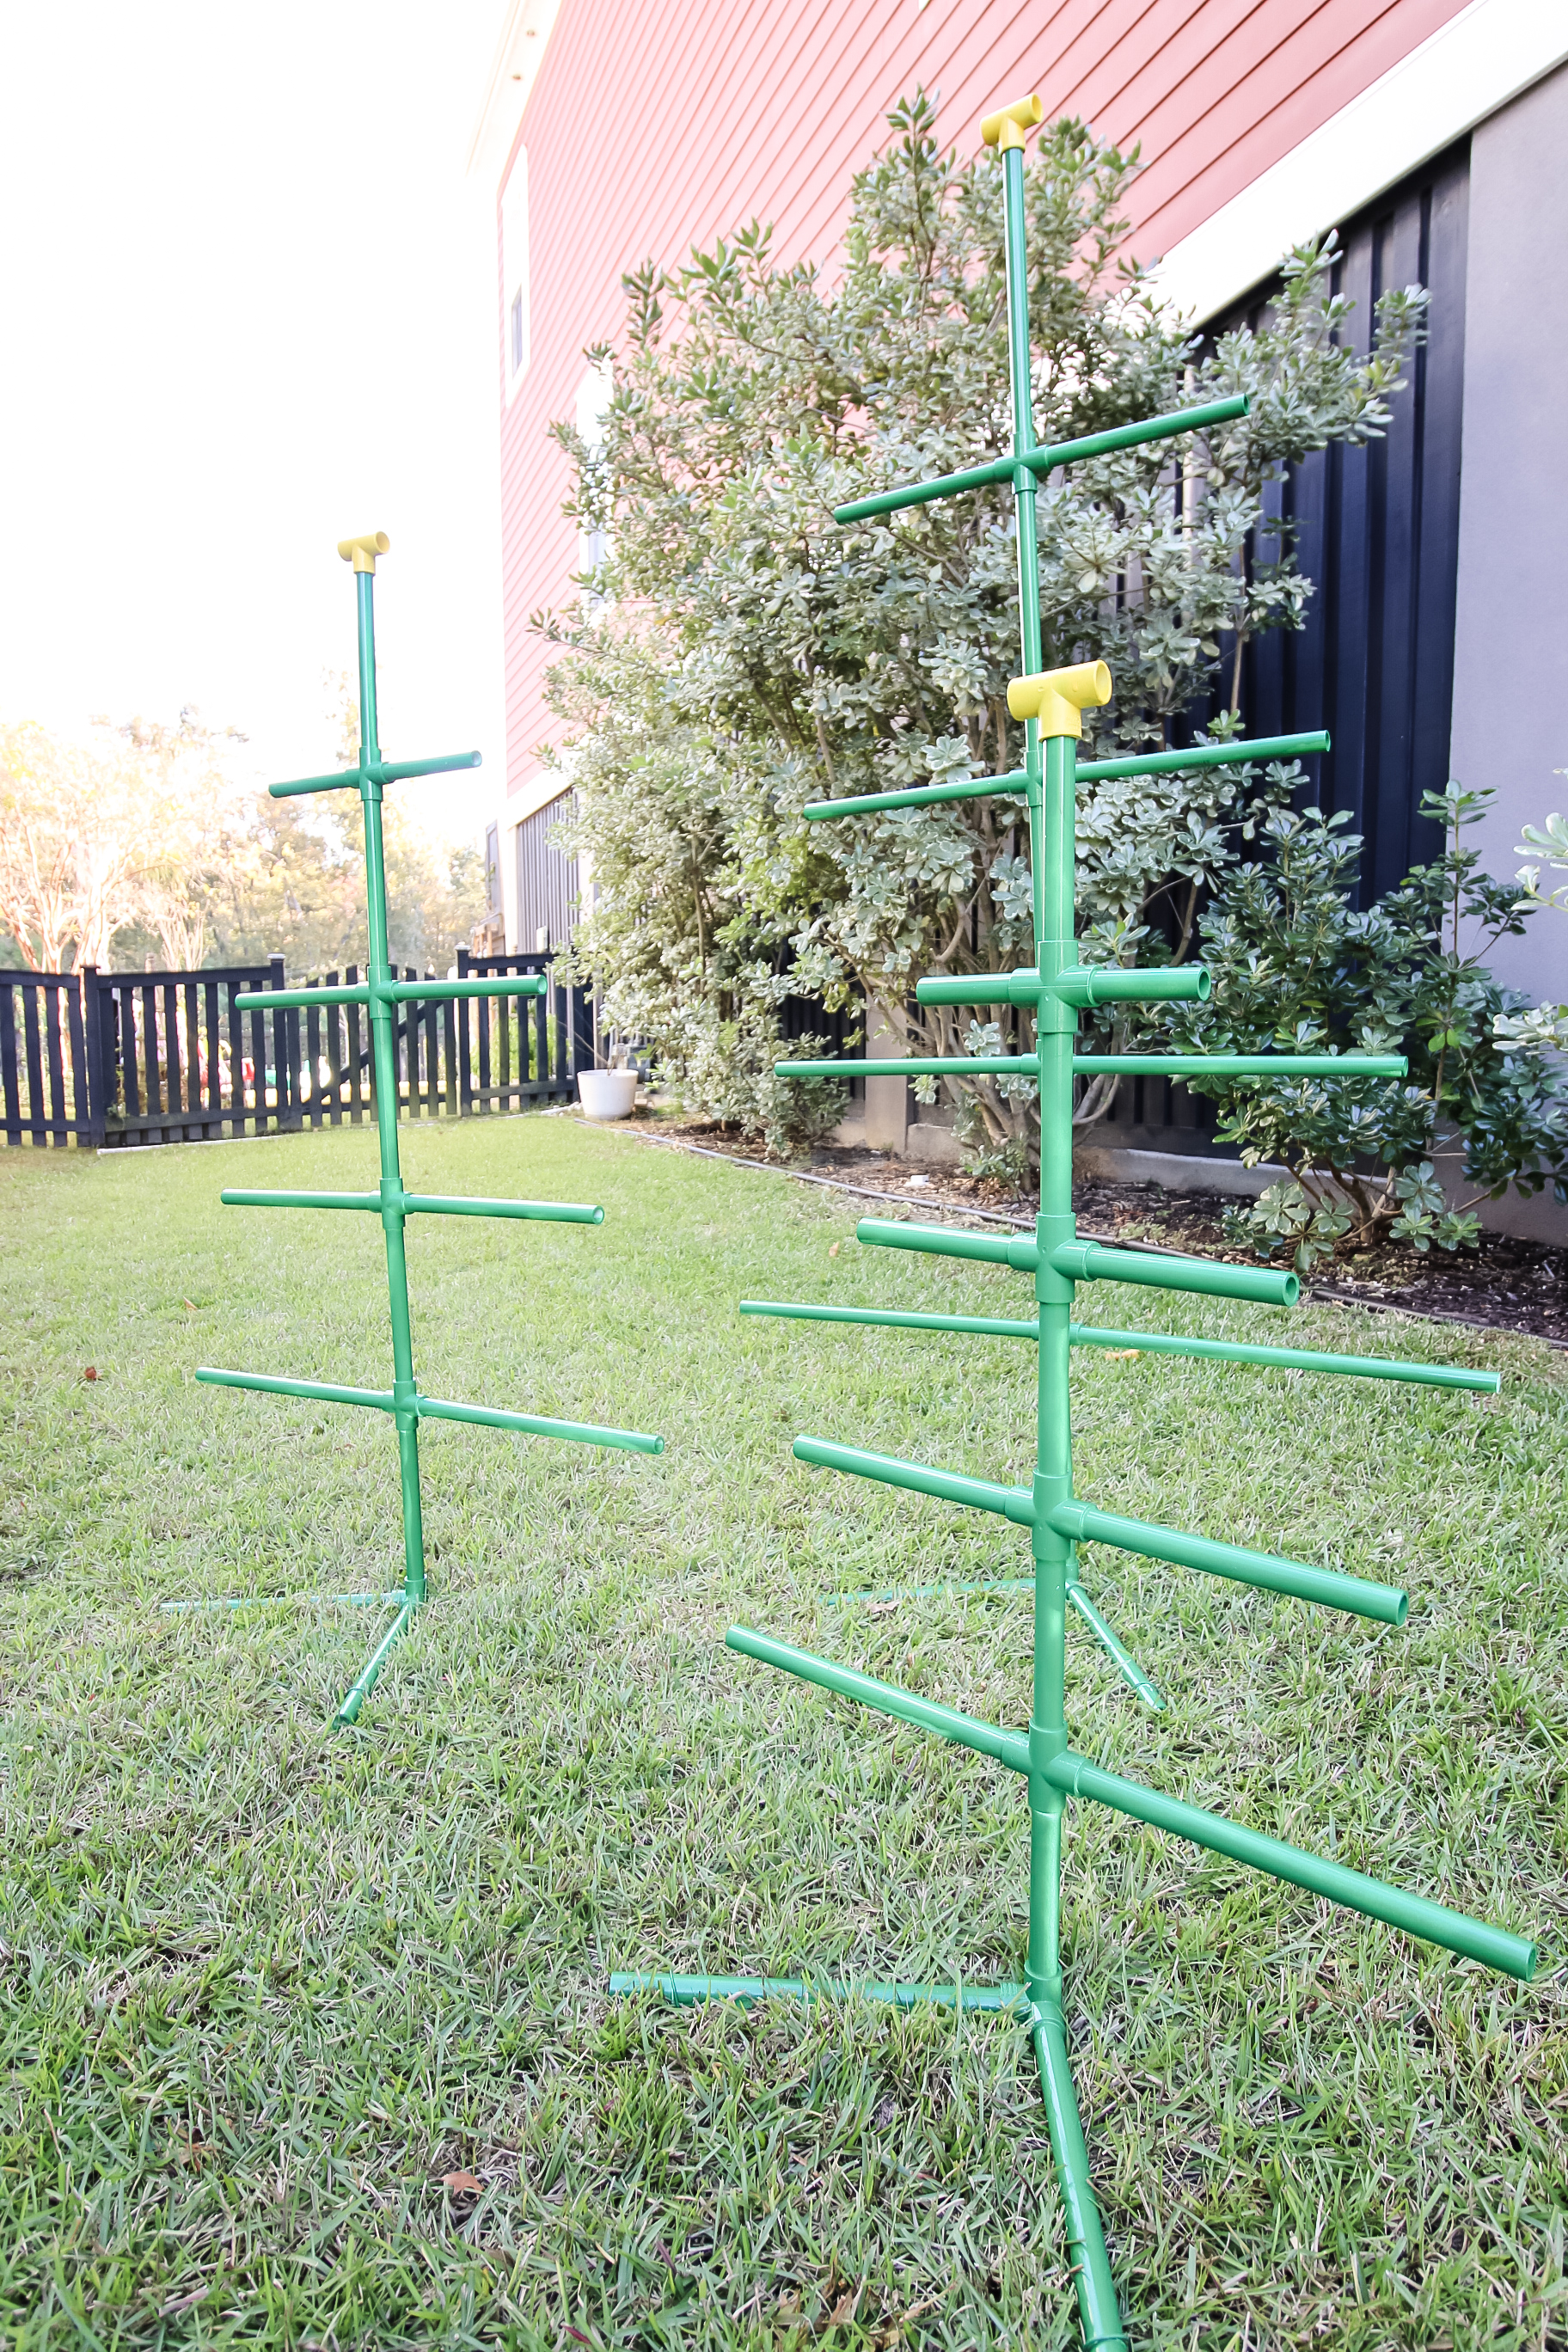
How to make Christmas trees from PVC pipes
To make three PVC Christmas trees that each get slightly smaller, these are the materials you'll need. If you only want to make one, you can divide these materials by three.
You can also scale up the size of your PVC Christmas tree to make one really big one, but you'll need to draw that out beforehand.
Materials needed to make three DIY PVC Christmas trees:
- (3) ½" x 10' PVC pipes
- (12) ½" PVC cross
- (3) ½" PVC tee
- (3) ½" PVC 90 degree elbow with side outlet
- Green spray paint
- Yellow spray paint
- PVC cutters
Step one: Make cuts
Start by making all the cuts you'll need for the three trees based on this table:
| Pieces | Large Tree | Medium Tree | Small Tree |
| (5) Trunks | 12" | 9" | 6" |
| (2) Bottom Branches | 18" | 15" | 12" |
| (2) Third Row Branches | 15" | 12" | 9" |
| (2) Second Row Branches | 12" | 9" | 6" |
| (2) Top Row | 9" | 6" | 3" |
| (2) Base | 12" | 12" | 12" |
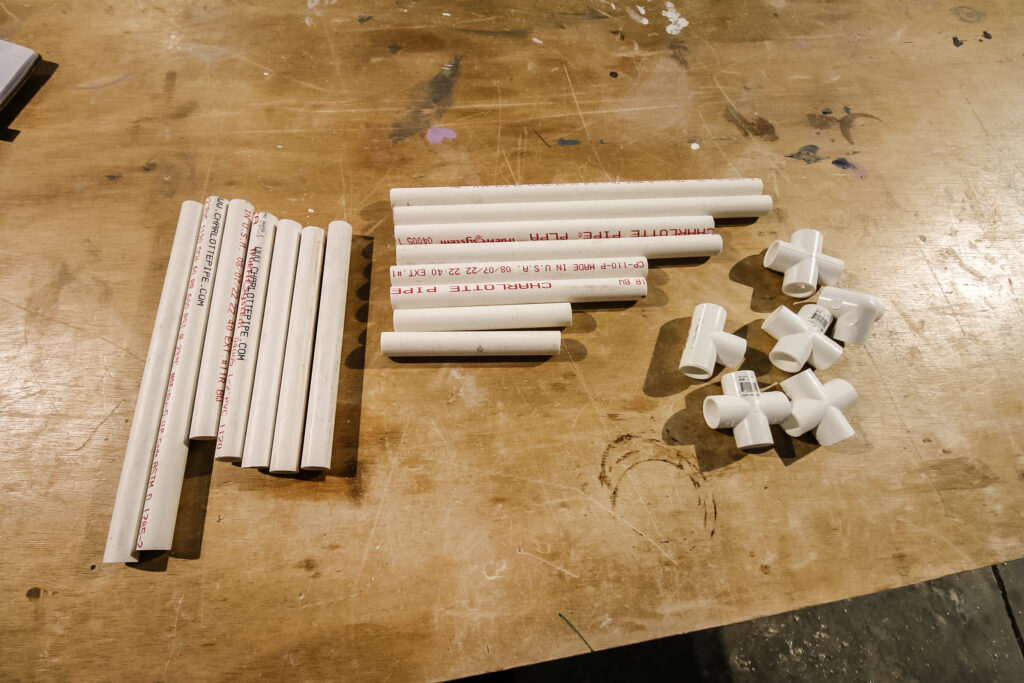
The best way to cut PVC is with a PVC cutter. This is an inexpensive tool that uses ratchet technology to put continuous pressure on the pipe with a blade until it cuts through.
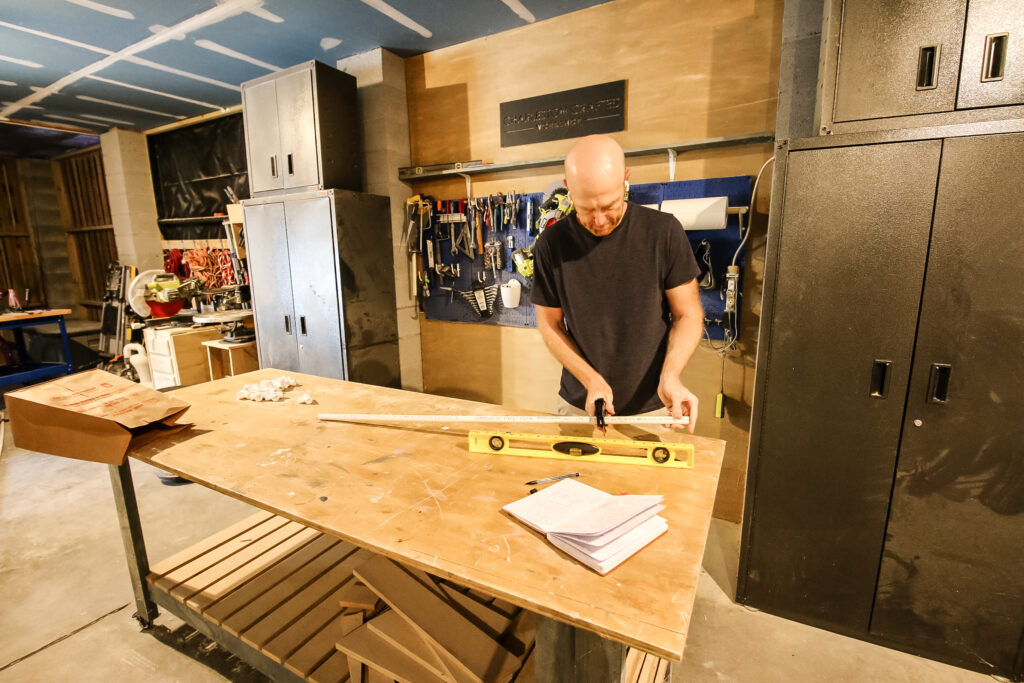
My best tip here is to measure each measurement with a tape measure, but then make all subsequent cuts of the same length by just using the first piece you cut to measure it.
Step two: Assemble trees
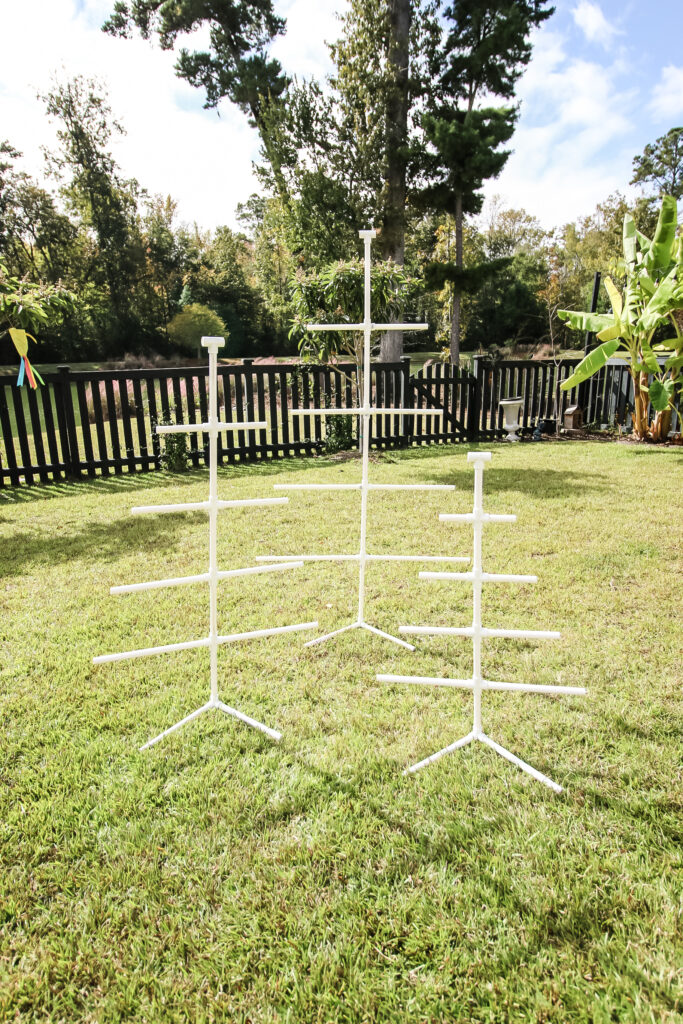
Next, assemble the trees. The assembly is the same for each tree, so here's how to do it.
Start by putting one Trunk piece into the 90 degree elbow with side outlet, then putting a cross on the other end.
Put the two Bottom Branch pieces into the sides of the cross and another Trunk piece into the top of the cross.
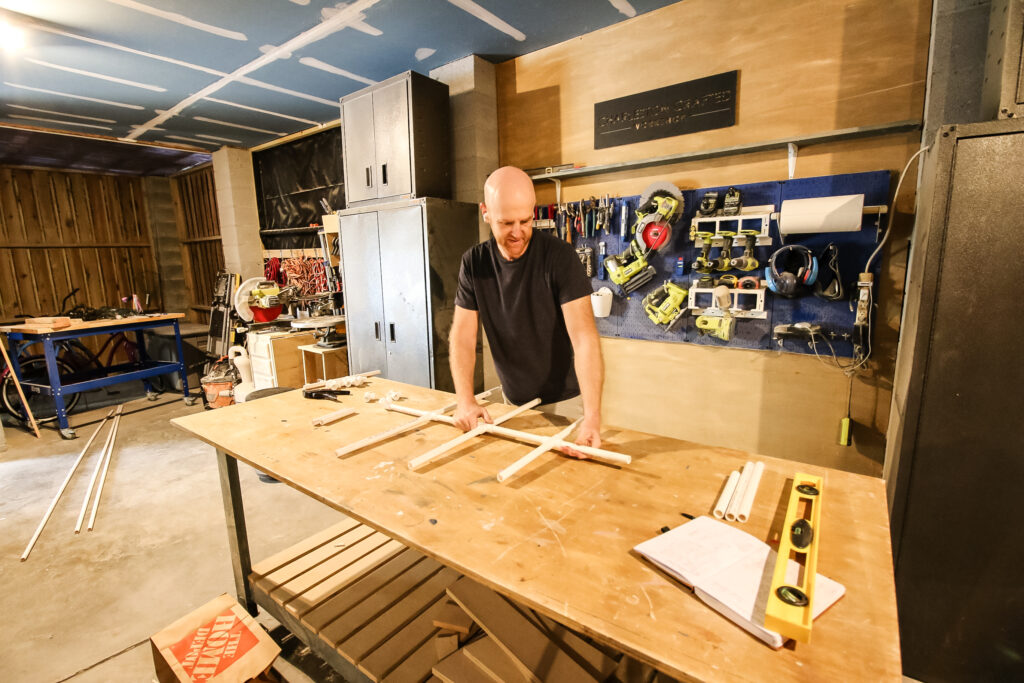
Now add another cross on top of that Trunk piece and continue until you have done four layers.
Finally, add the top trunk piece and the tee at the very top.
Go back down to the bottom and attach the two Base pieces into the other remaining holes on the bottom.
Step three: Spray Paint
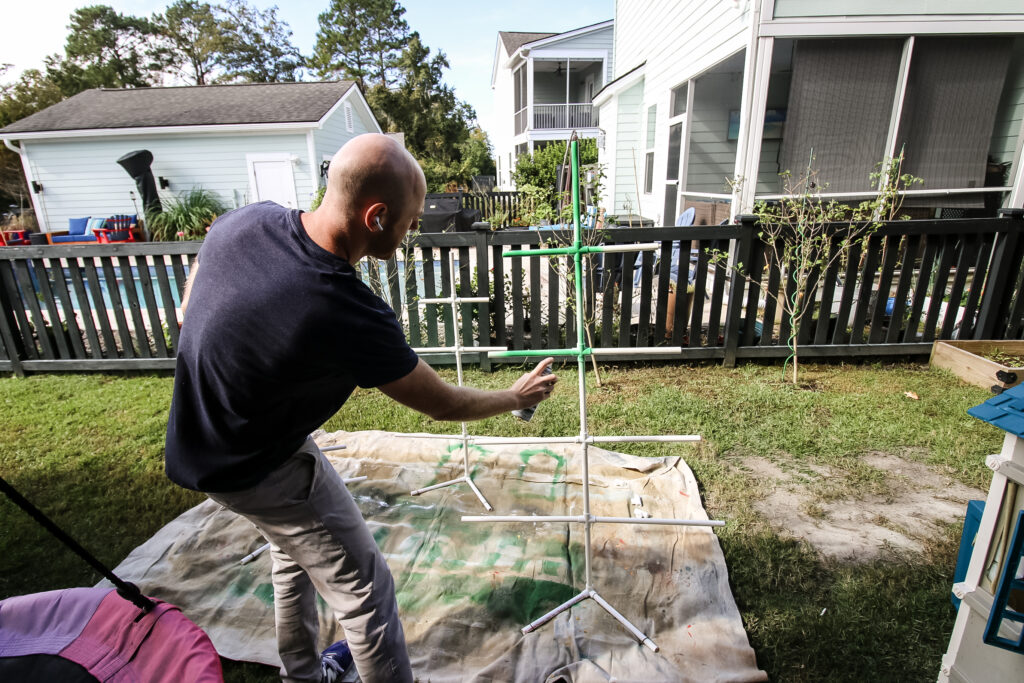
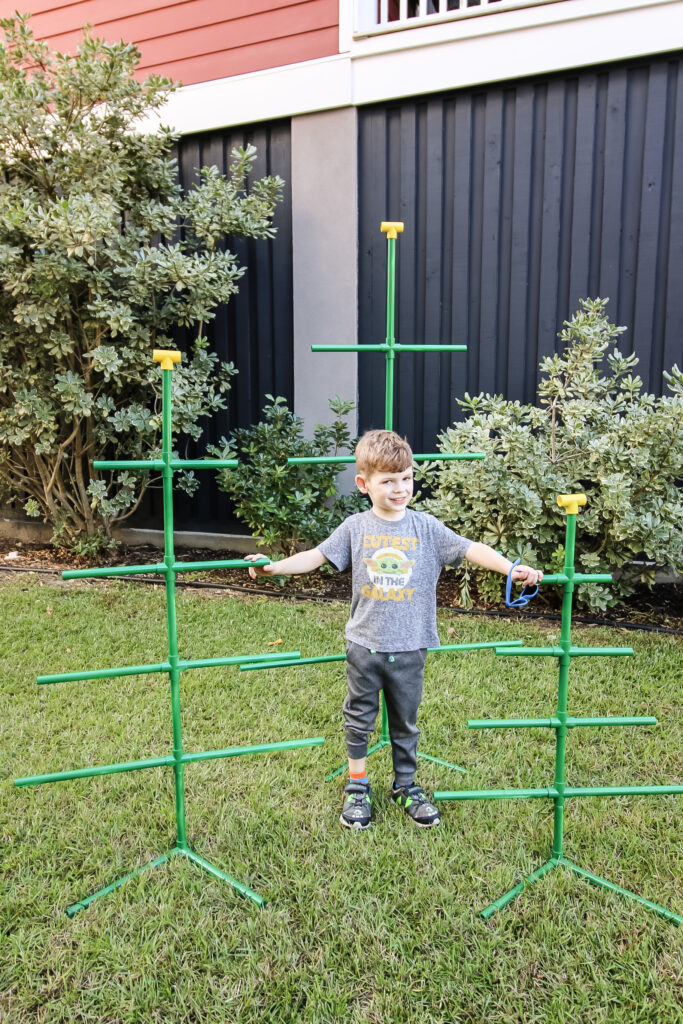
Next, spray paint your trees. We chose to do a green spray paint on the entire tree body and yellow spray paint on the very top tee fitting as the start.
We stood these up in the yard using stakes on top of a painting cloth and sprayed everything down, being aware of getting the underside of each pipe as well.
Step four: Install in yard
Finally, set these up in your yard and stake them down again with the landscaping stakes.
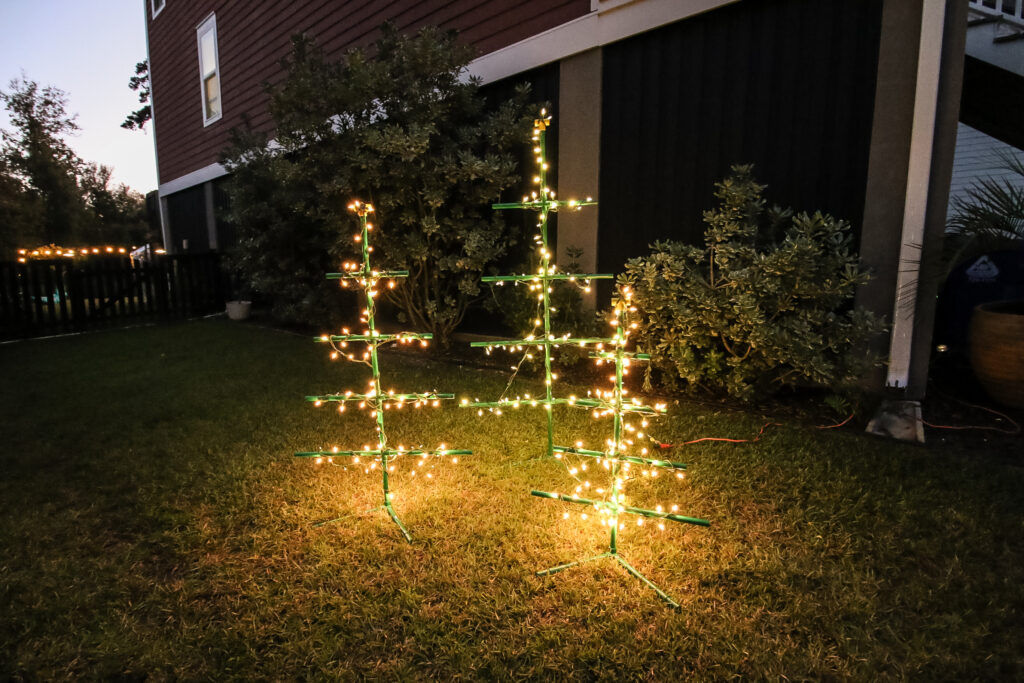
If you want to take your PVC Christmas trees up a notch, wrap string lights around each tree.
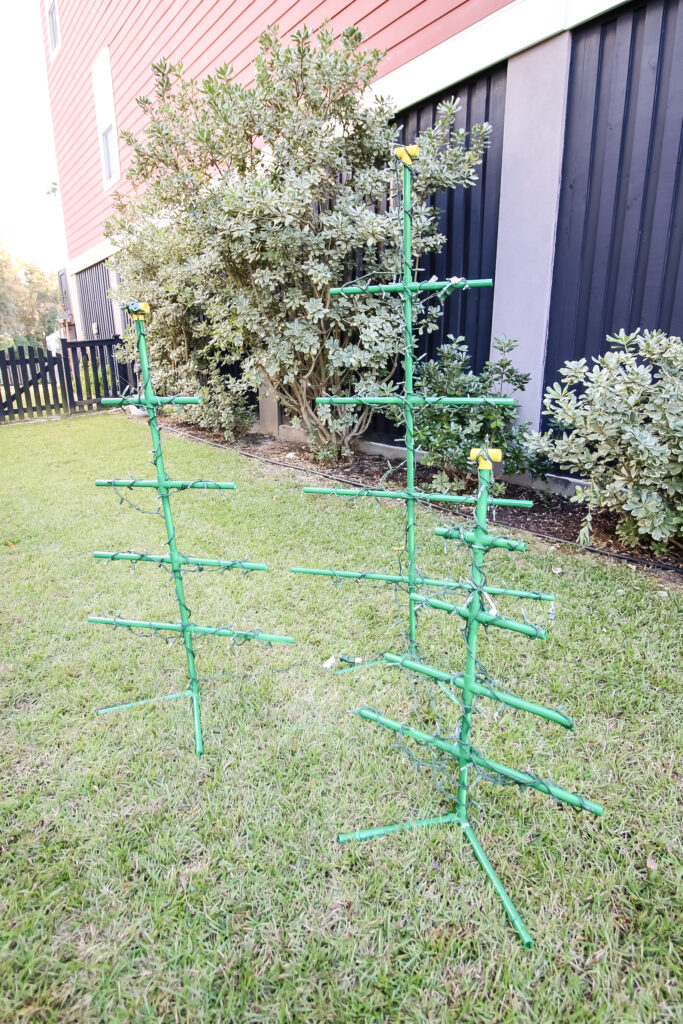
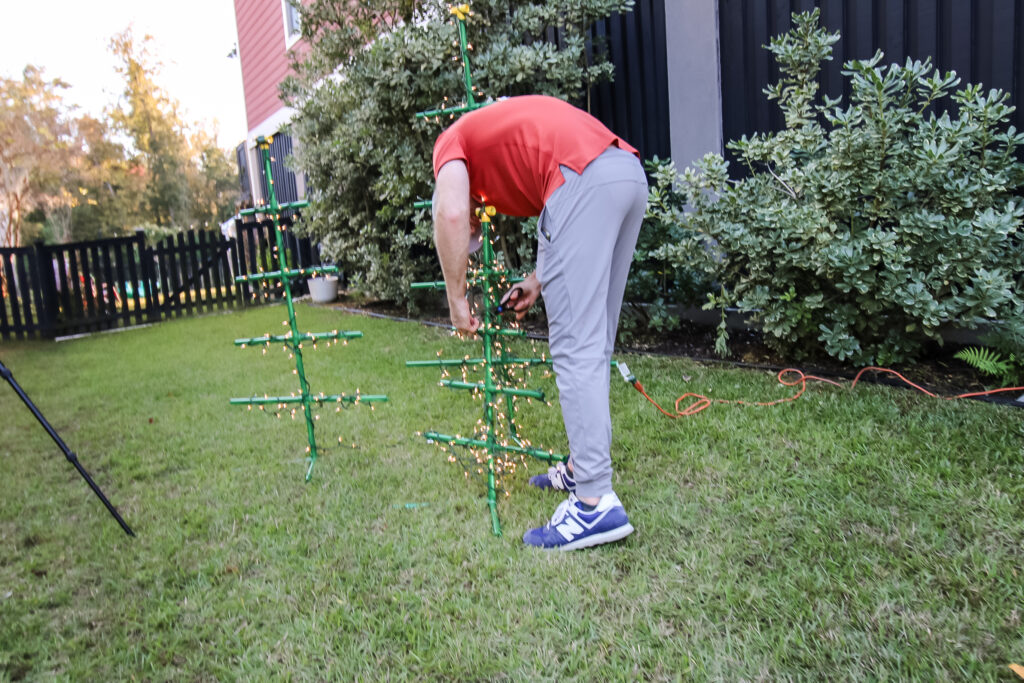
Loop these back and forth on the branches and the trunk until you get to the top and loop back down the trunk. Connect all the trees together on the ground.
DIY PVC Christmas trees
PVC Christmas trees are a really fun and inexpensive holiday decor project!
The materials for PVC pipe trees don't cost much and it is a quick project that you can build in just an afternoon.
Before you go...
Make sure you bookmark this post on how to make PVC skeleton for your Halloween planning next year!
Looking for something?
We've been doing this since 2012 so we have a LOT of blog posts!
Search stuff like: Ceiling Projects | DIY Plant Stands | Thrift Flips


Hey there, I'm Sean, the woodworking enthusiast and builder behind CharlestonCrafted.com! Since 2012, I've been sharing the magic of turning raw materials into beautiful creations. I love teaching others the art and satisfaction of woodworking and DIY. I try to inspire fellow crafters to make something extraordinary out of nothing at all.


