Paint is the easiest and cheapest way to transform your kitchen! Here is our complete, step by step guide on how to paint kitchen cabinets for a perfect finish!
A huge part of our kitchen makeover plan was painting the cabinets.
The dark fake wood coating was not doing any favors for this windowless room!
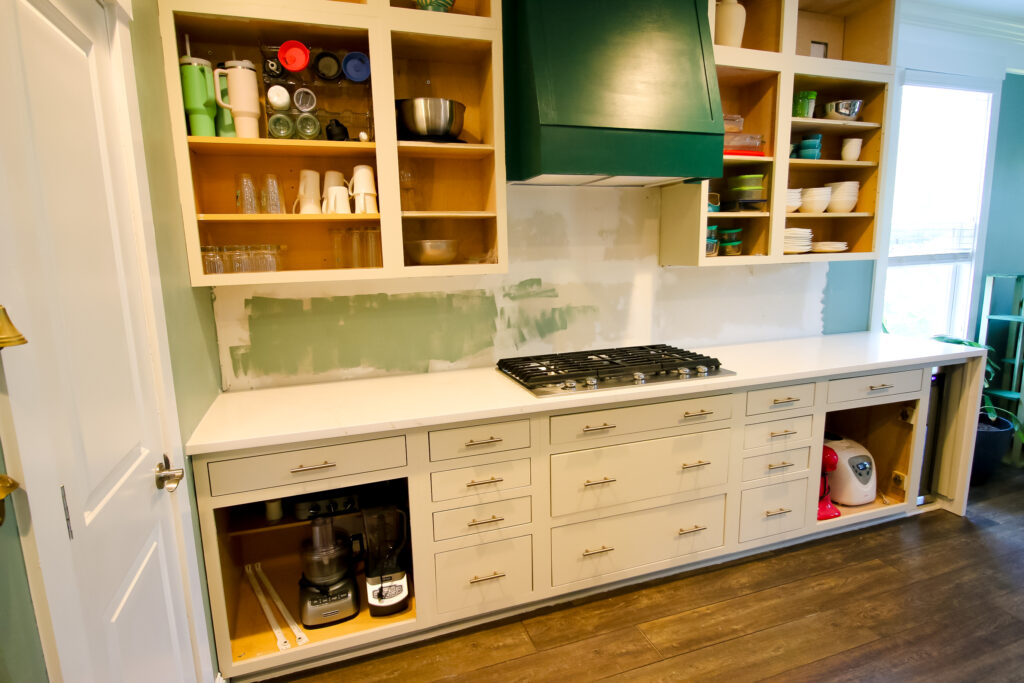
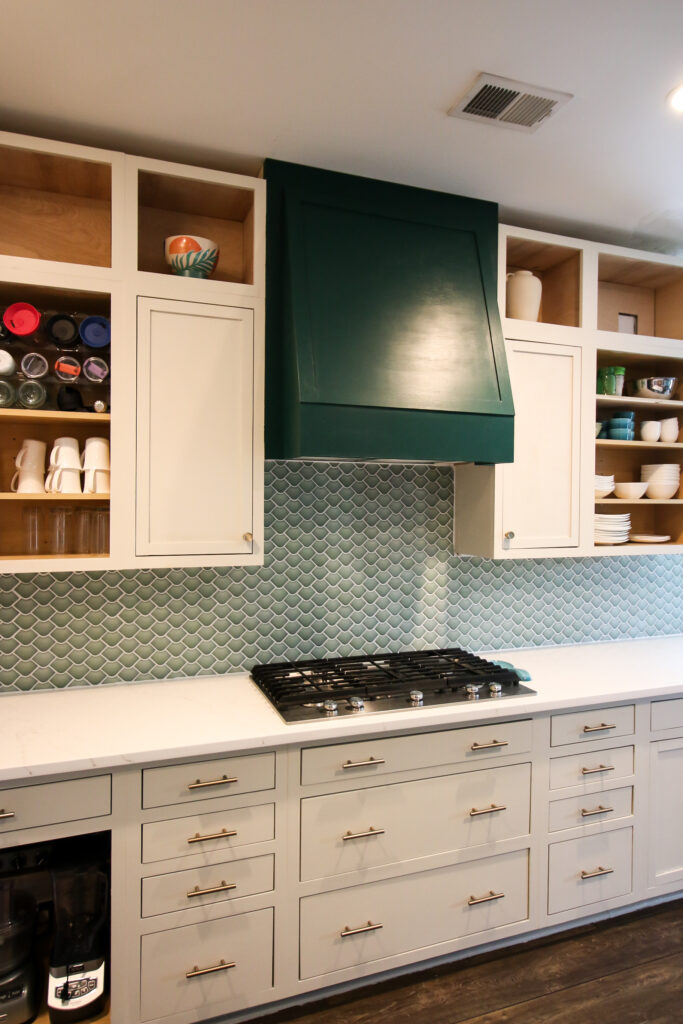
We spent a long time picking kitchen cabinet paint colors, and decided on a creamy off-white for the cabinetry and a deep green for the island.
The cream color is Sherwin Williams Natural Linen and the green color is Behr Dark Everglade.
We have now painted a ton of cabinets - 90's oak cabinets in our old house, unfinished pre-fab cabinetry in the home office, and now, a mix of new built and repurposed basic cabinetry in this kitchen!
I understand that painting cabinetry can feel overwhelming - and it is a big task. But, it is super doable.
I painted all of our cream cabinet boxes in about 2 hours, the island in another hour, and the doors took about 2 hours total.
So, I encourage you to break this project up into manageable chunks and you can easily conquer it in the next two weekends!
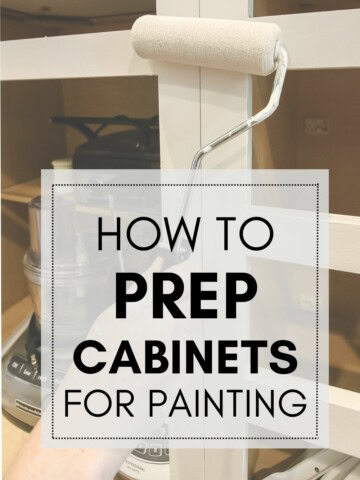
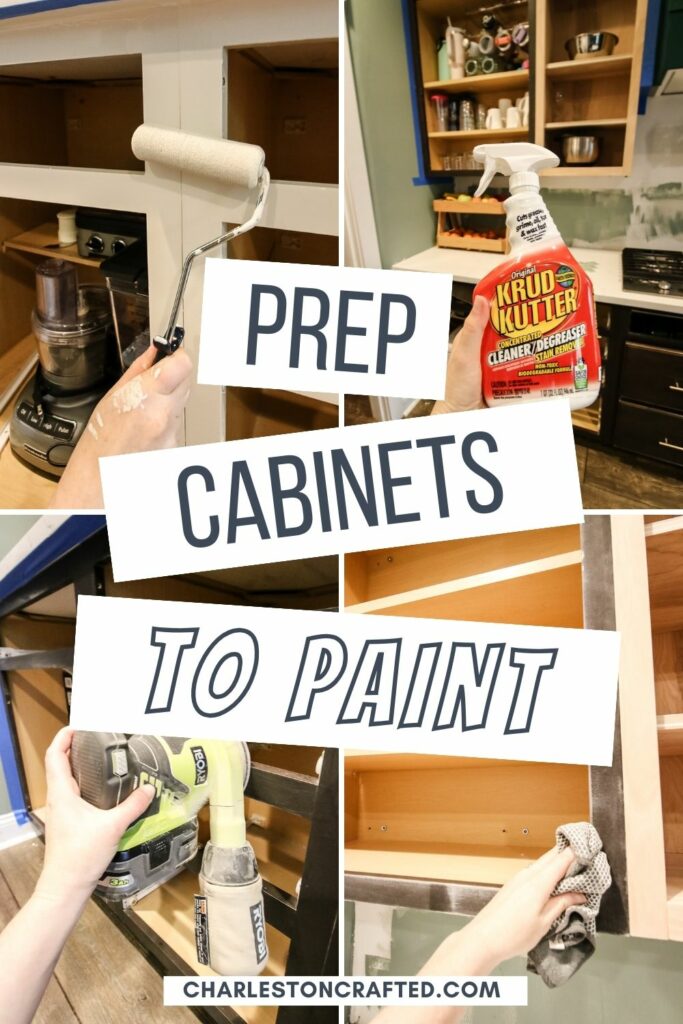
How to prep kitchen cabinets for painting
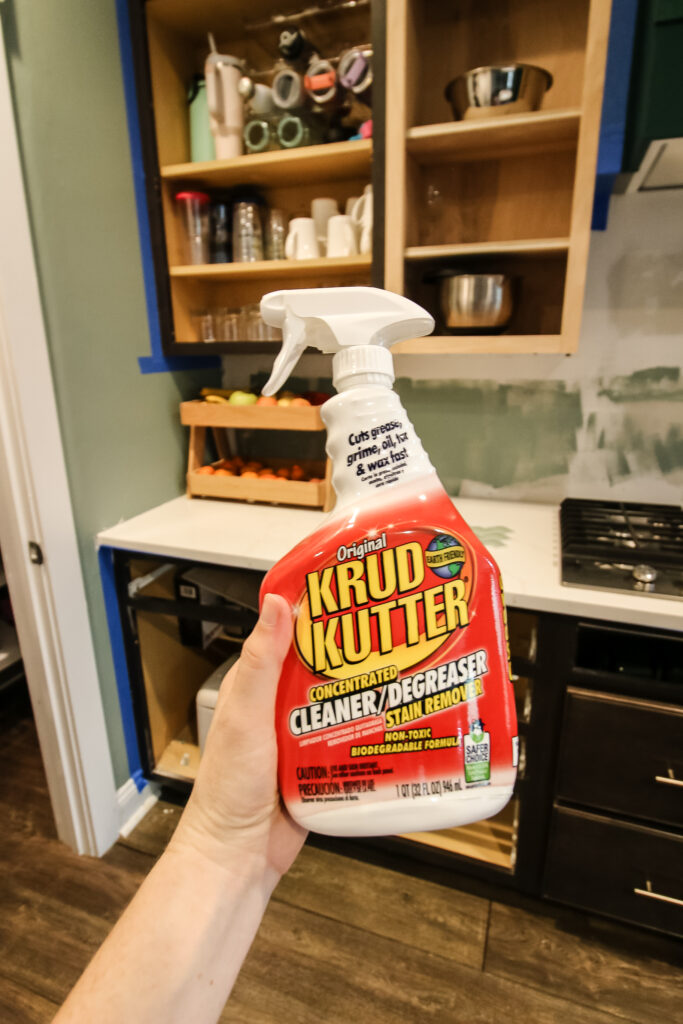
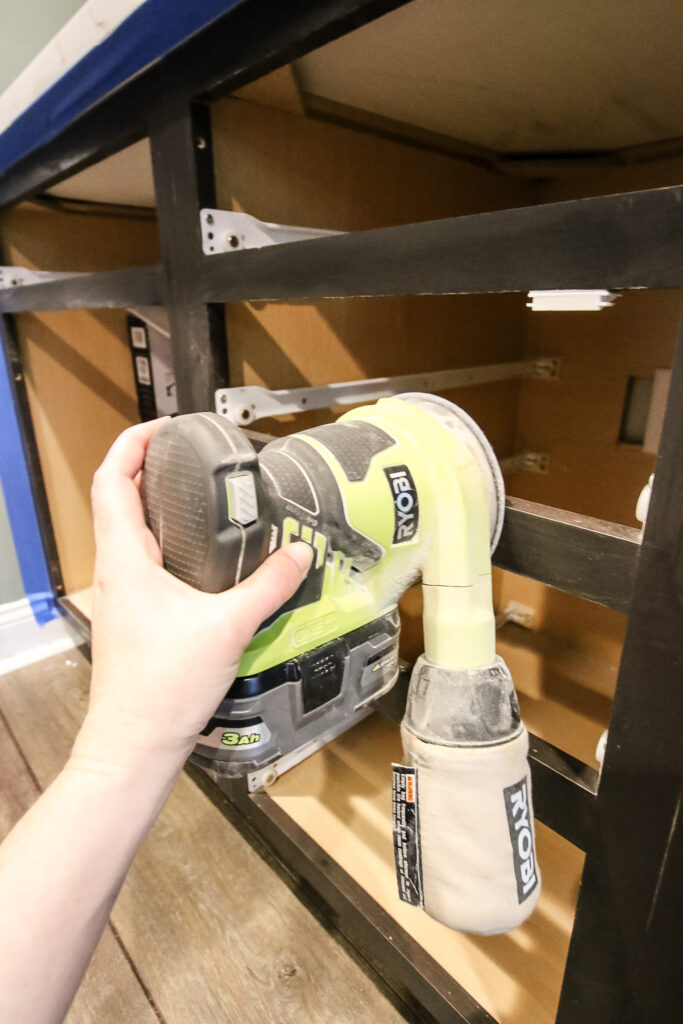
Prep is the most important part of painting cabinets. You need a clean, smooth surface that is ready to be painted. You will want to remove all hardware, sand, and clean thoroughly.
Go ahead and take ten minutes to read our complete guide on how to prep cabinets for painting!
If you are working with brand new, unfinished cabinets -- skip over to our guide on how to paint unfinished cabinetry!
What type of paint should you use on kitchen cabinets?
It is important to use a paint that is specifically designed for cabinets when painting them. This paint is self leveling, super durable, and most likely to give you the strongest, best possible finish.
Cabinetry paint typically comes in 2 finishes: satin and semi-gloss.
Semi-gloss is going to be the shinier option. Satin is glossier than matte, but generally the most matte finish suggested for cabinetry.
If your cabinetry has imperfections or texture, I suggest using a satin finish to help disguise it a bit more.
For super smooth cabinets, go semi-gloss.
Popular options for cabinet paint include:
- BEHR PREMIUM Enamel Interior/Exterior Cabinet, Door & Trim Paint
- Valspar Semi-gloss Tintable Cabinet and Furniture Paint Enamel
- Rust-Oleum Cabinet Semi-gloss Pure White Cabinet and Furniture Paint
- Benjamin Moore Advance Satin White Paint Interior for cabinets, doors, and trim
- Sherwin Williams Emerald Urethane Trim Enamel

Need help picking the perfect paint color? Here's my guide on how to pick the best paint color for your kitchen cabinets!
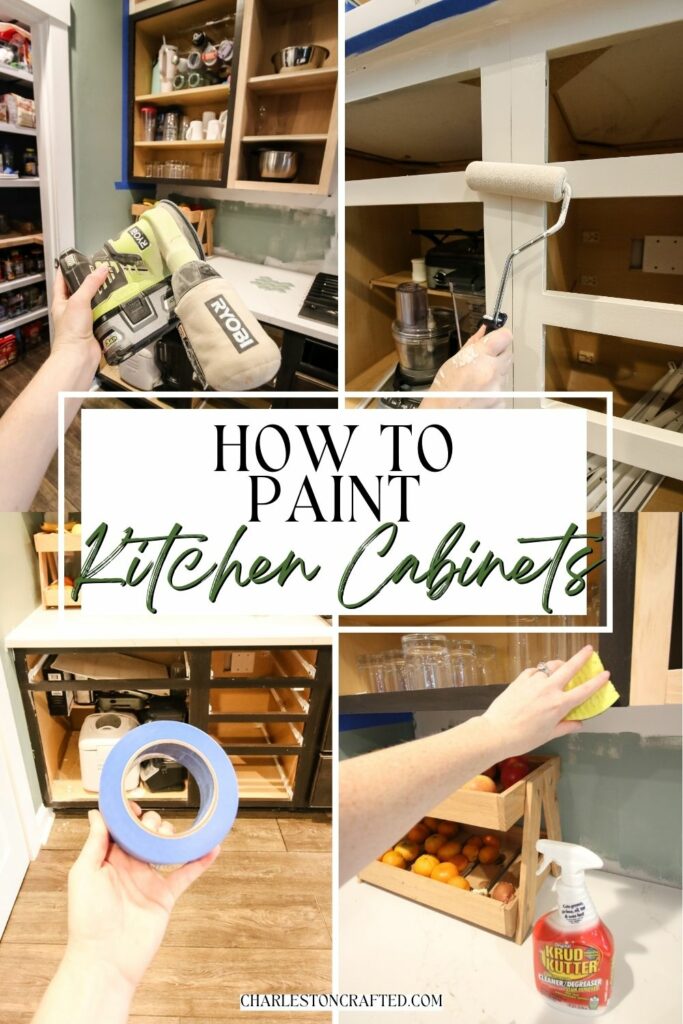
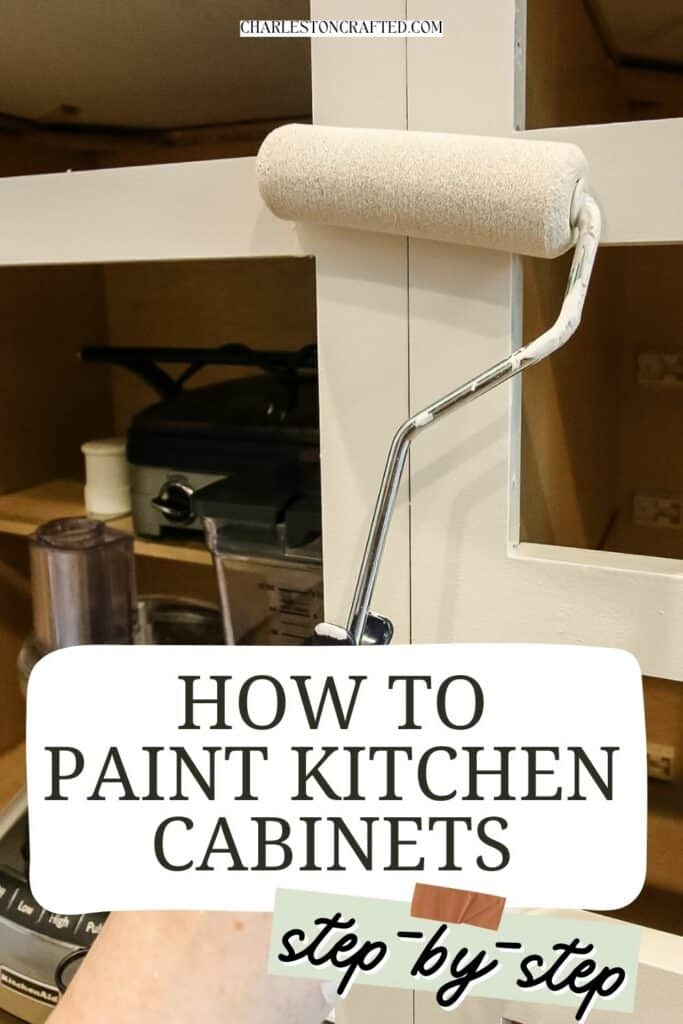
How to paint kitchen cabinets
Here is what you need to know to paint your cabinets easily and with super durable results.
Supplies needed
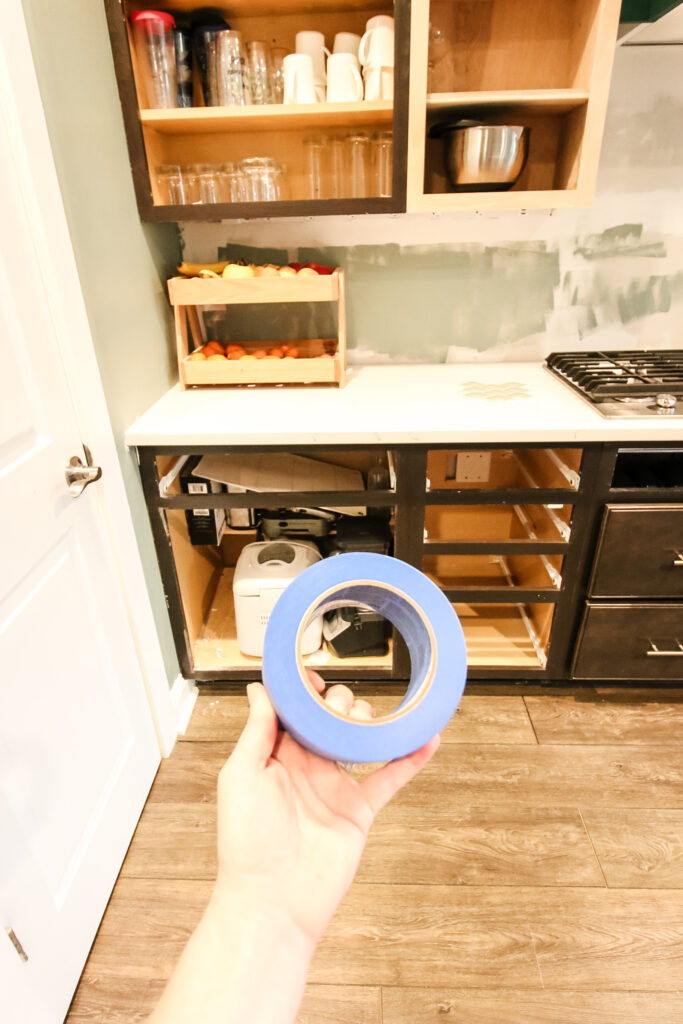
- 2" wide painter's tape
- Drop cloths
- Mini foam roller + tray
- Angled brush
- Cabinet paint
- Optional: Cabinet primer
- Screwdriver
- Sand paper
- Optional: Paint sprayer

Steps to paint kitchen cabinets
Follow these steps for a perfect finish when painting cabinet.
STEP 1: PREP
Remove all hardware from your cabinetry. Remove all doors and drawer fronts.
Examine your cabinets and take the time to apply wood filler and sand any imperfections, as needed.
Sand all surfaces of your cabinets and wipe clean with a cloth.
For more details, be sure to read our complete guide on how to prep cabinets for painting!
STEP 2: TAPE + DRAPE
Now, it's time to prep your area. Use painters tape - I suggest the extra wide 2" version - to tape off all edges of your cabinetry. This will keep paint from getting on the walls, appliances, and underside of the countertops.
Trust me - I forgot to tape off the sides of our dishwasher - and regretted it every minute I spent straight-razor scraping it off. Take the time to tape thoroughly.
Then, lay down drop cloths. You'll want to lay it over the counters when painting the uppers, then on the floor when painting the lowers.
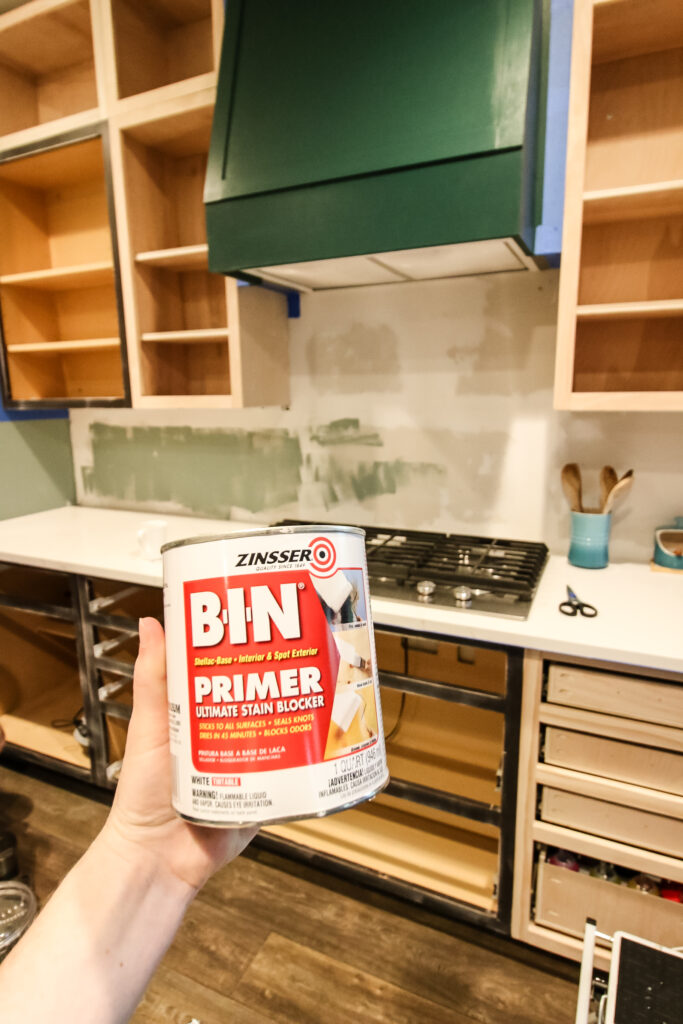
STEP 3: PRIME (optional)
If you are painting over a dark color, I recommend applying a primer first. We use and love BIN stain-blocking primer.
Apply with a mini foam roller and use an angled brush to get inside any corners or detail on the trim. Do thin coats to avoid drips or blobs.
You will likely want to do 2 coats to get full coverage.
Allow to dry completely before painting over.
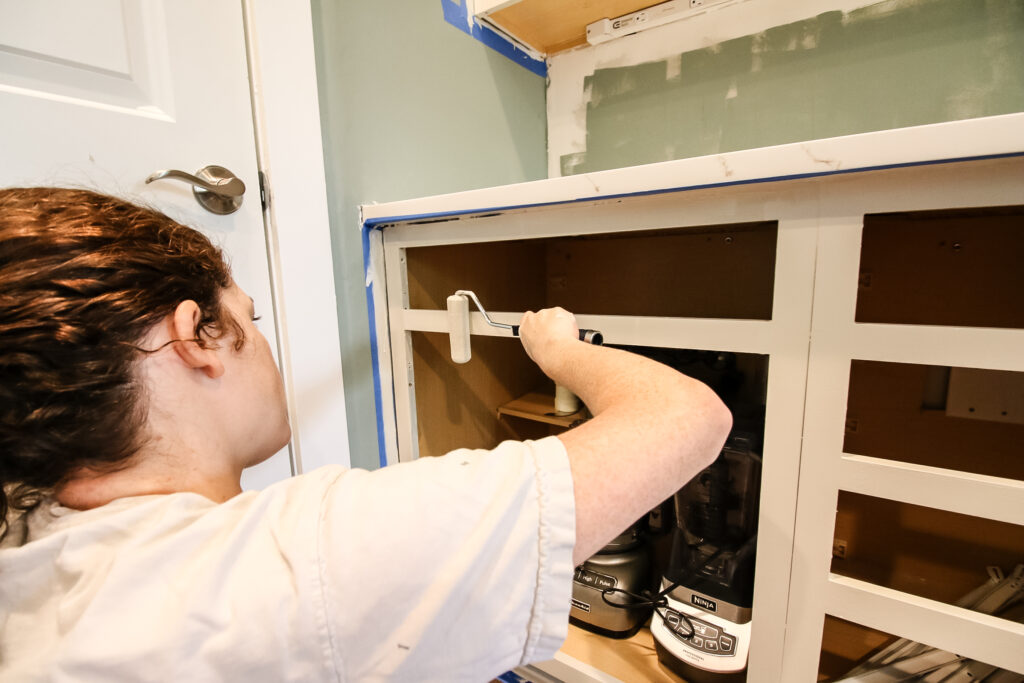
STEP 4: ROLL CABINETS
Now, it's time to paint! Pour your paint into the paint tray and use the mini roller to paint the flat boxes of the cabinets.
You can use a brush or the roller to paint the inside lips of the cabinet openings, as well as the toe kicks and trim on the lowers.
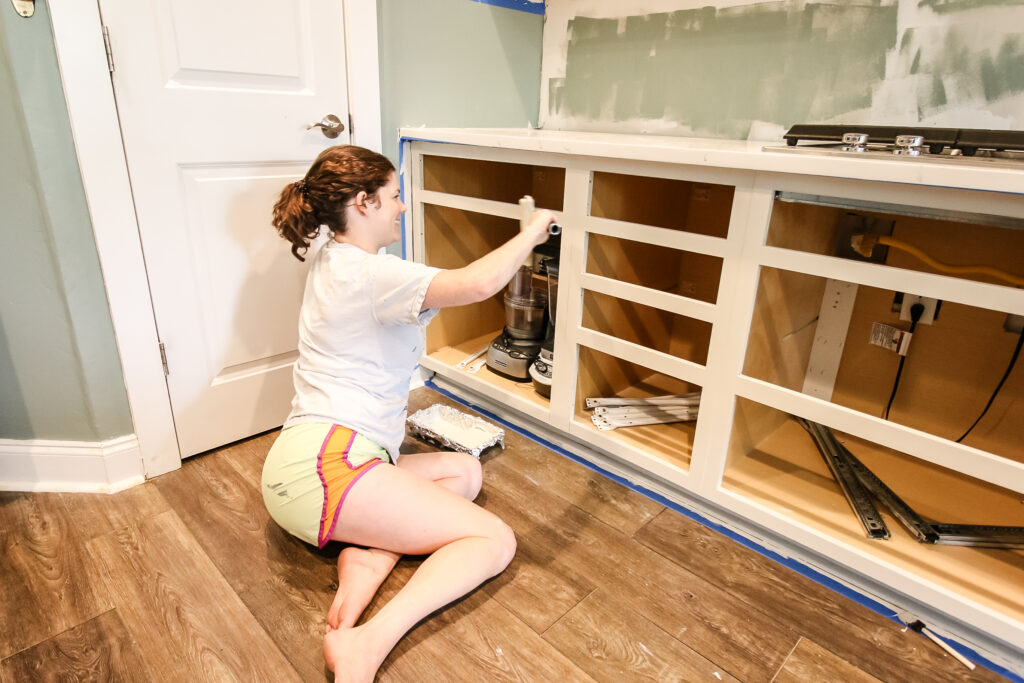
Take your time and do thin coats. It's better to do 2-3 thin coats than to glob it on and get drips or splotches.
Note: I do not suggest painting the inside of cabinets. These areas get a lot of wear and tear and paint tends to scratch and get messed up quickly. If it's clean and decent in there, leave it be!
STEP 5: ROLL OR SPRAY DOORS
Now you will want to paint the doors and drawer fronts.
You can lay them out and use a combination of the mini roller and angled brush, just like with the cabient boxes. Go slowly, take your time, and get into all of the grooves.
Let dry thoroughly before flipping to do the backside.
Alternatively, if you have a paint sprayer, you can use that on the cabinet doors. It's a bit more set up - and you have to clean the sprayer when you are done - but if you are doing a lot of doors all in the same color, it is the faster method and a good paint sprayer will give you the smoothest possible results.
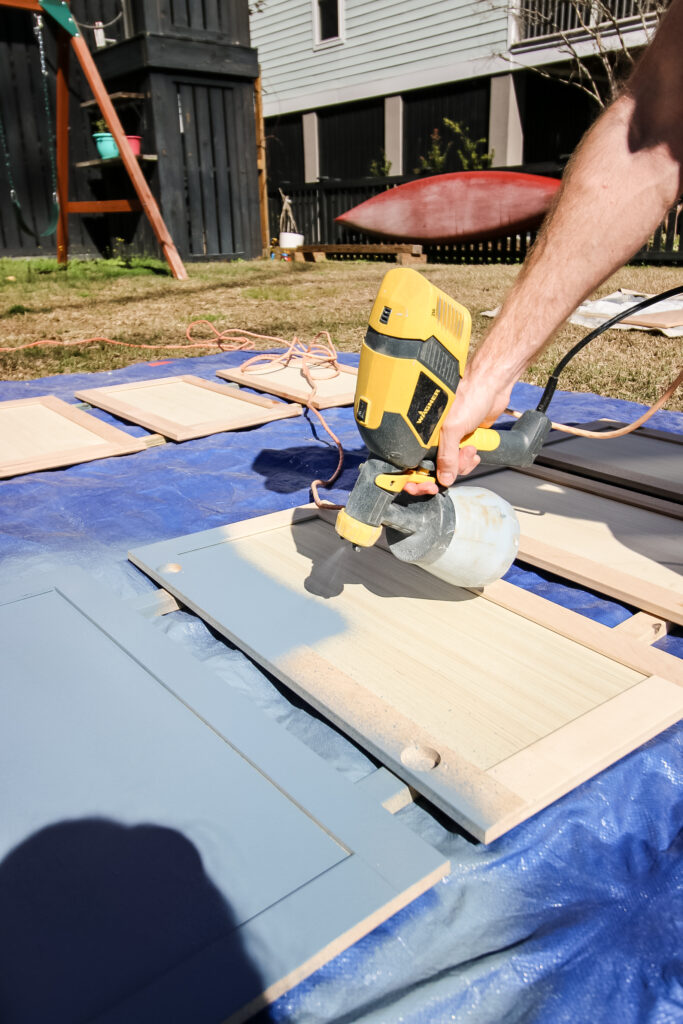
We used a paint sprayer to paint the doors and drawer fronts for our office built ins, and it went very quickly.
Since we had two colors of kitchen cabinetry (green island, cream others) and Sean built them in batches, we decided it was easier to roll them. Neither method is wrong!
STEP 6: LET CURE
Carefully read the curing time on your paint can. While the paint may feel dry to the touch, it is not fully dried until it has reached the cure time.
This means that the paint could still be soft and is more likely to be scratched, dented, or generally messed up during this time frame.
If at all possible, do not handle the cabinetry until it has fully cured. I suggest waiting to install the drawer fronts and doors until the cure time has passed.
STEP 7: REASSEMBLE
Once everything has fully dried, you can put it back together. Re-hang the doors, add the drawer fronts back in place, and in general get your kitchen back in working order.
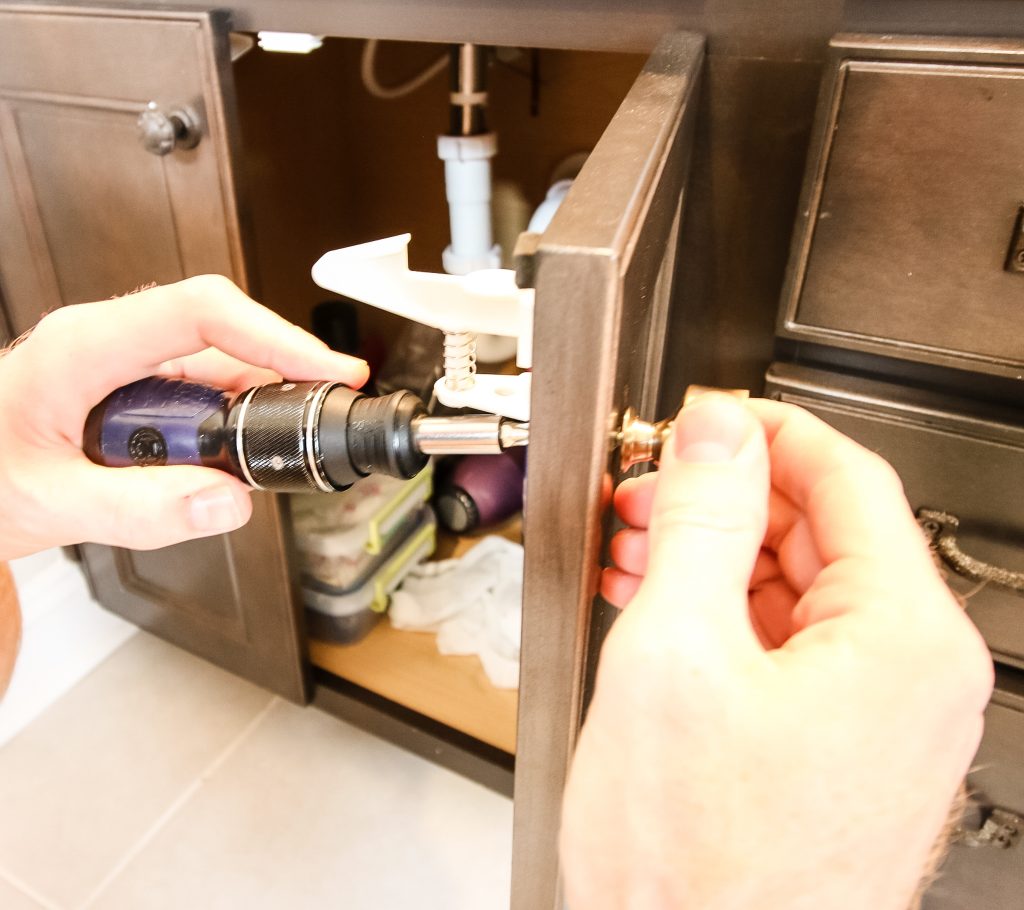
STEP 8: ADD HARDWARE
Re-attach hardware such as pulls, knobs, or hinges. Be careful not to scratch the paint!
Enjoy your newly painted cabinets and be proud of yourself for a major accomplishment!!

Click here to grab our Home Renovation Planner and FINALLY get your next big DIY project organized!

Looking for something?
We've been doing this since 2012 so we have a LOT of blog posts!
Search stuff like: Ceiling Projects | DIY Plant Stands | Thrift Flips

Hello, I'm Morgan, half of the creative force behind CharlestonCrafted.com! With a passion for DIY that dates back to 2012, I've transformed three homes and now I'm dedicated to helping others craft their dream spaces. Let's turn your house into a home together!