Want to add painted cabinets to your home? Unfinished cabinetry is a budget-friendly way to do so. Here's how to paint unfinished cabinets!
We wanted to add dramatic built-ins to our home office without breaking the bank.
The most budget friendly option was to build cabinets from scratch. We could have done this, and it would have been 100% custom.
But, we had to calculate our time investment, as well as the (currently high) cost of purchasing that much plywood. With those things in mind, we determined that it would actually be more cost-effective to buy cabinets.
Instead of building, we decided to create our built ins from pre-made, unfinished cabinetry from the Home Depot.
These are raw wood cabinets that come in a ton of layout options and are cheaper than buying cabinets with a painted finish on them.
That was totally fine since we wanted these cabinets to color match our mudroom and fireplace with the color Behr NYPD!
Anyways, we ended up buying a total of 10 unfinished cabinets in 4 different styles and painting them. They turned out great!
Here's exactly how we painted our unfinished cabinetry and how you can do it too!
Can I just paint unfinished cabinets?
Unfinished cabinets are designed to be ready to paint or stain. In my experience, however, they sometimes need just a little sanding. Not an all over sand down, but a few rough spots that could benefit from a smoothing.
If your unfinished cabinet has dark knots and you plan to paint it a light color, you would benefit from using a primer to help keep the knots from showing through the paint.
However, you can pretty much just paint unfinished cabinets the way they come and you'll be fine.
Here's what we learned painting cabinets the first time we did it years ago.
What kind of paint do you use on unfinished kitchen cabinets?
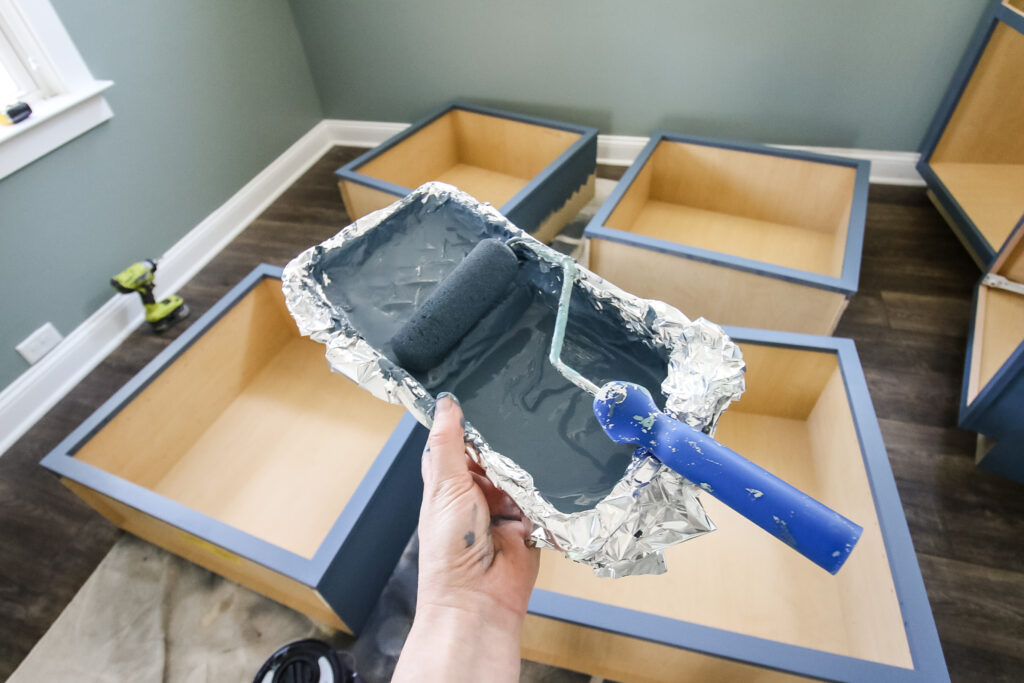
You can use a cabinet enamel or regular latex wall paint on unfinished cabinets. I have done both and find the enamel to be slightly harder, but with proper cure time and regular use, have had no issue with latex paint scratching or peeling.
Do you have to prime unfinished cabinets before you paint them?
If your unfinished cabinets are new and in good condition, they should not need a primer. The exception would be if they had dark knots or spots that needed extra coverage. However, cabinets from Home Depot are unlikely to have major issues like that.
If you are using a cabinet that has already been finished or painted, you will need to sand and possibly apply a primer to get new paint to adhere properly.
What primer to use on unfinished cabinets?
If you decide that you need to use a primer, Zinsser makes my favorite one. Also, consider using a paint and primer in one for full coverage without needing a separate primer!
For this project, we used Behr Scuff Defense paint and it did not need a primer and dried hard and smooth.
We also used Behr Scuff Defense on brand new drywall for our pantry expansion without a primer!
Can you paint over cabinets without sanding?
Traditional, existing, installed cabinetry will have a top coat or cured paint on it. You will have to sand this off or else paint will not adhere to it. Unfinished cabinets are different because they have no top coat or paint on the wood, making it ready-to-go for painting or staining.
Shop unfinished cabinets
Looking for unfinished cabinets? Here are some that you can order today!
How to paint unfinished cabinets
Painting unfinished cabinets is easy if you follow the right steps!
Supplies needed:
- Unfinished cabinets
- Paint of choice
- 220 grit Sandpaper
Tools needed:
- Mini foam roller, roller covers, and tray
- Paint sprayer
- Canvas drop cloth
- Drill or screwdriver (to remove doors + hinges)
Steps to paint cabinets:
Painting cabinets is easy following these simple steps.
STEP 1: Remove doors/drawers
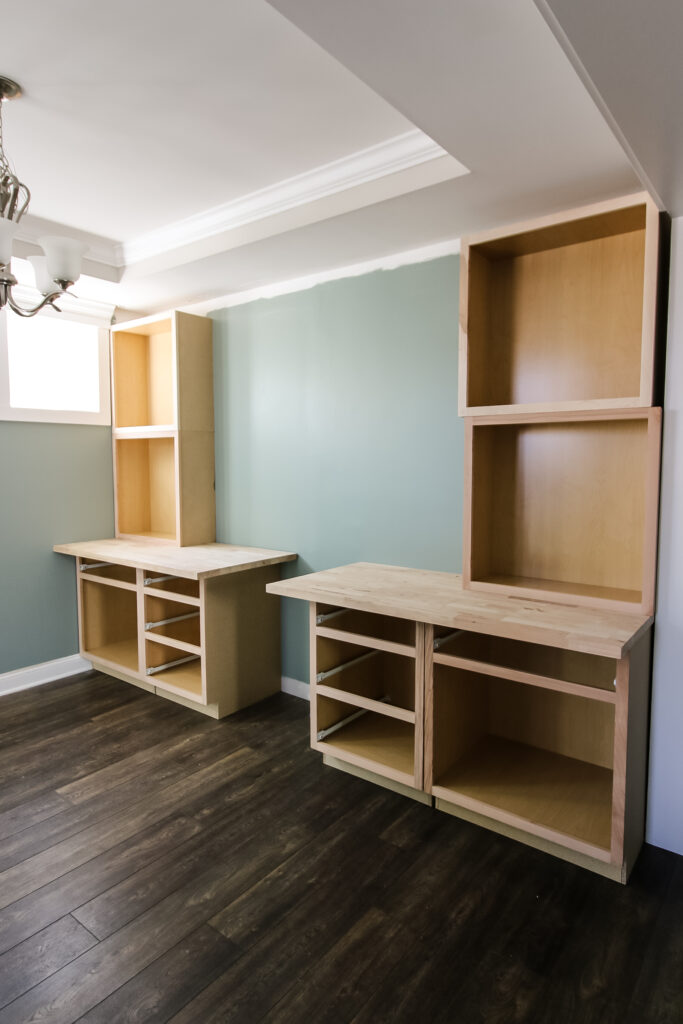
Use a drill or screwdriver to remove the doors and hinges from the base cabinets. Then remove the hinges from the doors as well.
If you have drawers, remove the drawer boxes from those bases. Then, unscrew all drawer faces from the drawers.
STEP 2: Sand if needed
Unfinished cabinets are designed to be ready to paint, no primer or sanding necessary. However, we found that our cabinets had a few rough spots on them.
Sand as necessary.
If there are any cracks or damage to the wood, you can apply wood filler, let dry, and sand smooth.
Trust me - do it now, before you paint it! Paint will make it much more obvious and difficult!
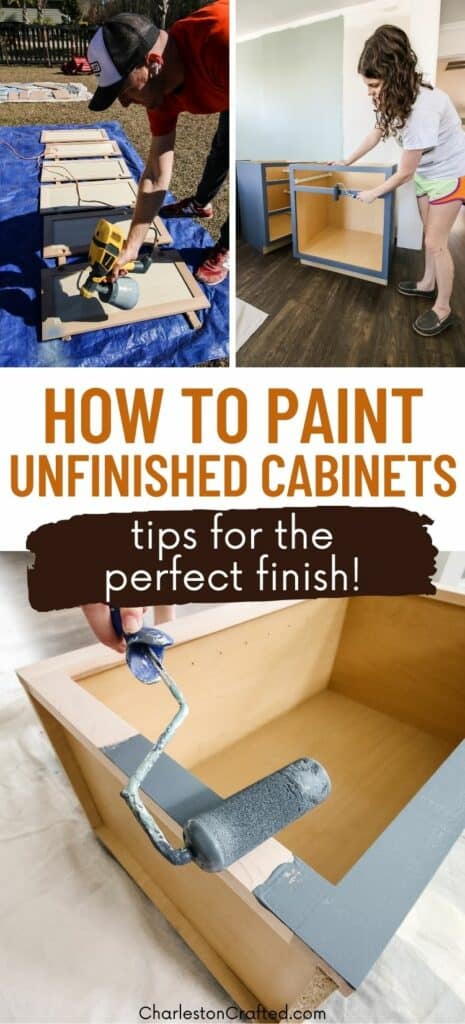
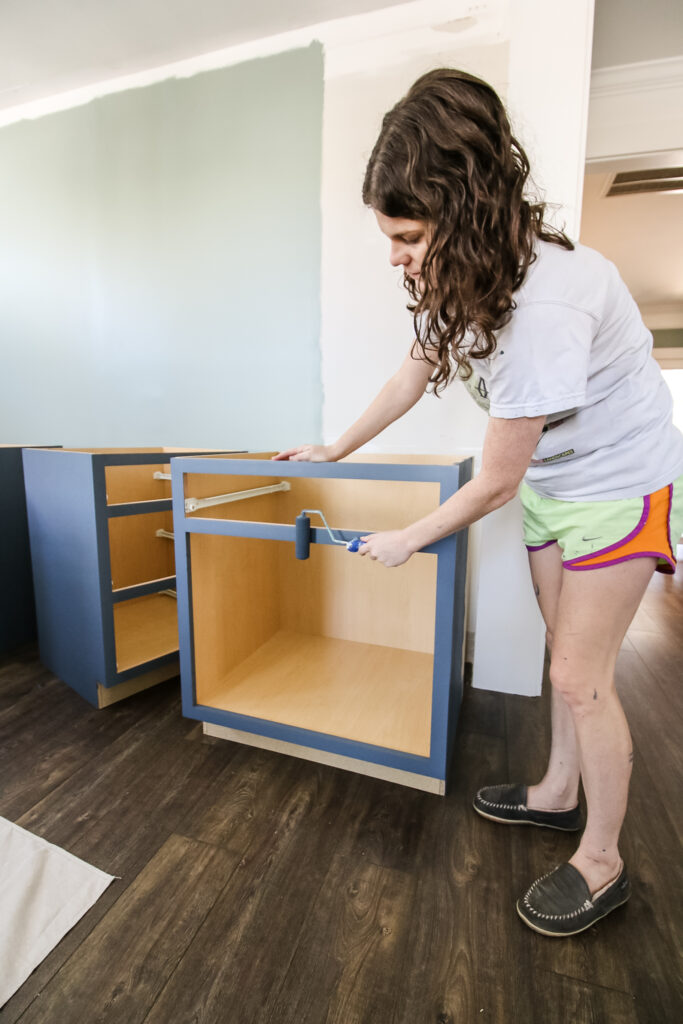
STEP 3: Roll the cabinet bases
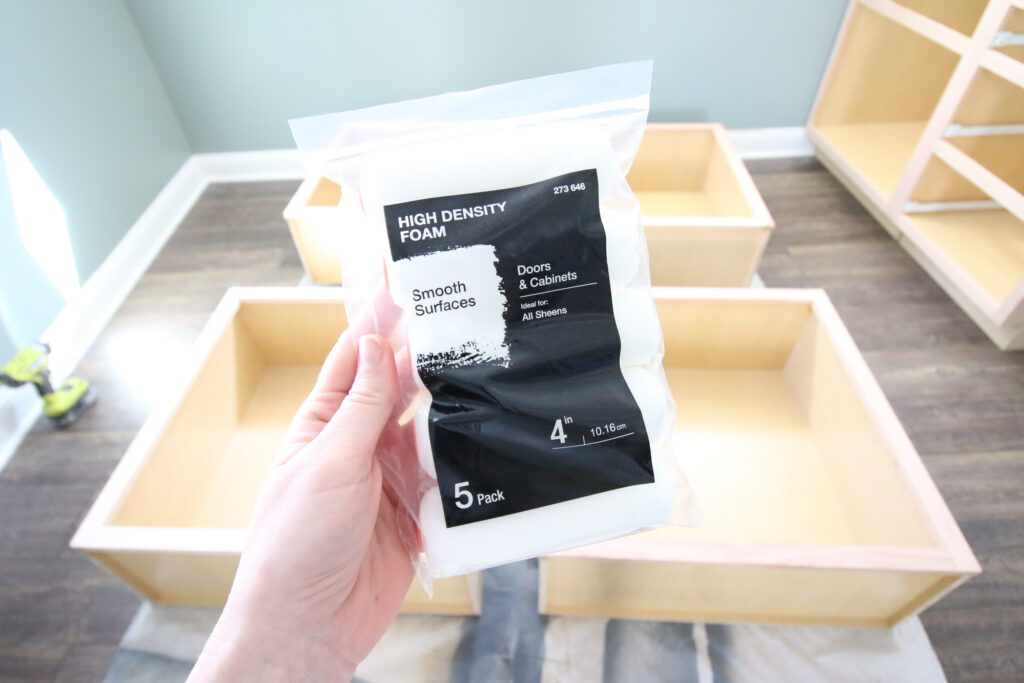
Use a mini foam roller to paint the front and lip of each base cabinet. Plan to do 2-3 thin coats. Check carefully for drips.
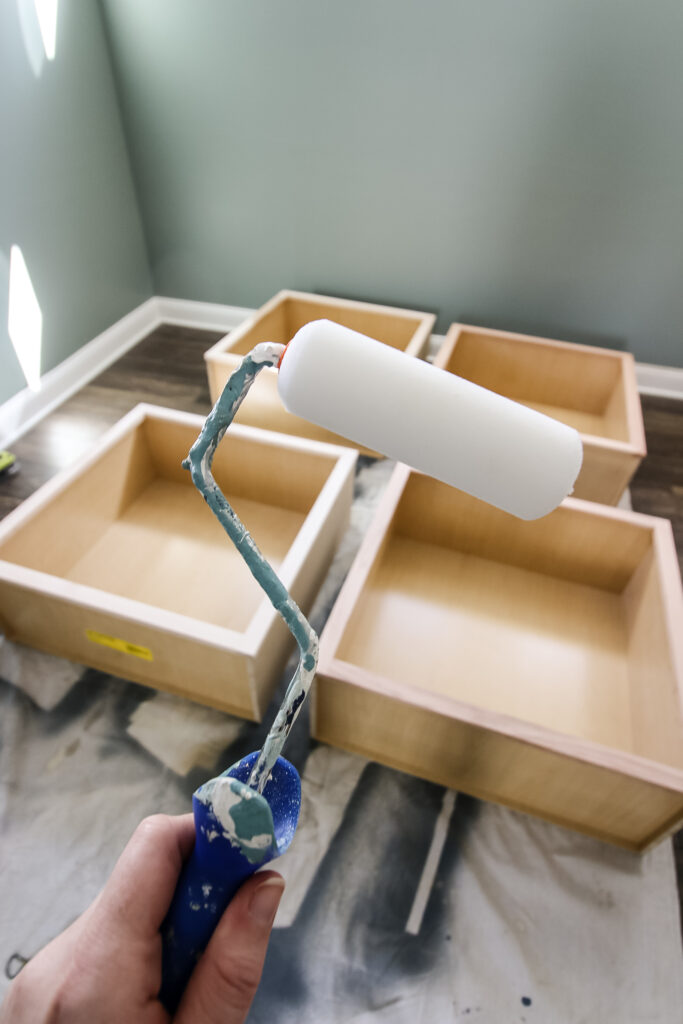
I do not suggest painting the inside of the cabinets. They are usually a more glossy melamine-like material and do not take paint well, and they tend to get scratched up when painted.
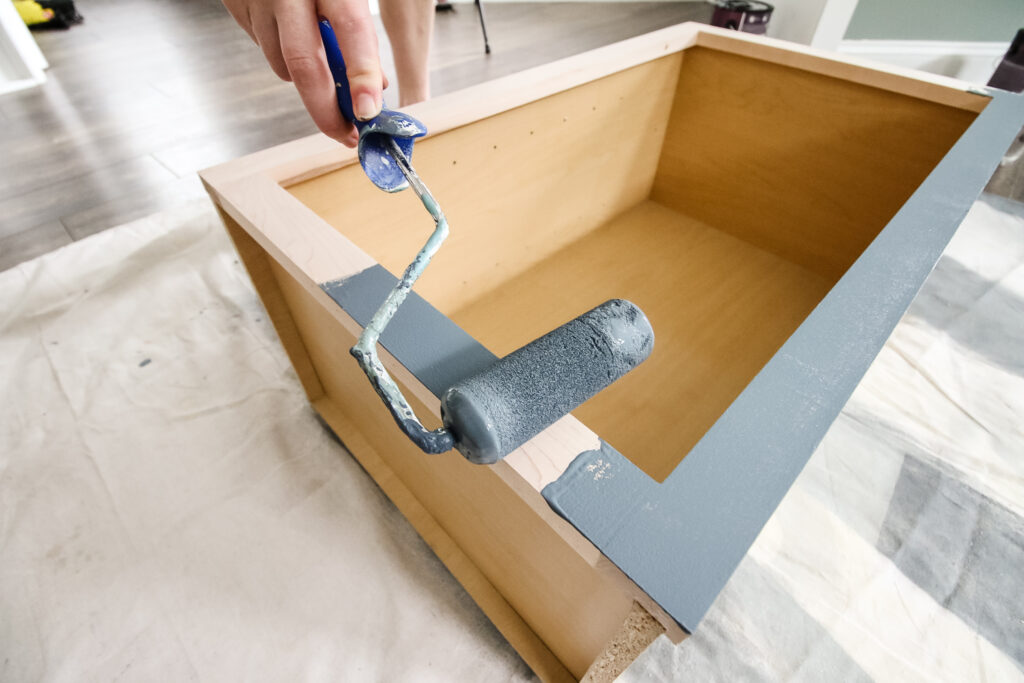
If the sides of one of these cabinets will be visible, you should paint these too. These are usually the rough side of melamine and not solid wood, but with a couple of coats of paint, you won't really notice any difference.
STEP 4: Spray the cabinet doors
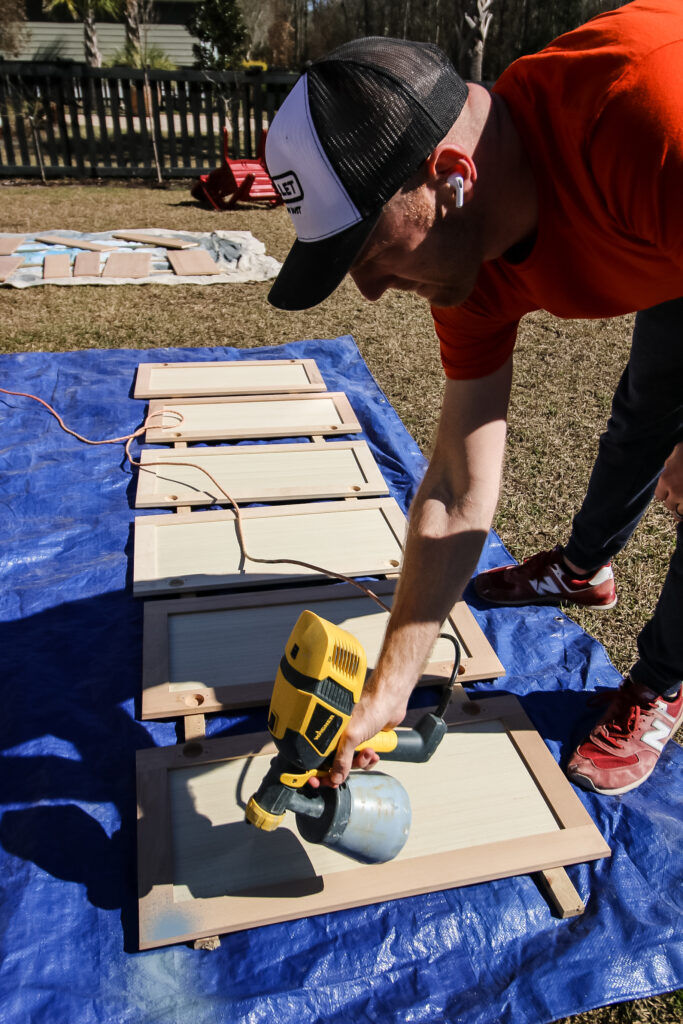
Lay the cabinet doors down on a tarp or drop cloth. Optionally, but recommended, you can place scrap boards underneath the doors to lift them up just an inch and make it easier to paint the sides of the doors.
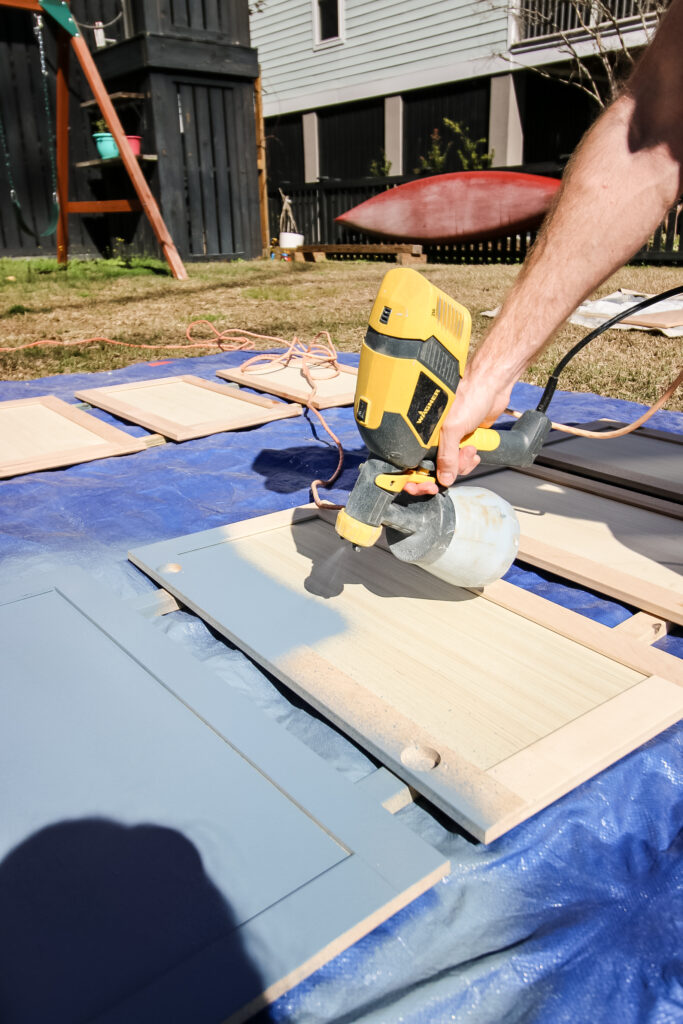
Use your paint sprayer to apply 2 - 3 light, even coats to each side of the drawer, making sure you hit any angles around the frame. Allow the door to dry to the touch before flipping to do the reverse side.
Feel the doors in between coats. Do they feel smooth? If necessary, use a 220 grit sandpaper to lightly sand any bumps or ridges. This helps ensure the smoothest possible finish!
STEP 5: Let dry
Let the paint fully dry according to the dry times on the can of paint's instructions before handling or bringing in to install. It is hard to resist, but this will help in the long run.
STEP 6: Install
Once your cabinets are fully dry, they are ready to hang or install in your space. Of course, if they are already in place, you can skip this step!
STEP 7: Re-attach doors
Use your drill or screwdriver to re-attach the cabinet doors and slide the drawers back into place. If you didn't keep track of which doors go where, you can adjust the doors up/down, in/out and left/right by tightening and loosening the different screws on the hinges.
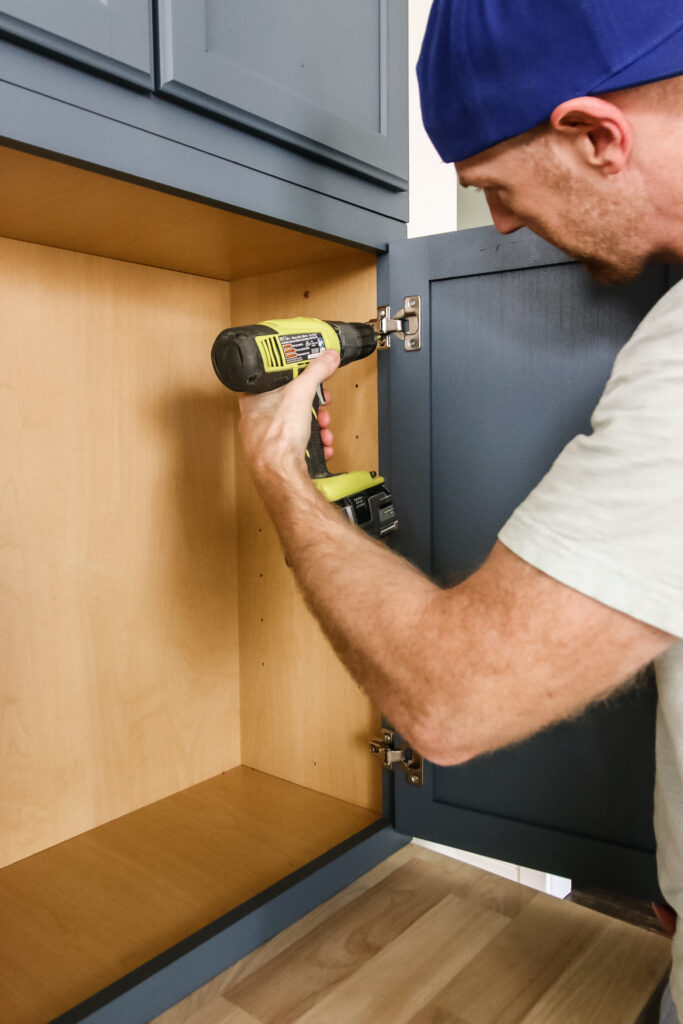
You can now add hardware or knobs if you'd like! Make a jig or measure and drill holes carefully before adding hardware.
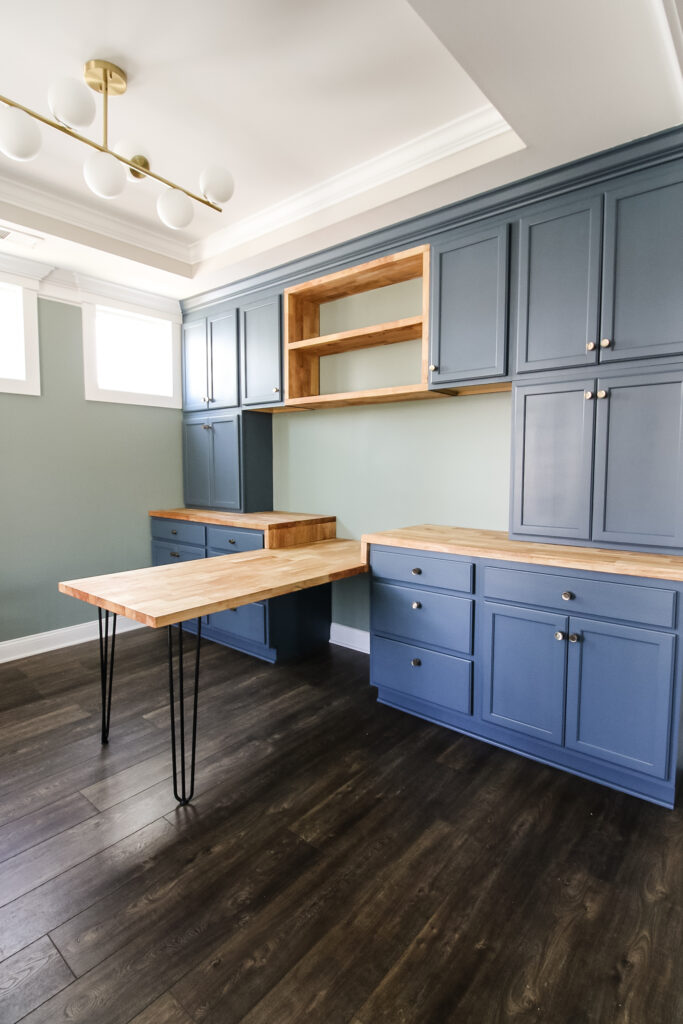
how to paint unfinished cabinets
Any questions about how to paint unfinished cabinets?
Looking for something?
We've been doing this since 2012 so we have a LOT of blog posts!
Search stuff like: Ceiling Projects | DIY Plant Stands | Thrift Flips


Hello, I'm Morgan, half of the creative force behind CharlestonCrafted.com! With a passion for DIY that dates back to 2012, I've transformed three homes and now I'm dedicated to helping others craft their dream spaces. Let's turn your house into a home together!


