If you have a small hole or gash in your canoe, it's an easy repair with Flex Paste! Here's the simple steps to follow for the patch!
This post was sponsored by Flex Seal. All opinions are our own. Thank you for supporting the brands that make Charleston Crafted possible!
We have a canoe hanging in our backyard that is about as old as I am. It was Morgan's family's canoe her whole life and is a really high quality vessel.
A few years ago, when we moved into our old house, the canoe became ours because we bought a house on a lake. While there, I built a canoe rack out of old pallets.
When we moved to our new house, we didn't bring the canoe rack, so we hung the canoe on our fence. However, having kids and this pond having alligators, we don't use the canoe as much as we used to.
I recently discovered that the pressure from the hooks had punctured a hole in the canoe and was starting to puncture another one. So, I needed a repair.
How to repair a canoe hole
This hole in my canoe was pretty small, and it wasn't anywhere that should come in contact with water on a consistent basis. So, I just wanted to patch it up and fill the hole.
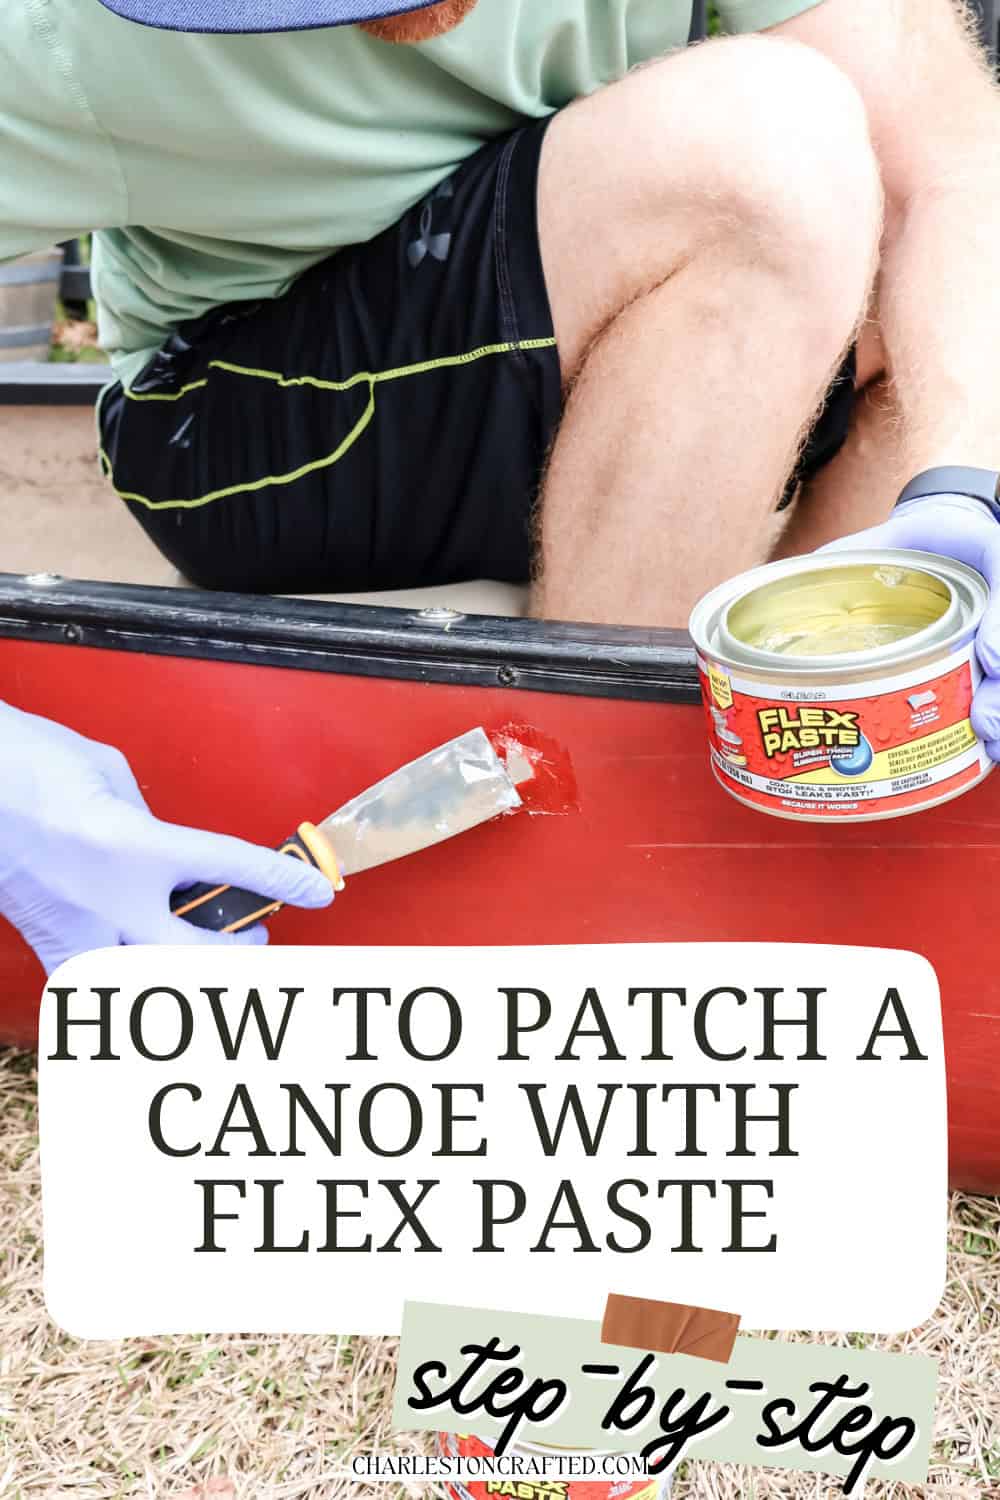
To accomplish this, I used new Flex Paste Clear. It works on a variety of different materials, including fiberglass like my canoe.
I loved the idea of the new clear Flex Paste because I didn't want to have a white or black patch on the red canoe. So the clear was perfect. This was an easy application and fix for this type of canoe repair!
Materials needed to patch a hole in a canoe
Here's the materials and tools you need to patch a small hole in your canoe!
Step one: remove any loose parts
If you have a hole in your canoe, there's a good chance it's because something busted through the fiberglass. Whether it's a puncture like mine from years of wear or you hit a rock, it's probably not a clean hole.
I started by using a chisel to scrape off the bent and broken piece of canoe that was still attached. It won't easily and properly be pushed back down into the hole, so it was easiest for me to remove it.
If you have any hanging parts like this or bits that are jagged, go ahead and clean them up with a chisel to get a flat surface.
When you're done with this project, try one of these outdoor builds!

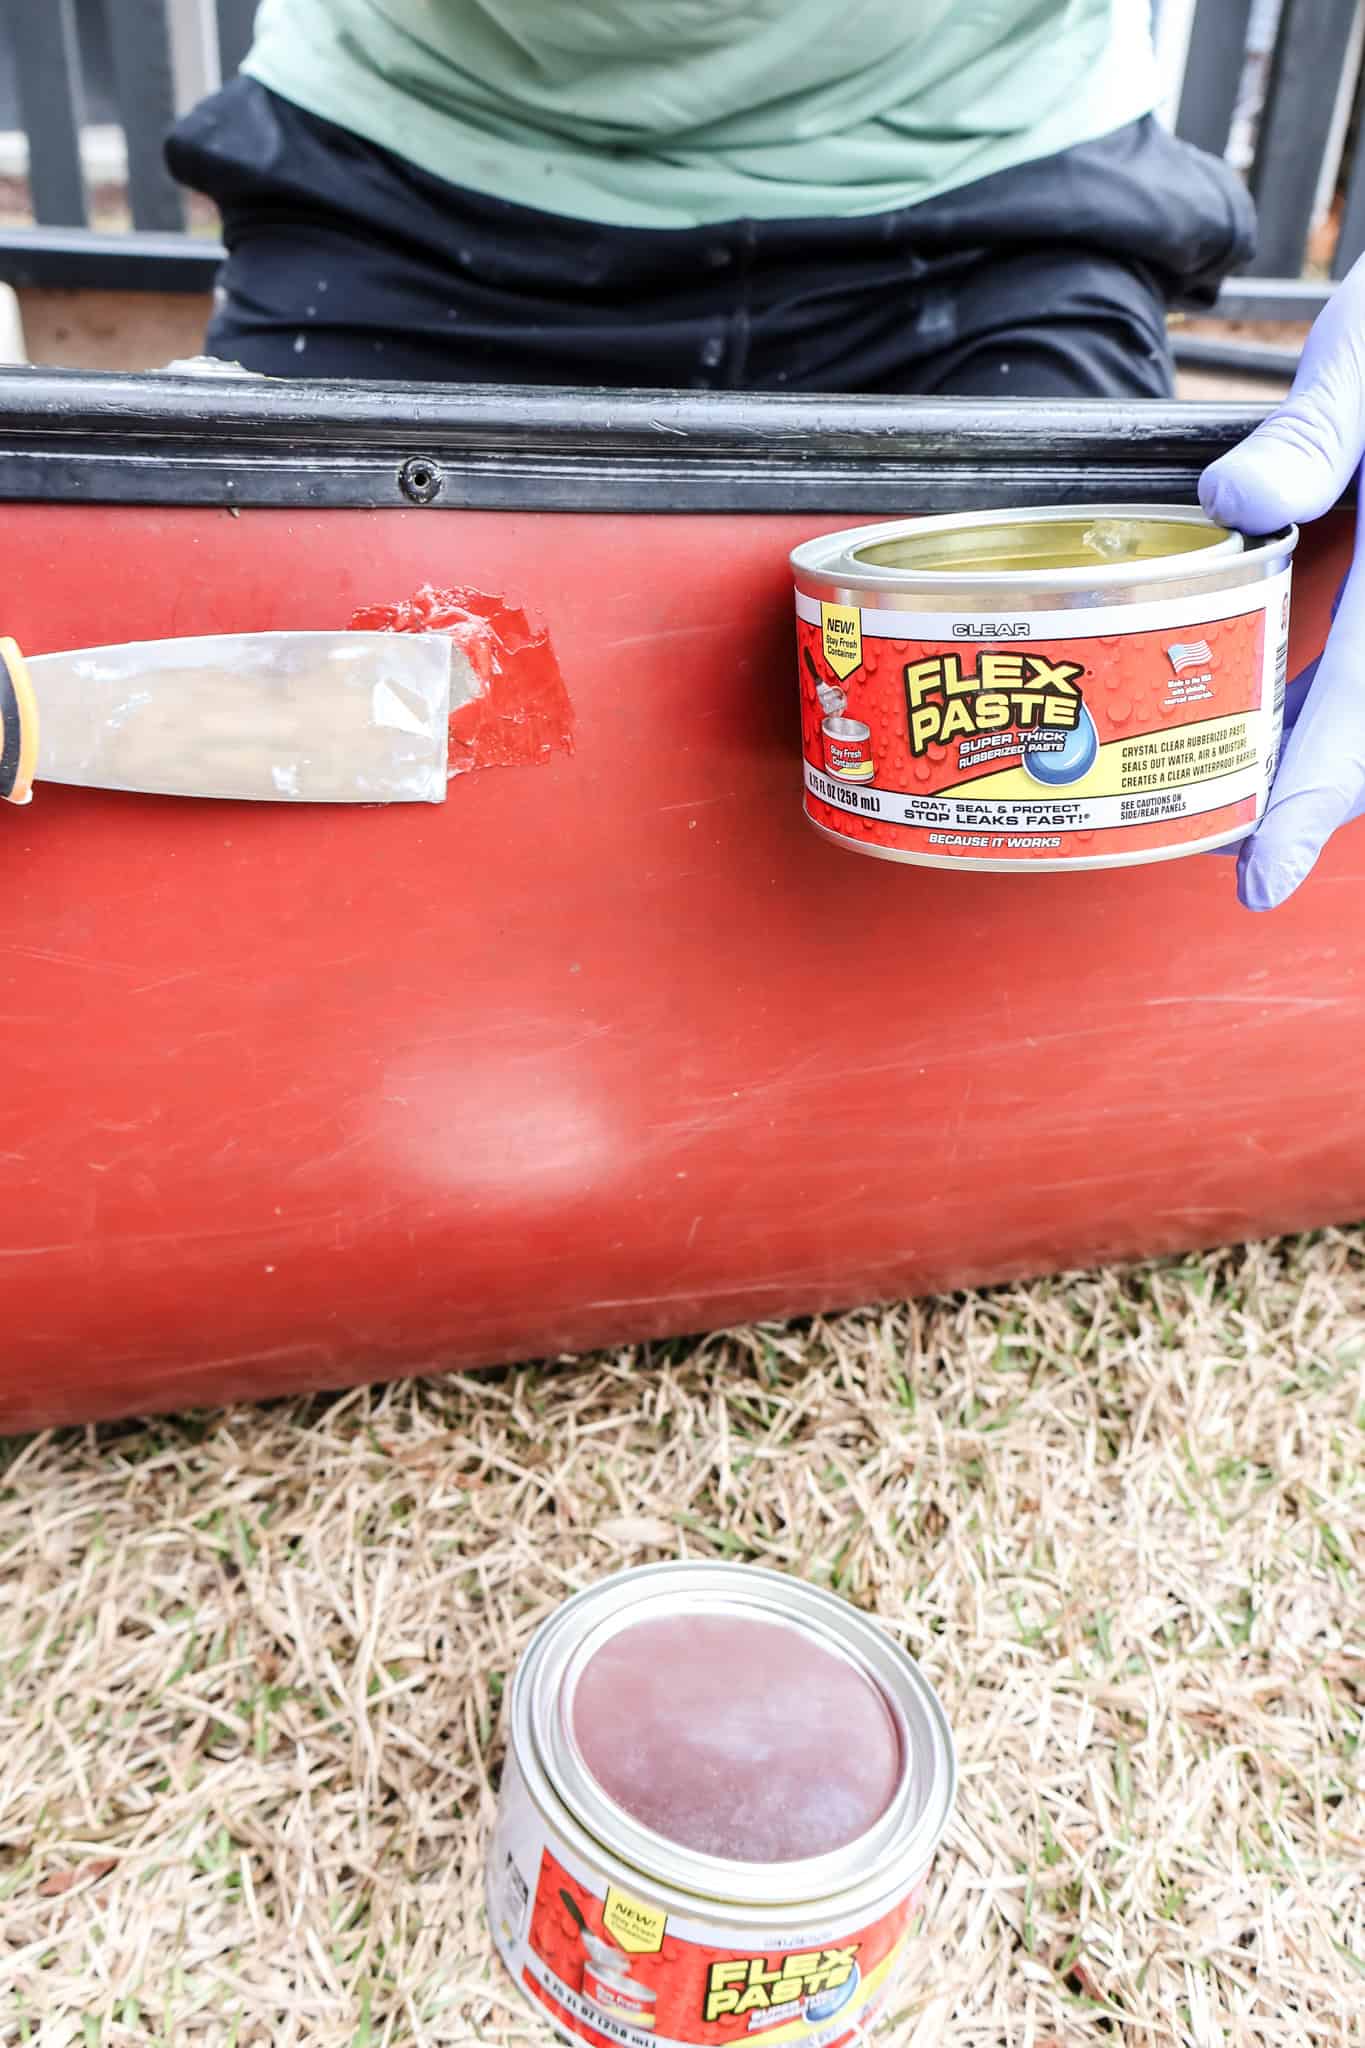
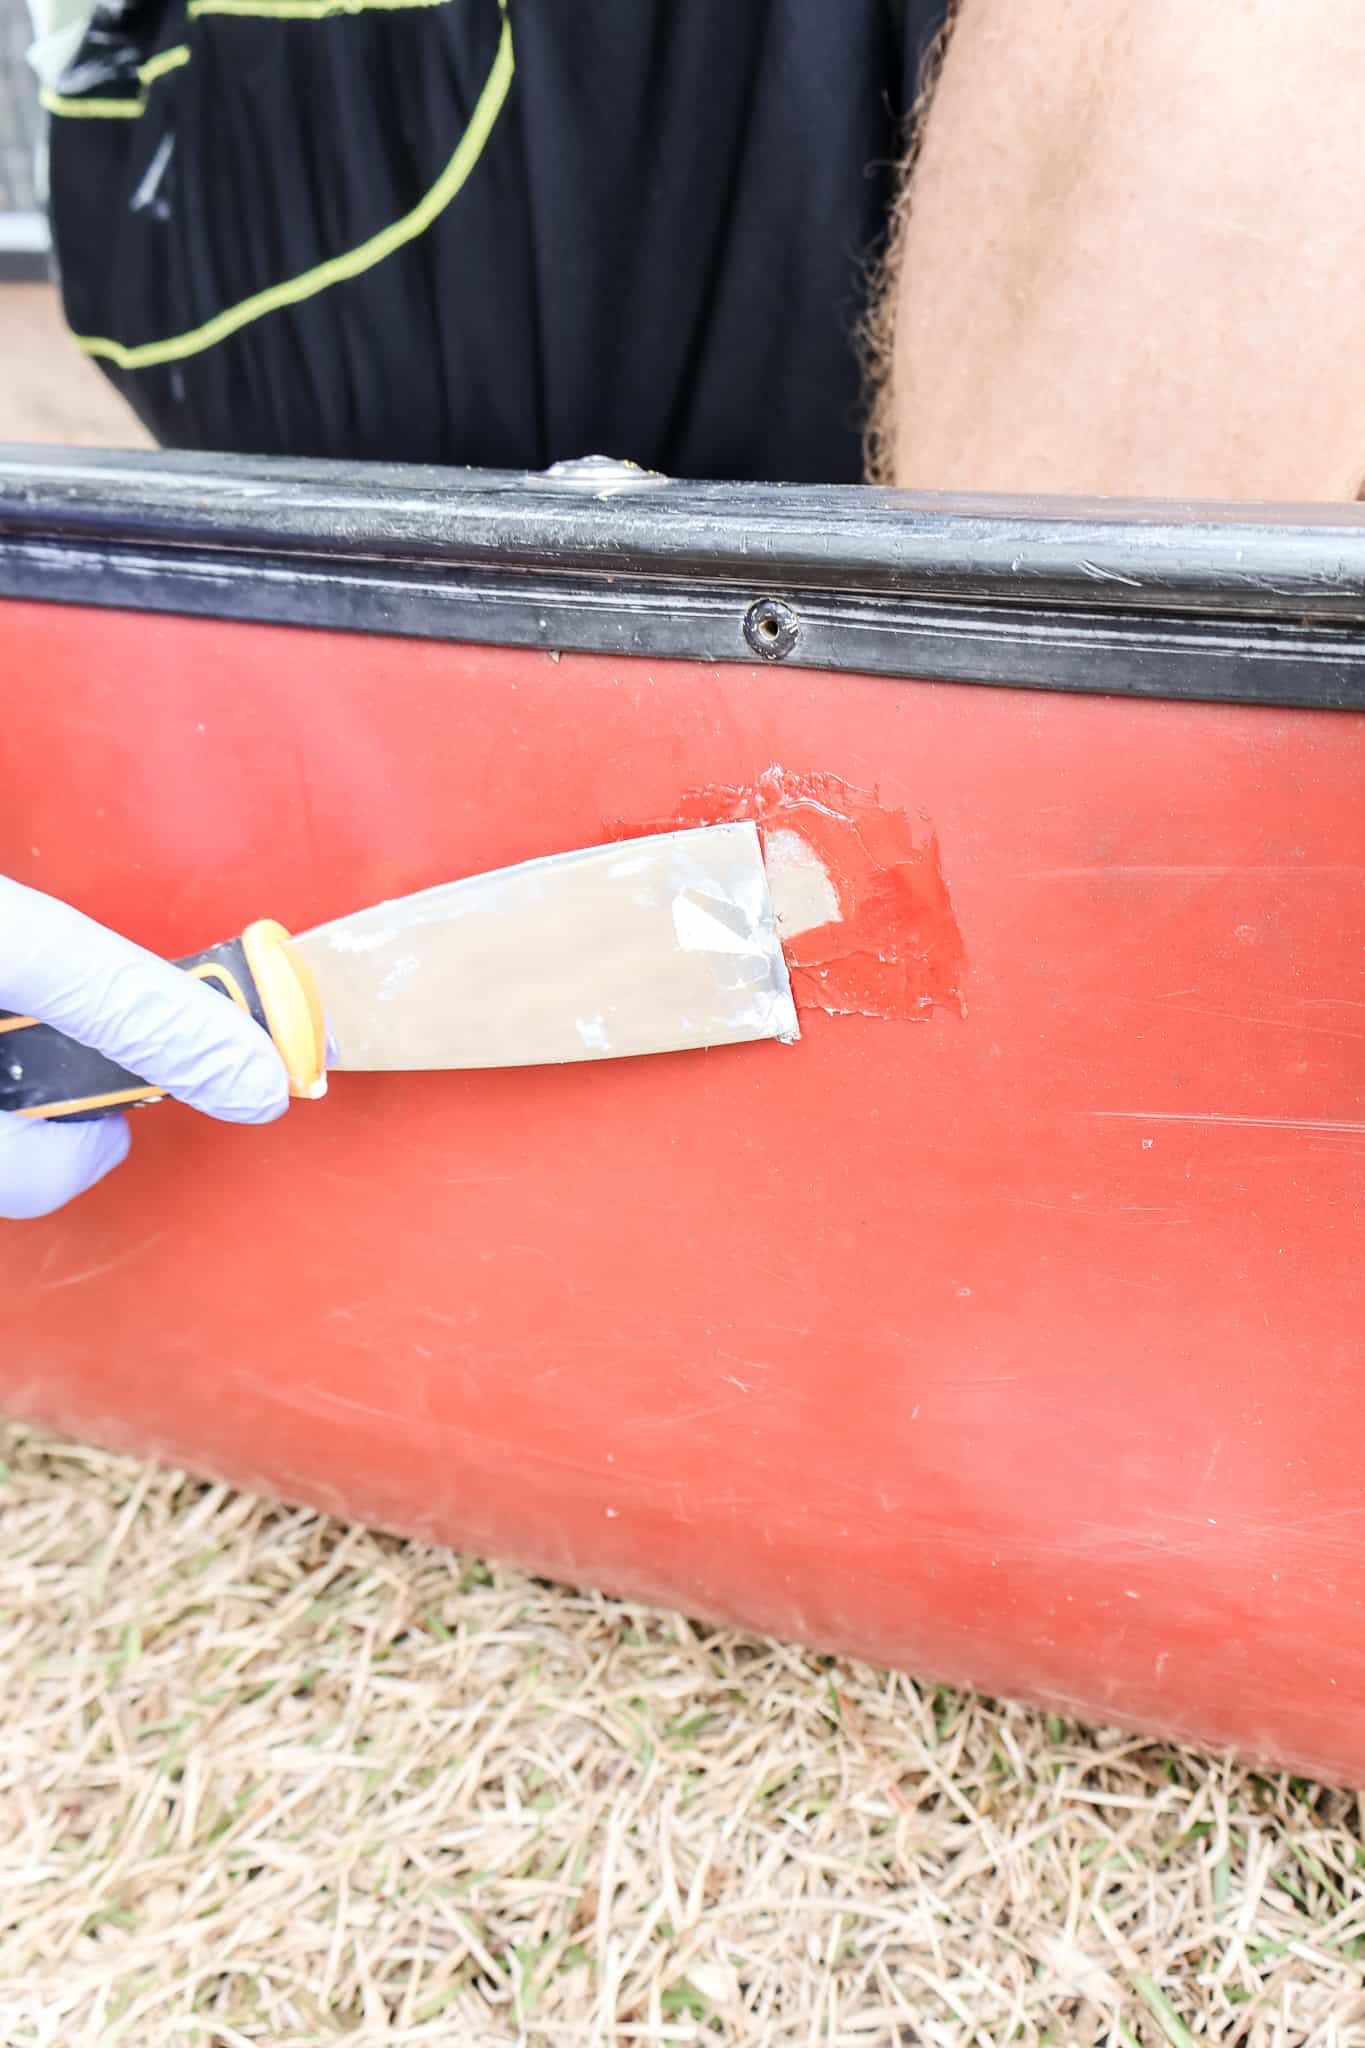
Step two: apply Flex Paste to outside
Grab your Flex Paste and put on a pair of gloves. When applying Flex Paste, it's best to scrape off thin layers from the top, rather than digging deep into the can.
I skimmed off a nice layer and then started by pressing the glob of Flex Paste into the hole.
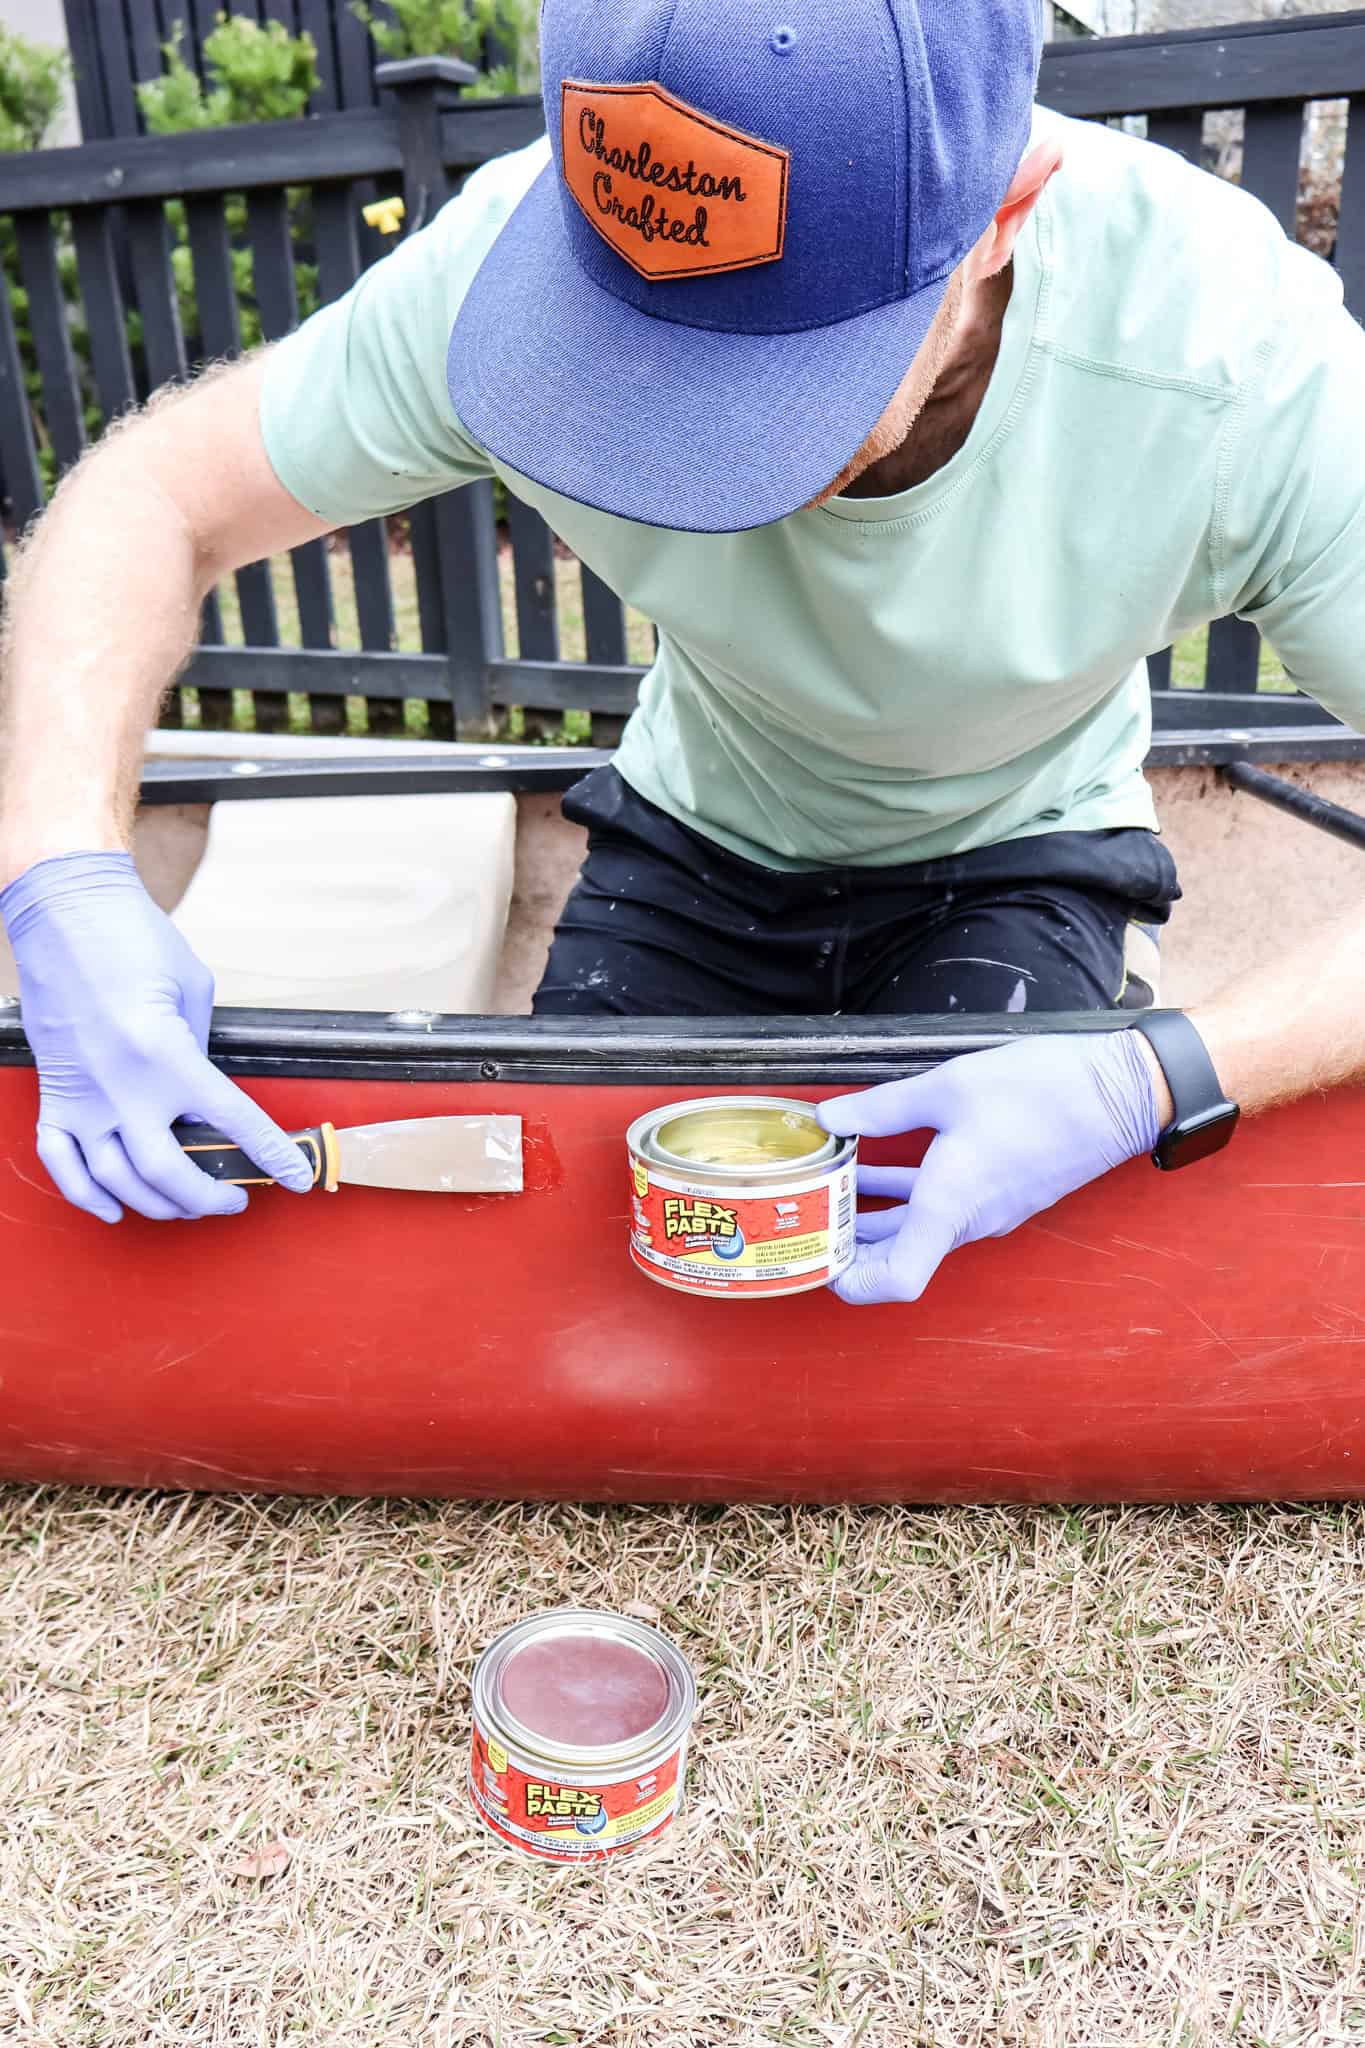
Then, I skimmed off some more and spread it across the top in all directions. You want to make sure you have coverage about an inch past the hole in all directions so it's forming a full skin and seal.
Once you have a good smooth coat on the outside of the canoe, switch to the inside.
I used Flex Paste White to make this cool Christmas decor piece!
Step three: repeat on inside
On the inside of the canoe, do the same thing. You may have already pressed the Flex Paste through the hole, so you will need to spread that out.
Again, spread around in each direction, forming a tight seal in and around the hole in the canoe.

Step four: let cure
Applying Flex Paste to repair a canoe really is as simple as that. Now, you just need to let it cure. It starts to form a skin in a couple of hours, but you really need to give it 24-48 hours for maximum cure and effectiveness.
Reminder that Flex Paste can be applied to wet or dry areas, so it might not be a bad thing to carry in your canoe bag for when you're out on a trip and might need it in a pinch!
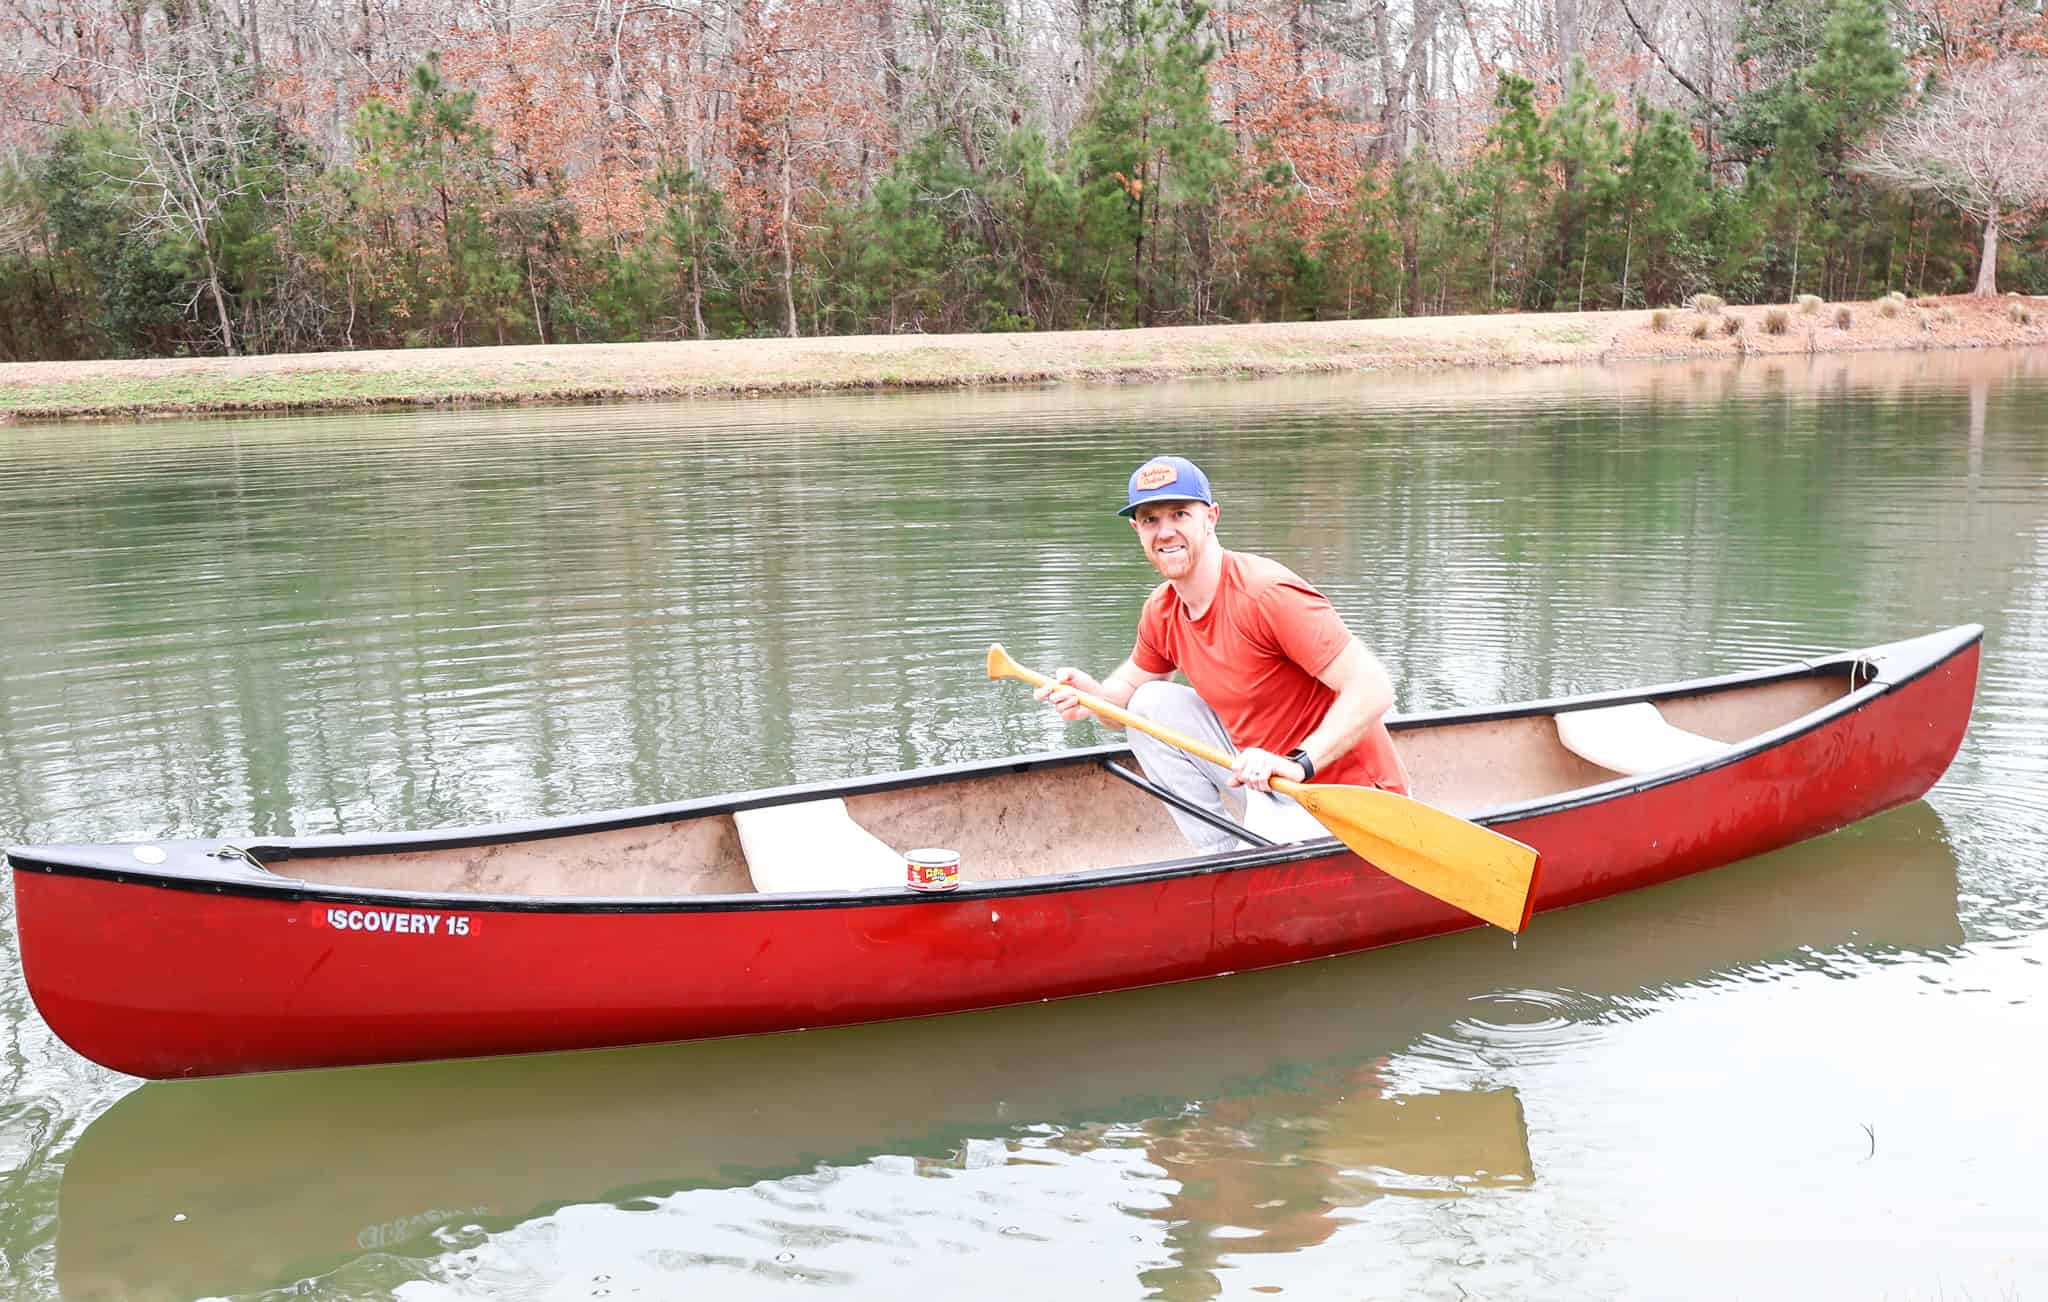
Step five: enjoy your canoe!
Once the patch was fully cured, I was able to take my canoe back out on the pond behind my house!
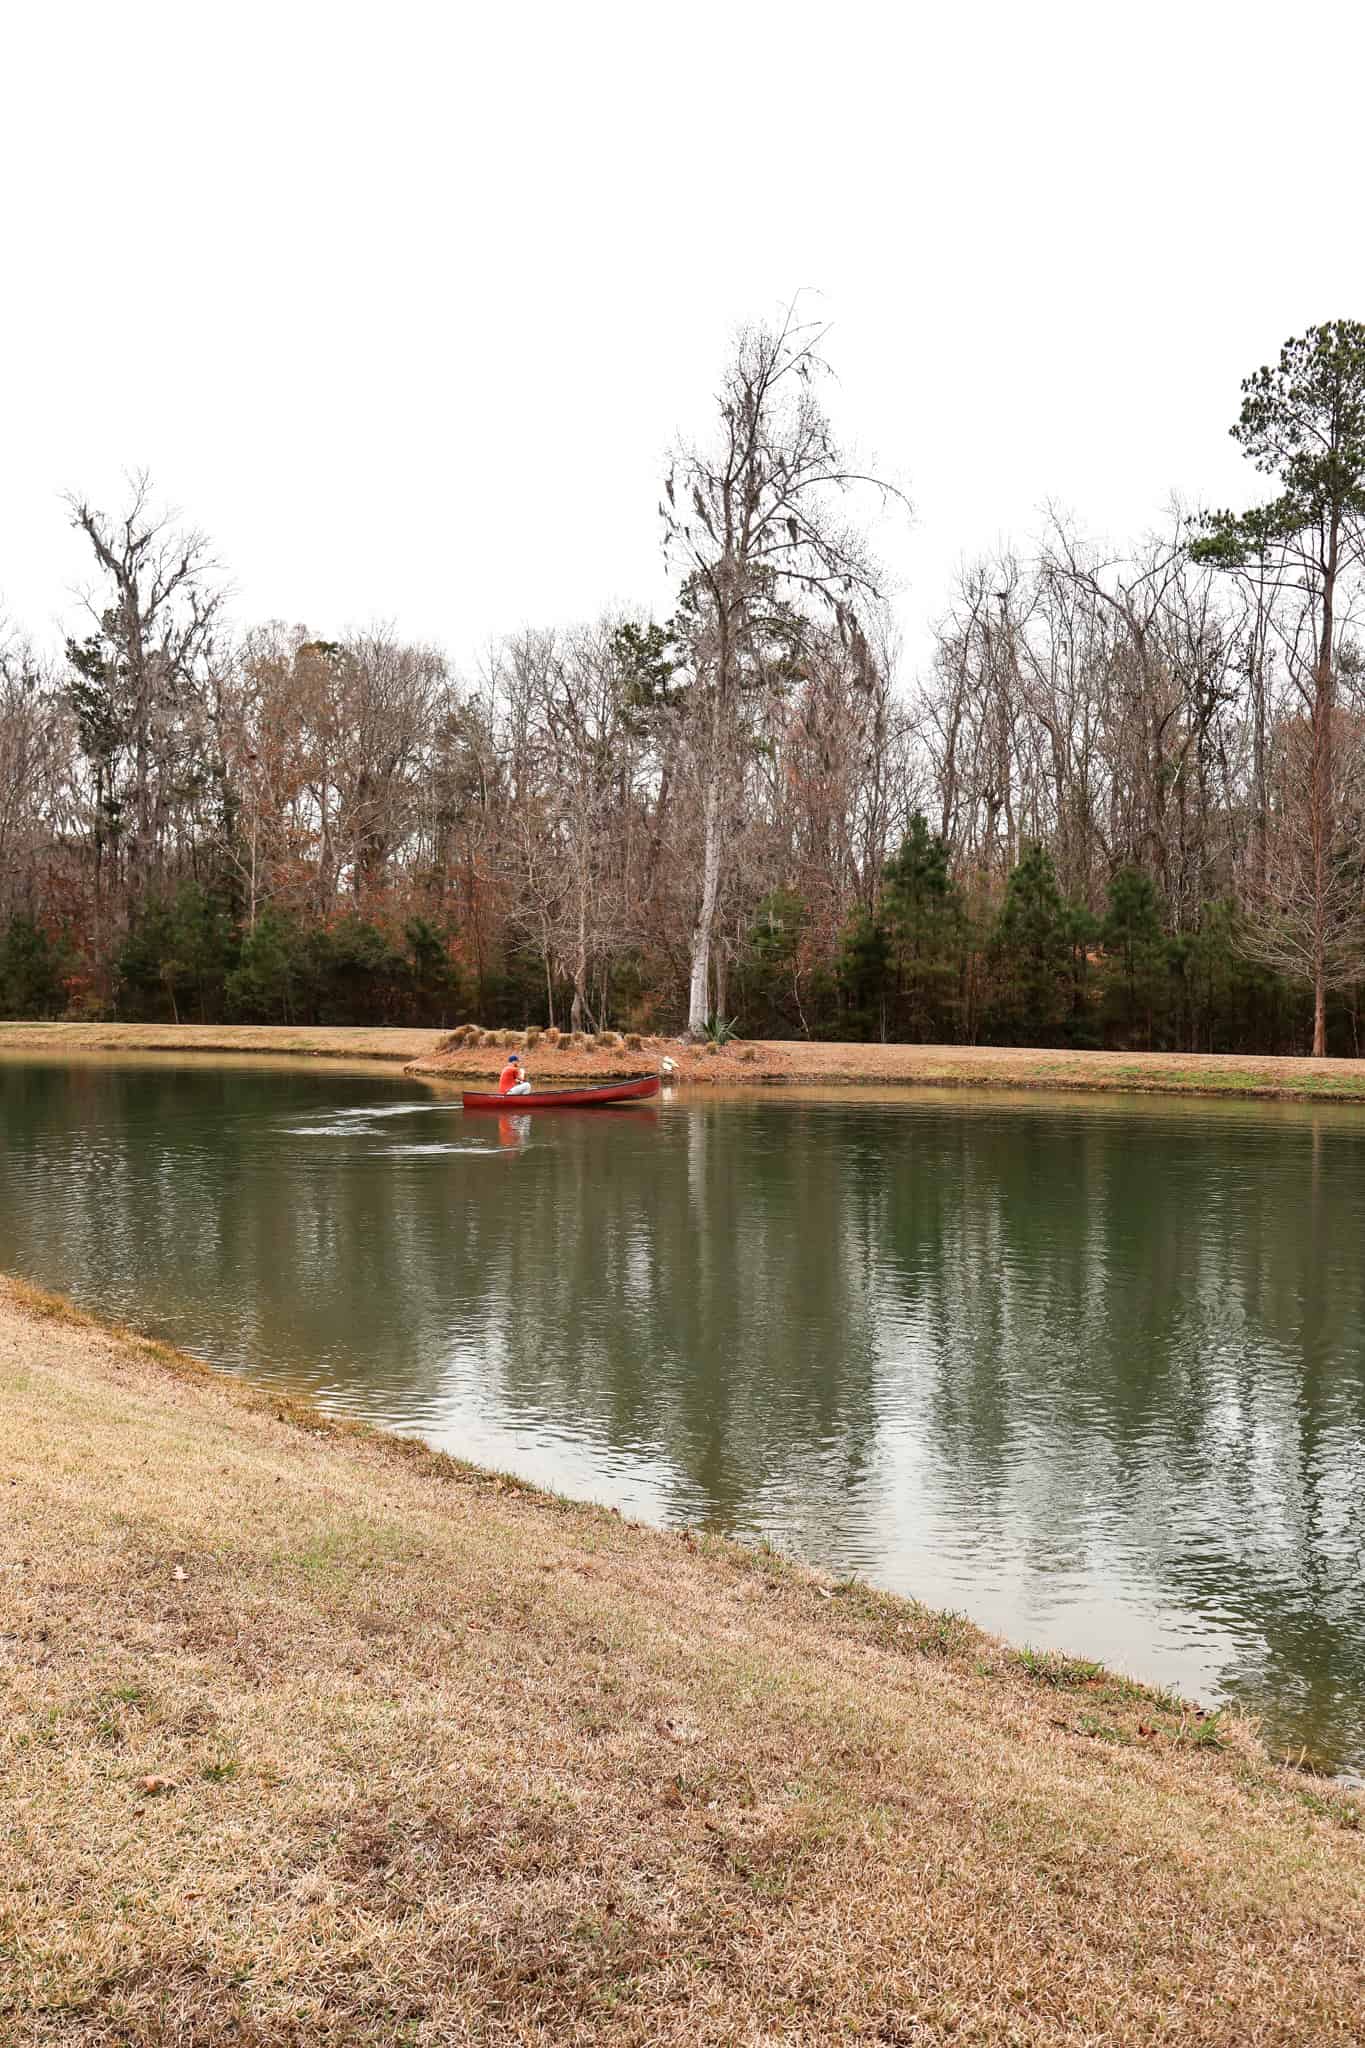
I love that we have the pond and it's cool to get to see our house from a different angle. While I don't canoe as often in this pond as I did in the lake behind our house (cough alligators cough), it's still nice to take it out during the offseason.
Now I just need to come up with another storage solution so I don't have this happen again!


Looking for something?
We've been doing this since 2012 so we have a LOT of blog posts!
Search stuff like: Ceiling Projects | DIY Plant Stands | Thrift Flips

Hey there, I'm Sean, the woodworking enthusiast and builder behind CharlestonCrafted.com! Since 2012, I've been sharing the magic of turning raw materials into beautiful creations. I love teaching others the art and satisfaction of woodworking and DIY. I try to inspire fellow crafters to make something extraordinary out of nothing at all.