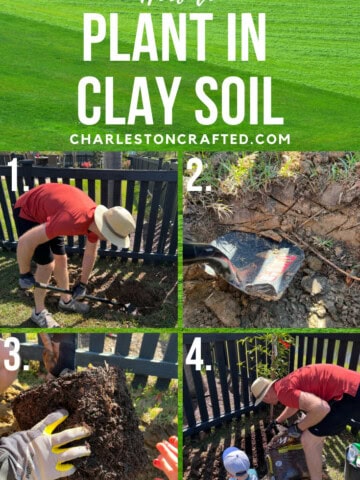
If your yard is filled with clay soil, it can be tricky to plant trees or any other plants and get them to thrive. Here's some of the best information on how to plant plants in clay soil to have them be successful!
If you live in a yard with clay soil and you're trying to figure out how to grow plants in clay soil, well, that's why you're here.
Clay soil, also known as ultisol, is common in many parts of the country and is notoriously difficult to work with. Landscaping clay soil can be a much more difficult task than other soils because it is heavy, messy and solid.
However, planting trees and shrubs in clay soil can be done successfully if you know what you're doing. There are a few extra steps, but you can grow in clay soil with great results.
In this post, we'll outline some background information on clay soil and how to prepare for it, then how to plant in clay soil and set up your plants for success.
Click here to learn about transplanting grass you dig up during this process!
How to plant a tree in clay soil
Will plants grow in clay soil? Absolutely. You just have to know the specifics on how to do that.
Here's our best tips for planting a tree or shrubs in clay soil and ensuring their success.
What parts of the country have clay soil?
There are many parts of the country where clay soil occurs naturally.
Clay soil is typically prominent in the southeastern United States, including Virginia, North Carolina, South Carolina, Georgia, and Alabama, as well as parts of other states.
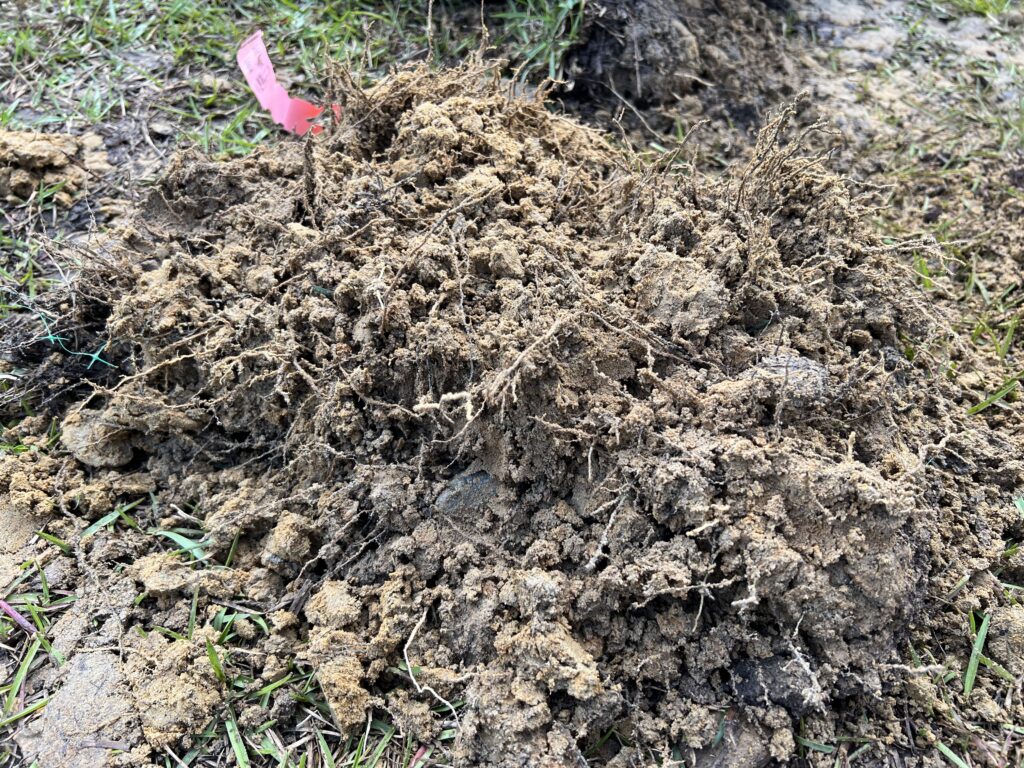
However, clay soil is often prominent in new construction neighborhoods in other locations because it can be the cheapest option for the builders to truck in en masse to level the area after clearing. In these cases, you'll likely see an inch or two of dirt on top from the sod that is placed and then clay underneath.
How is clay soil different?
If your yard is heavily clay-based, it is different in a lot of ways from yards that have more dirt or sand in the soil.
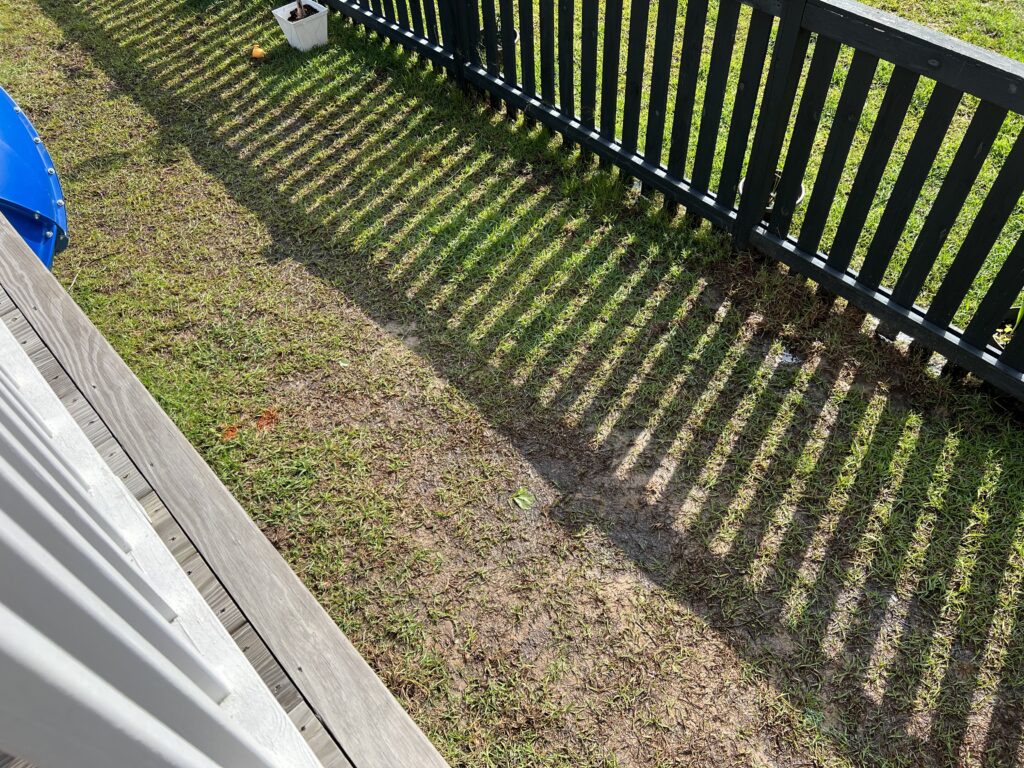
For instance, the main feature of clay is that water does not permeate through it quickly. Clay is hard, compact and solid, so it takes a long time for water to move through it or even into it.
Sandy soil, on the other hand, makes it hard to absorb water because the water moves right through it.
Both of these have pros and cons. If water moves through soil quickly, it needs to be watered more often, but sitting water can be problematic.
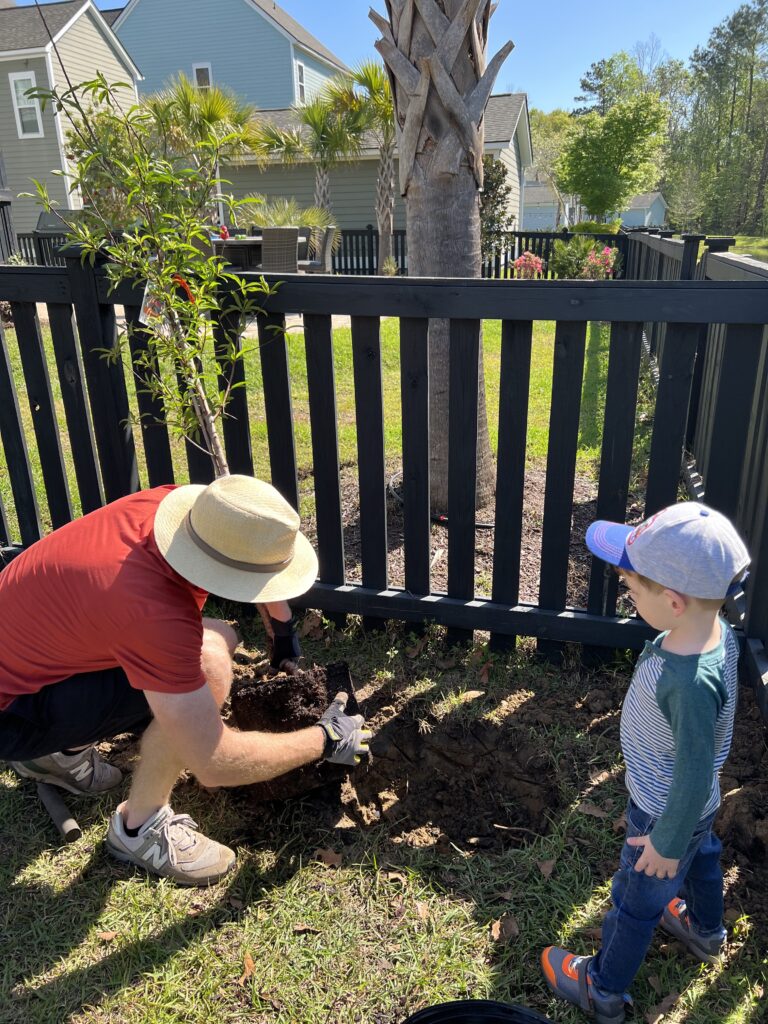
The main issue with clay soil for most people is that it is very hard on your body to work with. It is heavier than other soils, more difficult to dig into and less useful for reuse.
Other soils can be transplanted easier, spread into other areas of the yard and aren't as back-breaking.
So, overall, clay soil is more dense, harder to physically work with, and retains more water. It's not great, but you have to work with what you have.
Steps for planting in clay soil
Here are the best tips for planting trees, shrubs, flowers or anything else in clay soil!
Before you even start planting in clay soil, be sure you've reviewed our guide on how to prep to plant trees so you are covered!
Step one: select well draining areas
Clay soil is not good for drainage, so it's best to select the most well-draining area for your plants if possible.
Obviously don't plant a tree that will grow huge right next to your house just because it is at the top of the slope, but use your judgment.
With clay soil, oftentimes the easiest way to figure out what areas drain well or don't drain well is to look at your yard during or after a big rain. With clay soil, heavy rain with cause pooling on top of the soil, so you'll immediately be able to tell what areas have the worst drainage.
Step two: dig hole for plant
Once you have selected your planting site, it is time to dig the planting hole. Base your hole size on the container the plant is in.
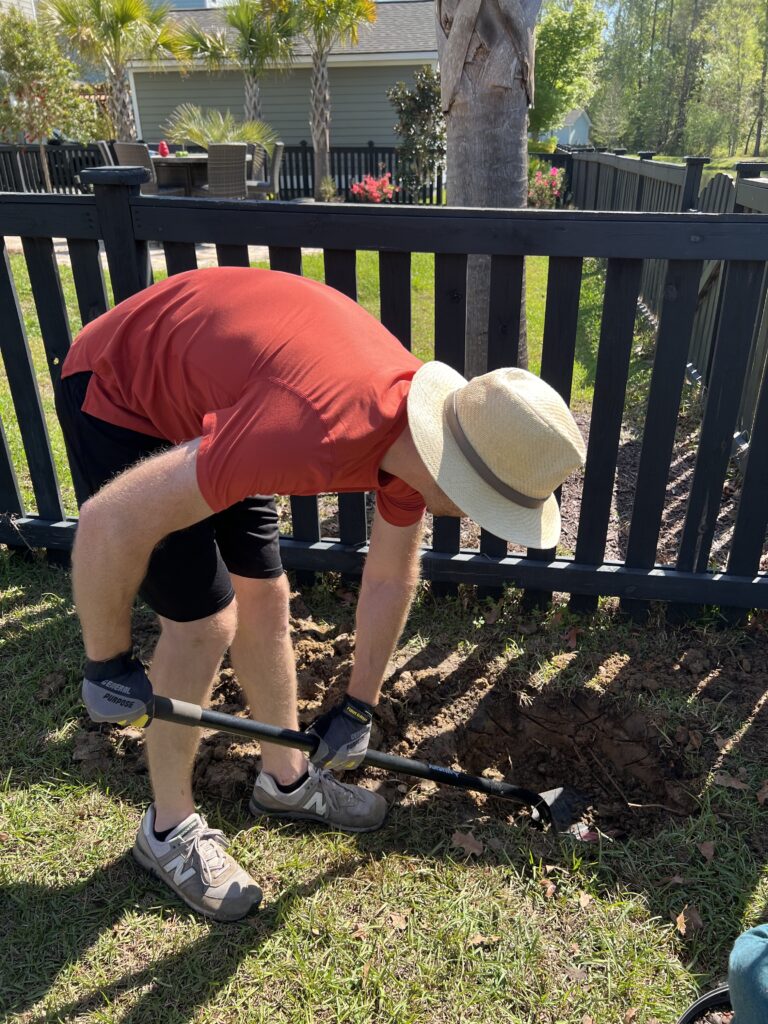
Dig a hole that is slightly less deep than the container and about twice as wide.
So, if your container is 12" deep and 12" wide, dig your hole approximately 10" deep and 24" wide.
You want the top of the root ball to be sitting slightly higher than the surrounding soil but with plenty of space for the roots to grow in each direction.
Step three: create slices in hole wall
After your hole is dug, it is time to create slices in the hole's walls. When you dig with a shovel through clay, you make perfectly smooth, hard walls in the hole.
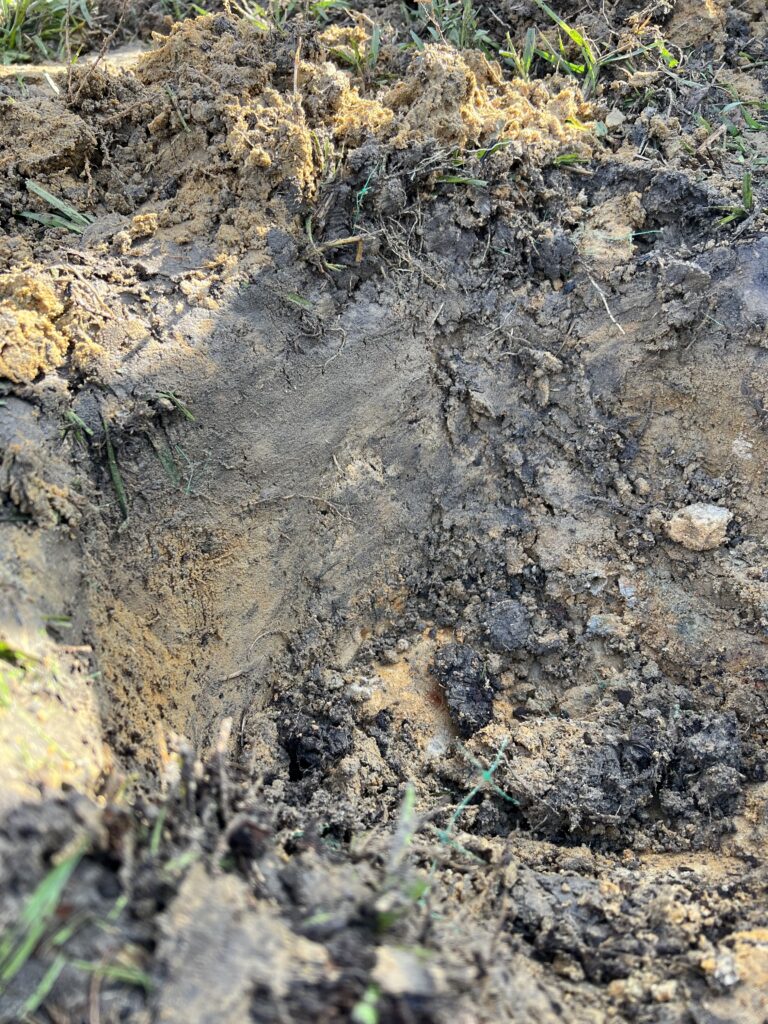
Cutting slices into the walls breaks them up and gives the roots from the plant's root ball a place to grow.
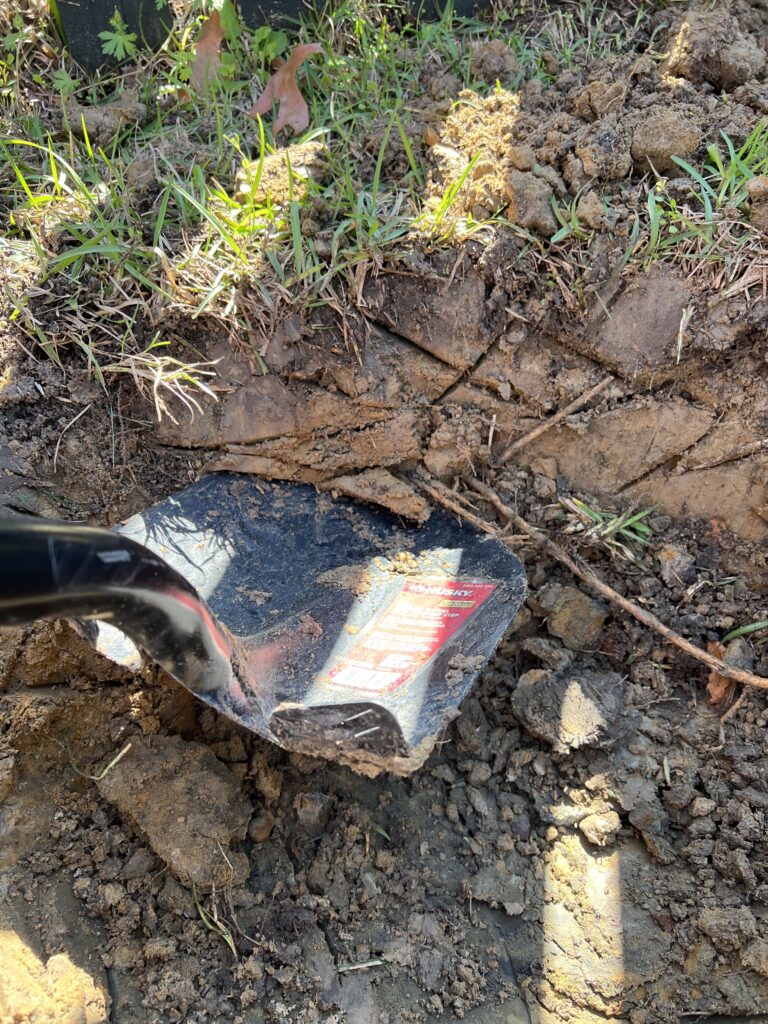
To cut slices into a clay soil wall, simply take your shovel and stab it into the wall up and down each side with criss-crossing patterns. This will greatly improve how well your plant will take to its spot long-term and help grow deep roots.
Step four: lightly release roots
Now that the hole is ready, lightly release the roots from the root ball as you pull it from the container. This is called "teasing" the roots.
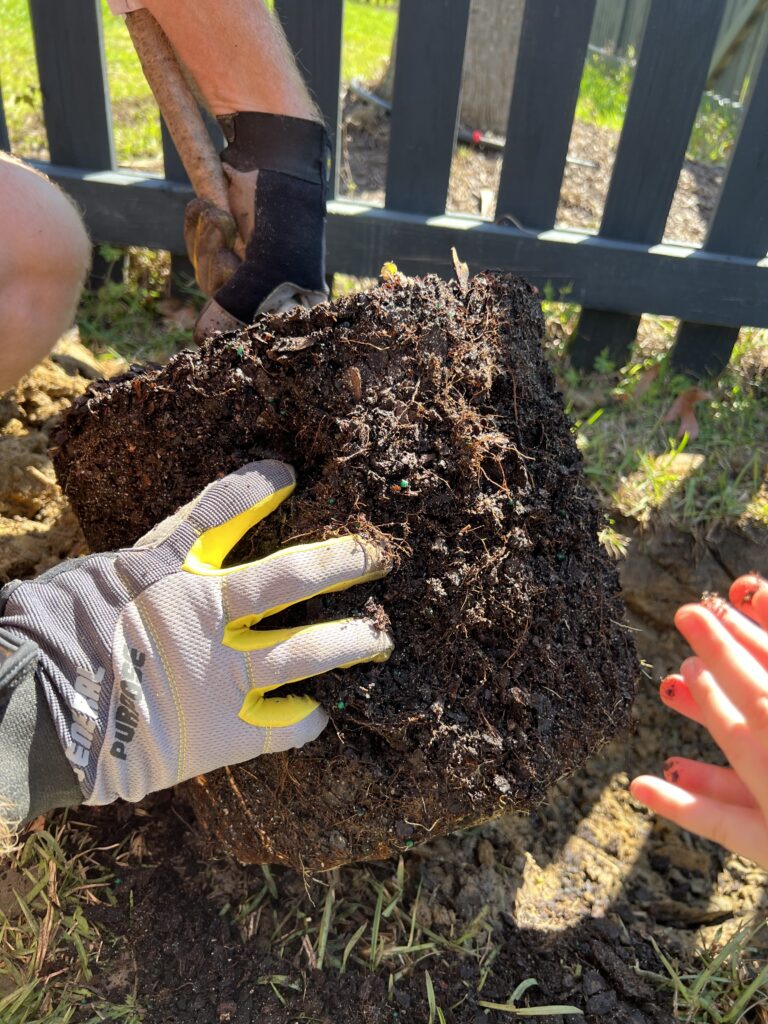
Use your hand to lightly break apart the compacted wall of the soil around the root ball, exposing the roots.
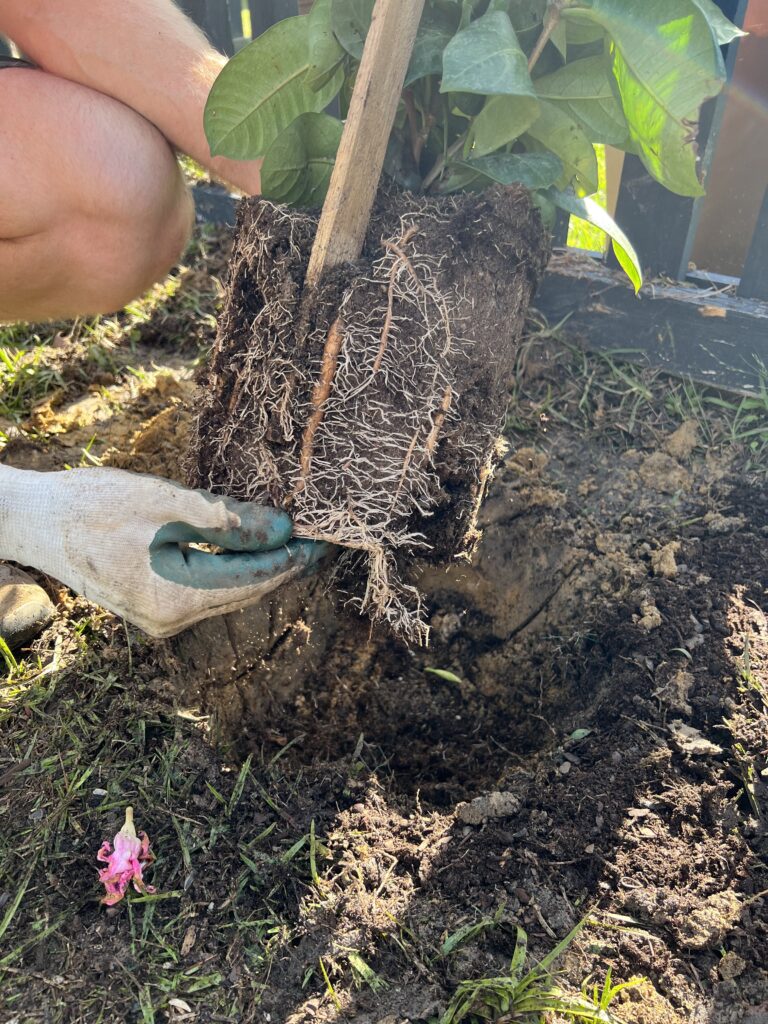
This gives them a better and quicker chance of attaching to the ground around them and the slices you just cut into the walls.
Step five: fill hole with planting mix
With the root ball centered in the hole, add backfill around the ball to fill in the hole. Backfill is a fancy term for the garden soil that you buy in bags at the store.
You can use any additional soil from the container that you just broke up from the roots, but make sure to add a soil mixture that includes compost.
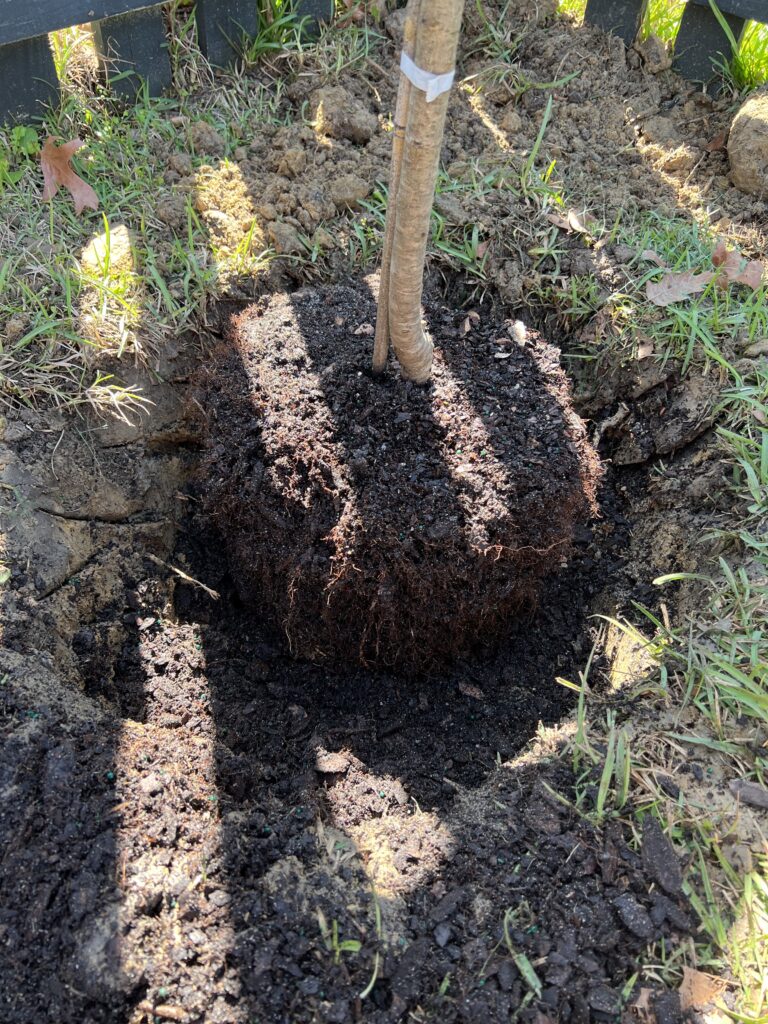
Composted materials are what is lacking in clay soil structure, so adding compost with organic matter will help the plant thrive in its new spot. Remember, you don't want to completely eliminate the clay, you just want to improve clay soil.
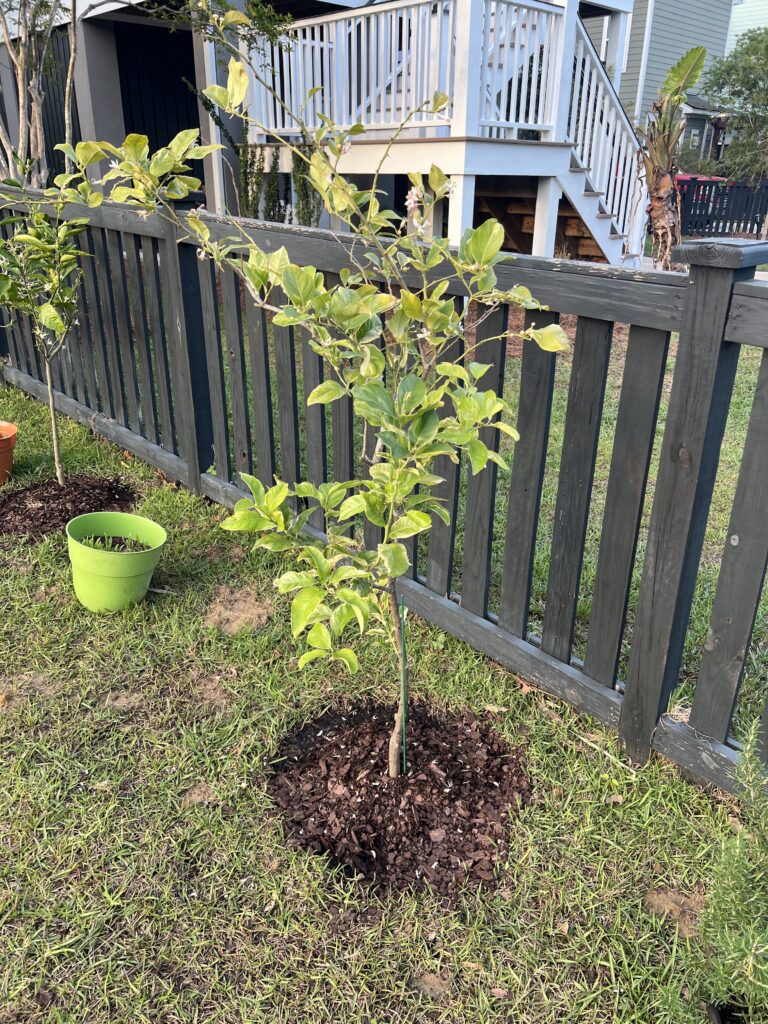
Gently tamp down the soil around the plant, but don't push down too hard with your foot.
Step six: mulch
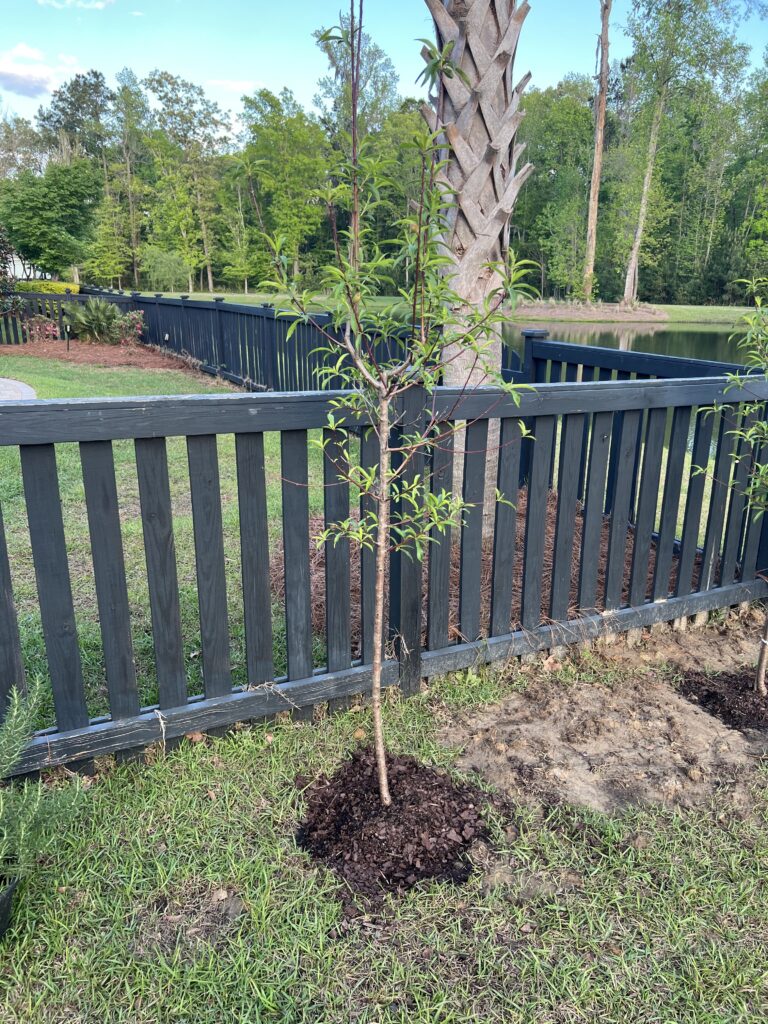
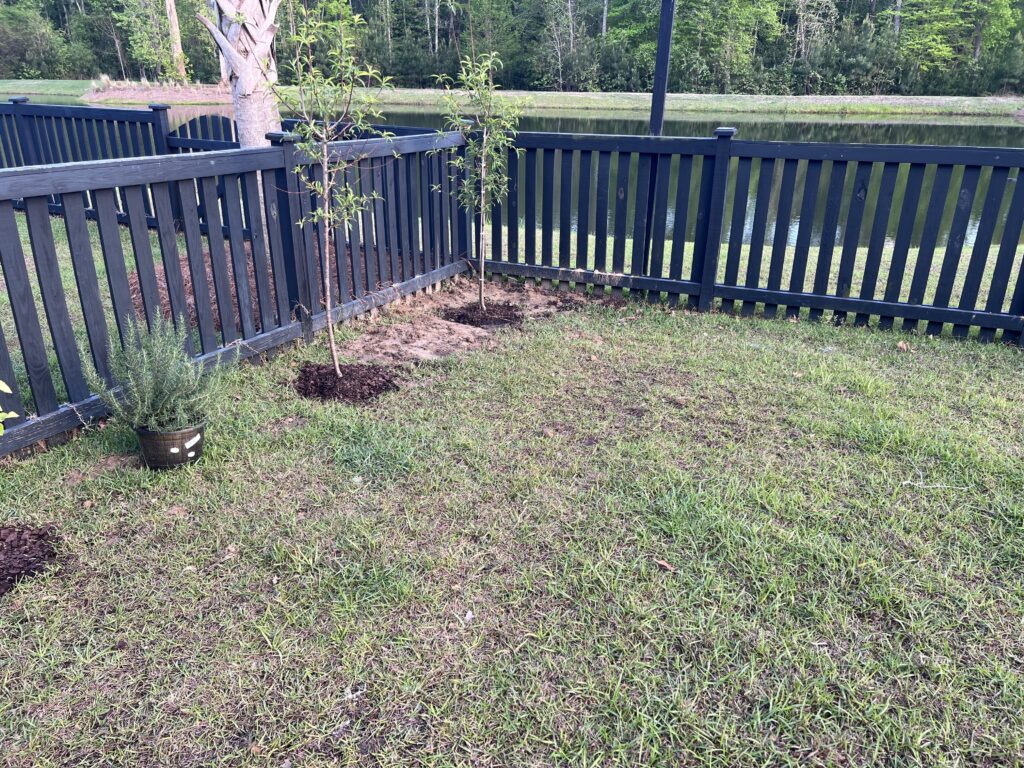
After everything else is done, add mulch to the area around the tree base. Add a couple inches thick and spread to the edges of the hole.
Don't put mulch directly up against the tree trunk because that can increase chances of rot.
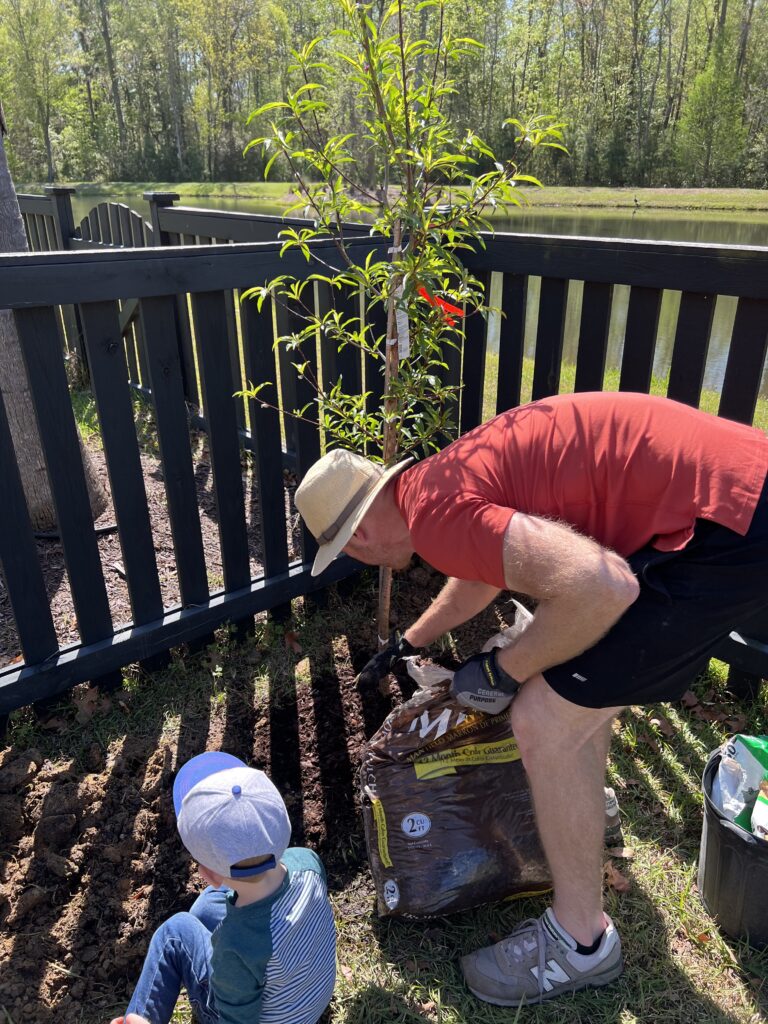
Mulch is crucial around clay soil because it helps filter and retain water. This will help improve drainage, which is important with clay soil.
With mulch, you don't have to water as much and it will retain the water better, which is good because you don't want to flood a plant in clay and have it sit there.
Step seven: water
As was just mentioned, water after finishing the rest of the steps. Water decently at first to help the soils meld and encourage the roots to find their footing, but then scale back.
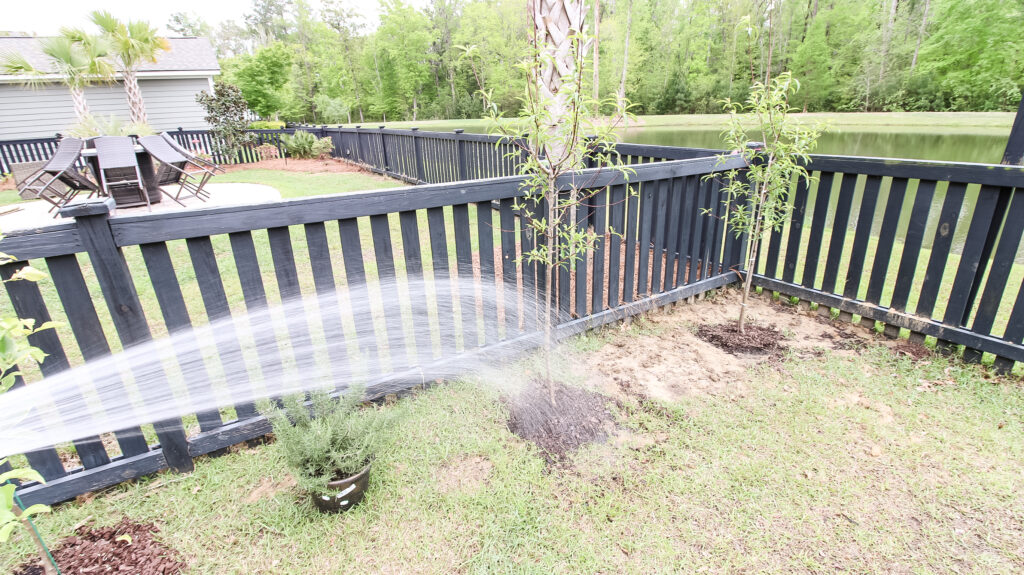
You don't want to over-water with clay soil because the water will sit trapped in the hole due to poor drainage.
Create a watering schedule for yourself and remember to take into account how hot it is in your area, when it last rained and when you last watered.
Don't forget to check out our full guide on how to prep to plant trees before you get started!
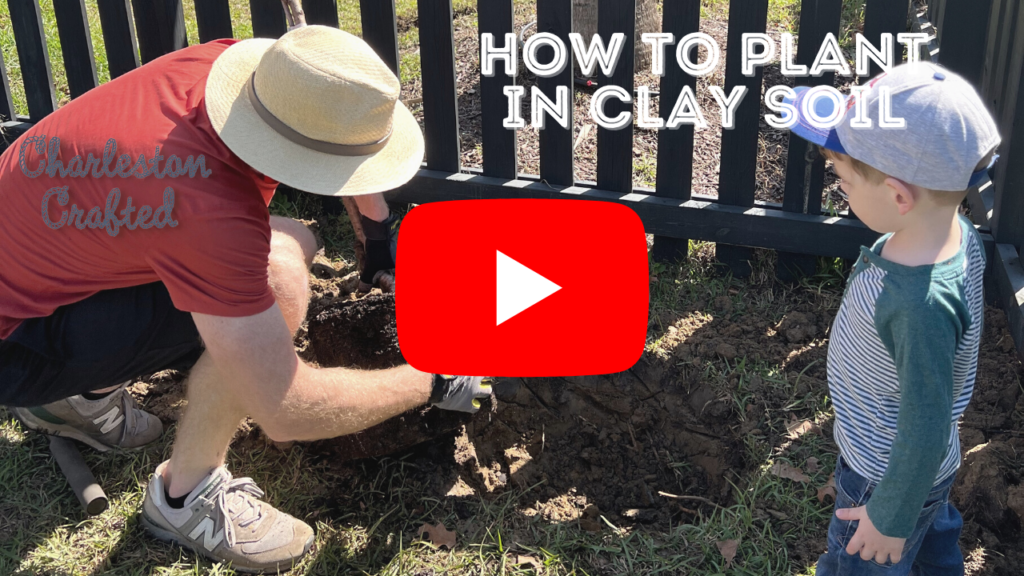
Video tutorial on how to plant in clay soil
Take a look at our full video tutorial that outlines all these steps for how to plant in clay soil.
The video will help explain steps such as creating slices in the hole wall better than a photo and words can. Make sure you check out the video as a supplement to the post!
Looking for something?
We've been doing this since 2012 so we have a LOT of blog posts!
Search stuff like: Ceiling Projects | DIY Plant Stands | Thrift Flips


Hey there, I'm Sean, the woodworking enthusiast and builder behind CharlestonCrafted.com! Since 2012, I've been sharing the magic of turning raw materials into beautiful creations. I love teaching others the art and satisfaction of woodworking and DIY. I try to inspire fellow crafters to make something extraordinary out of nothing at all.


