If you need to replace a garage door keypad because it's broken or outdated, it's a simple DIY project! Here's how.
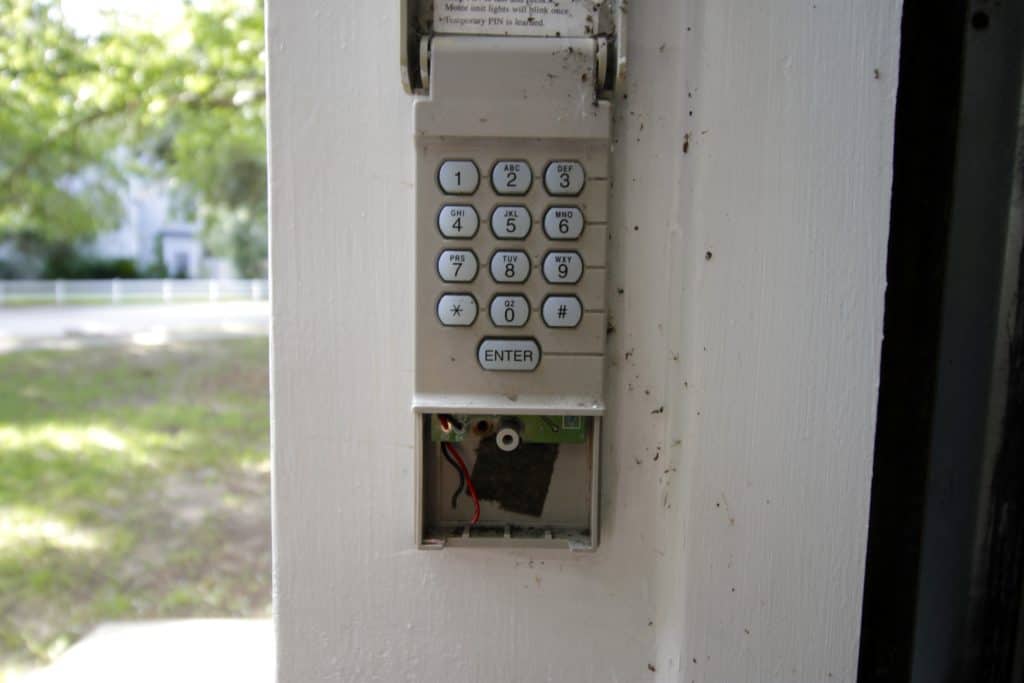
When we moved in, another thing we didn't notice about the place was how the garage door keypad on the outside of the garage didn't work. We thought we just needed the code, but it turns out that the keypad itself had no battery or connection ports.
We decided it would be easier to just replace it than try to fix the old one for which we didn't even know the code. Here's how to replace a garage door keypad.

How to change a garage door key pad
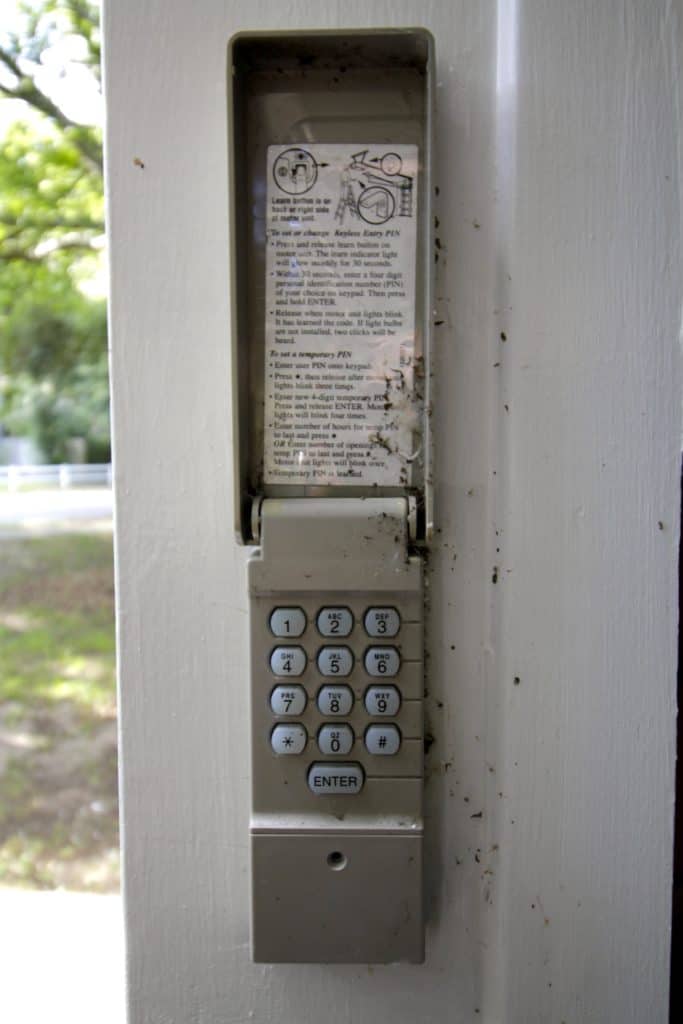
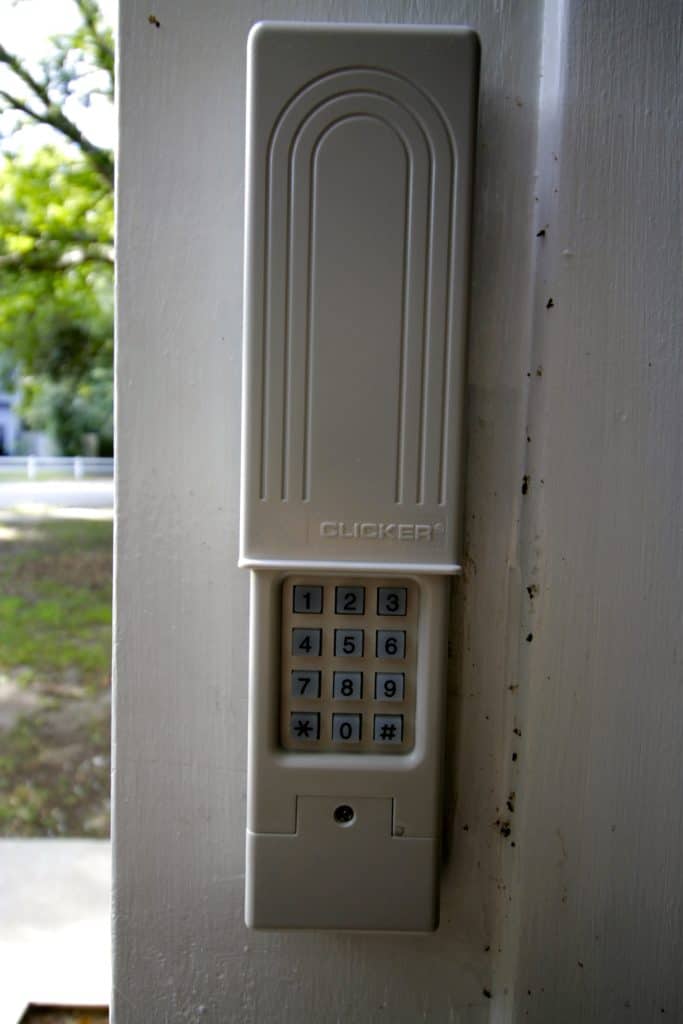
First, take a look at what you have. We had a sliding door keypad and when you opened it up, it looked like this.

I ordered a universal garage door keypad by Chamberlain from Amazon that had great ratings and was only $26. While it says universal, it isn't 100% universal, so check to make sure your garage door opener is in the 99% that it works with.
Next, remove the old keypad using the screws. It's likely either going to have two screws or one screw and then a sliding hole on a screw.
Program your new keypad next to your garage door opener per the instructions your keypad comes with. They are very simple for setting up a password. Make sure once you have followed the instructions that you verify it works before hanging it up.
Finally, mount the keypad with the screws in the appropriate places and easily access your garage from outside!

And that's how to replace a garage door keypad. Now we have two keypads in the garage (one on the outside and one on the door to the house) so we can never be locked out and can always key code ourselves in!
Looking for something?
We've been doing this since 2012 so we have a LOT of blog posts!
Search stuff like: Ceiling Projects | DIY Plant Stands | Thrift Flips


Hey there, I'm Sean, the woodworking enthusiast and builder behind CharlestonCrafted.com! Since 2012, I've been sharing the magic of turning raw materials into beautiful creations. I love teaching others the art and satisfaction of woodworking and DIY. I try to inspire fellow crafters to make something extraordinary out of nothing at all.


Derek Dewitt says
I've been trying to figure out how to replace my garage door keypad for awhile now so this article was exactly what I needed. I think setting the password before hanging the pad will make life much easier. I'll have to check the manual to find out how to do this. Thanks for sharing!