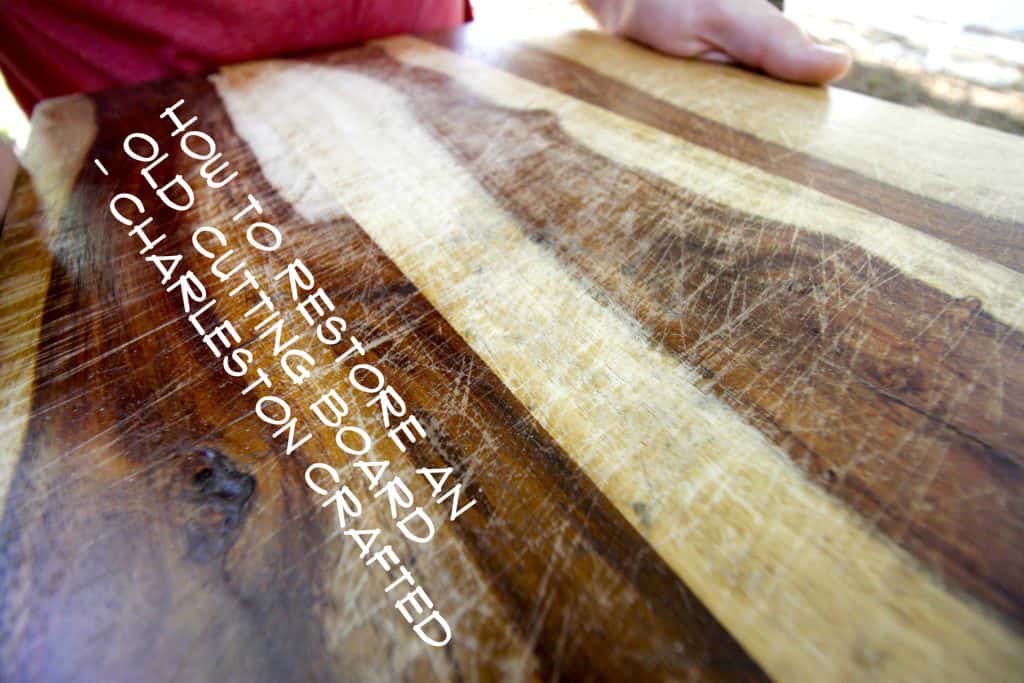
Have a scratched or damaged wooden cutting board? Here are the best steps for how to restore an old cutting board in about 5 minutes!
Cutting boards get worn out pretty quick, especially if you're using one made of wood. Luckily, they can also be restored pretty quickly.
Morgan found a beautiful wood cutting board at Goodwill that needed a little love, so she brought it home and it's now a beautiful display piece in our home.
Cutting boards fade and wear over time. Restoring them helps to maintain hygiene, prolong the lifespan of the board, and preserve its appearance.
In less than five minutes, I'll show you how to restore and old cutting board and make it look new again - and then you can do it yourself in that same time.
How to restore a wooden cutting board
Supplies needed:
- 80 grit sandpaper
- 120 grit sandpaper
- cutting board oil
- cloth
Steps to restore an old cutting board
Before starting the restoration process, it's important to assess the condition of the cutting board.
This includes checking for any deep scratches, cracks, or signs of mold.
Additionally, it is good to clean the cutting board before proceeding with restoration.
This means washing the board with warm soapy water and drying it thoroughly.
The two things that usually need fixing with an old cutting board is the knife marks and the discoloration. First, work on the knife marks.
I used two different grits of sandpaper for this part.
First, I used 80 grit to buff away those deep marks and try to bring the whole board back to level height.
Once I achieved that, I switched to 120 grit to give the board that nice smooth finish.
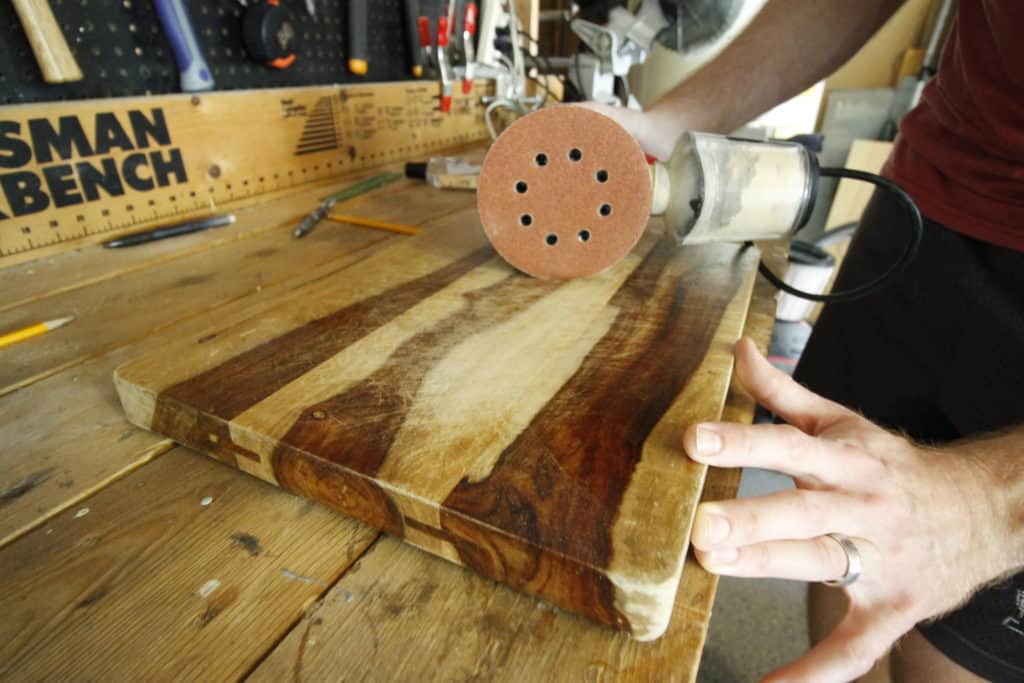
Proper sanding technique would be using long, even strokes along the grain of the wood.
Additionally, it is important to sand evenly to maintain a level surface.
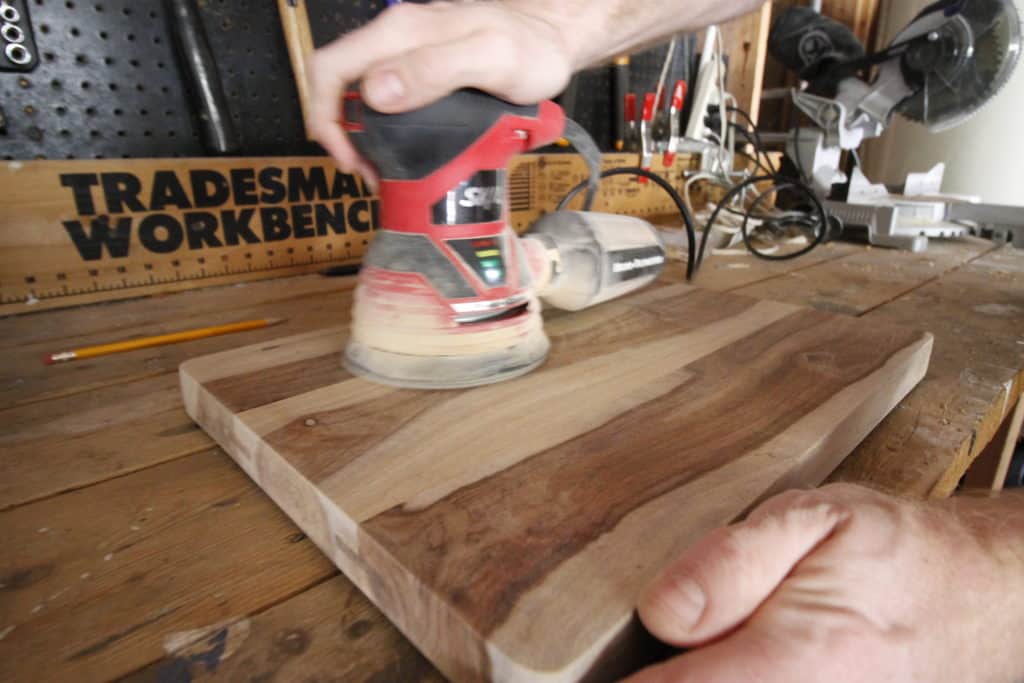
After sanding, it's crucial to thoroughly remove all dust particles from the cutting board. This can be done by wiping the board with a damp cloth or using a vacuum cleaner.
Failing to remove the dust can affect the quality of the finish and trap the debris in the finish!
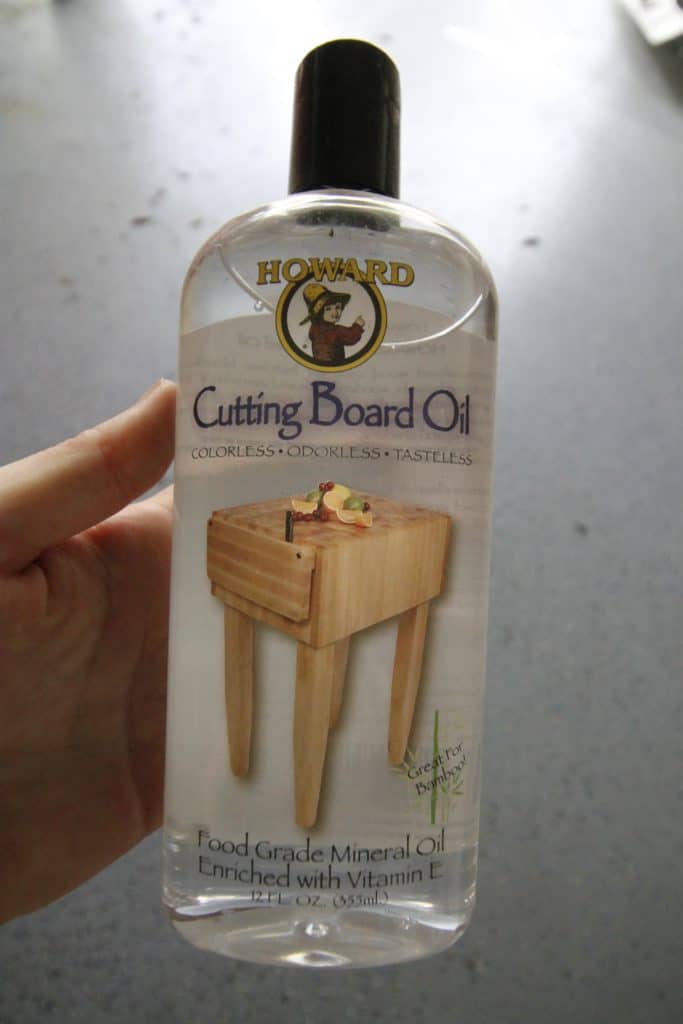
After sanding, I wiped away the dust particles and then poured a few arcs of cutting board oil to the surface.
We always suggest using mineral oil or another food-grade wood oil.
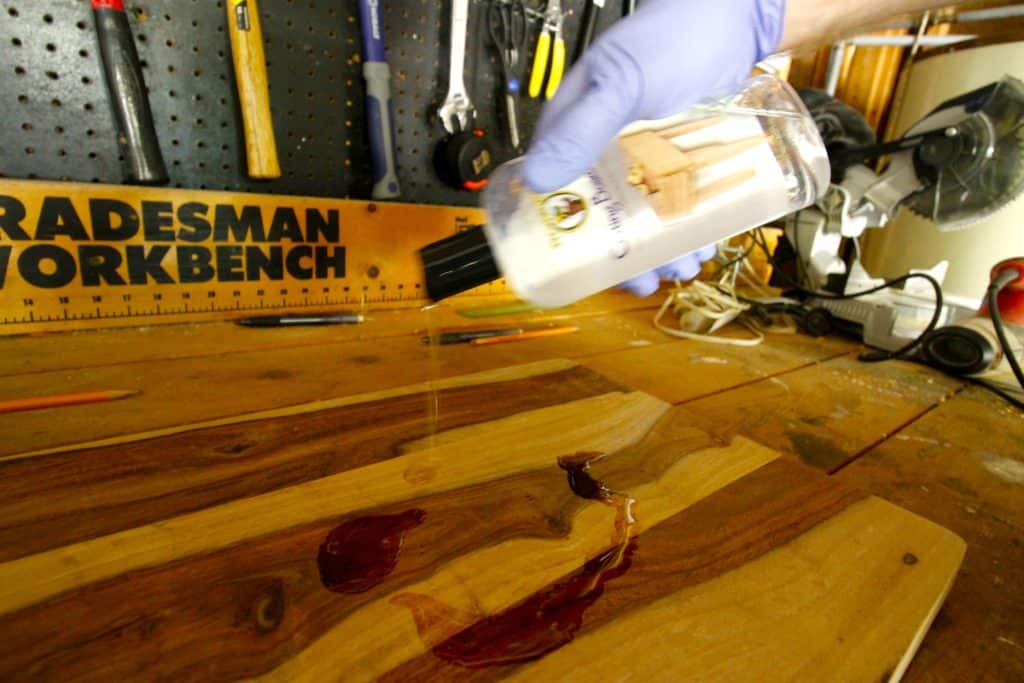
Then, using a cloth, I spread the oil around evenly to the top and sides of the board.
Spread the oil in the direction of the grain, pressing gently to work it into the pores of the wood. It's just like putting lotion on your skin!
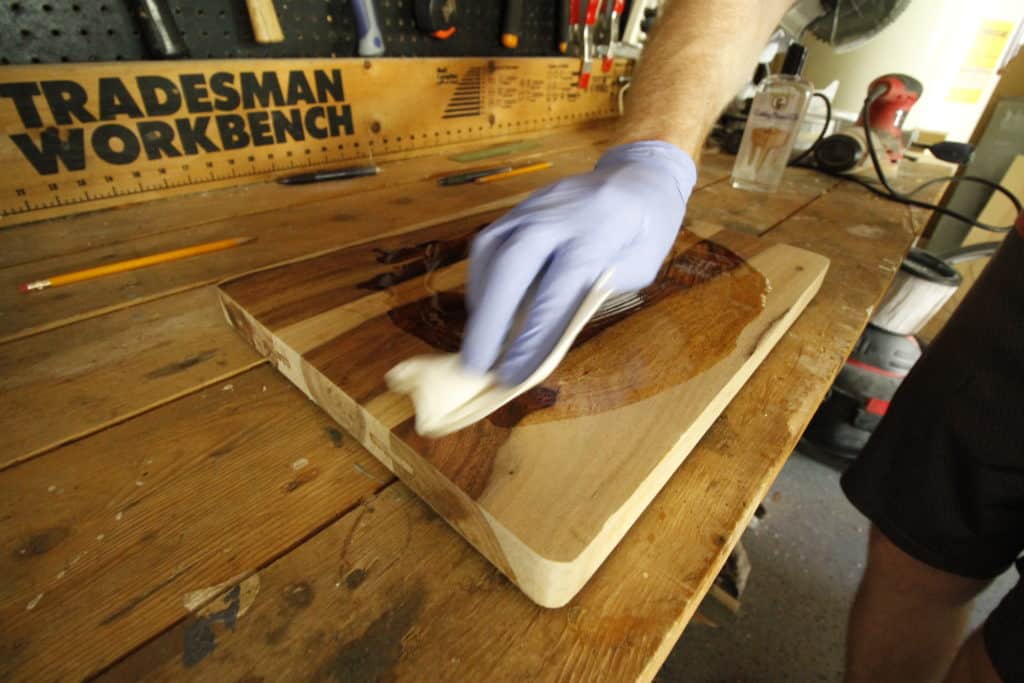
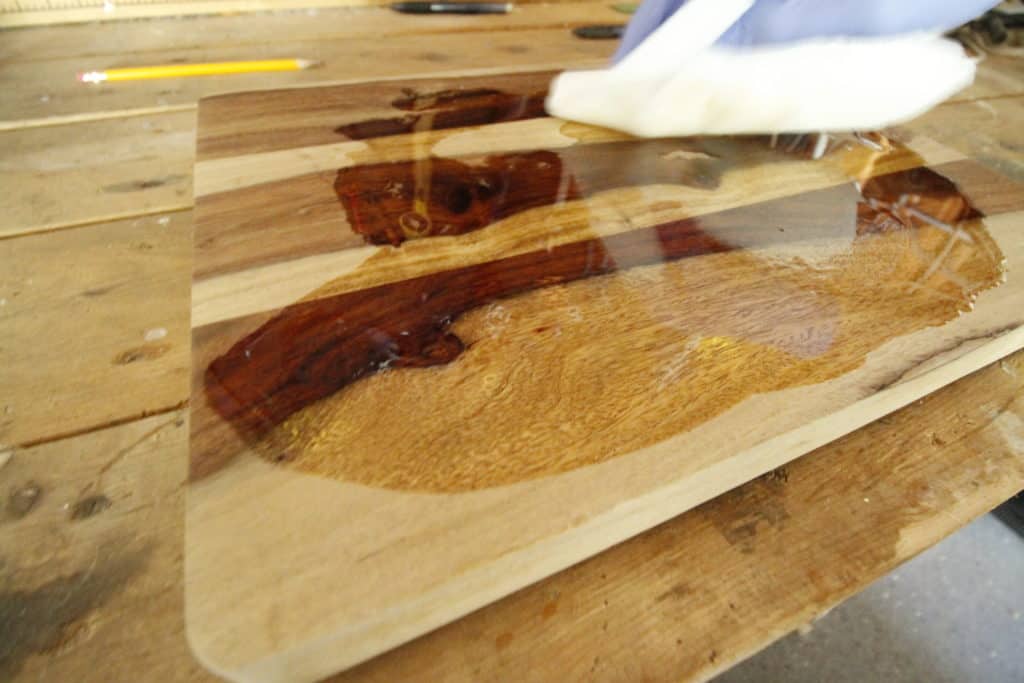
After waiting 20 minutes, I wiped away excess and let it dry. Total dry time can vary depending on the type of oil used, humidity levels, and the specific instructions provided by the oil manufacturer.
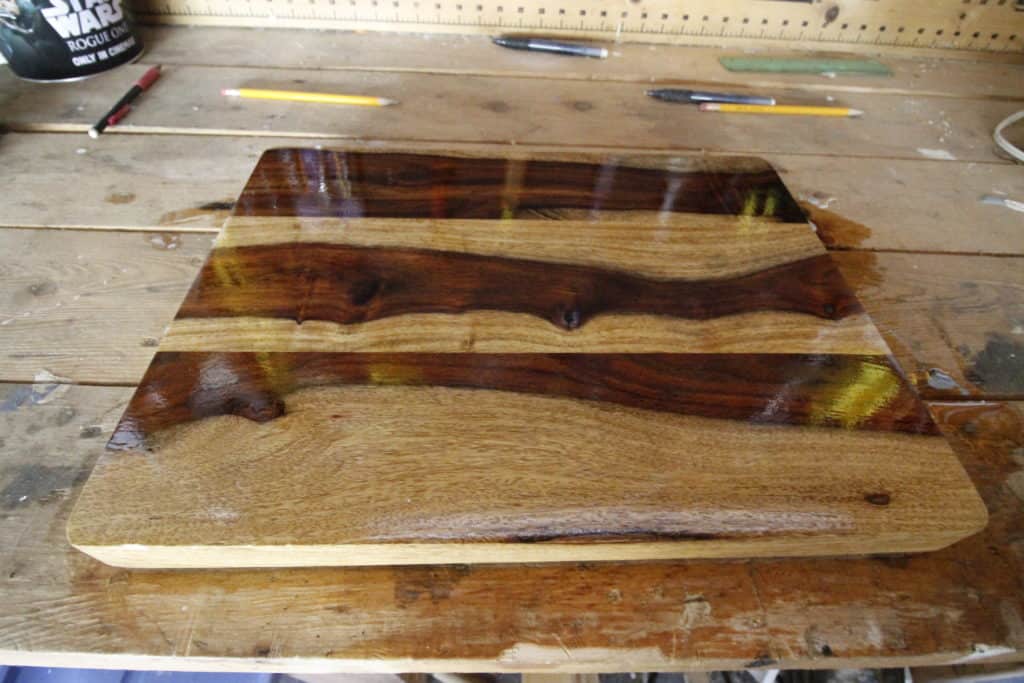
See how the oil brought out the color without staining it? Ta-da, turned out pretty good.
Cutting board maintenance tips
- clean the cutting board well and allow to dry completely before putting it in a cabinet
- oil it regularly, as the wood looks dry
- avoid exposing it to excessive moisture and heat!
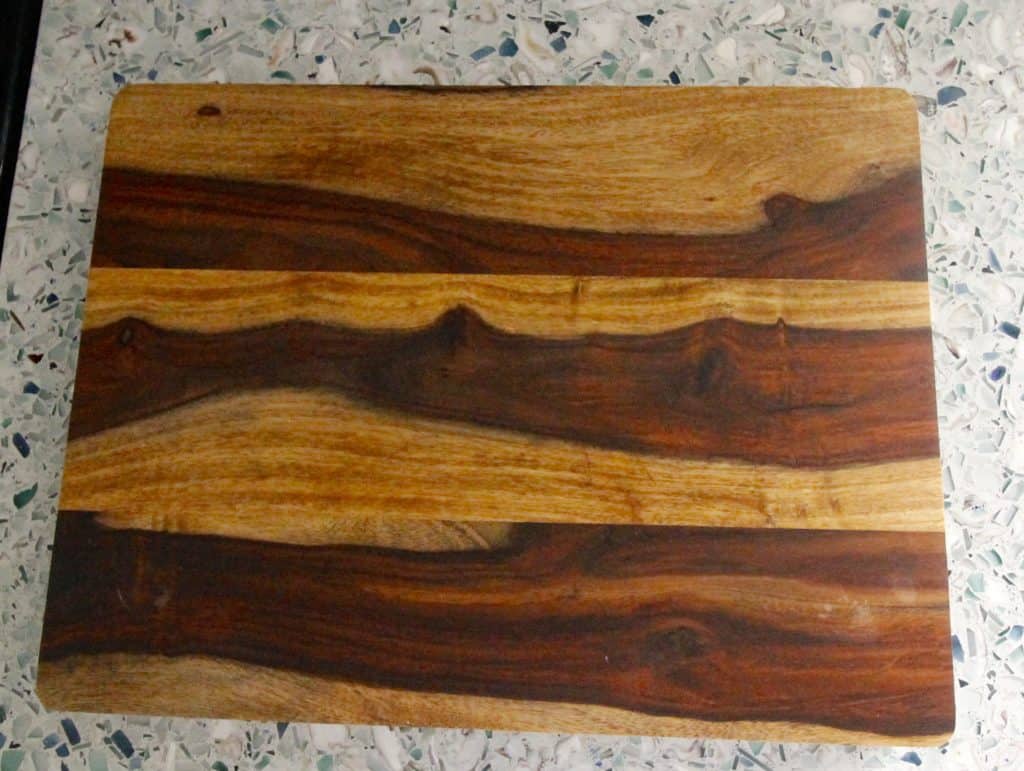
If you've been dinging up your wooden cutting boards and want to restore them to their original glory, it's super simple. This will give new live to your cutting boards and allow them to last a lot longer.
Looking for something?
We've been doing this since 2012 so we have a LOT of blog posts!
Search stuff like: Ceiling Projects | DIY Plant Stands | Thrift Flips


Hey there, I'm Sean, the woodworking enthusiast and builder behind CharlestonCrafted.com! Since 2012, I've been sharing the magic of turning raw materials into beautiful creations. I love teaching others the art and satisfaction of woodworking and DIY. I try to inspire fellow crafters to make something extraordinary out of nothing at all.


Jenna Hunter says
My brother has a bunch of cutting boards that could use some help. Getting him the best cutting board oil would really help him. Thanks for your tips on how to restore an old cutting board.
Ivory says
Fabulous outcome. I love it. Thanks for sharing. Stay safe and healthy