Looking for a non-toxic, homemade wood stain idea? Tea makes a great natural stain - plus it is super inexpensive and easy to come by. Here is a step by step tutorial on how to stain wood with tea - and a how-to video!
I've been experimenting with different ways to stain wood lately. Homemade wood stain is a really fun project!
I blame my joining a DIY wooden toys Facebook group. It made me really aware of a need (sometimes) for non-toxic wood stain options.
Even when you are building furniture that won't be chewed on - the idea of a non-toxic finish is still appealing.
Plus, let's get real. If you enjoy making things from scratch, you will probably be intrigued at the idea of making your own wood stains from scratch, too.
So, I am going to be really trying to experiment and try out a lot of DIY wood stain options. Here are all of the methods for how to make wood stain!
Did you catch my tutorial on how to dye wood with food coloring?
Free printable project planner
Need help getting organized? Our free printable DIY project planner will help you get it all organized and planned on one page!
Using Tea as a Wood Stain
Today I am going to share how to stain wood with tea. This was super fun to try - and I also did some staining with coffee at the same time!
Why Use Tea to Stain Wood?
There are several pro's to using coffee as a wood stain:
- Tea is non-toxic (and therefore mouth-friendly)
- Tea is not flammable - unlike many wood stains that are highly flammable.
- Very light natural look - tea gives just a slight richness to wood and brings out the existing wood grain.
It's a great alternative if you want to highlight the existing wood and not cover it up with a thick stain. - Doesn't get blotchy - Wood contains tannic acid, which causes the color of a piece of wood. Lighter woods have less tannic acid and darker woods have more tannic acid.
Tea reacts with the tannins in the wood to even out the tone of the wood, reduce blotchiness and gives the wood a uniform color. - Tea is cheap - if you already have tea in your home, this is a free way to stain wood!
What Do You Need to Make a DIY Tea Wood Stain?
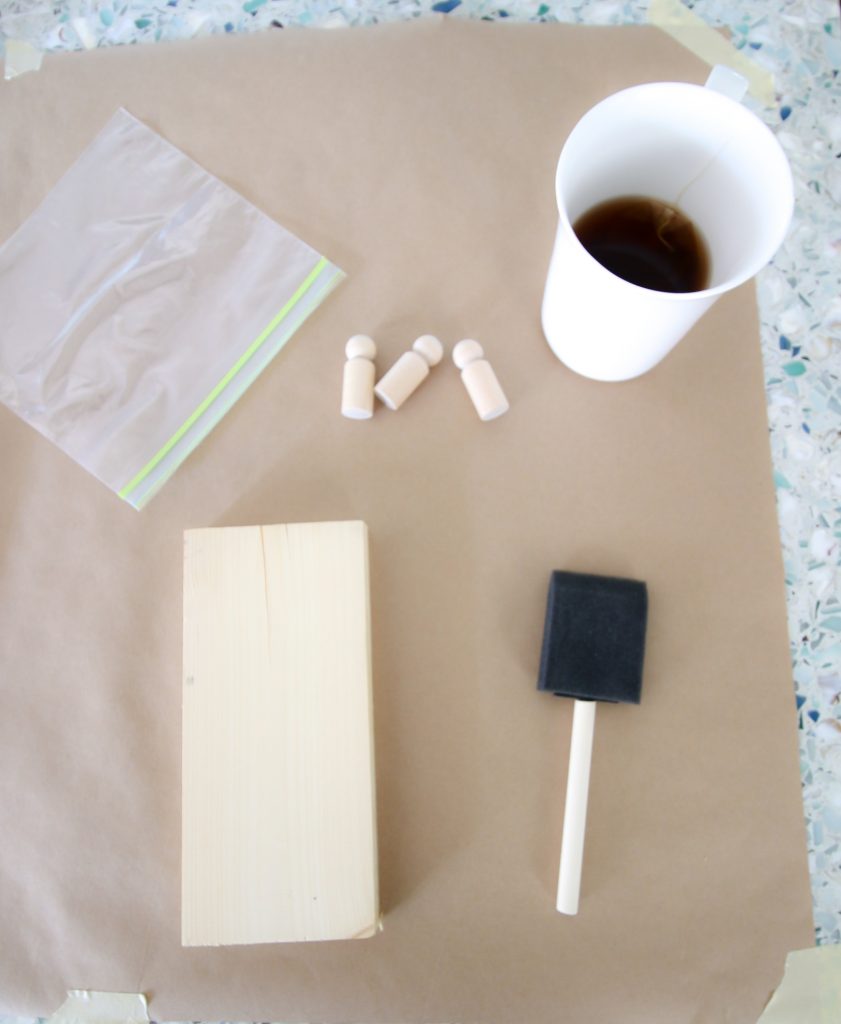
To make a DIY tea wood stain, all you really need is tea. But here is everything that I used:
- Tea bag - I used black tea
- Kettle or preferred way to boil water
- Water
- Coffee mug or jar to make tea into
- Foam paint brush
- Wood to stain - I used pine wood
What Kind of Tea Do You Need to Stain Wood
Great news - you can really use any type of tea to stain wood! You don't need anything fancy - your grocery store bought tea bags work just fine.
We used the normal black tea that I drink. Keep in mind that the darker the tea, the darker the stain color.
Even this very dark tea made a pretty light stain color, so I wouldn't use anything too light unless you barely want any color at all.
Be sure to experiment on scrap wood before moving to stain a whole piece of furniture!
How Long Does Tea Wood Stain Last?
Tea stain should not fade once applied to your wood and dried. Applying a sealant will help it last.
The cup of tea itself can be stored in the fridge, but I would not keep it more than 24 hours. If you plan to store it, put it in a container with a lid such as a mason jar.
Luckily, tea is cheap and easy to make!
What Kind of Wood Can You Stain With Tea?
You can apply a tea stain to any type of wood. I used pine wood for my example. The peg people that I dyed are birch and maple.
Just be sure to do a sample of the type of wood your project is before you apply the stain to a whole piece of furniture or build - the bottom of a piece of furniture is a good place to test if you don't have any scrap wood.
How Do You Prepare the Wood?
The tea based stain definitely takes best to sanded wood.
Sand with sandpaper - starting at a lower grit and ending with a higher grit (I like to end with 220) for a smooth surface that is ready to absorb stain.
When you are finished sanding, be sure to wipe down your wood to remove any dust or dirt.
How Do You Apply the Tea Wood Stain?
I used a foam brush to apply the tea wood stain to my wood. You can also use a lint-free cloth or rag if you prefer.
How Long Does Tea Need to Dry Before Applying Another Coat?
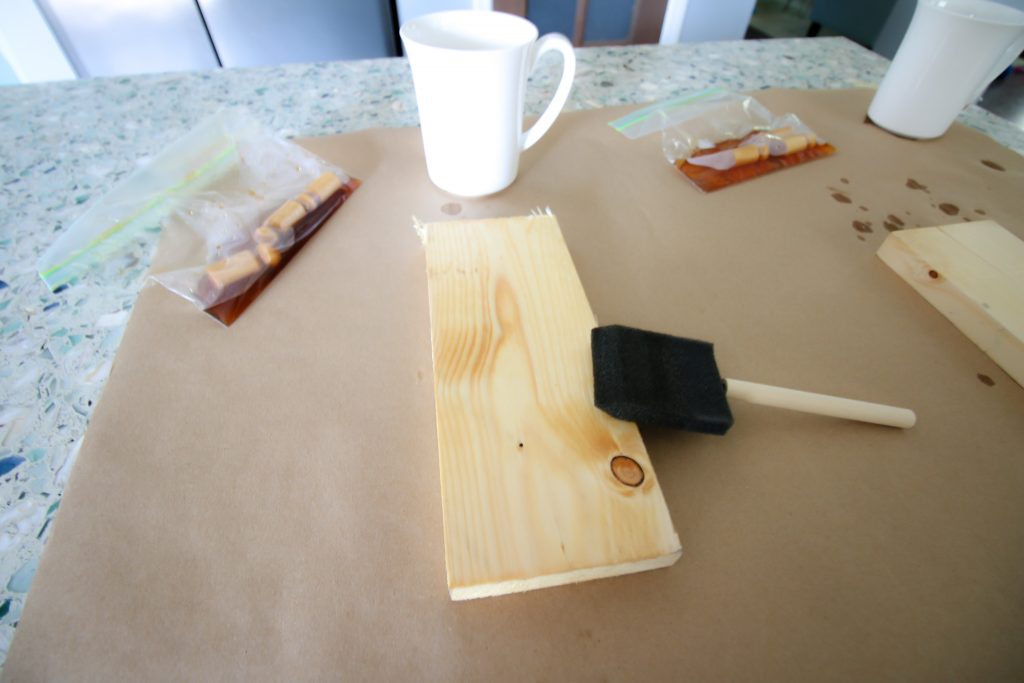
I applied three coats of tea stain, with a 5 minute wait in between coats. You could definitely wait longer, but want to wait long enough for the stain to feel dry to the touch.
How Many Coats of Tea Stain Can You Apply to Wood?
You can apply as many coats of tea as you'd like. I did three coats on my samples, 5 minutes apart.
I also allowed the peg dolls to soak for three different amounts of time - 5 minutes, 10 minutes, and 15 minutes, pulling one out each time I painted a new coat on the wood.
Does Tea Stain Raise the Grain?
Yes, like many water based stains, a tea stain can raise the grain of your wood. You want to sand with a very fine sandpaper to help reduce it.
Some people actually use a brown paper bag! This will bring down the grain without losing the color.
How Do You Seal Wood Stained with Tea?
You can apply the sealant of your choice over your tea stain. I prefer polycrylic.
If you are making kid's toys, I suggest something non-toxic like spray shellac.
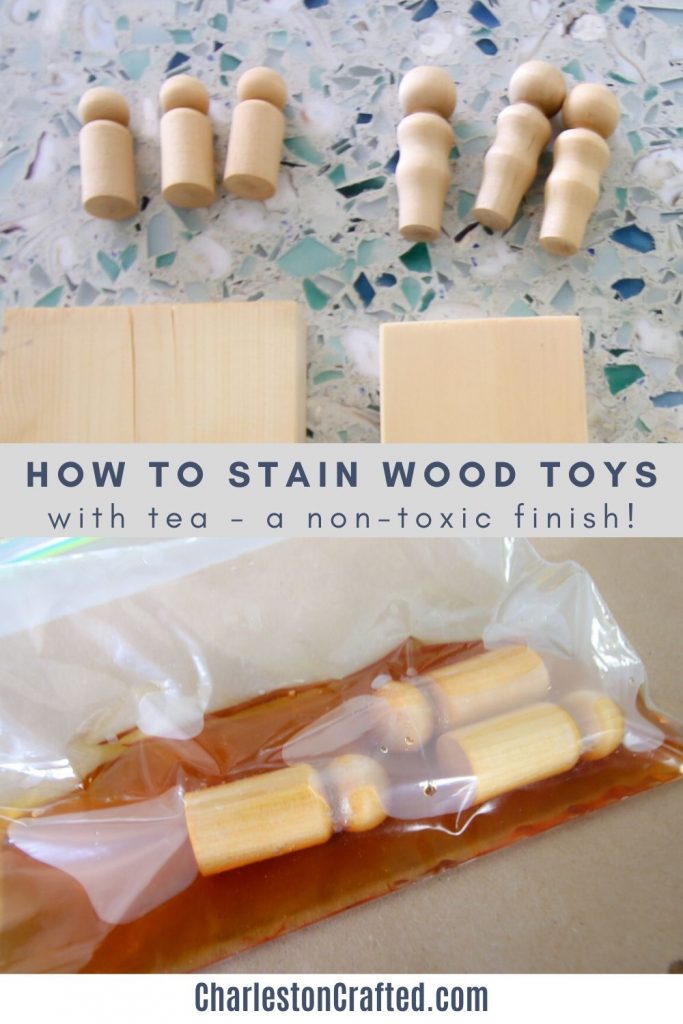
How Do You Stain Wood Toys with Tea?
Tea is a great wood stain option for kid's wooden toys. It is non-toxic which makes it great for mouth-y toddlers.
I love that tea adds a slight warm tone, making it a great way to add some diversity to your wooden dolls.
To do this, I followed this same process but used a ziplock bag.
Once your tea is cool, pour it into a ziplock bag. Add your wooden toys to the bag and seal it.
Allow to sit for five minutes, shaking the bag every minute or so to be sure you get even coverage.
I pulled dolls out every 5 minutes (at 5, 10, and 15 minutes) to get slightly darker stain colors.
Allow to dry. I prefer to seal with a spray sealant that is also non-toxic.
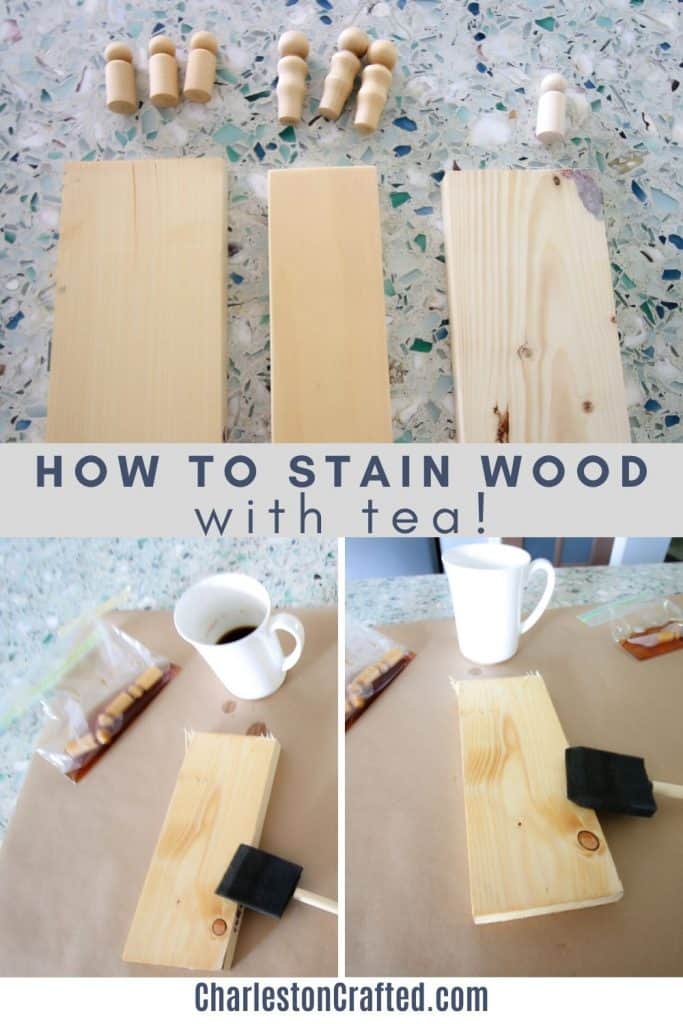
How to make wood stain from tea
Step One: Prepare the wood
Sand your wood to make it ready to absorb the stain. I prefer starting with a lower grit (if the wood is rough) and working up to a 220 grit.
Wipe clean to remove any dust or dirt.
Step Two: Prepare the tea
Prepare your tea as you usually would. I only made a small Keurig cup for my samples.
Add the tea bag to the hot water and allow to steep until the water reaches room temperature.
Remove the tea bag before beginning to use.
Step Three: Apply the tea to the wood
Use a foam brush or rag to apply the tea to your wood. Allow to dry for five minutes, then re-apply. Repeat as needed.
Step Four: Apply sealant
Allow to dry for at least one hour and then apply the sealant of your choice.
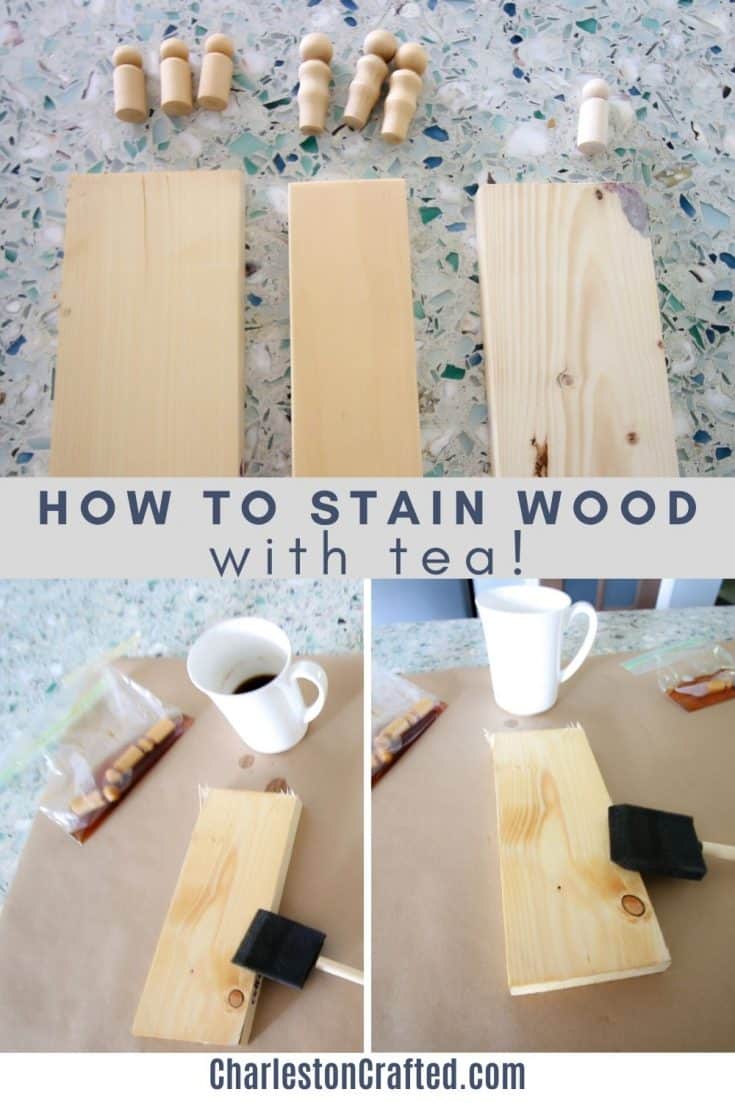
How to stain wood with tea
Want to try staining wood with tea? It is cheap, easy, and totally non-toxic. Here is a step by step guide on how to do it!
Materials
- Tea bag
- Water
- Wood to stain – I used pine wood
Tools
- Kettle or preferred method of boiling water
- Coffee mug or jar to make coffee into
- Foam paint brush
Instructions
- Prepare your wood by sanding. Start with a lower grit if it is rough and work up to a 220 grit. Wipe clean with a rag.
- Prepare your tea as usual and allow to cool to room temperature.
- Use a foam brush or clean rag to apply tea to the wood. If you are staining small items like peg dolls, place them in a ziplock bag with the tea.
- Allow to dry for five minutes.
- Apply another coat.
- Allow to dry as necessary.
- Apply sealant of choice.
Want to see our favorite wood stains?
We tried 10 different stains on 5 species of wood. See the results!
Looking for more non-toxic, natural wood stains?
Here is how to dye wood using food coloring!
Frequently Asked Questions
Can you stain wood with tea?
You can absolutely stain wood with tea!
While more complicated recipes exist, I had great success just brushing cooled tea onto a sanded and prepared wood surface.
You can apply several coats until you achieve your desired darkness. Then, seal as you would any other stained wood.
Any tips for sealing wood?
I have a whole blog post tutorial on how to seal stained wood! It is full of tips and tricks for best results.
Any questions about staining wood with coffee?
Looking for something?
We've been doing this since 2012 so we have a LOT of blog posts!
Search stuff like: Ceiling Projects | DIY Plant Stands | Thrift Flips


Hello, I'm Morgan, half of the creative force behind CharlestonCrafted.com! With a passion for DIY that dates back to 2012, I've transformed three homes and now I'm dedicated to helping others craft their dream spaces. Let's turn your house into a home together!


