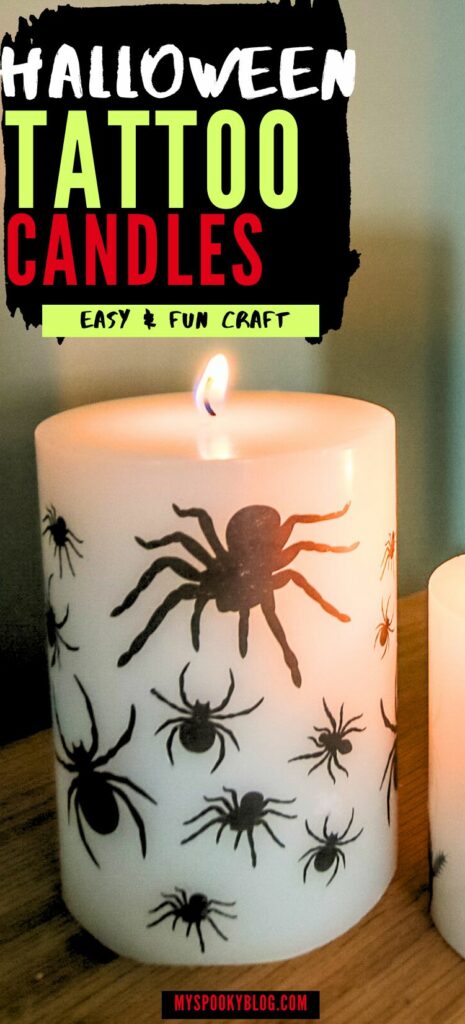
Discover how to tattoo candles for a fun and creative way to customize your decor. This easy DIY project lets you add a personal touch to any candle, perfect for Halloween or any occasion!
Candles are one of my favorite ways to decorate. And, while I do love a scented candle, decorative candles are fun, too.
This year, I discovered a super fun and easy way to customize candles using temporary tattoos!
The best part? You can switch up the designs to fit any theme—whether you’re going for spooky Halloween ghosts or elegant spring florals.
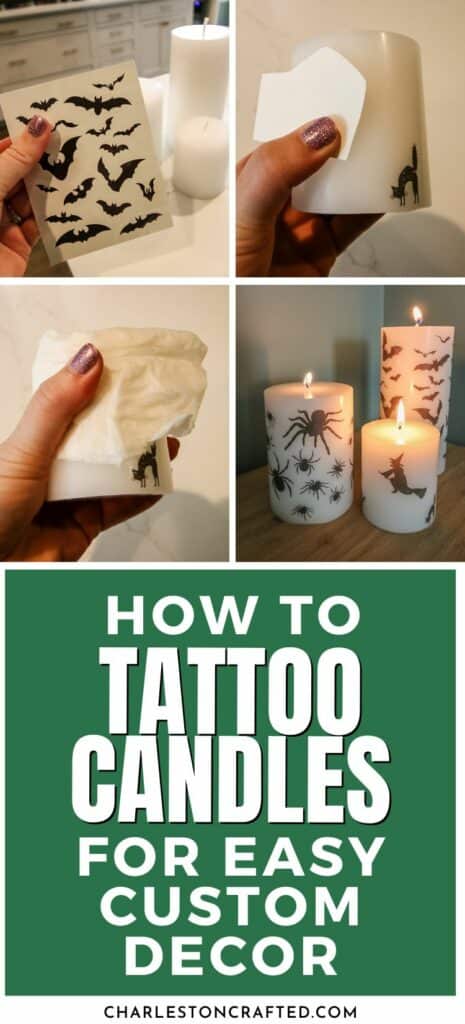
Tattooing candles is a quick way to elevate your decor and make it truly unique. Plus, it's a great project for all ages, so get the whole family involved!
Ready to learn how to tattoo candles? Let’s jump in!
How to Tattoo Candles
Here's how easy it is to customize candles with temporary tattoos!
Supplies Needed:
- Pillar-style candle in white or a contrasting color to your tattoo
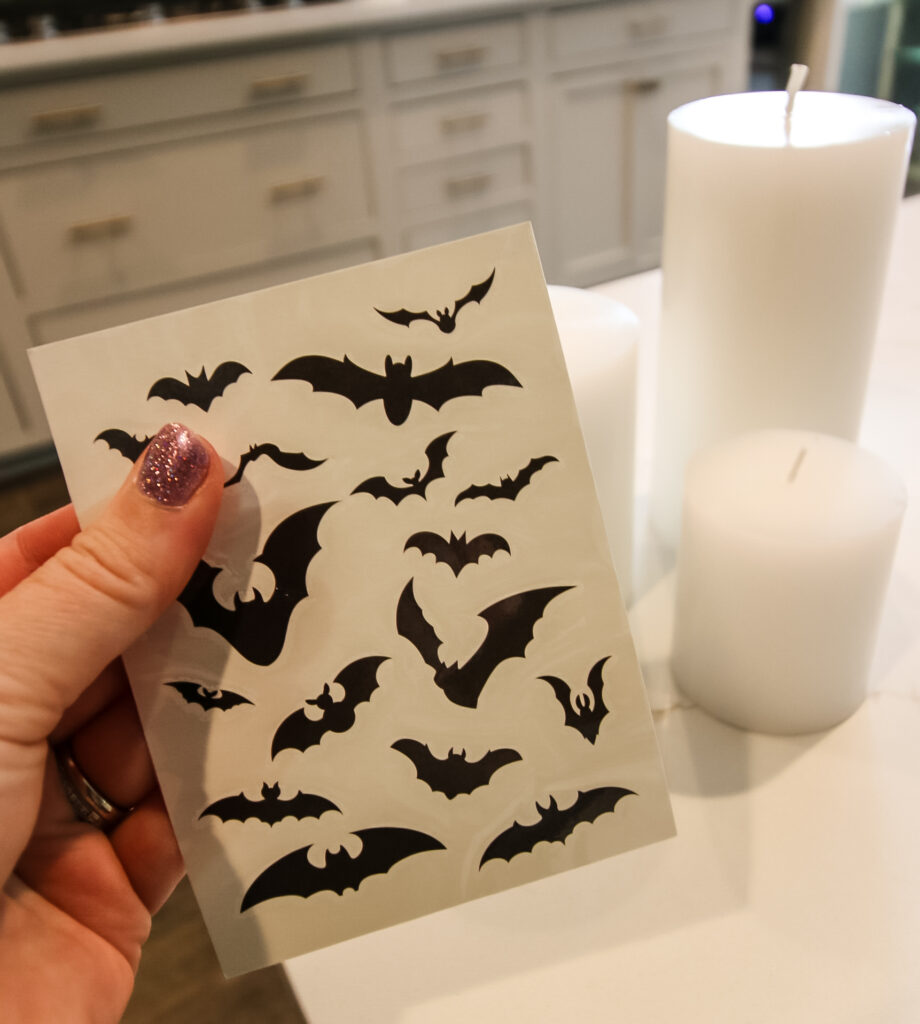
- Temporary tattoos (I used these Halloween tattoos, choose any theme you like)
- Scissors
- Paper towel
- Water
Steps to Tattoo Candles:
Step 1: Prepare the Tattoos and Candle
Start by choosing a pillar-style candle in a color that contrasts nicely with your tattoos. White works well for most designs, but feel free to get creative!
If your tattoo sheet has multiple designs, use scissors to carefully cut them out, separating the tattoos if needed.
You can apply the tattoos individually or as a sheet, depending on the look you're going for. Leaving sheets or strips together will save time!
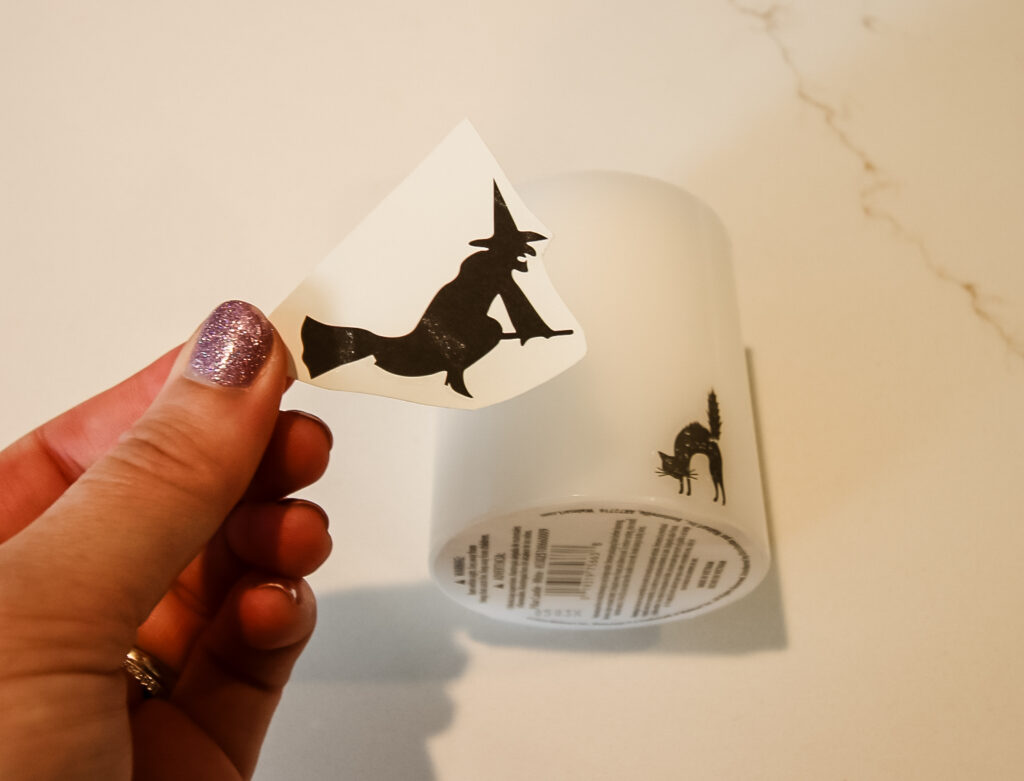
Step 2: Apply the Tattoos
Peel off the clear protective sheet from the tattoo, exposing the sticky side. Position the tattoo on the candle, pressing it firmly onto the wax.
If you're using a larger sheet, you can apply multiple tattoos at once, which can save time and create a cohesive design.
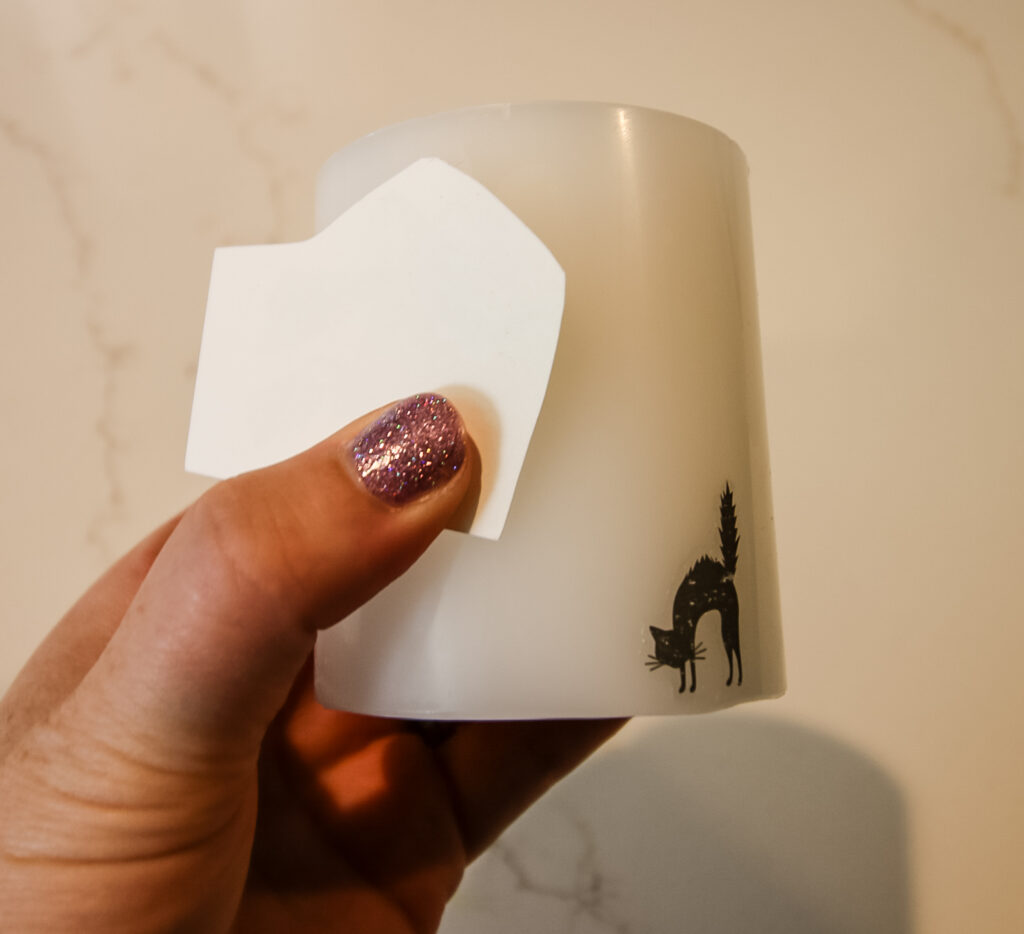
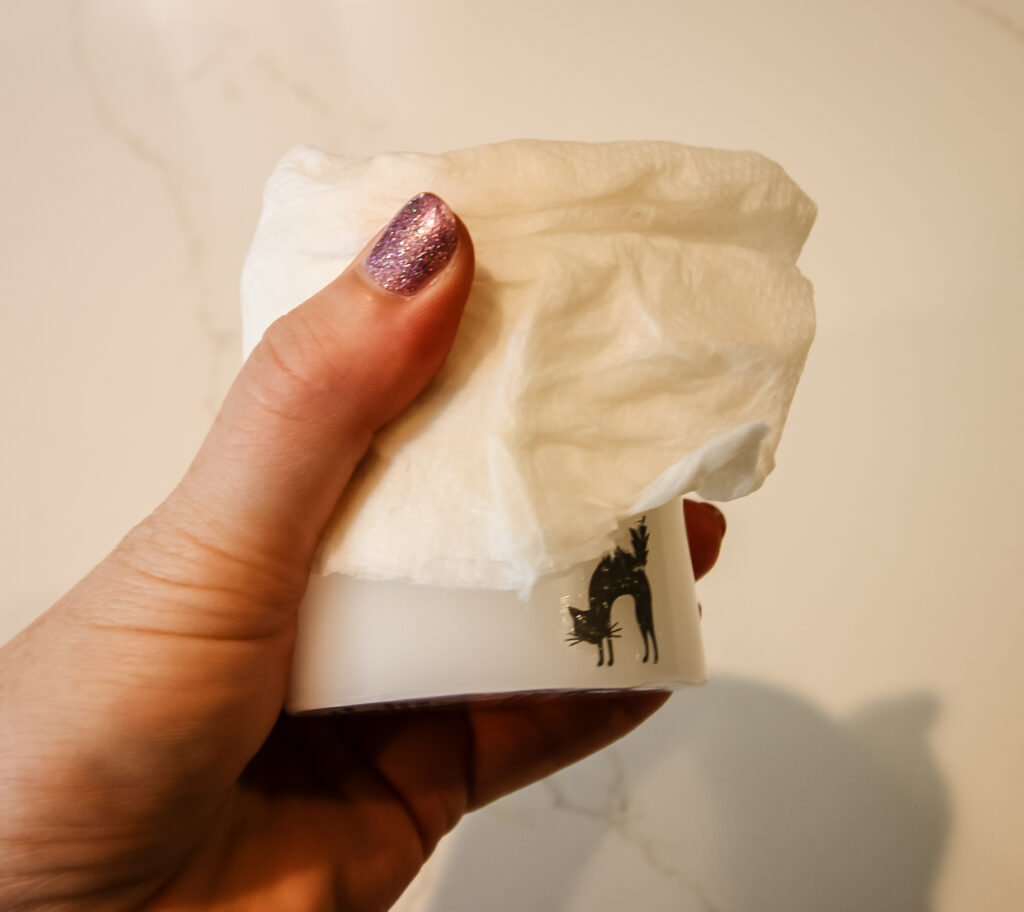
Step 3: Transfer the Tattoo
Grab a wet paper towel and press it firmly onto the back of the tattoo, making sure it’s fully saturated.
Count to 30, pressing evenly to ensure the tattoo transfers completely onto the candle.
Gently check to see if the backing will peel off easily. If not, press the wet paper towel again or re-wet it and hold for a bit longer.
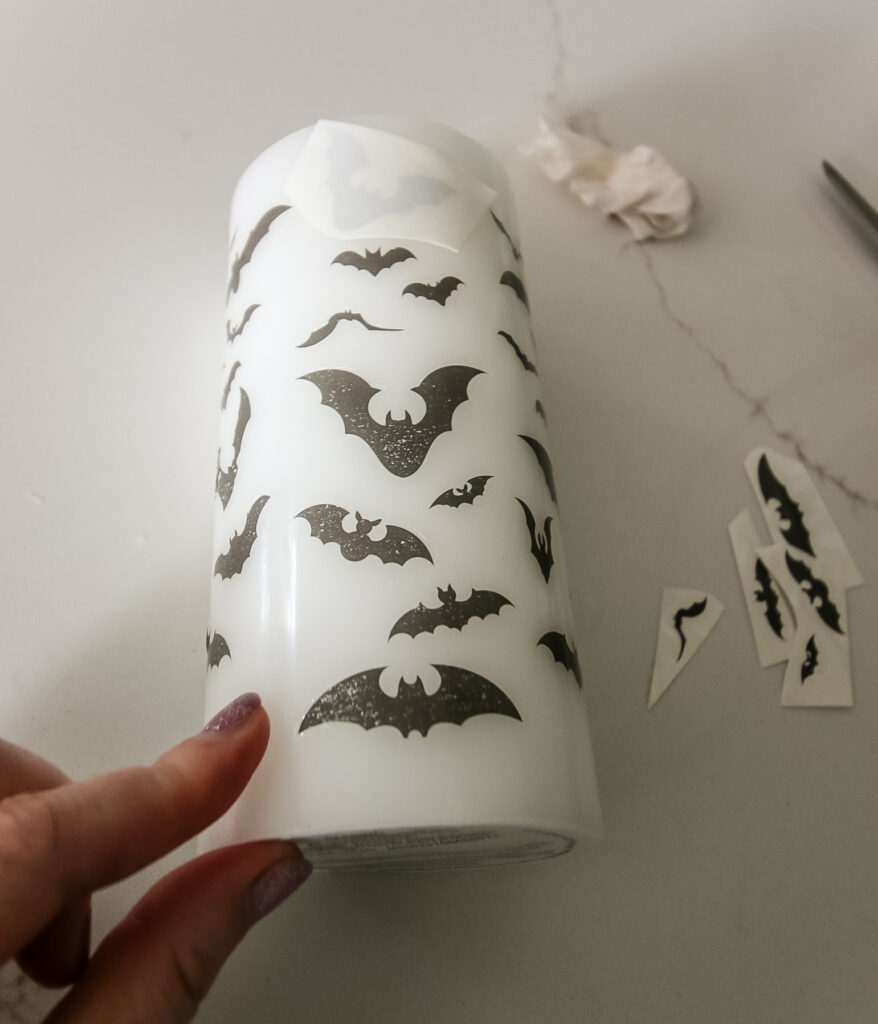
Step 4: Finish and Display
Once the tattoo has fully transferred, carefully peel off the backing and repeat around the candle until you’re happy with the design.
Let the candle dry completely before handling it heavily to ensure the tattoos set nicely. Now your custom tattooed candle is ready to be displayed and enjoyed!
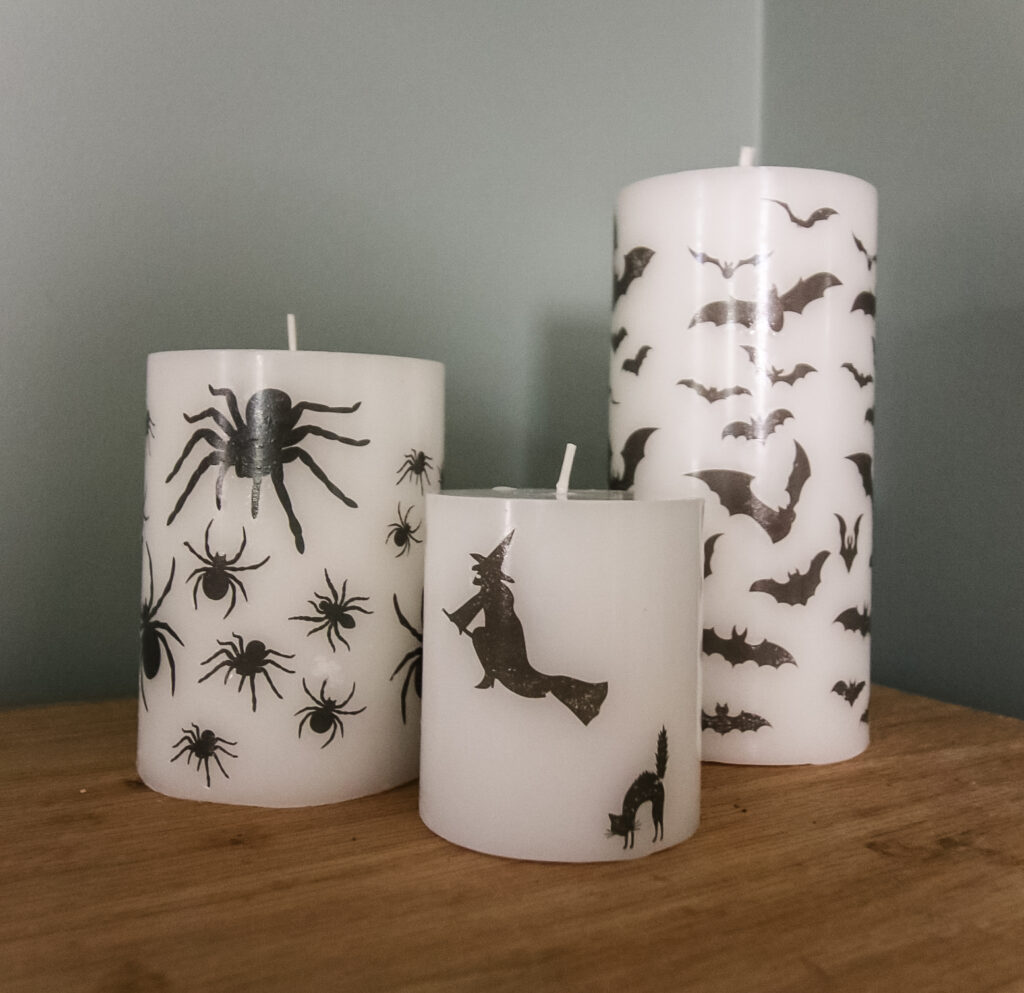
These tattooed candles are a fun and easy way to add a personal touch to your Halloween decor—or any occasion, really!
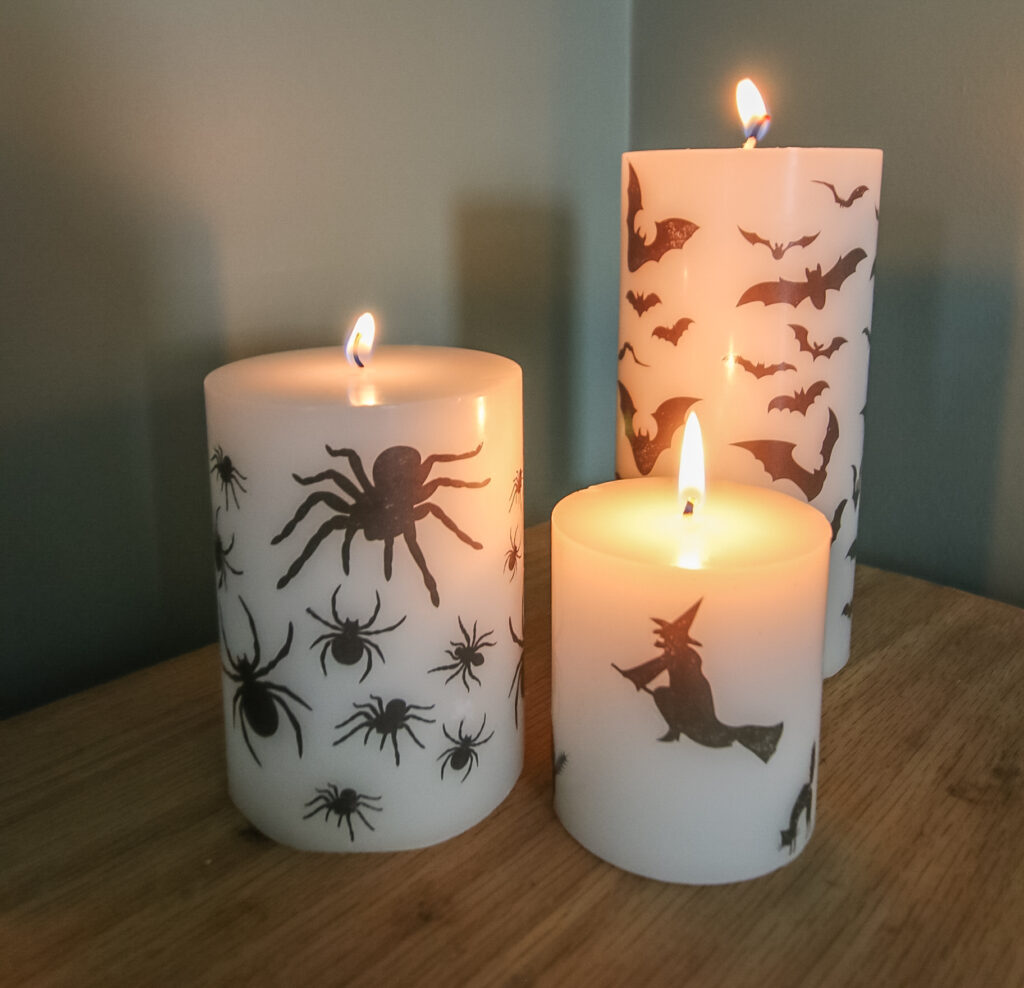
Whether you’re going for something spooky or sweet, this DIY is sure to be a hit. Happy decorating!
Planning a big Halloween?
Be sure to grab our FREE Halloween Decor Planner to get all of your plans organized!

Looking for something?
We've been doing this since 2012 so we have a LOT of blog posts!
Search stuff like: Ceiling Projects | DIY Plant Stands | Thrift Flips


Hello, I'm Morgan, half of the creative force behind CharlestonCrafted.com! With a passion for DIY that dates back to 2012, I've transformed three homes and now I'm dedicated to helping others craft their dream spaces. Let's turn your house into a home together!


