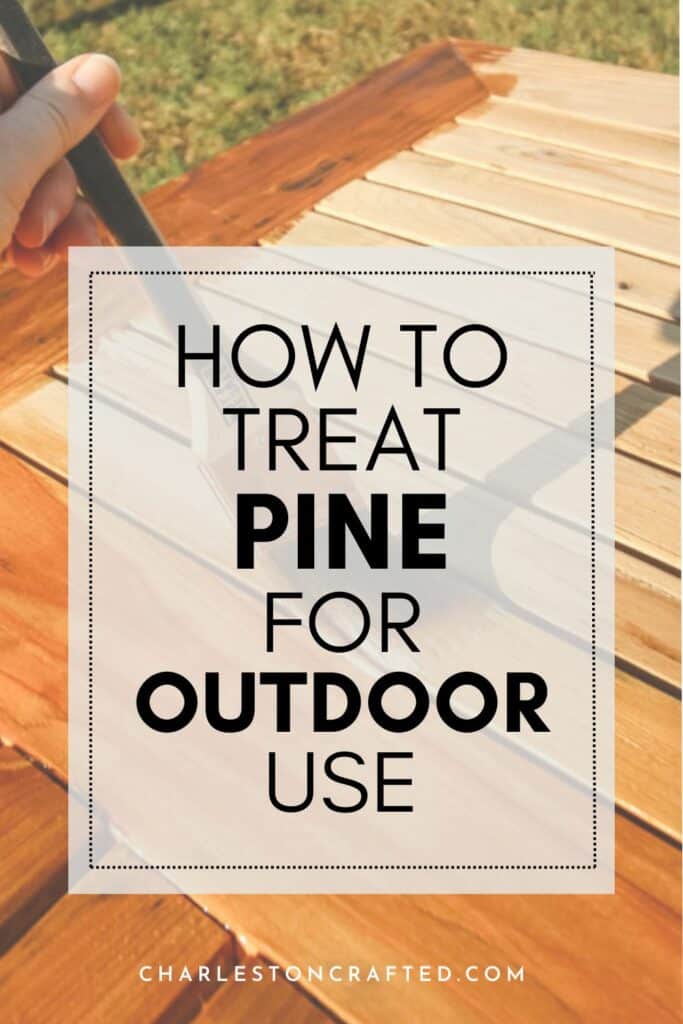
Learn how to treat pine for outdoor use with our easy-to-follow guide, making your pine projects durable against sun, rain, and humidity. Discover the best sealants and application tips for protecting your outdoor pine wood.
We love building outdoor projects, and even refinishing existing furniture to go outside on our patio.
But, we have learned the hard way that not all furniture can go outside. While certain wood types - like cedar or cypress - are naturally moisture and UV-resistant - other woods will rot quickly when exposed to the elements.
Pine wood is a popular choice for outdoor projects due to its affordability and versatility. However, untreated pine is not naturally resistant to the elements and can quickly deteriorate when exposed to sun, rain, and humidity.
In this guide, we'll walk you through how to properly treat pine for outdoor use to be sure that it lasts and looks great for years to come.
Why Treat Pine for Outdoor Use?
Treating pine is essential to protect it from:
- UV light and UV rays: Prevents wood from graying and cracking.
- Moisture and rot: Keeps wood from absorbing water, which can lead to rot and mold.
- Insects: Deters termites and other wood-boring insects from damaging the wood.
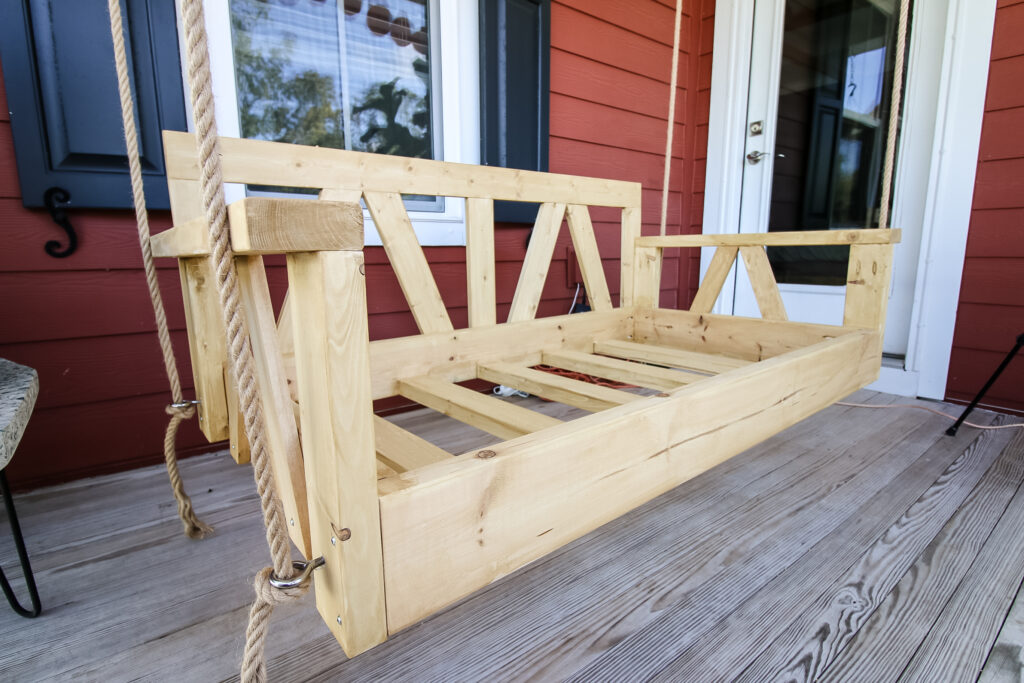
The best outdoor sealants for pine wood
When it comes to treating pine for outdoor use, you have a few options:
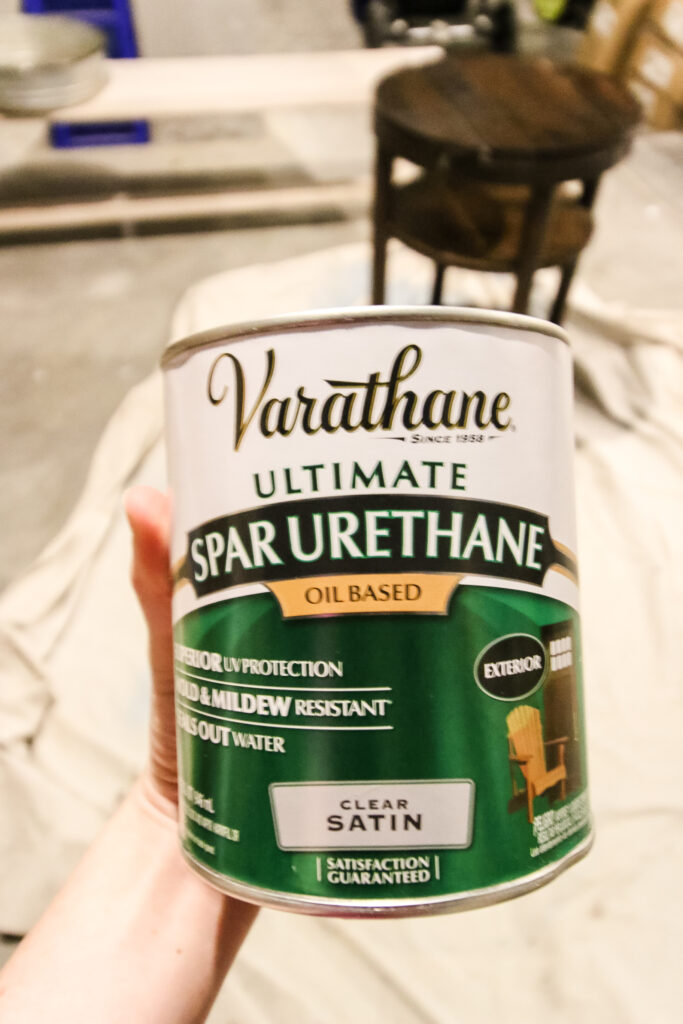
Spar Urethane
Spar urethane is a top choice for outdoor wood sealants. It's available in both water-based and oil-based formulas.
- Water-Based Spar Urethane: Dries quickly, has less odor, and provides a clear, cool finish. However, it usually requires more coats.
- Oil-Based Spar Urethane: Dries more slowly and has a stronger odor, but it provides a warmer tone and a more durable finish.
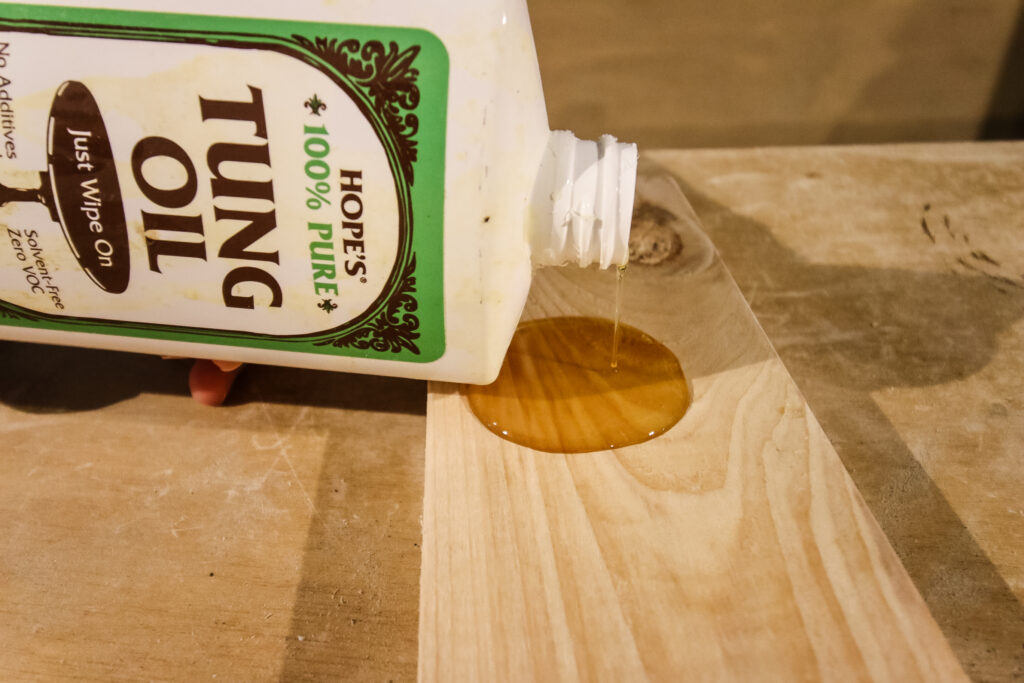
Tung Oil
Tung oil is a natural option for those who prefer a lower-chemical finish. It enhances the wood’s moisture resistance but requires annual reapplication for best results.
Read our complete guide on how to seal wood with tung oil!
Stain + Seal in One
If you want to add color and protection in one step, consider a stain and sealant combo designed for outdoor use. This option is especially useful for large projects like decks. Saving a step can save a ton of time on a big project!
How to Treat Pine for Outdoor Use
Here's what you need to seal your pine for outdoors!
Supplies Needed:
- Sanding block or sander
- Clean cloths
- Paintbrush or lint-free tack cloths
- Outdoor grade wood stain (optional)
- Outdoor grade wood sealant (Spar urethane or Tung oil)
- Safety gear: gloves, goggles, face mask
- Tarp or drop cloths
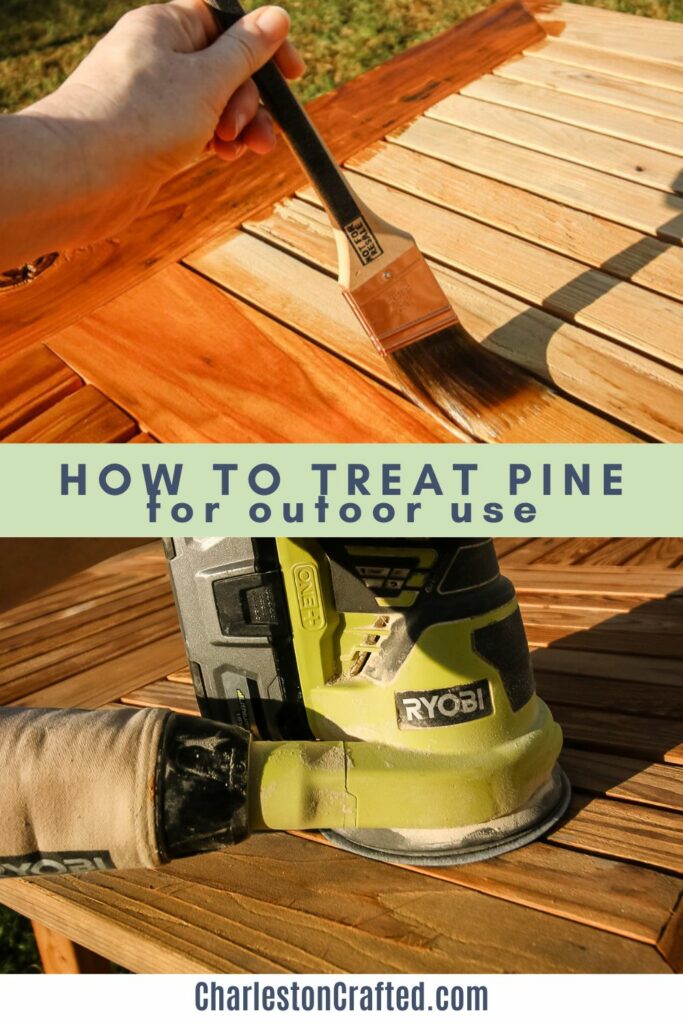
Steps to Treat Pine Wood for using Outside
Follow these simple steps to seal your pine for using outdoors!
Step 1: Sand the Wood
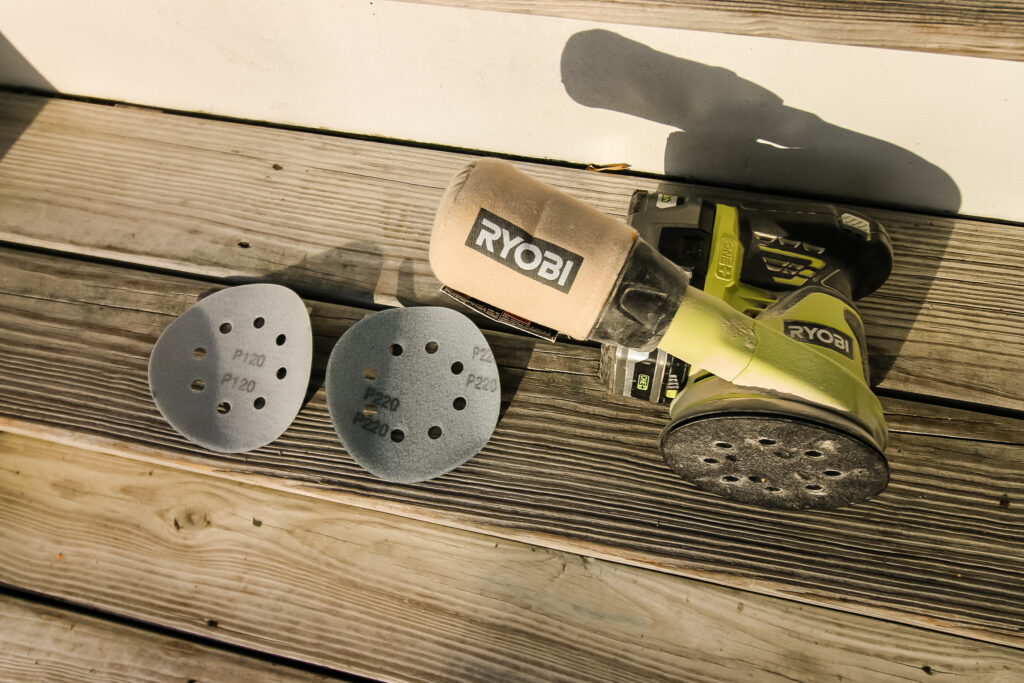
Start by sanding your pine wood to remove any rough spots and open up the wood grain. This step helps to make sure that the sealant or stain adheres properly.
- Use a coarse grit sandpaper (under 100 grit) to remove any existing finish or rough patches.
- Follow up with a finer grit sandpaper (220 grit) for a smooth finish.
Step 2: Clean the Wood
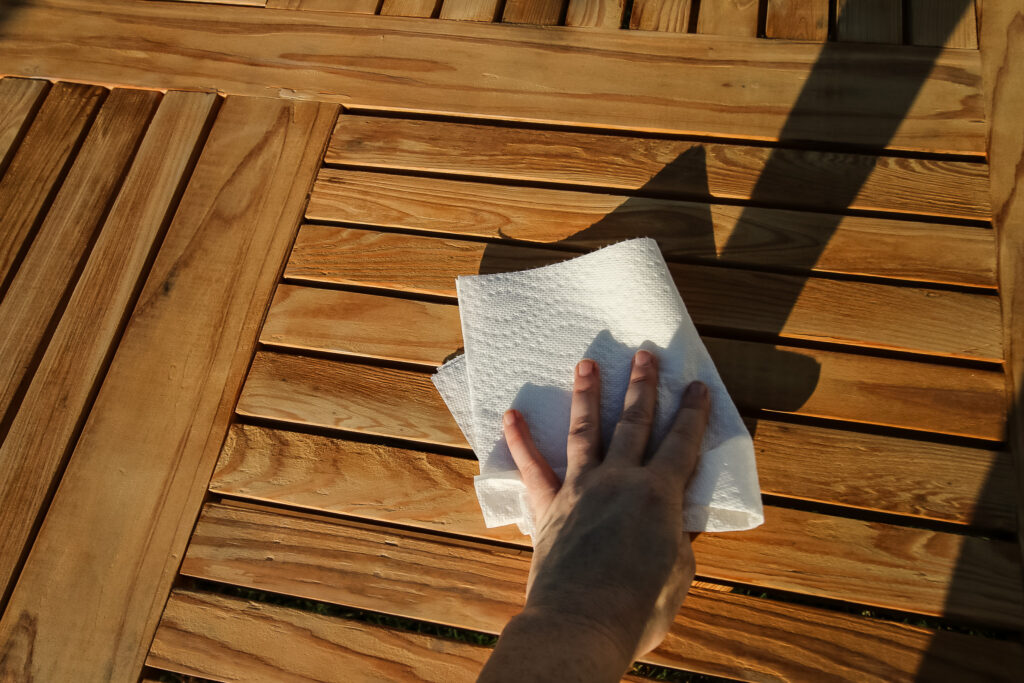
After sanding, wipe down the wood with a clean, slightly damp cloth to remove any dust and debris.
Allow the wood to dry completely before proceeding.
Step 3: Apply Stain (Optional)
If you want to change the color of your pine wood, apply an outdoor grade wood stain:
- Stir the stain well before use - don't shake cans of stain!
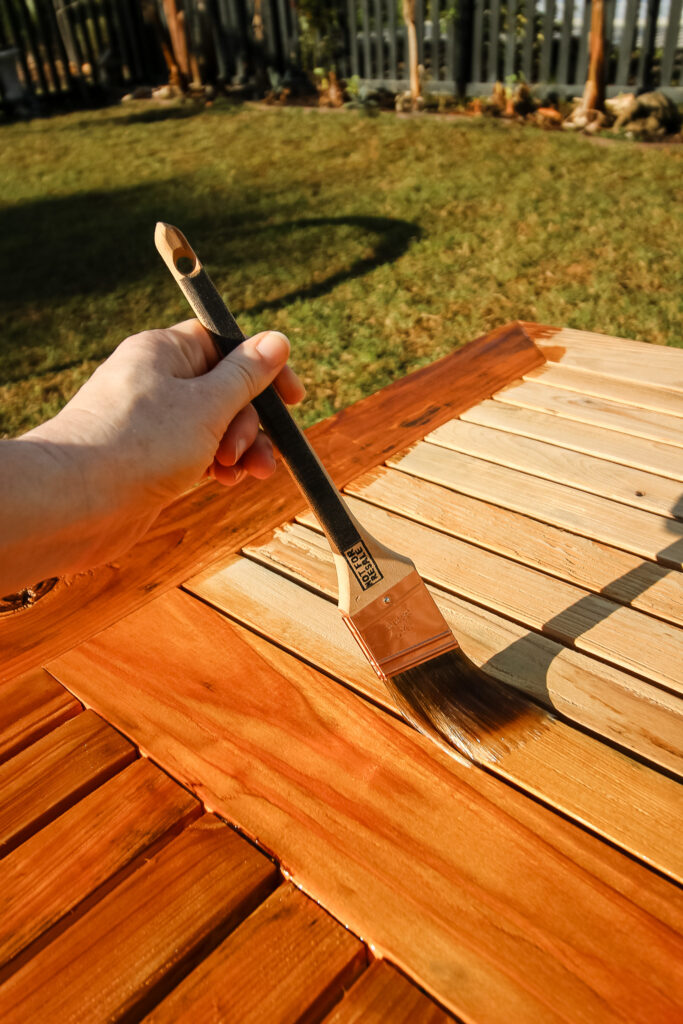
- Apply the stain in the direction of the wood grain using a lint-free cloth or brush.
- Wipe away any excess stain after a few minutes to avoid a sticky finish.
- Let the stain dry according to the manufacturer’s instructions. Apply a second coat if you want more coverage or a darker color.
- Let dry completely.
Step 4: Apply Sealant
Once the stain is dry (if you chose to stain), it’s time to apply the sealant:
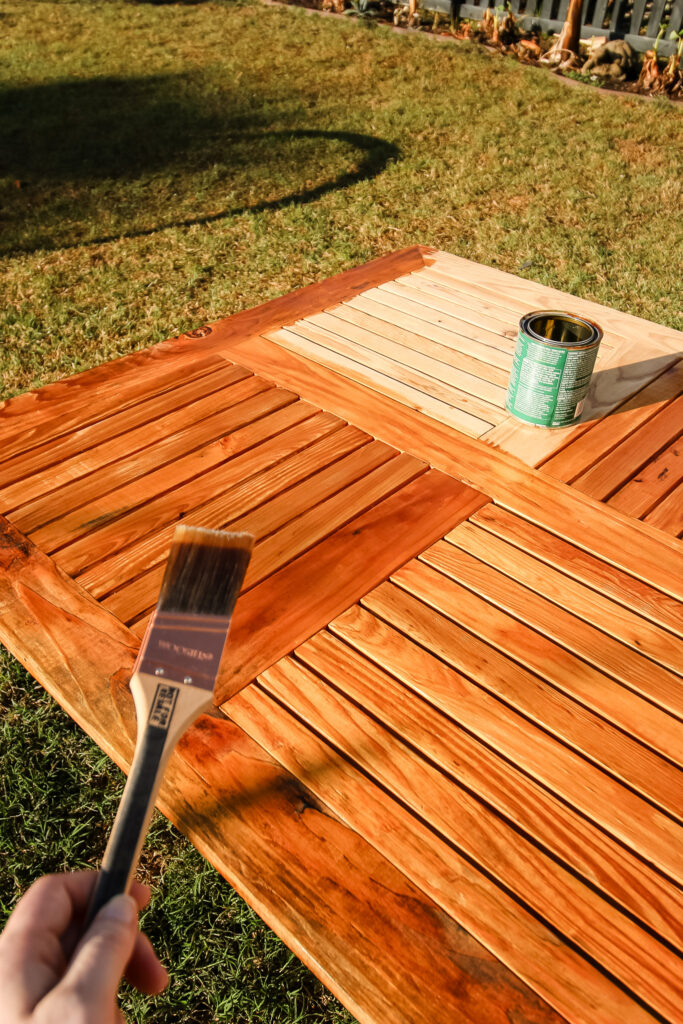
- Use a foam brush or paintbrush to apply a thin coat of spar urethane or tung oil in the direction of the wood grain.
- Avoid shaking the sealant can as this can create bubbles. Stir it instead.
- Ensure you cover all surfaces and edges to prevent water from seeping in.
- Let the first coat dry according to the manufacturer’s instructions, then lightly sand with fine grit sandpaper (220 grit) and wipe clean.
- Apply additional coats (2-4 coats recommended), allowing each coat to dry thoroughly and sanding lightly between coats.
Step 5: Let Dry
Allow the final coat of sealant to dry completely before using your pine furniture or project. This can take several days, depending on the sealant used and environmental conditions.
Additional Tips
- Keep Covered: Even treated wood benefits from additional protection. If possible, keep your pine furniture under a covered area to extend its life.
- Reapply Annually: For the best long-term protection, reapply the sealant annually, especially if the wood is exposed to harsh weather conditions.
- Pay Attention to Sheen: Many brands of sealant come in a glossy finish as well as a matte or eggshell finish. Pay attention to what you are buying and make sure it's the finish you want!
By following these steps, you can ensure that your pine wood projects remain durable and beautiful for outdoor use. Happy woodworking!
Looking for something?
We've been doing this since 2012 so we have a LOT of blog posts!
Search stuff like: Ceiling Projects | DIY Plant Stands | Thrift Flips


Hello, I'm Morgan, half of the creative force behind CharlestonCrafted.com! With a passion for DIY that dates back to 2012, I've transformed three homes and now I'm dedicated to helping others craft their dream spaces. Let's turn your house into a home together!


