A miter saw is a very common tool in a DIY homeowner's garage and is very useful in a lot of projects. Here's the proper way to use the different parts of a miter saw!
The miter saw is arguably the most versatile and most critical woodworking tool that any woodworker should start with. Miter saws are great for making quick, easy cuts at a variety of angles.
There's a lot that you can do with a miter saw, but they can also be used the wrong way and can be very dangerous. If you're a beginning woodworker or a hobbyist, we'll teach you about how to use a miter saw in this post to get you started.

When should I use a miter saw?
You should use a miter saw for a lot of reasons. Miter saws can make tons of types of cuts at tons of different angles.
Miter saws are excellent for repetitive, straight cuts through boards. Most miter saws allow you to set up a stop so that you can repeat cuts easily and accurately.
All miter saws come with a fence, which is the wall against where your board rests. This allows you to make all your cuts at the right angle.
Miter saws have tons of uses!
- Trim Installation (baseboards, window casing, door casing, etc.) – miter saws are the perfect tool to make 45 and other angled cuts for hanging molding.
- Crown Molding – crown molding is a bit more complicated to cut - but a miter saw is necessary to do it. Most miter saws will come with a guide for the exact spots to set your miter saw in order to make your crown molding cuts.
- Almost any building project - miter saws can work as your chop saw to quickly make straight or angled cuts. If you want to make a table, bed, desk or anything, a miter saw can do most of the work for you.

What types of cuts can a miter saw make?
A miter saw can make straight cuts, miter cuts, and bevel cuts.
- A miter is an angled cut made across the face, or width, of a board.
- A bevel is an angled cut made through the thickness of a board.
What is the difference between a compound and sliding miter saw?
Compound miter saws cut more than just simple angles. They pivot so you can turn the blade and cut a beveled cut. This means you can make miter cuts, bevel cuts, or a compound of both at the same time.
Sliding miter saws have rails that allow you to slide the blade back and forth and therefore make wider cuts. Sliding miter saws can do everything compound miter saws can do, and then some.
Most miter saws are compound sliding bevel saws these days!
What size miter saw do I need?
Most miter saw brands carry at least three size saws, each with a progressively larger blade. Usually, you'll see 7 ¼", 10" and 12" saws.
We initially had a 7 ¼" saw because it was the cheapest when we were starting out. It worked fine for us for a long time, but it can require some trickery when cutting bigger boards. We upgraded to the 12" saw and would recommend that to anyone that thinks they will use the saw with any regularity.
With a sliding compound 12" miter saw, we have never had any board we couldn't cut. It has a huge range, both for cross cuts and miter cuts.
How can I build a stand for my miter saw?
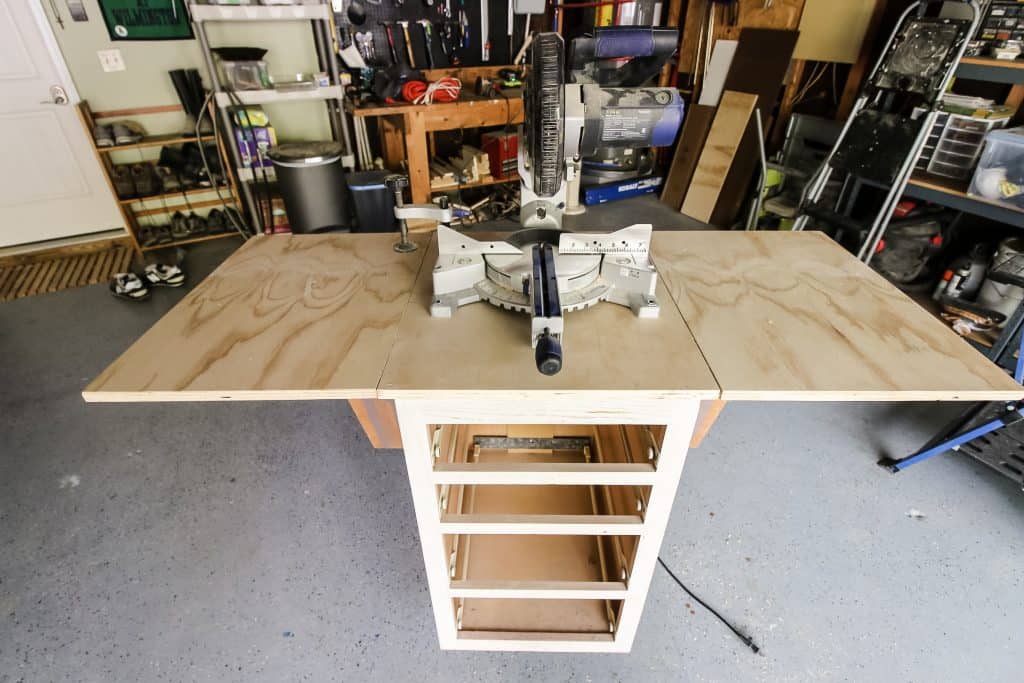
We upcycled an old cabinet into a rolling miter saw stand! You can build a workbench or any type of table. Each brand of saw will usually also offer a miter saw stand as well that fits their brand saws.
Miter saw safety
Miter saws are relatively safe for power tools - but it is still important to use proper safety. Here's how to safely use a miter saw:
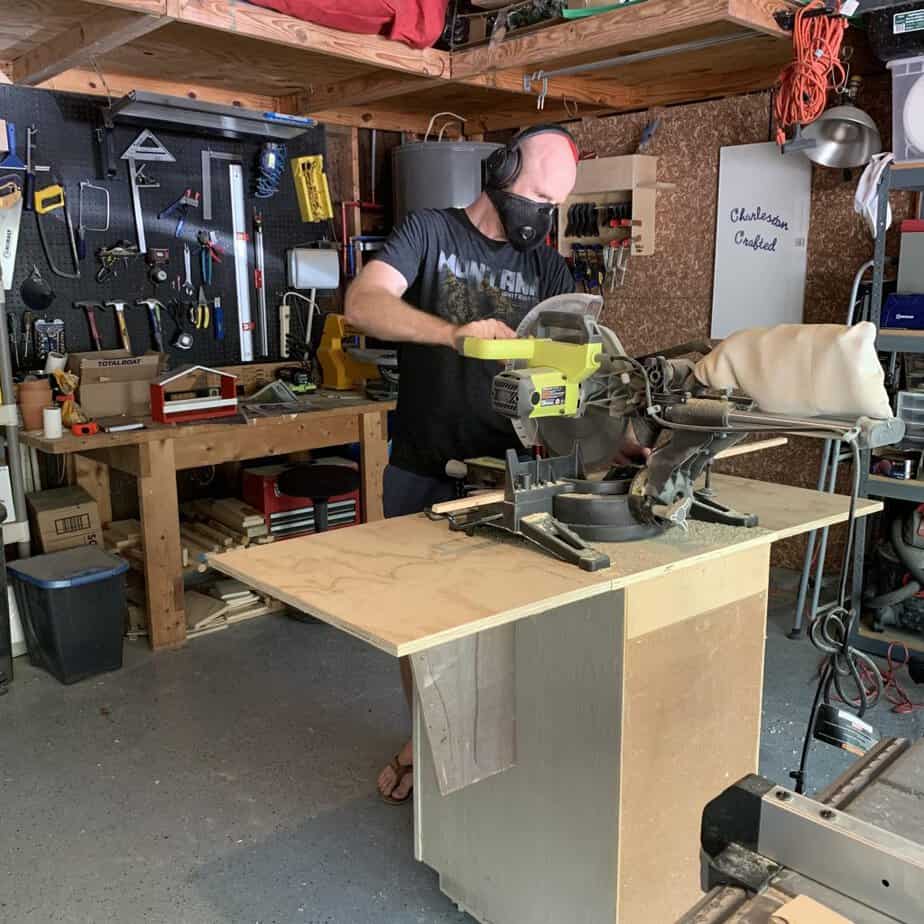
- Wear safety gear - eye and ear protection - when using this saw.
- Don't touch or reach towards or around the blade when it is spinning.
- Unplug the saw when not in use - don't just cut off the power switch.
- Let the blade come to a complete stop before lifting it between cuts.
- Keep your fingers at least 6 inches from the blade AND the path of the blade.
- Make sure the saw is secure, on a stand or on the ground, before operating.
How to use a miter saw
A miter saw has a few parts you will want to familiarize yourself with. The trigger is the main part that functions the entire thing. Be sure everything else is in place and ready to go before pulling the trigger.
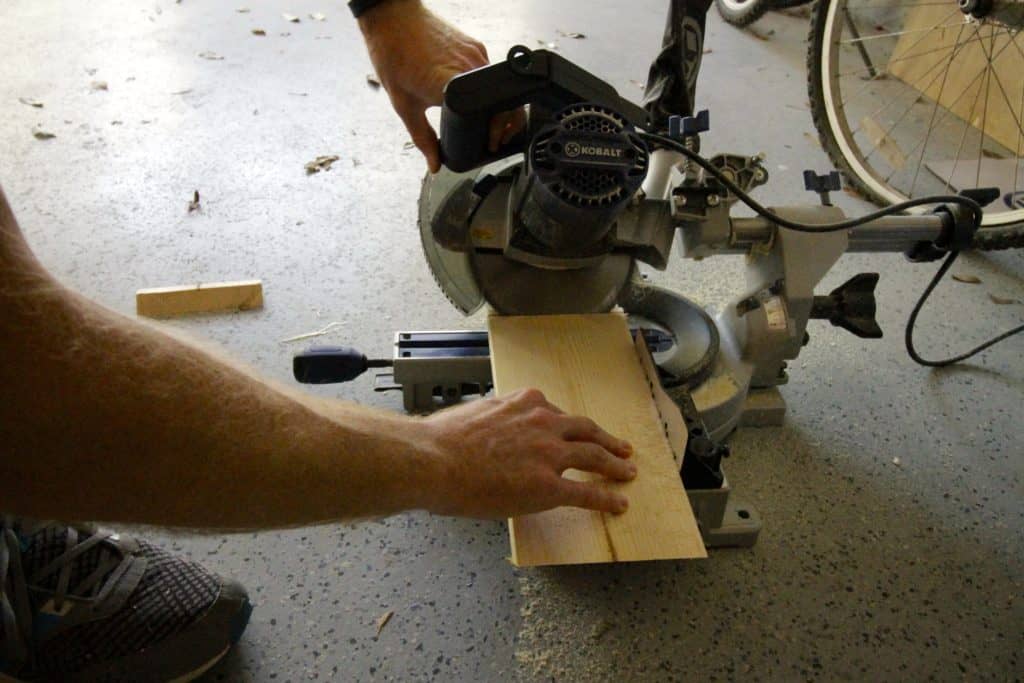
To use a miter saw, mark on your board where you want to make your cut. Then, put your board on the saw base and flush with the fence on the back.
Then, line up the blade on that line. Some miter saws have a laser that shows where the cut will be made, but you can also just line up the blade on the board before pulling the trigger.
When you pull the trigger, make sure the blade is not touching the wood. Move the blade down onto the board and make a smooth motion from front to back.
Here's an old video we did on how to operate a miter saw:
The blade & guard
The blade is the most dangerous part of a miter saw. Miter saws come equipped with a guard that rotates out of the way when you bring the blade down and rotates back up to protect you when you bring the blade up. If this isn't functioning, do not operate the saw.
The fence
The fence is the vertical plate on the back of the saw for your board to rest against. This keeps your board in place as you cut and makes sure you're cutting straight lines.
Handle/switch
The handle is going to have the switch on it. Make sure to be careful when pulling the handle down that you don't depress the trigger switch before you're ready.
Miter gauge
The miter gauge is the part of the base that rotates to create angled cuts. You can set your base to as many angles as your saw allows. Most sliding compound miter saws will come with 45 degree swings in both directions.
How to make cuts using a miter saw
Miter saws are really powerful, useful tools! Here is a step by step guide how to use a miter saw.
How to make a miter cut
Set your miter gauge on the base of your saw to be the angle that you want cut. Line up your marked line with the blade and pull the blade down. The entire blade will have shifted to line up with the miter gauge.
How to make a bevel cut
Bevel cuts are made by tilting the head of your saw to the side and setting the angle you want. Bevel cuts can be the most dangerous, because you're less used to the angle that the blade is coming down from the side.

Click here to read our full guide and video on how to hang crown molding.
What miter saw is the best?
We have used a few miter saws, but currently own a 12" Ryobi miter saw. It is huge and is a go-to saw in our shop.
Buy this saw at the Home Depot today!
Any other questions about miter saws?
Looking for something?
We've been doing this since 2012 so we have a LOT of blog posts!
Search stuff like: Ceiling Projects | DIY Plant Stands | Thrift Flips


Hello, I'm Morgan, half of the creative force behind CharlestonCrafted.com! With a passion for DIY that dates back to 2012, I've transformed three homes and now I'm dedicated to helping others craft their dream spaces. Let's turn your house into a home together!


[…] How to use a miter saw: Power Tool Basics for Beginners […]