Want to use tung oil for a beautiful, durable wood finish? Here is a complete guide on how to use tung oil on wood projects!
Building a wood projects is incredibly satisfying. But, finishing the build can make or break the project.
You want to be sure that your project is sealed and protected so that it will last for as long as possible, and not be easily damaged by normal wear and tear.
We recently put six of the most popular natural wood finishes to the test, and one of our very favorites was tung oil.
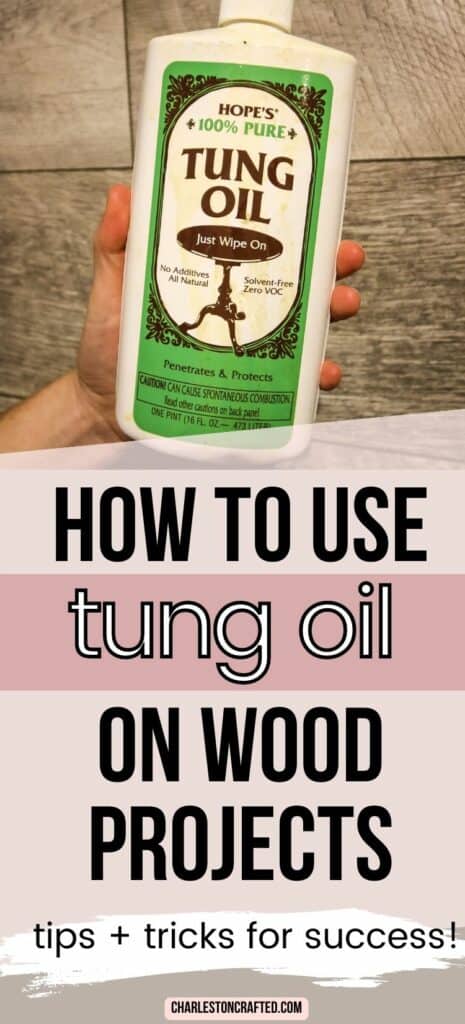
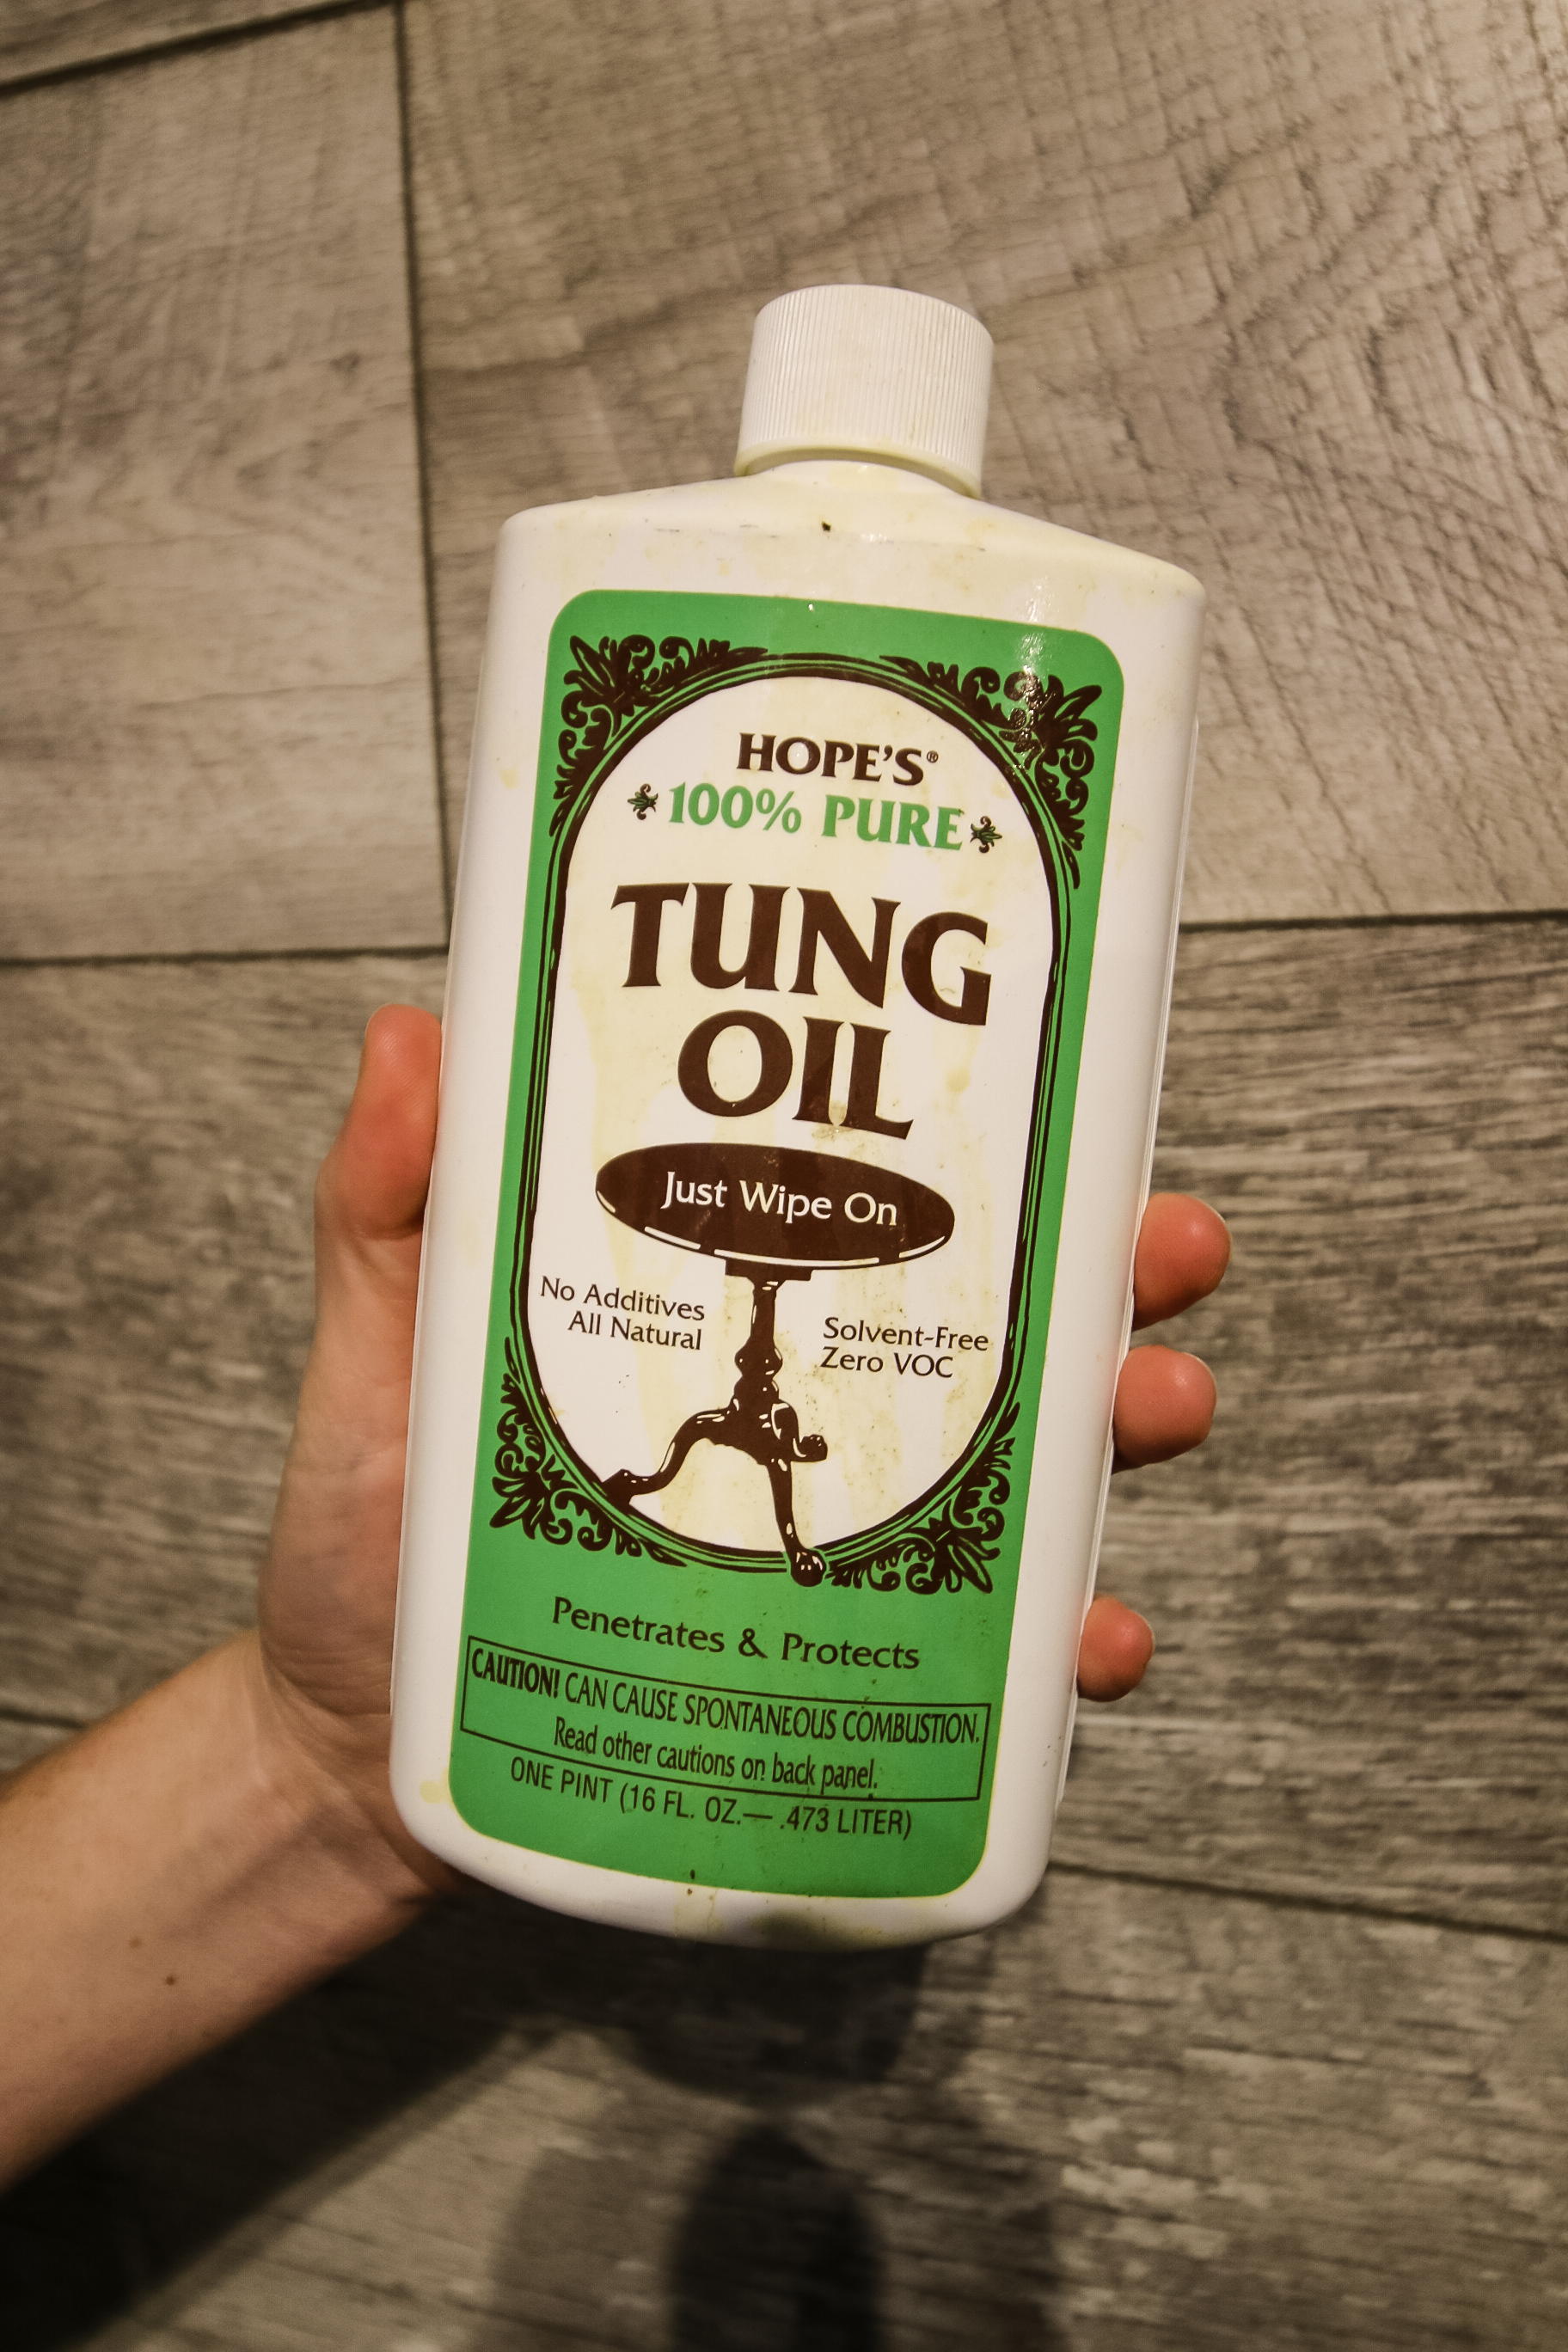
What is tung oil?
Tung oil is an oil extracted from seeds of the tung tree. It is a drying oil, meaning that it dries as a hard, dry surface coat.
Tung oil penetrates deeply into the wood fibers, providing excellent protection against moisture, stains, and scratches.
Tung oil is a popular finish for wood and woodworking. Let's dive into what makes tung oil so great!
What are the advantages of tung oil?
Here are some of the reasons that people love using a pure tung oil wood finish:
- Finish does not yellow over time
- Creates a water-resistant finish
- Naturally mildew-resistant
- Dries quickly
- Food safe finish
- Considered eco-friendly
- Works on finished, painted, and bare wood
- Flexible finish that moves with the wood as it expands and contracts
- No VOCs or other harmful chemicals
What are the disadvantages of tung oil?
There are a few drawbacks to using tung oil:
- Depending on the wood type you are finishing, you may want to thin down your tung oil. This is not exactly hard to do, but can be a bit of an experimental process at first.
- This oil is made from a nut/seed. If you have nut allergies, you might not want to use this oil, or consult your doctor.
- Tung oil can be more expensive than other oils on an ounce to ounce basis.
- Tung oil blends - anything NOT called "pure tung oil" can be mixed with petroleum based additives to speed up dry time and make the oil in general cheaper to manufacture.
What materials can you use tung oil on?
Tung oil can be used on wood that is painted, stained, or raw. It is great for wood floors, cabinetry, cutting boards, decks, siding, guitars, wood countertops, handmade wooden toys, and furniture.
Tung oil can also be used on bamboo, concrete, brick, stone, and metal surfaces.
What is the proper way to apply tung oil?
Mineral oil should be applied with a brush or lint-free rag. You should apply it in the direction of the grain of the wood and let it absorb for the time indicated on your bottle of tung oil. You want to do at least 3 coats and rub with ultra fine steel wool in between coats.
How many coats of tung oil should be used?
Most tung oil brands recommend that you use at least 3 coats of tung oil for the strongest possible finish on your surface. If your wood surface is particularly porous (like very dry unfinished wood), it might require extra coats for full coverage.
How long should tung oil sit before wiping?
Generally your wood has absorbed as much oil as it is going to absorb after 30 minutes. At that point, wipe off any excess. Pooling oil can drive with a thick, weird looking finish that will have to be sanded off.
How long should tung oil dry before the second coat?
Follow the instructions on your bottle, but most tung oil brands recommend waiting 24 hours in between coats. You can sand with ultra fine steel wool in between coats for the smoothest possible finish.
Do I need to seal after tung oil?
No - tung oil is the sealant. You do not need to apply another sealant on top of your tung oil.
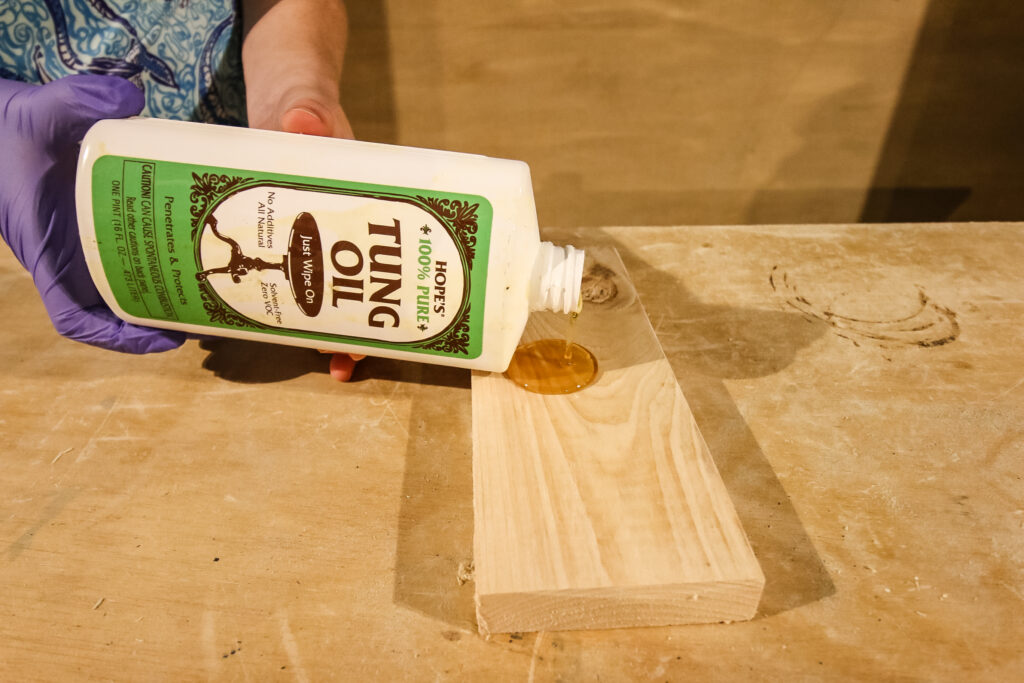
Step-by-Step Guide on How to Use Tung Oil on Wood Projects
The general process of applying tung oil is fairly straight forward.
STEP 1: Prepare the Surface
It is super important that your wood surface is clean of oil, dirt, grease, and anything else. Anything that is on your wood will be sealed on there, so be sure it is clean.
Sand the wood to a smooth finish with a fine grit sandpaper - I like a 220 grit.
Clean the surface with a tack cloth or lint-free cloth to remove any remaining dust or debris.
STEP 2: Apply the Tung Oil
I prefer to use a lint-free cloth to apply tung oil, but you can also use a paint brush.
Mix the tung oil thoroughly before application, according to any instructions on your bottle.
Apply a thin coat of tung oil using a brush or lint-free cloth. It's usually best to apply the oil to your cloth and use the cloth to spread it along the wood surface.
Work in the direction of the wood grain and pay attention to be sure you don't miss any spots.
Allow the oil to penetrate the wood for 15-30 minutes before wiping off any excess oil with a clean cloth.
STEP 3: Allow the Oil to Dry
Let the oil dry for 24-48 hours before applying a second coat.
Sand the surface lightly with a fine-grit sandpaper or steel wool before applying the second coat.
STEP 4: Repeat the Process
Apply additional coats of tung oil as needed, typically 3-5 coats for a durable finish.
Sand the surface lightly between coats for an ultra-smooth finish.
STEP 5: Allow the Final Coat to Cure
Allow the final coat to cure for at least 7 days before using the finished piece.
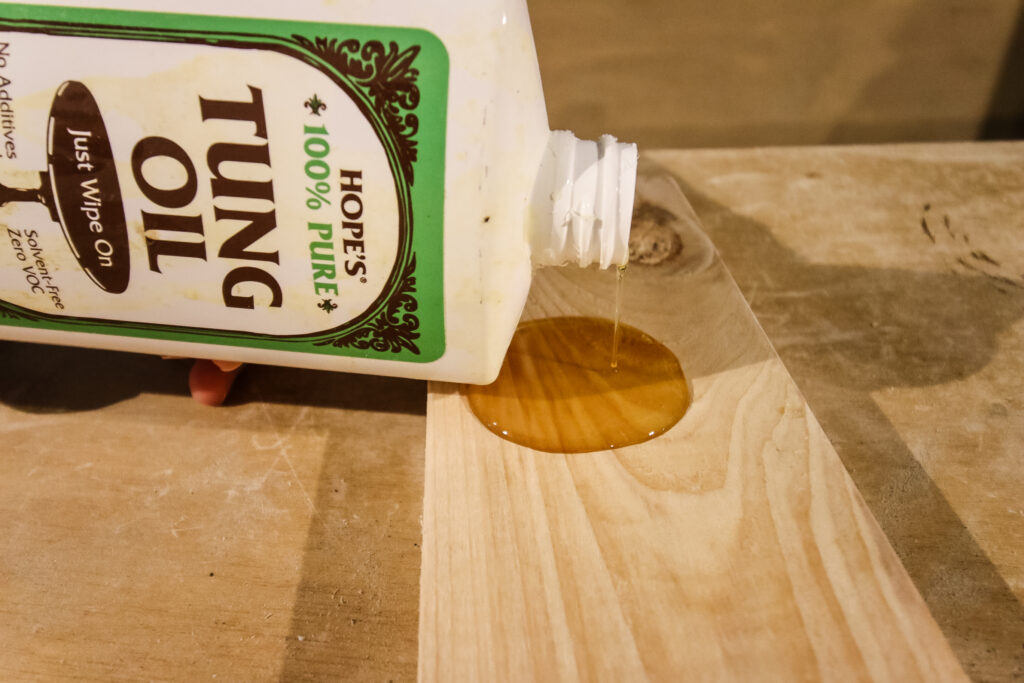
Tips for Using Tung Oil on Wood Projects
- Work in a well-ventilated area
- Avoid applying too much tung oil, as this can result in a sticky finish
- Use a clean brush or cloth for each coat of oil
- Dispose of used rags or cloths properly to prevent combustion. Oily rags should be hung to air dry. Rags that are balled up in a bin have been known to spontaneously combust.
- If you choose to thin your tung oil with mineral spirits to improve penetration of the wood, remember that that will make the oil no longer food-safe!
How to touch up damaged tung oil sealed wood
If you need to touch up a damaged spot on your tung oil sealed wood, it is just as easy as the initial application. Sand off any damage and then apply the oil as listed above, until it matches the rest of your project.
Any more questions about tung oil?
Looking for something?
We've been doing this since 2012 so we have a LOT of blog posts!
Search stuff like: Ceiling Projects | DIY Plant Stands | Thrift Flips


Hello, I'm Morgan, half of the creative force behind CharlestonCrafted.com! With a passion for DIY that dates back to 2012, I've transformed three homes and now I'm dedicated to helping others craft their dream spaces. Let's turn your house into a home together!


