We've come to the last piece of our sunroom refresh plan with this narwhal plywood painting and frame.
We've done a number of projects, including building a geometric coffee table, a waterfall side table and tall wooden lanterns. We also bought a new couch and got some new plants and we're loving our new space.
We didn't get to everything we originally talked about, but we decided that this will be the end of this phase of the refresh. Depending on how long we end up staying in this house, we might come back and do more (mainly, add faux beams and swap out ceiling fans!)
Now we're ready to move on to another room!
Narwhal Plywood Painting and Frame
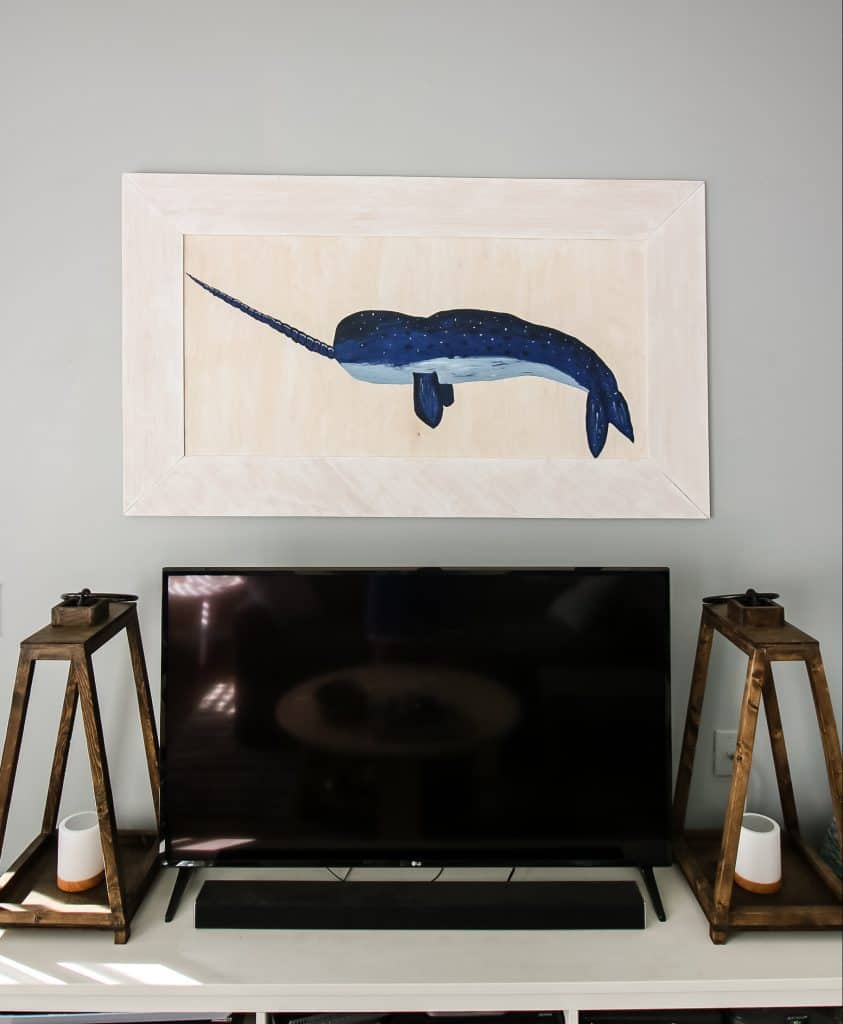
We hung a gallery of photos we've taken of beautiful Charleston doors after we first moved in. We love this gallery wall, but decided to hang a huge piece of art instead! I got some comments on Instagram about loving the door gallery wall. I loved it too, I just like to change up my decor occasionally. The gallery wall has been up a couple of years and for me it was time for a change.
We've painted our own art in our house before because large pieces of art are so expensive! We did a wood grain painting too, which sparked the idea for painting a narwhal on plywood.
Here are all of my favorite Large DIY Wall Decor Ideas!
Painting
The canvas that I worked with was a sheet of ½" 2 foot x 4 foot birch plywood. I carefully went thru the whole stack at the store until I found what I thought was the best piece.
I gave the whole thing a few coats of a white stain. This really brought down the yellow tones of the raw wood, but still let the grain shine thru. The grain makes me think of waves in the water, so I didn't want to lose that!
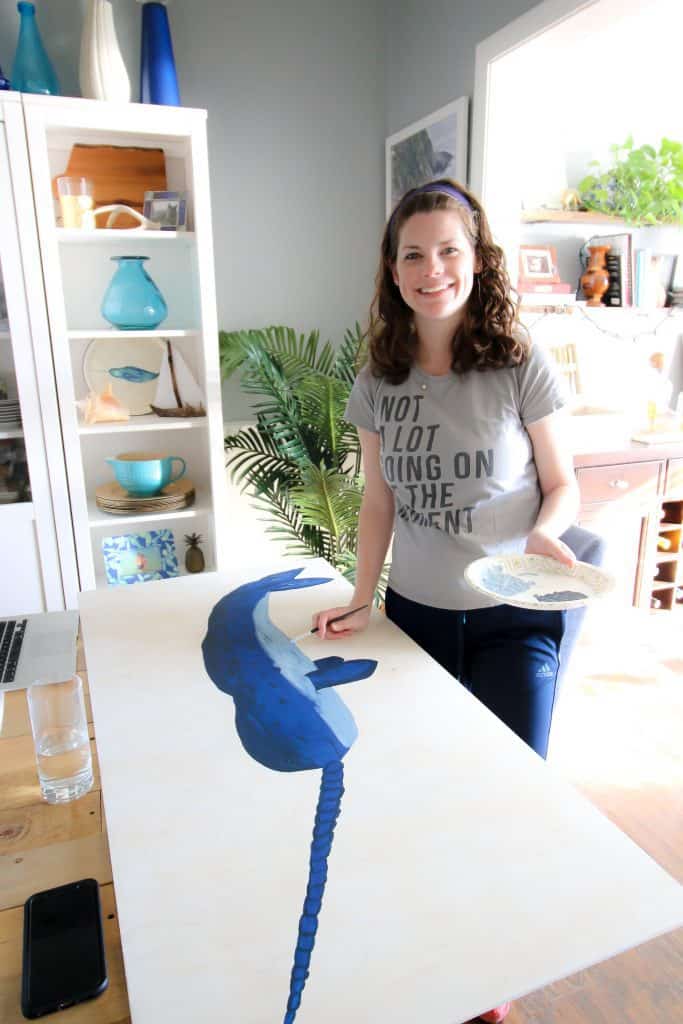
Once that was dry, I used a pencil to sketch my design. Sean & I love narwhals - I don't even know where it started. So, I decided to paint a narwhal for our room. I googled "narwhal painting" for inspiration and combined elements that I liked from a few different ones.
My tips for painting something like this is to use pencil and have a big eraser on had. Ha ha! Sketch out a light outline and then work section by section (tail, belly, head, horn, etc) to erase and re-draw and erase and re-draw until you are satisfied. I spent a long time re-doing it to get a look I was happy with.
Then came time to paint. I started with a navy blue color and filled the whole thing in with 2 coats. I used regular acrylic craft paint.
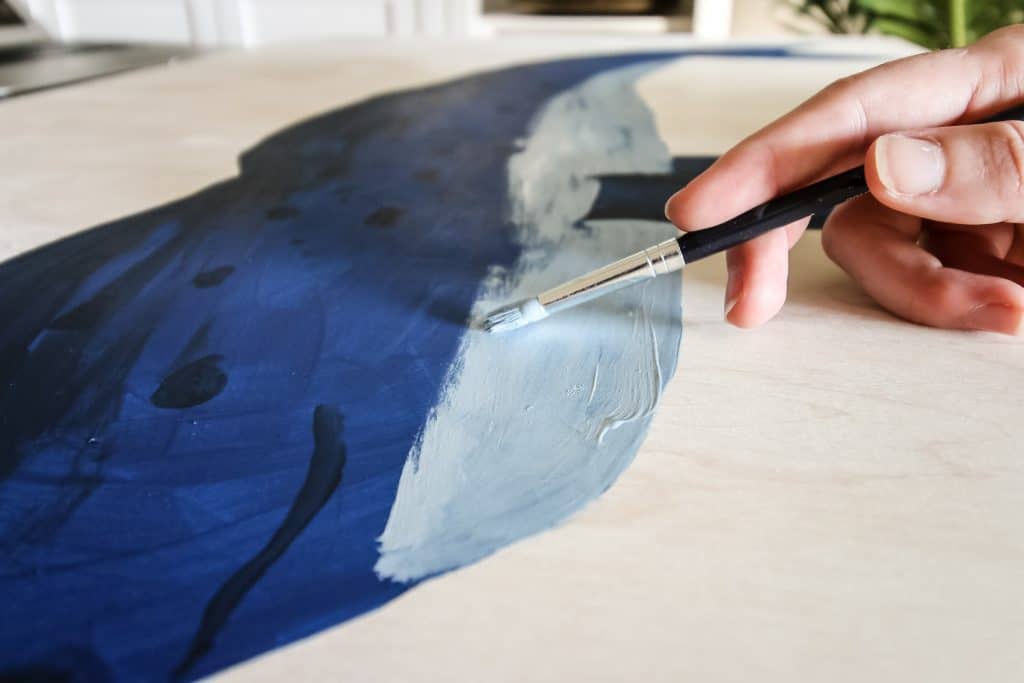
Then, I added the shading. This was a mix of half navy blue half black for the darker shading on his top and then half navy half white for lighter shading on his belly and horn. I also added some freckles since we are a freckley family 🙂
I love how it turned out and think it's a fun pop of whimsy and nautical vibes for this space. We still have the door photos and frames and will probably hang them again someday somewhere.
Frame
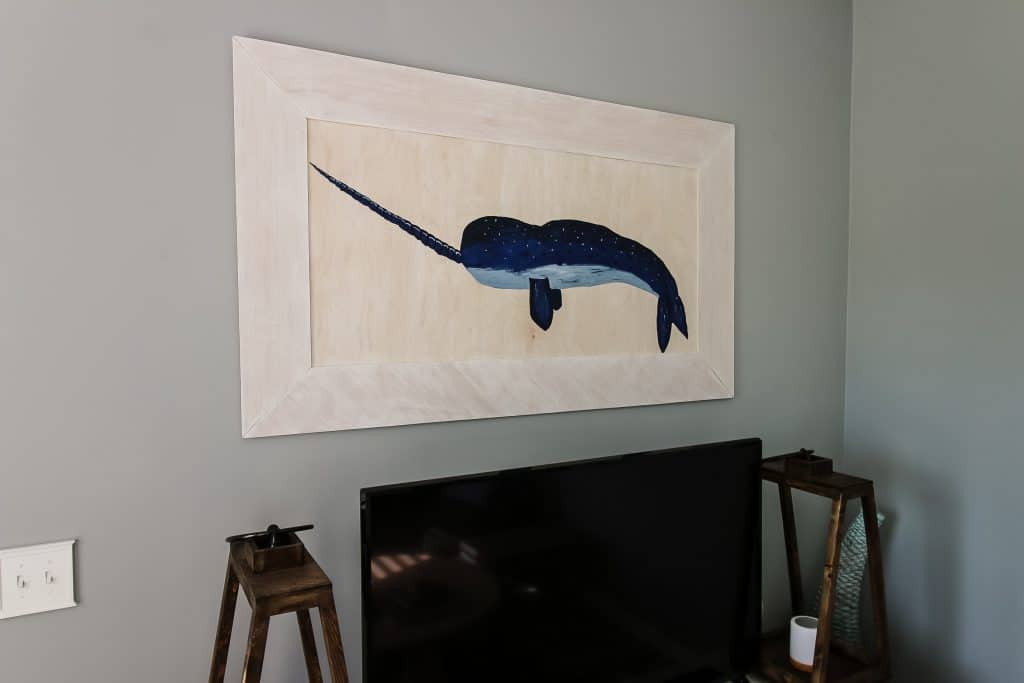
After painting the narwhal, we hung it up, but decided it looked kind of dinky on the large wall, even though it was four feet long. We decided to build a simple frame to go around it using ¼" plywood.
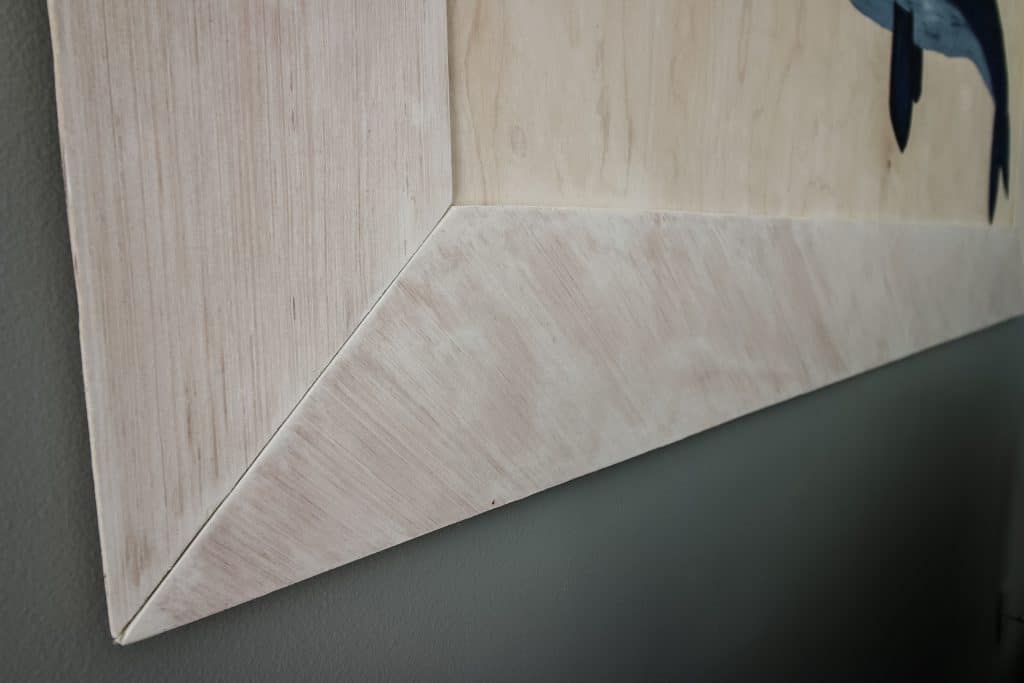
We cut down a large sheet of ¼" plywood into strips with 45 degree mitered ends. In order to add girth to this art, we cut each strip to be 6" wide. We stained these with the same white stain as the painting canvas, but we did it much thicker and darker so as not to show as much grain.
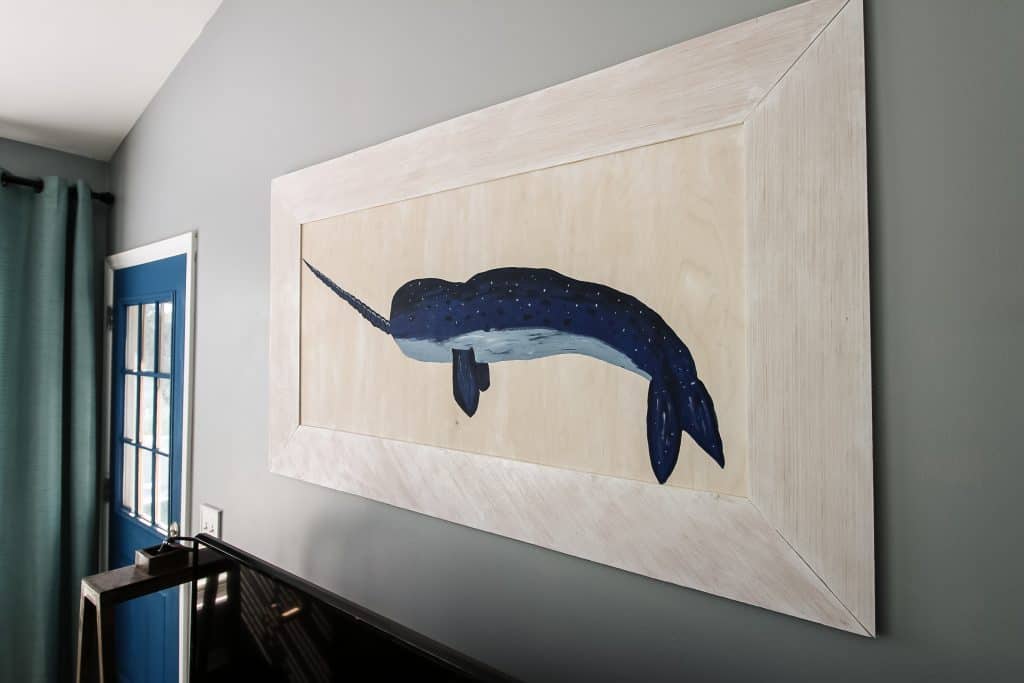
To attach them, we simply used wood glue around the edge of the painting and laid the strips down with their mitered edges touching. Since the strips were 6" wide, we had to use heavy buckets of paint instead of clamps to apply pressure.
Display
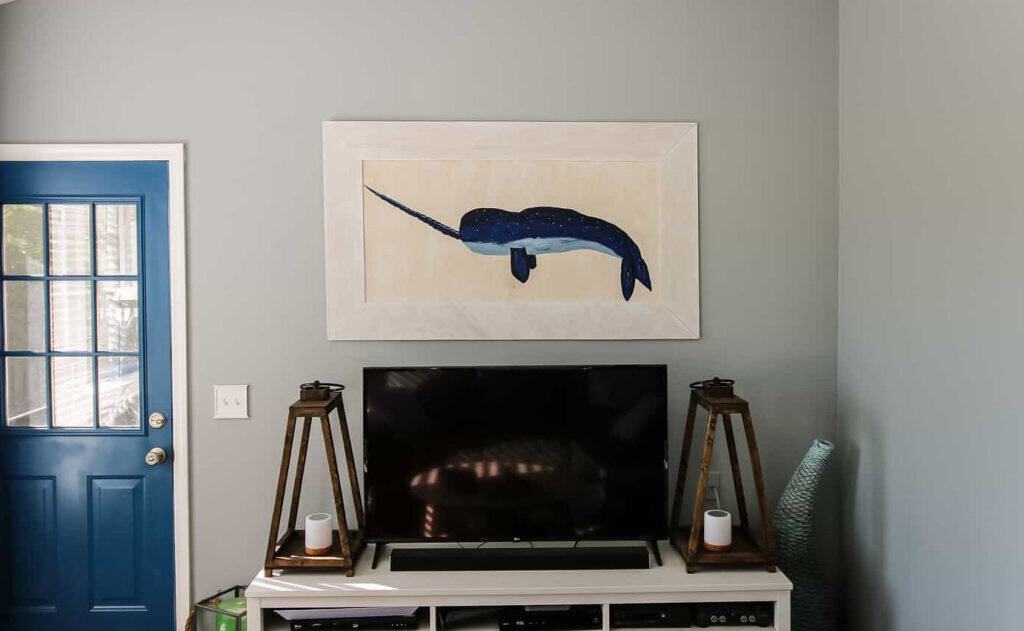
We love how our narwhal plywood painting and frame turned out! It sparks joy in us as narwhals are an inside joke for us. The color looks great to match the new furniture pieces in the room and brings the whole design together.
Looking for something?
We've been doing this since 2012 so we have a LOT of blog posts!
Search stuff like: Ceiling Projects | DIY Plant Stands | Thrift Flips


Hey there, I'm Sean, the woodworking enthusiast and builder behind CharlestonCrafted.com! Since 2012, I've been sharing the magic of turning raw materials into beautiful creations. I love teaching others the art and satisfaction of woodworking and DIY. I try to inspire fellow crafters to make something extraordinary out of nothing at all.


