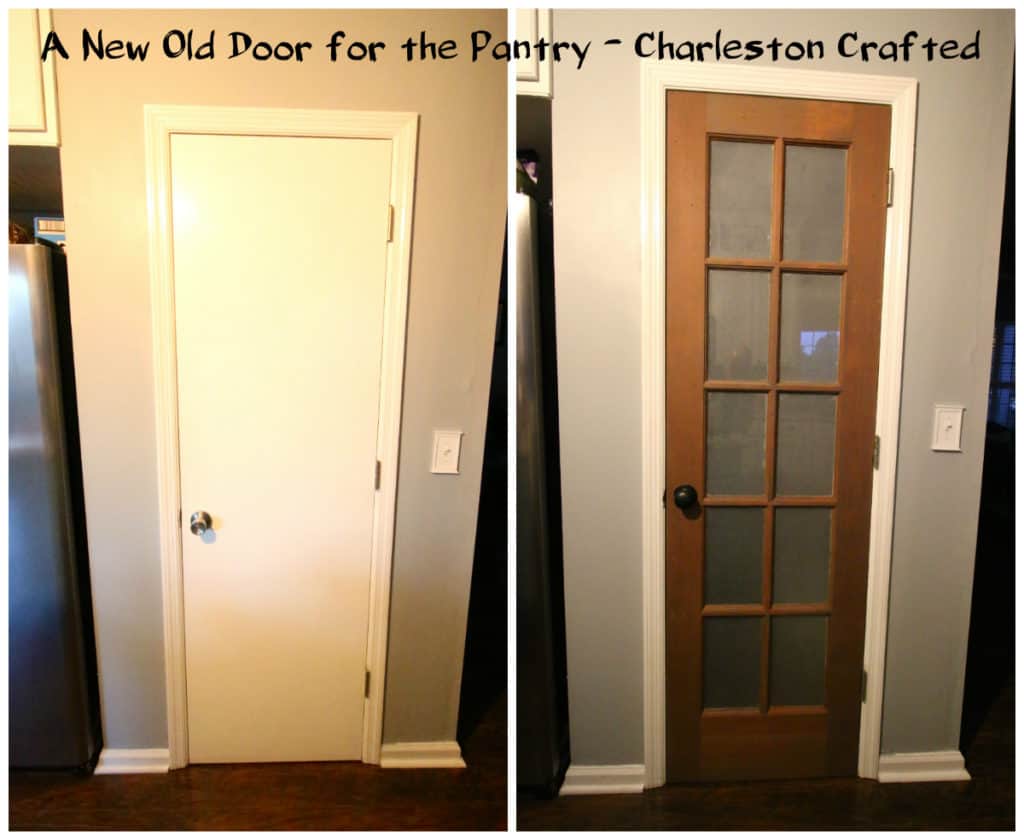
Here's how we added an old antique door to our pantry for a custom look in our space. A simple DIY pantry upgrade!
Since reading their book, I have really gotten into watching Fixer Upper. I know, just a little behind the trend there!
One thing I really love about Joanna's designs is how she incorporates old things into new homes. Since we are wrapping up a kitchen remodel, I decided that this would be the perfect place to copy her idea by swapping out our pantry door for a new, old, refurbished door.
Once I decided that I wanted to purchase an old door, I knew exactly where I wanted to go. I have followed Sustainable Warehouse for a while, but had never actually visited their warehouse.
Sustainable Warehouse is a place that collects old home accents, like doors, windows, and furniture, and saves them from the landfill! They are located in North Charleston. Their model is not unique - do a web search to find a similar type location in your area!
We visited the warehouse a few weeks ago with the exact dimensions of our pantry door in hand. At 24" by 80", it is a narrow door so we had a limited selection, but they did have this solid wood door with glass panels. Hooray! It was a great deal at $40.
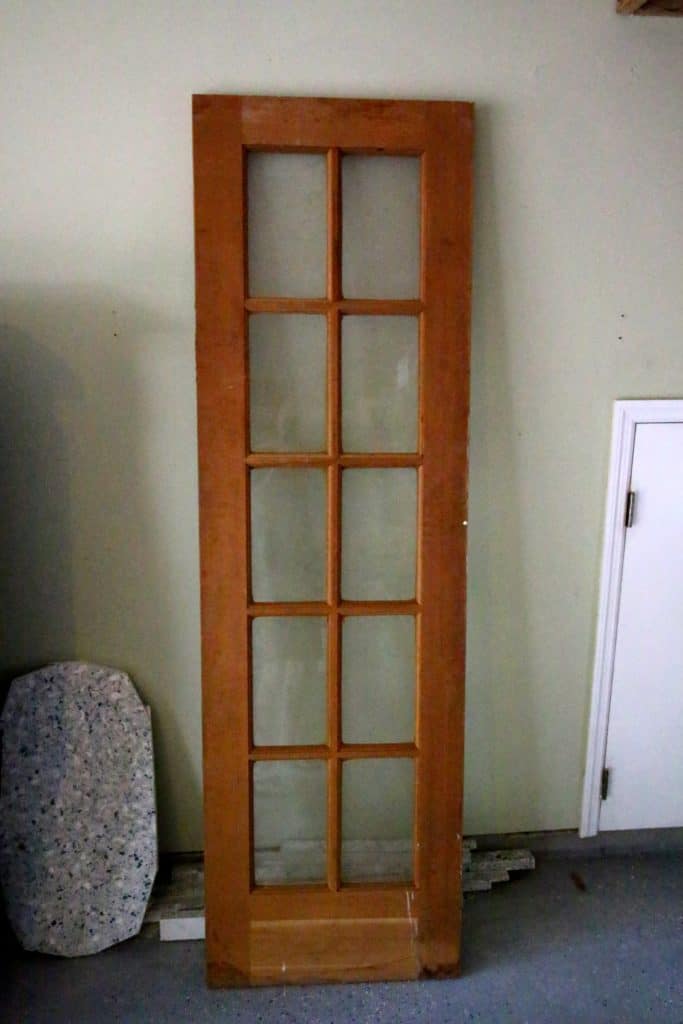
Once we got the door home, the work began. Sean sanded the entire thing really well and used a lot of wet paper towels to clean it up. He also dinged it up to look more weathered.
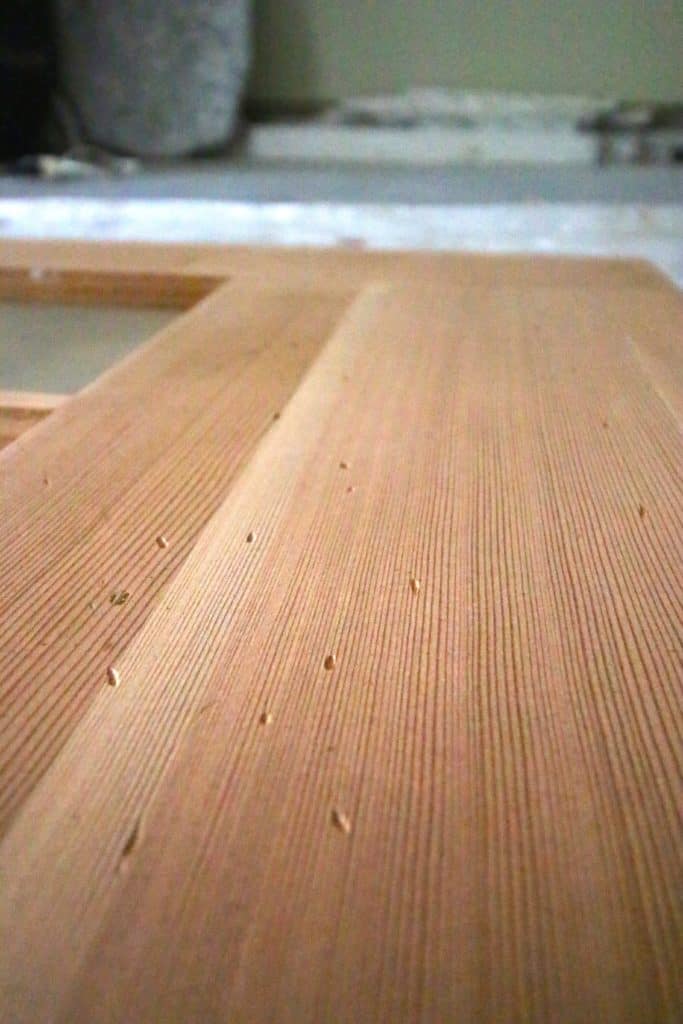
We stained the whole thing with my favorite gray stain, Minwax Weathered Oak. We then used a frosted glass spray on the glass panels to make them less see through and more opaque.
Check out our full review of Weathered Oak wood stain by Minwax.
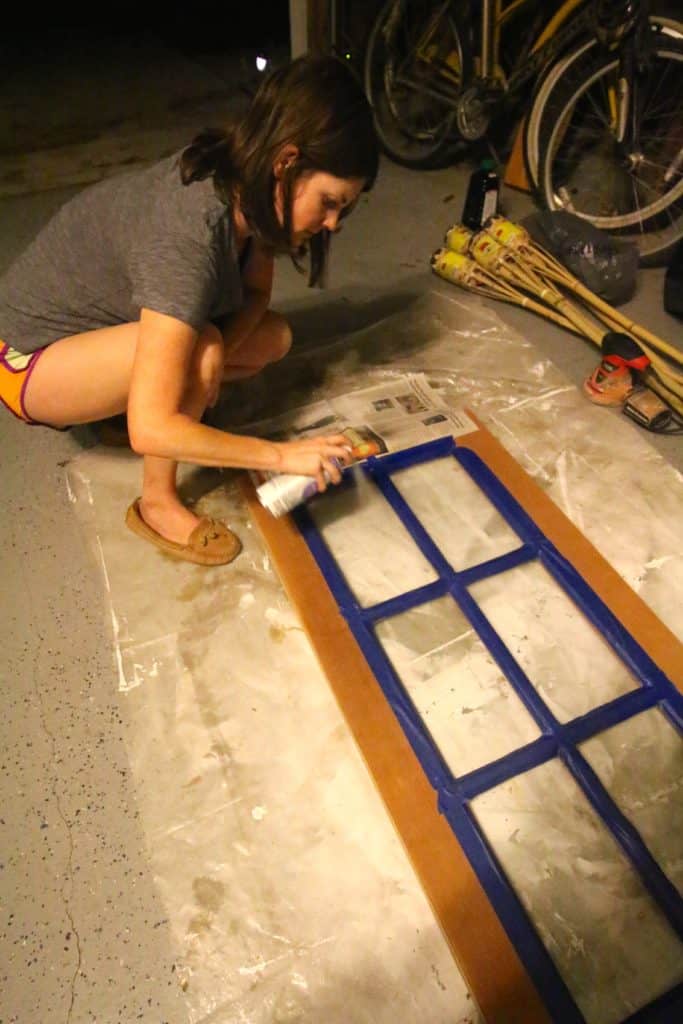
IMPORTANT TIP: STAIN BEFORE YOU DO THE GLASS PANES
We had an issue where the stain leaked onto the sprayed glass in a few places. We tried to scrape it off and then spray again, but it didn't look right. We ended up scraping it all off and trying again. Then, after it had all dried and cured, the spray just looked bad.
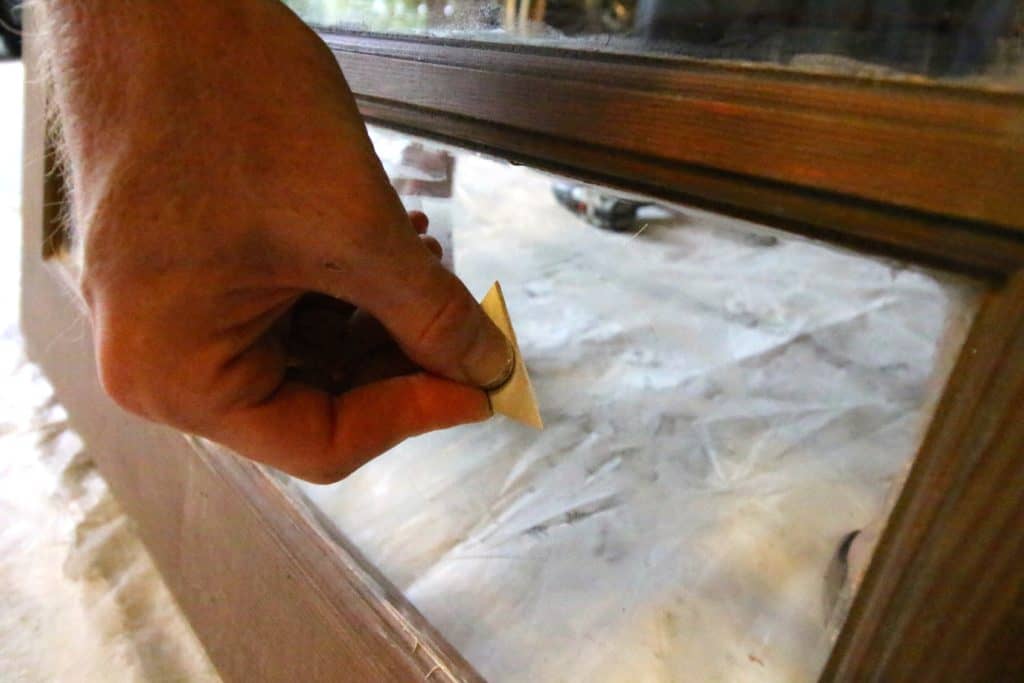
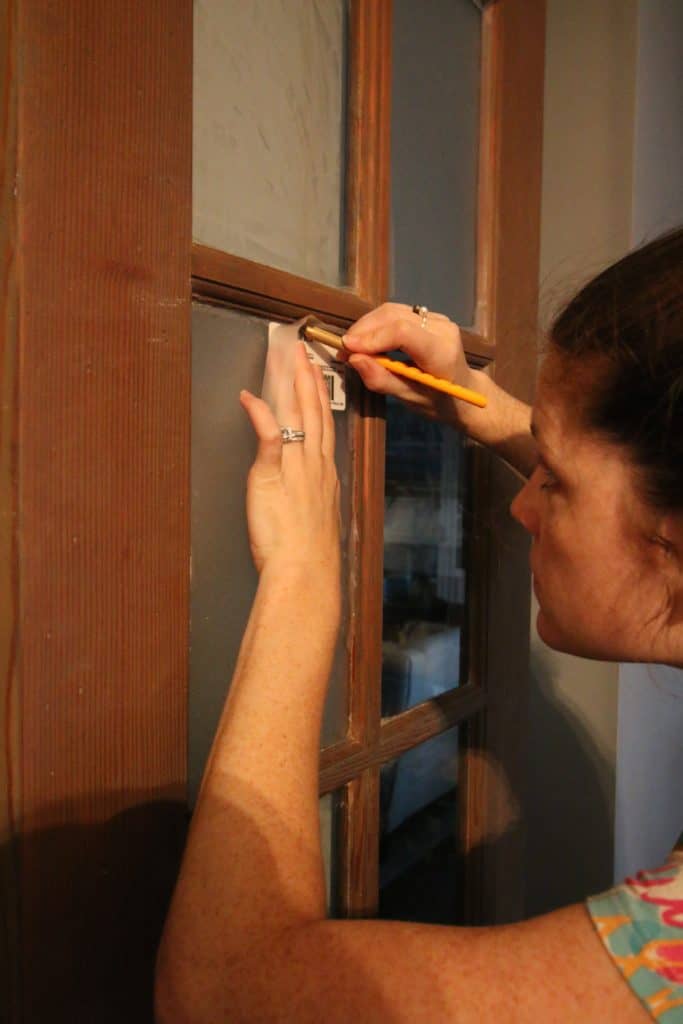
So we ended up going with frosted contact paper that we used in our master bathroom on the windows. We cut out each square and followed the directions to spray the glass with water, spread on the paper, then cut off the edges.
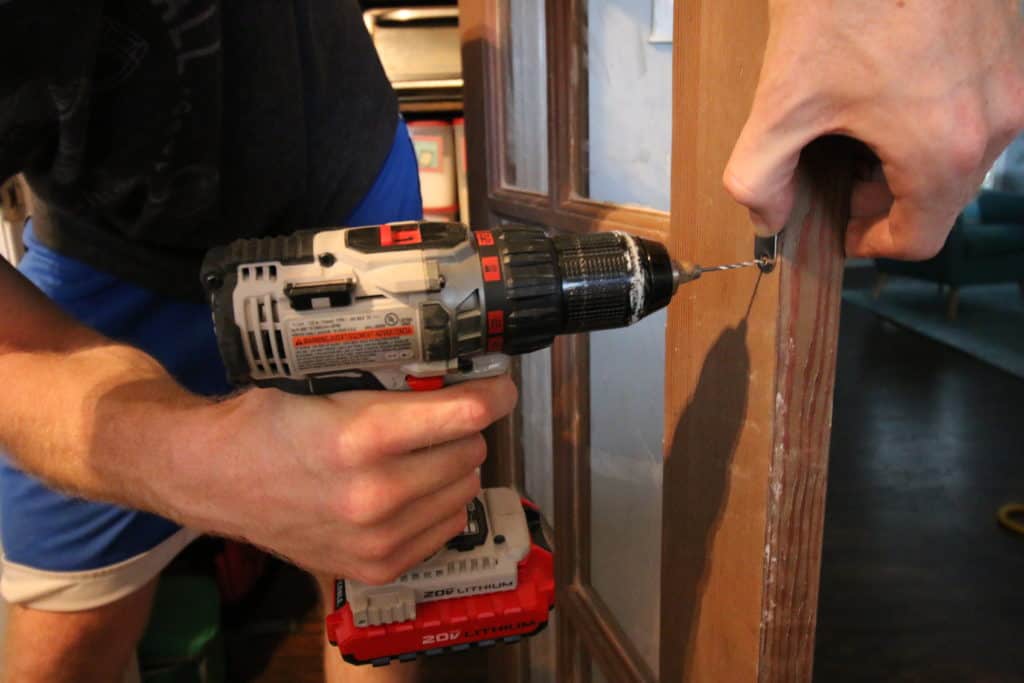
We had an issue when we first tried to hang the door too. We attached the hinges, but the door didn't have cut outs for the hinges to inset.
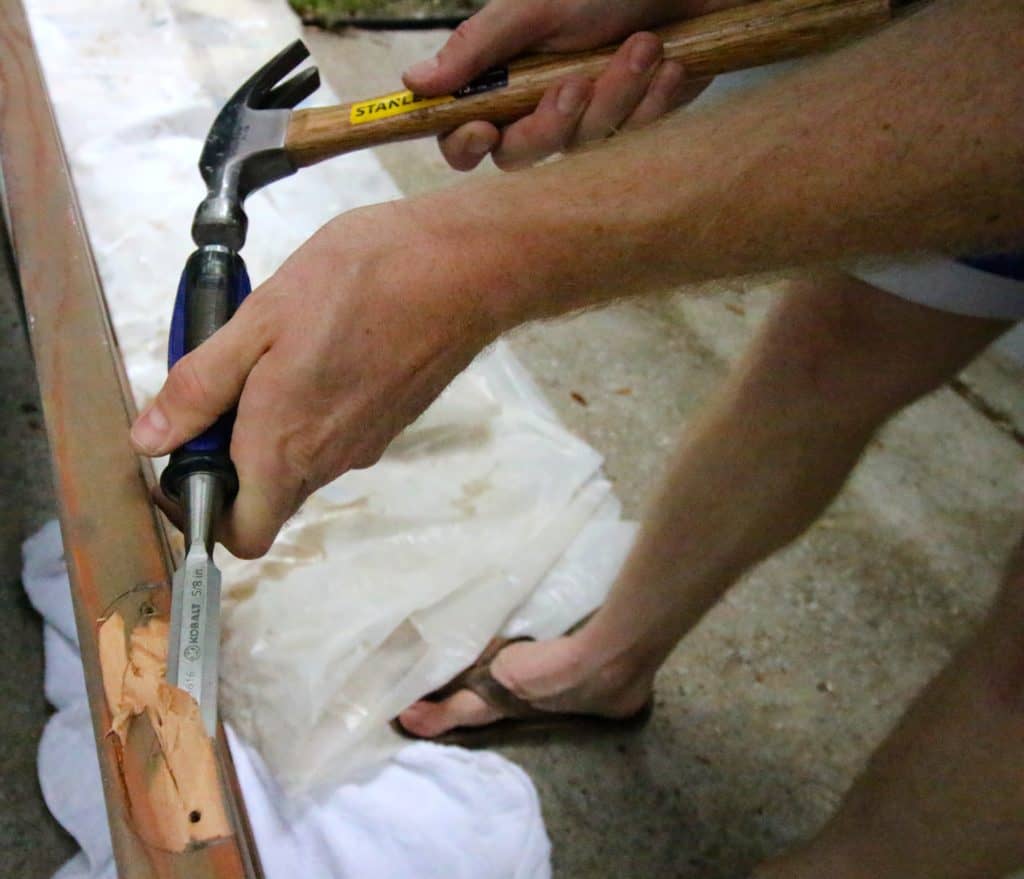
We thought that would be ok, but when we went to close the door, it was too wide. So, Sean had to use a chisel to cut out hinge gaps on the door. After he cut them out, the hinges went right in and we attached the door to the door frame with no problems.
There were two final touches to go. We didn't want to install a regular doorknob, so we installed a dummy knob, which is simply just the front of a door knob that doesn't turn. We popped that on with no problems.
Last step was to add a magnetic latch to keep the door closed. Half the magnet on the door, half on the door jamb. It holds perfectly and opens up with just a slight pull on the dummy knob.
Annnnnd it looks so rustic and awesome.
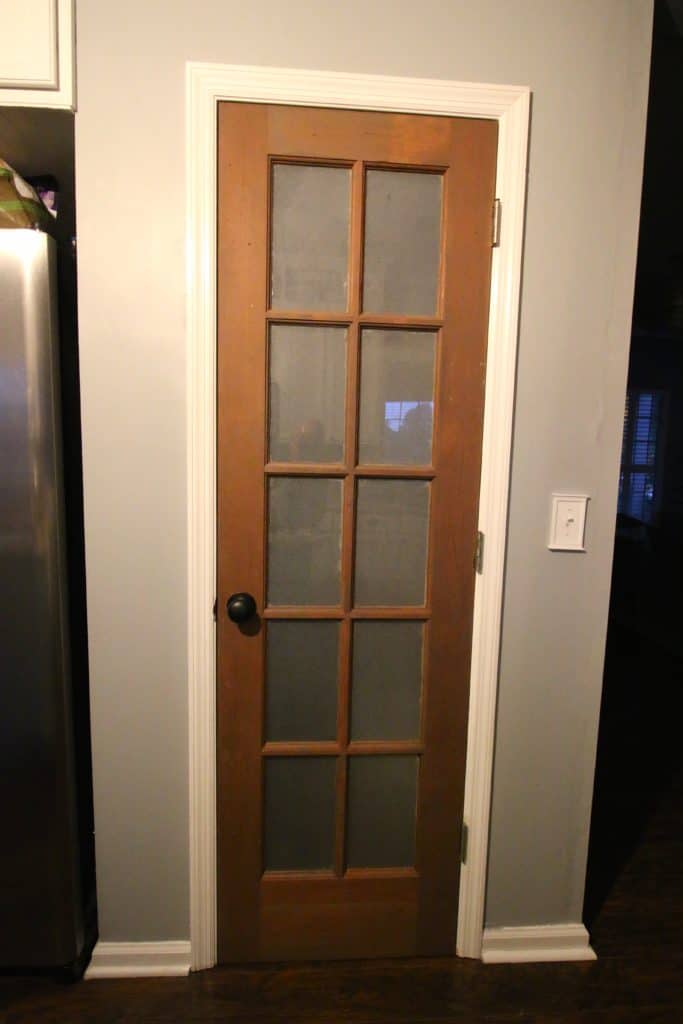
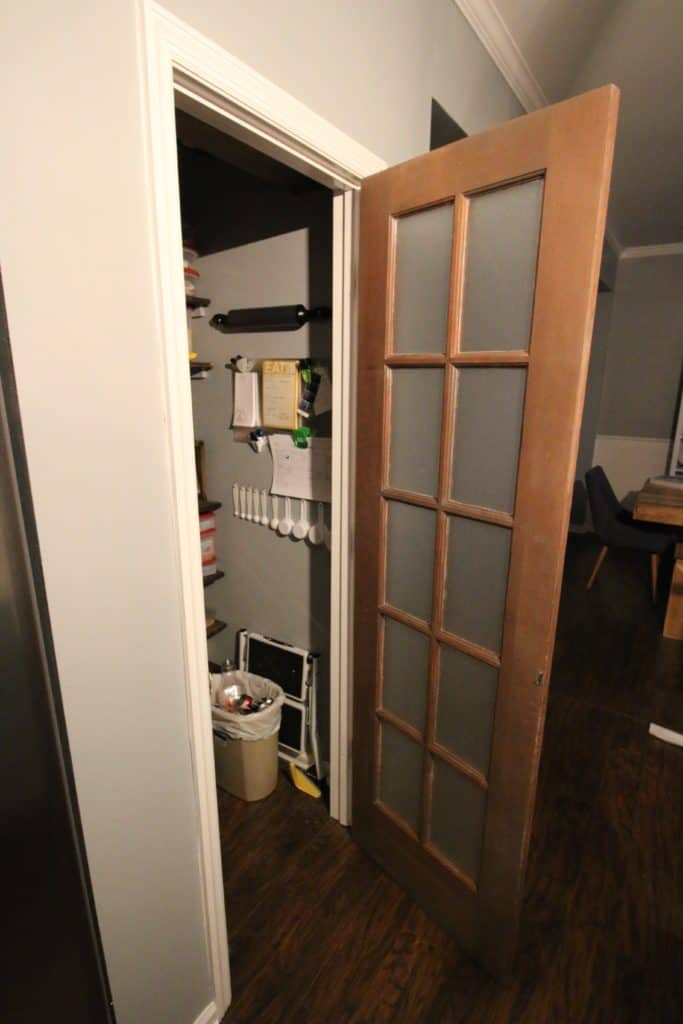
And with that, our kitchen is DONE. We have done so much in this kitchen, from laying floors, to painting our cabinets, to hanging crown molding and extending the cabinets to the ceiling, to our new counters.
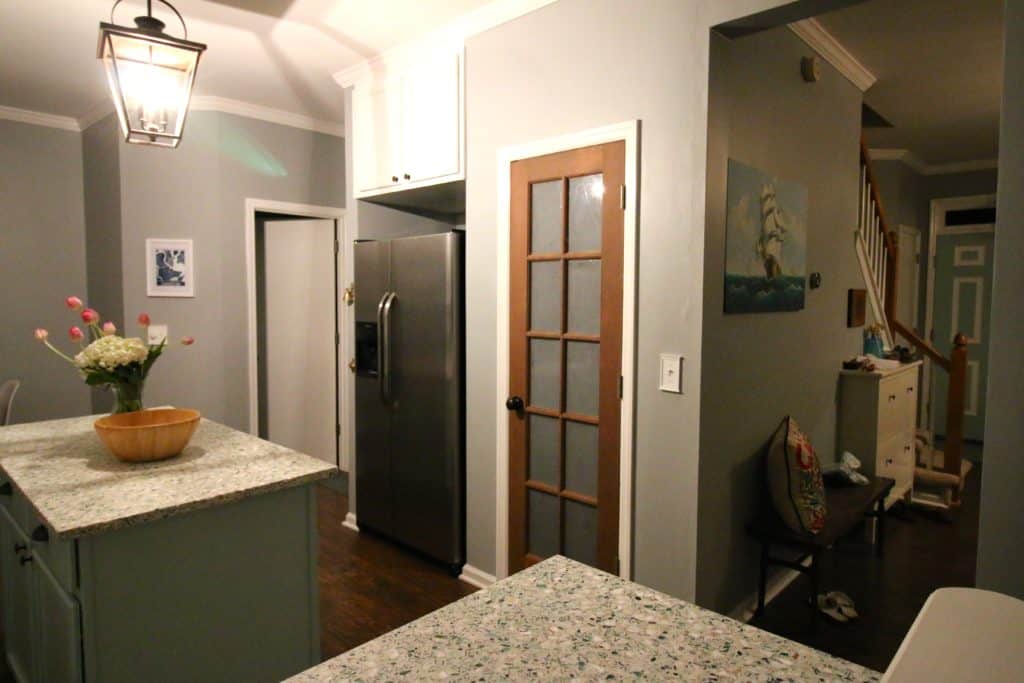
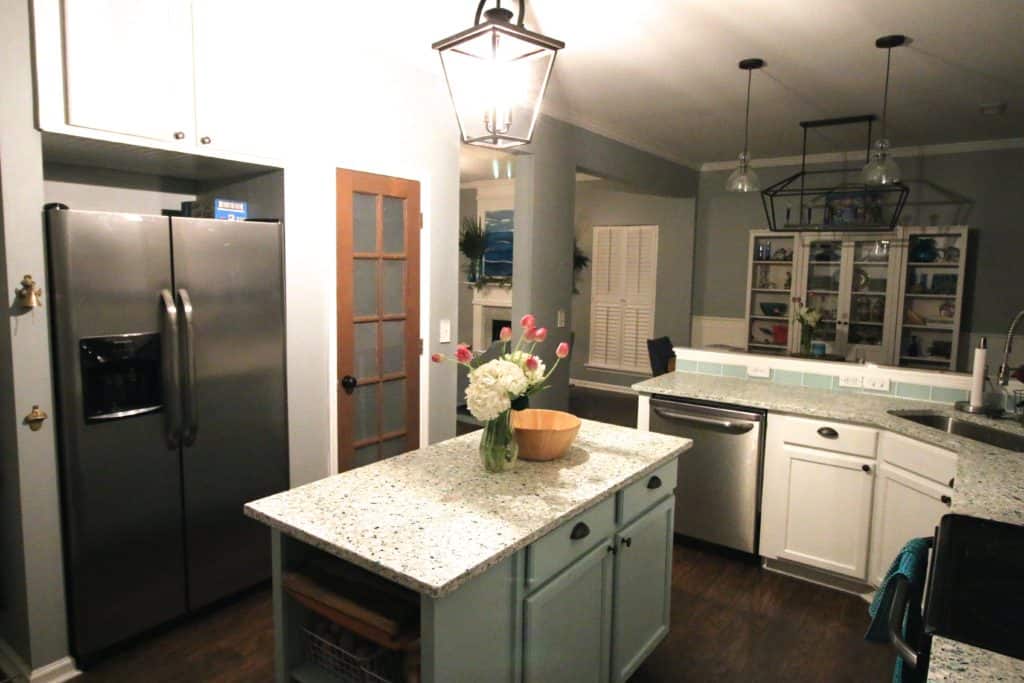
We will bring you guys a full wrap up and kitchen reveal soon, but we're SO EXCITED the the kitchen is done. It's been a long process, but it looks so incredible.
Looking for something?
We've been doing this since 2012 so we have a LOT of blog posts!
Search stuff like: Ceiling Projects | DIY Plant Stands | Thrift Flips


Hello, I'm Morgan, half of the creative force behind CharlestonCrafted.com! With a passion for DIY that dates back to 2012, I've transformed three homes and now I'm dedicated to helping others craft their dream spaces. Let's turn your house into a home together!


Kelley @ Coastal Kelder says
I love how Jo always finds great doors to put into homes! Yalls looks great an fits right in. I've also wanted to go to the warehouse and have been dying for a reason to search for treasures there!
Morgan says
it was so fun! definitely check it out, they had loads of goodies. cash only 🙂