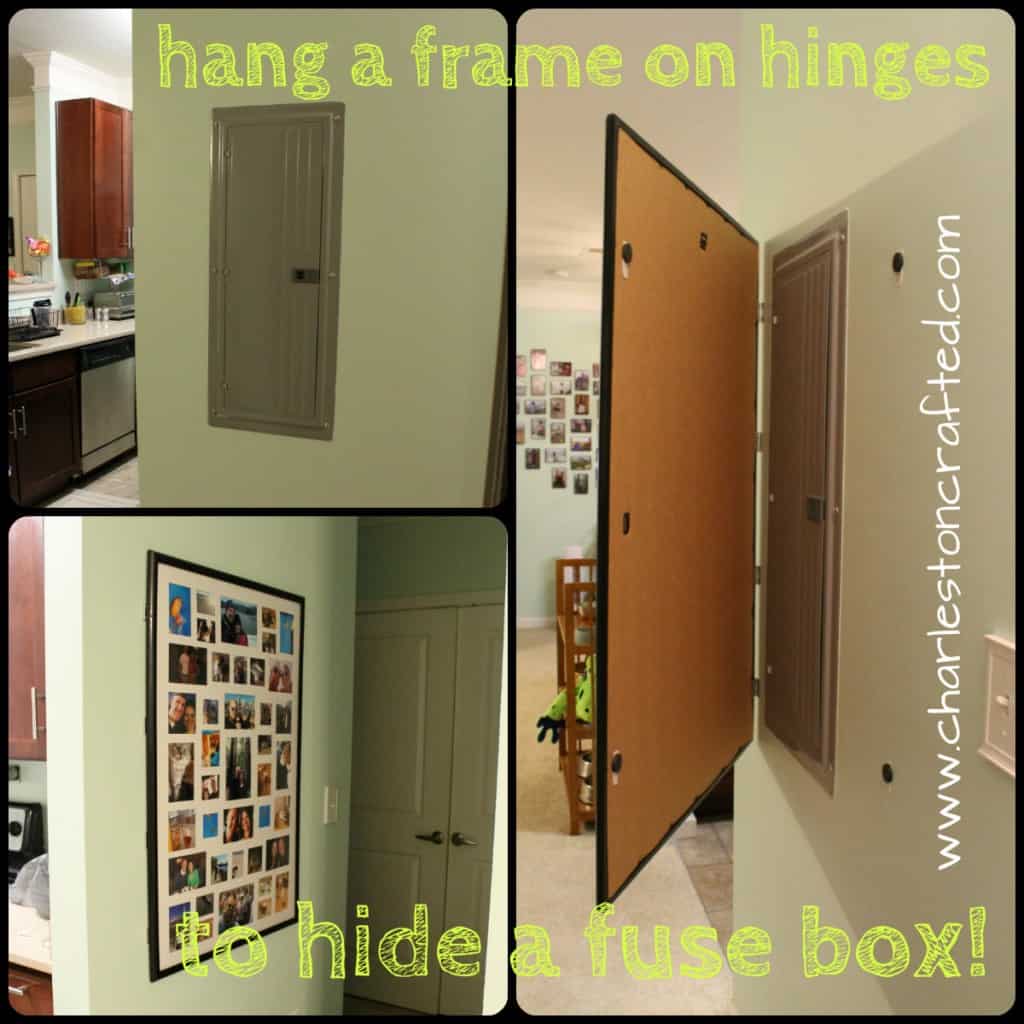
Looking for a DIY decorative electrical box cover? You will love this hack that I used to hang a picture frame on hinges over ours!
What can I say, I like pretty things. I like colors and patterns and happy pictures. I do not like ugly things messing up the vibe in my condo.
For example, the icky red fire alarms in every room- though very important for safety- were super ugly until I gave them a fresh coat of glossy white paint.
Our coats were also piling up in an unattractive way- but we were able to conceal them in a hidden cabinet.
The latest ugly-but-necessary element of the condo that I wanted to hide was the electric panel box.
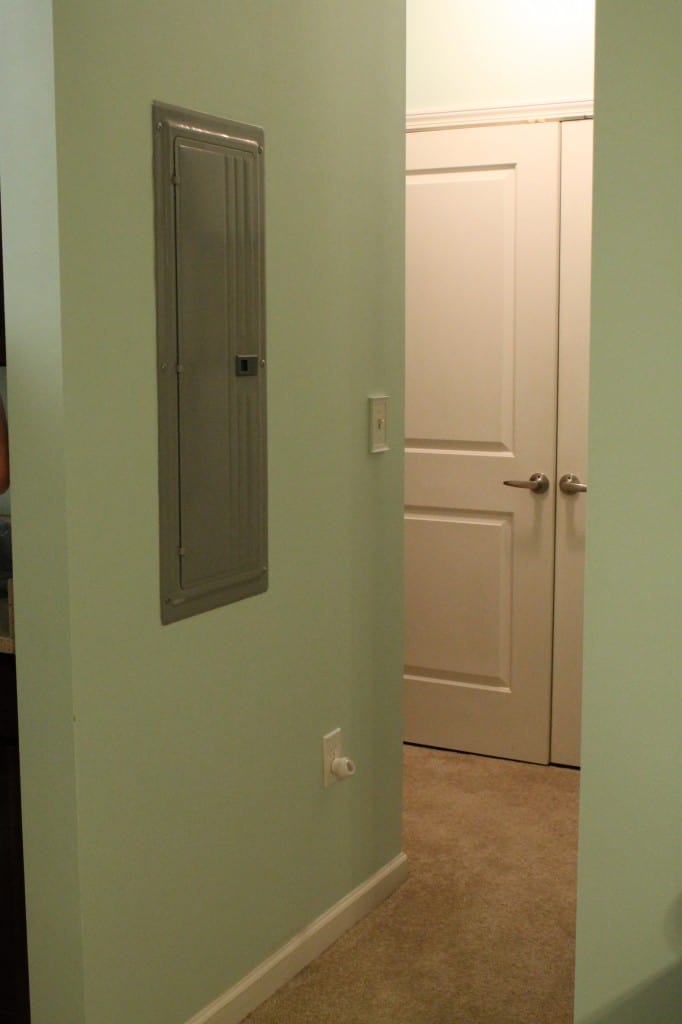
It is huge and in the middle of a wall that you can directly see from the living room.
Love this post? Be sure to check all of our DIY tutorials and projects here!
I considered painting the box, or perhaps using some sort of magnets to embrace it.
However, when we dug out my old poster frames for this kitchen art project, I got totally inspired.
I found this old frame (which previously held my partial shrine to my idol, Elle Woods) and behind the poster, there was an awesome collage matte.
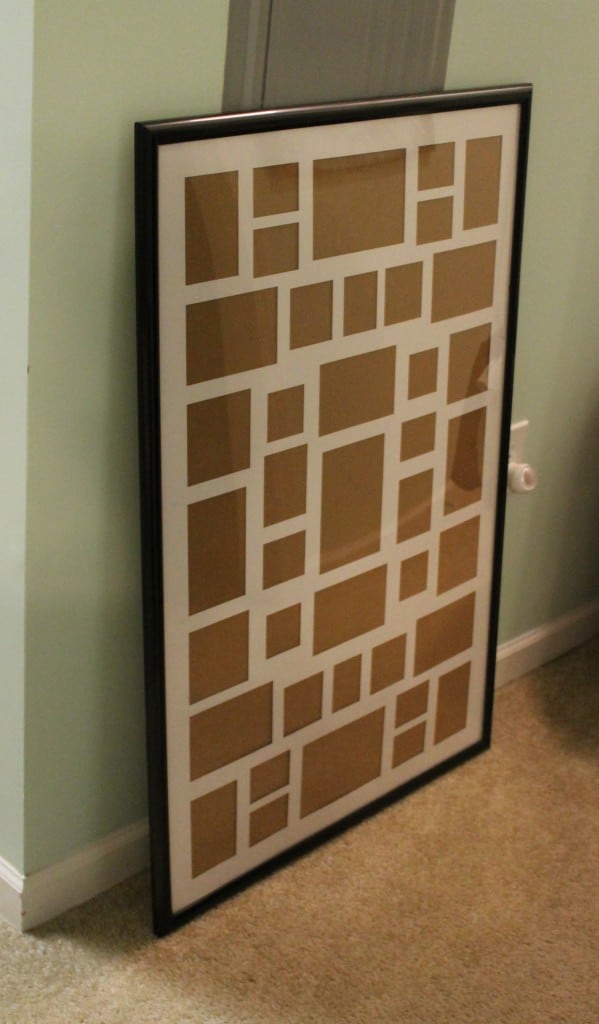
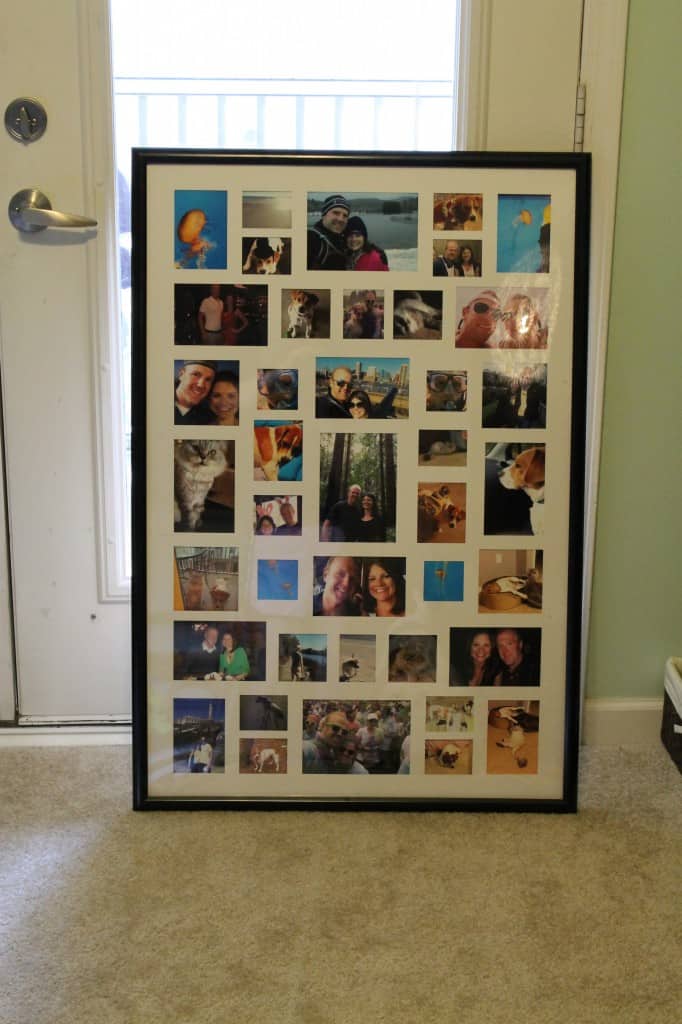
Totally inspired, I started to fill it up.
I had lots of print laying around from the heart gallery wall and the pictures around the string art in the bedroom, so all I had to get printed was three 5"x7"s.
I used small pieces of clear tape to attach them to the frame.
Then came time to attach it to the wall. While we could have totally just hung it over the breaker, I wanted to make sure the box was very accessible in case of an emergency.
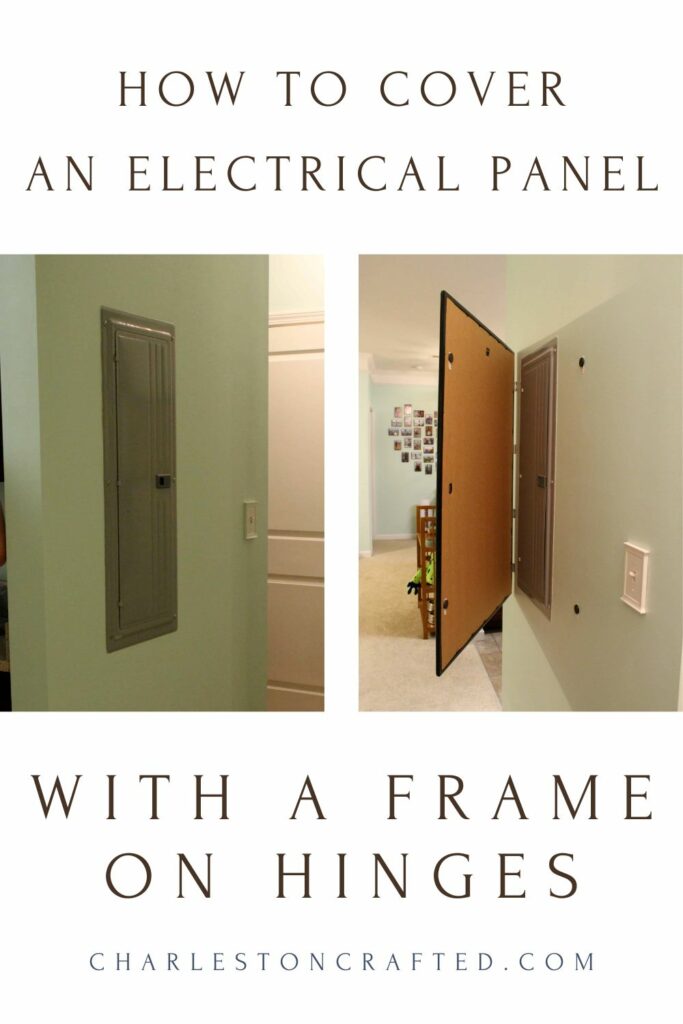
So, we came up with this simple but functional way to cover an electrical panel with a frame on hinges!
DIY decorative electrical box cover
Hanging a frame on hinges makes it super easy to access an electrical panel, while still covering it!
Supplies needed:
- Frame large enough to cover panel
- four small hinges note - you may need to replace half of the screws that come with the hinges with shorter ones if they are longer than your frame is deep.
- Drill
- Adhesive magnets (or magnets and glue)
How to install the frame on hinges:
STEP 1: Set up your frame
Add pictures or art and get it ready to go. I suggest taping art in place, since the frame will be swinging around it will be more likely to move.
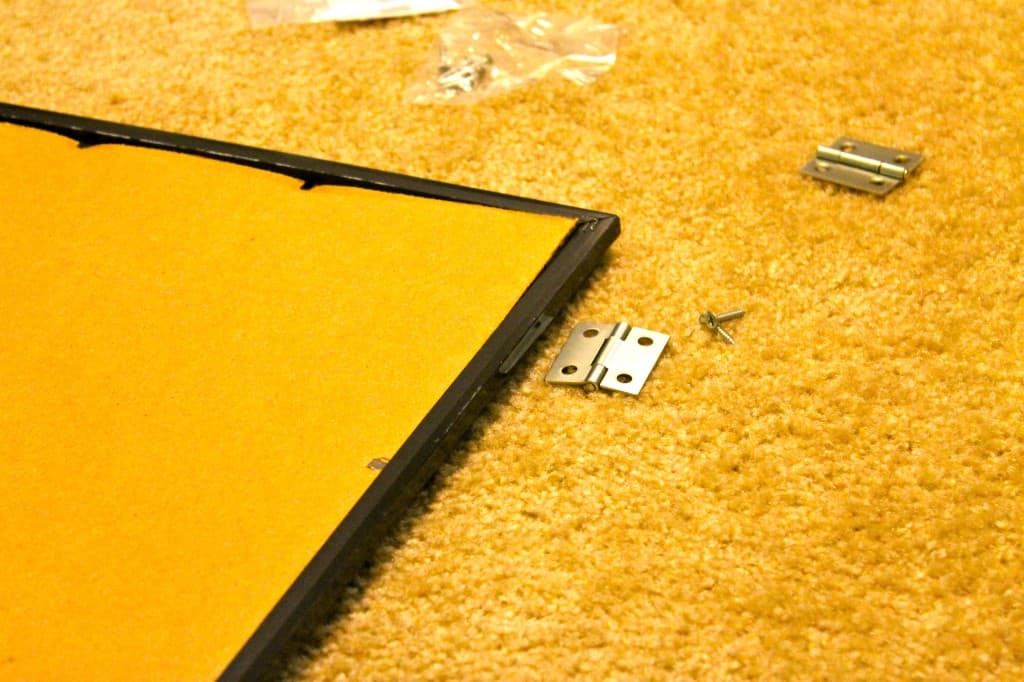
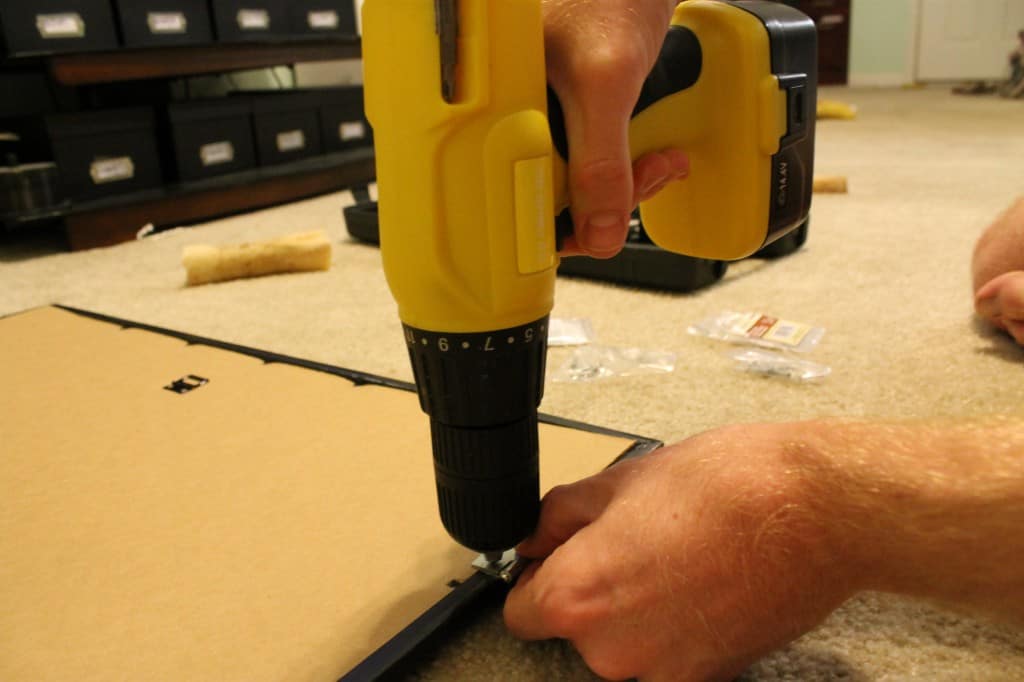
STEP 2: Add hinges to frame
First, screw the hinges into the frame. Make sure they are facing the right way.
He replaced the included screws with shorter ones that we already had, so they didn't poke thru the frame.

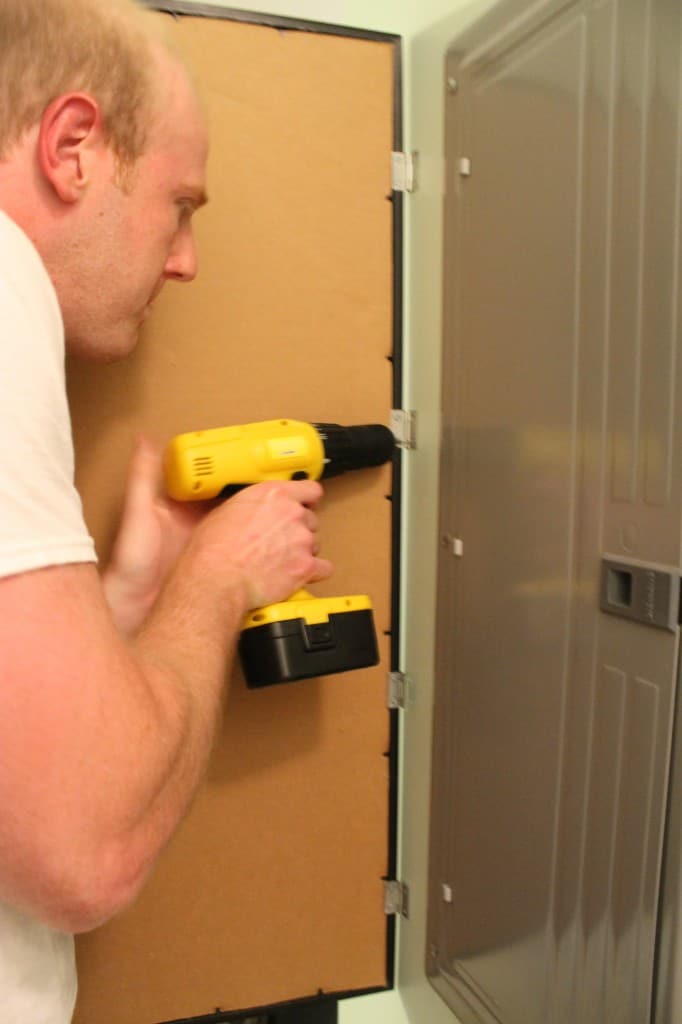
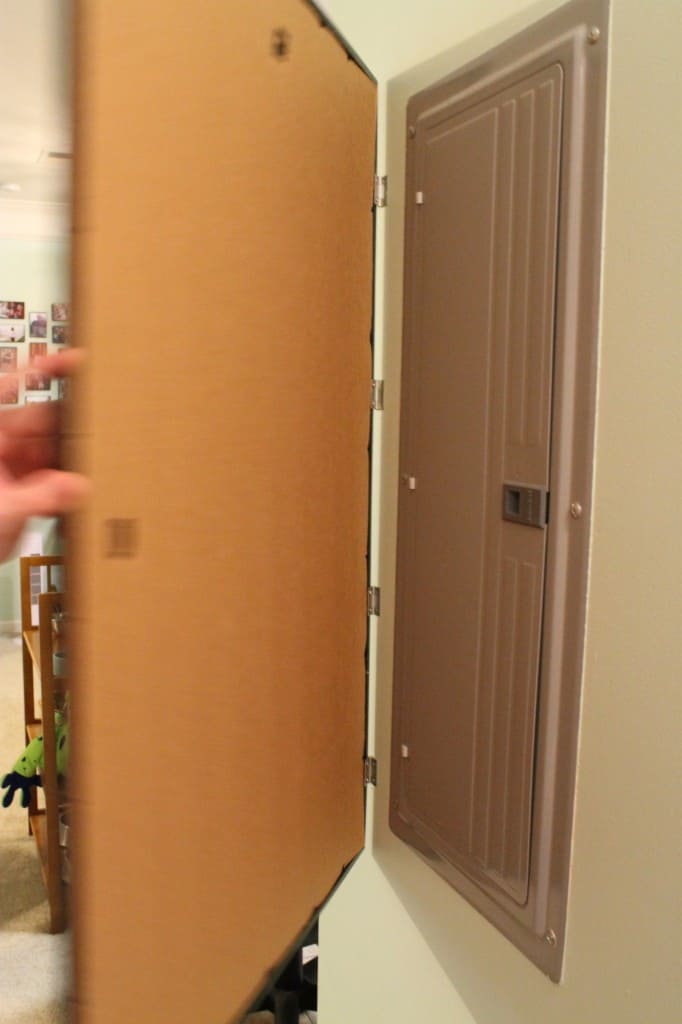
STEP 3: Attach to the wall
Then, just hold it up to the wall and screw the hinges in place. It's easiest to have a second set of hands so someone can hold the frame while the other drills.
Sean did the top and bottom hinges first and then it was able to hold itself up.
I recommend having it open the same direction as your box.
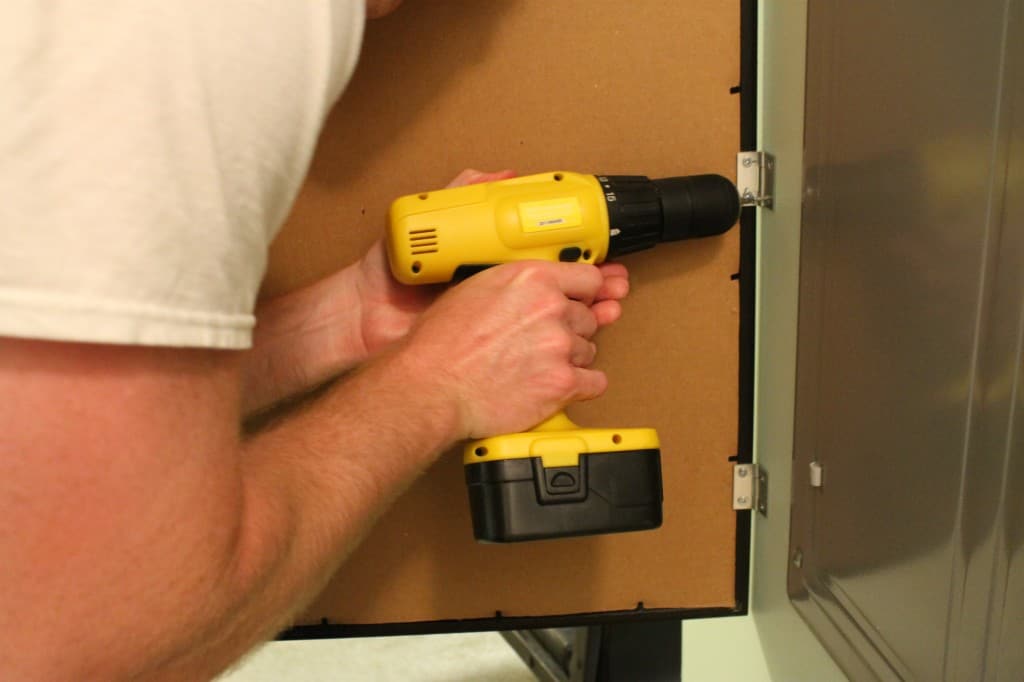
Eek! How exciting! However, the hinge on the breaker was just thick enough that it kept pushing the frame off the wall on the right side.
STEP 4: Add Magnets
So, we secured it using small magnets.
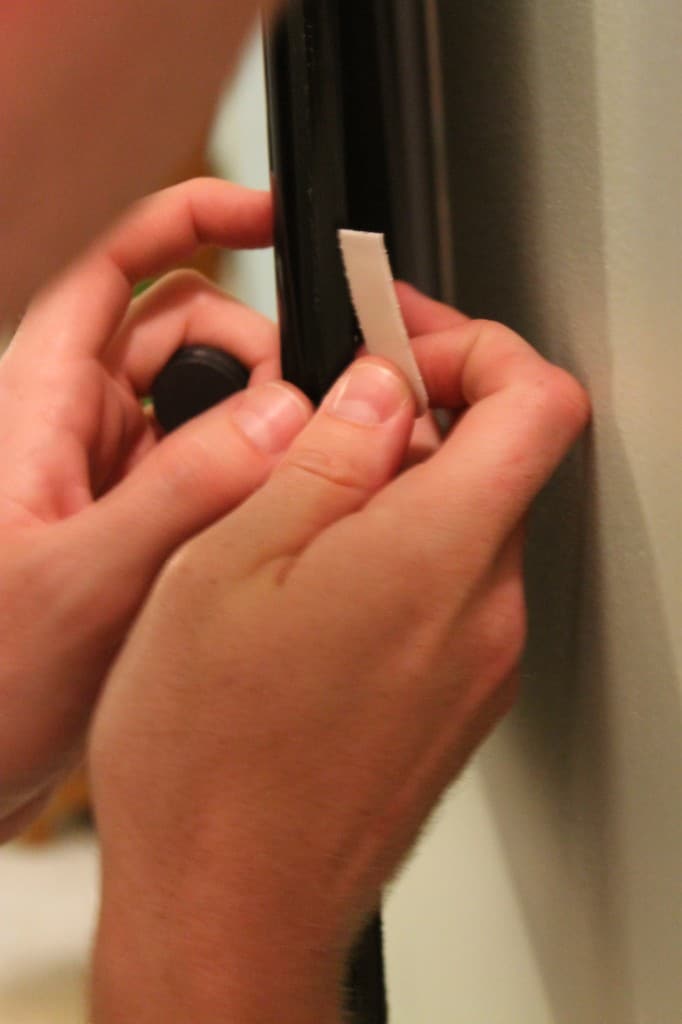
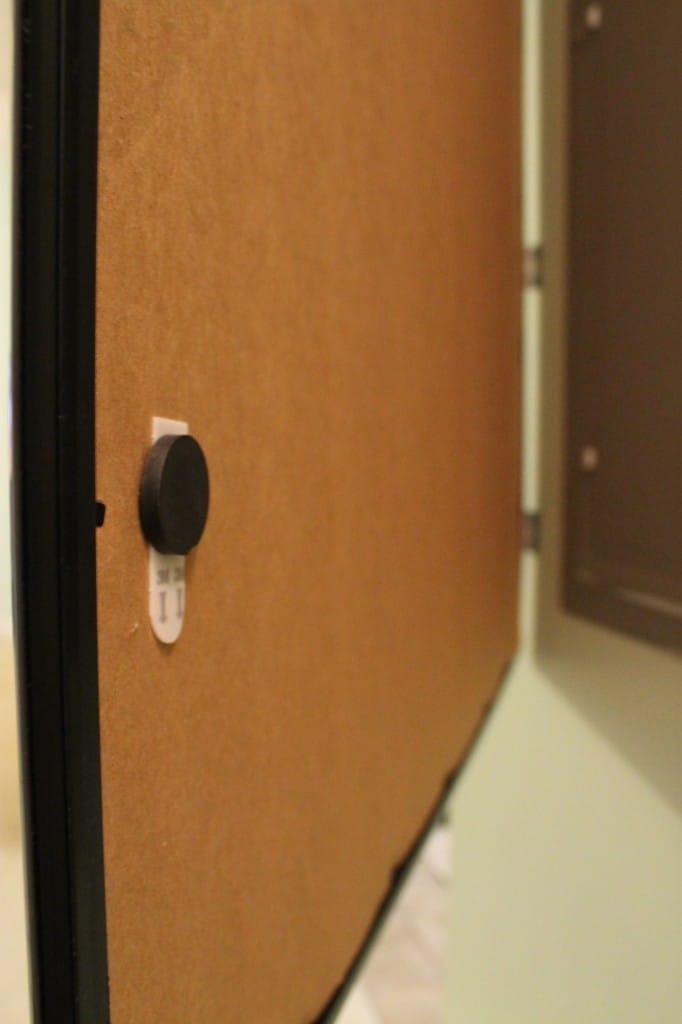
We just used command strips to attach the magnets to the frame and to the wall.
If you are anti-magnet (I understand that children can eat them and destroy their insides... Y-I-K-E-S) you could also get strips of velcro.
I liked magnets because they give about an extra inch of depth to make up for that hinge.
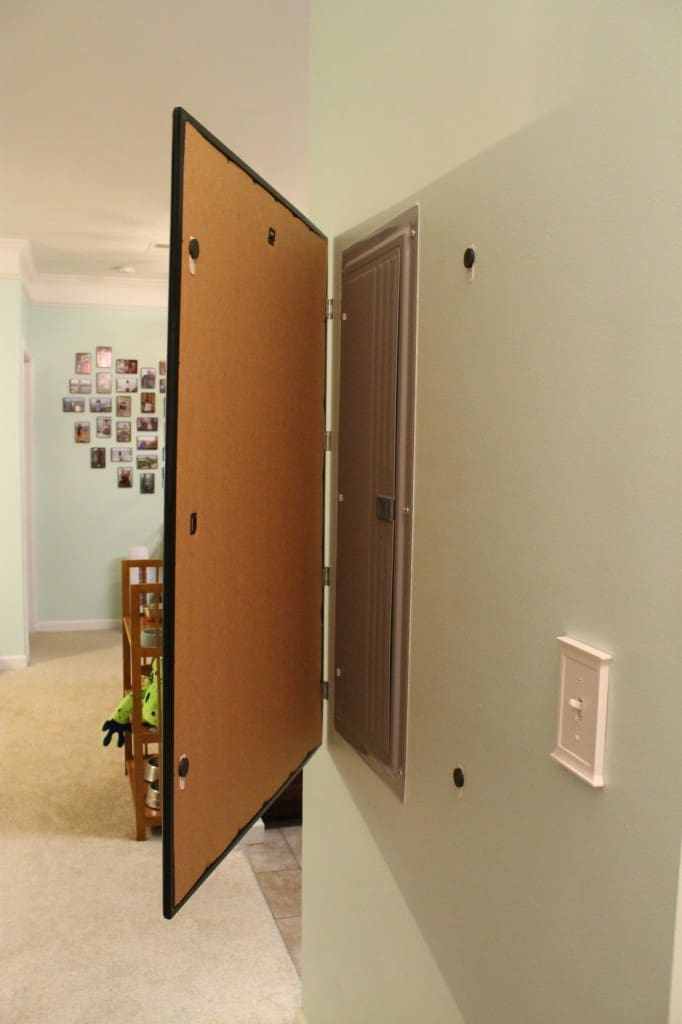
Now it holds close to the wall perfectly!
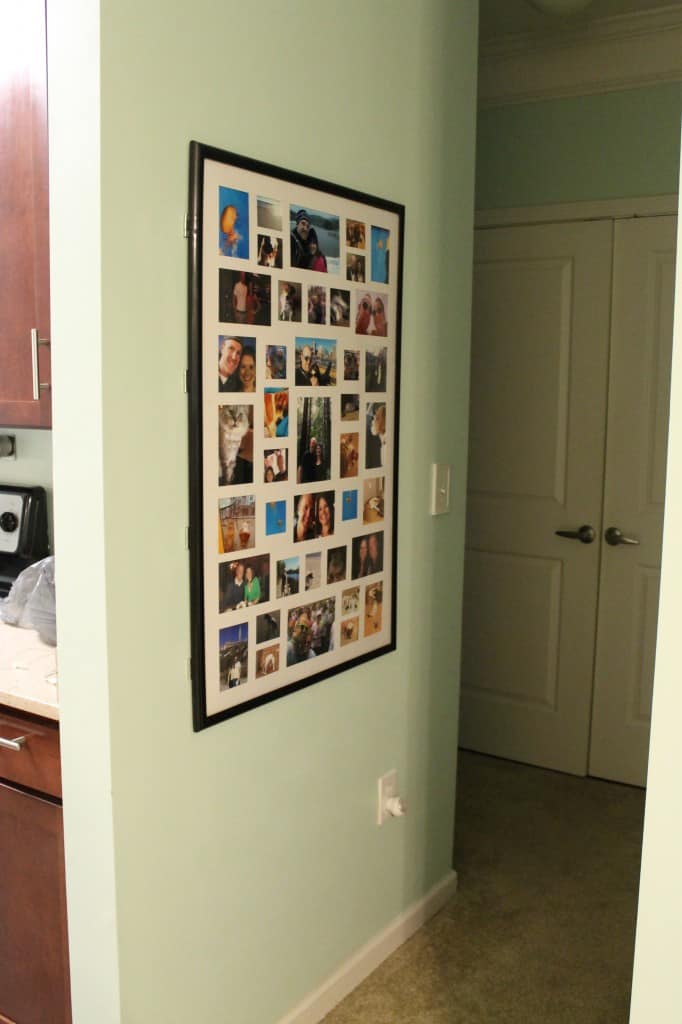
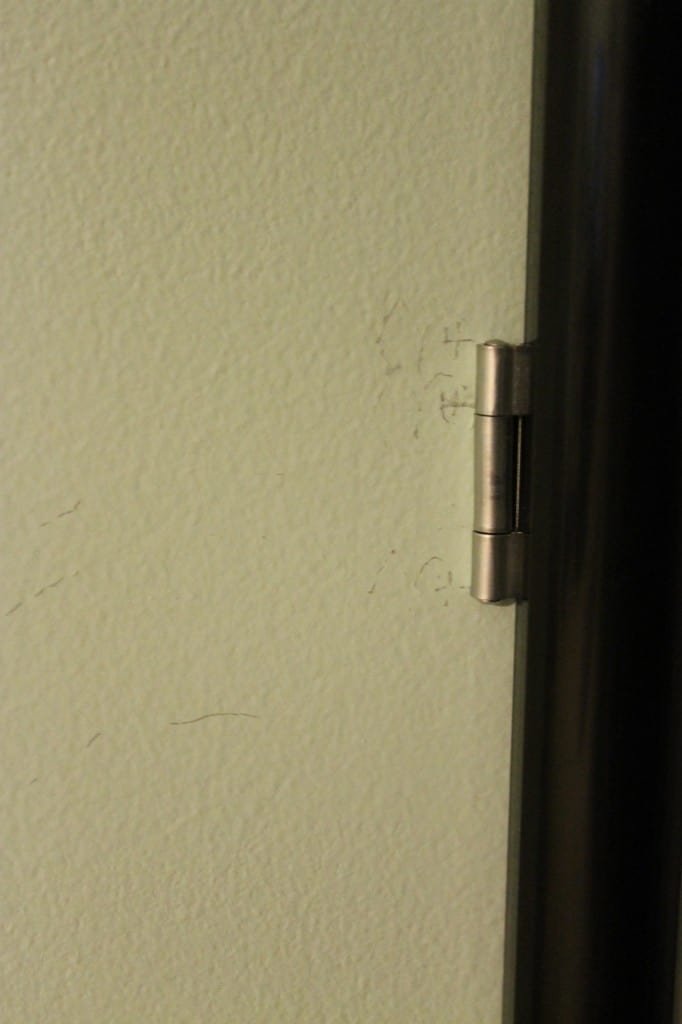
You can see the hinges on the side, but I don't mind- I want to brag about it!
Lowes also sold black hinges but they were sold out in this size the day I went.
If you get any scratches on the wall installing the hinges, try a magic eraser (I get the big packs at the dollar store). Works like a charm!
Free printable project planner
Need help getting organized? Our free printable DIY project planner will help you get it all organized and planned on one page!
Have you concealed anything ugly lately?

Looking for something?
We've been doing this since 2012 so we have a LOT of blog posts!
Search stuff like: Ceiling Projects | DIY Plant Stands | Thrift Flips

Hello, I'm Morgan, half of the creative force behind CharlestonCrafted.com! With a passion for DIY that dates back to 2012, I've transformed three homes and now I'm dedicated to helping others craft their dream spaces. Let's turn your house into a home together!


Miranda @ Someday Crafts says
This is a very clever idea! I love when the solution is so simple and easy! Thanks for linking up at Whatever Goes Wednesday! We'll be featuring this at Someday Crafts tomorrow 🙂
CharlestonCrafted says
Wow thanks!!!
Mandy |Small Fine Print| says
This is so clever! I'm pinning it 🙂
I'd love for you to come link it up to my linky party today-sunday at smallfineprint.com
Mandy
CharlestonCrafted says
Thanks Mandy!
Christa says
Thanks so much for such a great idea! I've been trying to think of a way to hide ours in our entryway, but I never came up with anything. This is *exactly* what I've been looking for!
CharlestonCrafted says
Yay! If you do try it, please share!!!
Amna says
Very cool! Hinges and magnets and all...
I've been wanting to hang a decorative rug over mine using a rod, but I'm a little worried about hitting any wiring when putting in screws for the rod brackets. Did y'all have to take that into consideration at all?
(I'm a novice at all things home DIY *sigh*)
Morgan says
As long as your screws aren't that long (which they shouldn't need to be for just a rug, which isnt too heavy) then you should be fine. You could always use a stud finder tool (or just knock and listen to hear where there are studs in the wall) and be sure to put your screws there. Studs are pieces of wood behind the wall so you know it's safe to screw into them. Hope that helps!
Amna says
A very belated - Thank you!
I am so excited to finally do what I've been envisioning ever since we moved in 😉
Arthur says
Great idea! I usually don't post a lot, but when I do, its for things like this! (hope you got that reference!) I was thinking of somethng similar but it never ocurred to me to just buy some small hinges and use an existing frame...which I have! Thanks for the idea!
Tom says
Great idea! We just hung a slightly heavy mirror over our fuse box (ours wasn't as big as yours), and we too have the problem of it not laying close enough to the wall when closed. Because it's heavy, we don't think a light weight magnet will have enough pull to keep it closed. If its a heavier magnet, it will pull off the wall if we tape it. Any other suggestions? Thanks again for the great idea!
John Doe says
Looks a bit ghetto with the hinges visible.
Morgan says
You are of course entitled to feel that way! I suggest the smallest possible profile hinges in a color that matches your frame (or even painting them to match the walls!) I think that ours were barely visible and looked a lot less "ghetto" than having a huge electrical box in our living room.
Thanks for stopping by!
Bick says
We hung a mirror with one big hinge on top, so it's flipped up when we need to access the box. You don't see the hinge at all because it's behind the mirror (wide frame) and the mirror is always closed. However, when you need twos hands for doing things with the fuse box, then it's a problem, need something or someone to hold the mirror.
Nell says
How do you get it to sit flush with the wall? Our utility box is not flush with the wall so putting a picture over it will have it bump out a little
Sean says
Hmm our box was only about 1mm off the wall so it sat flush. Maybe you could add small wood slats to the back? How thick is it?
LL says
Hello, Was the frame you used made of plastic or wood?
Morgan says
Plastic!
Margie says
Love your idea! We put up an eraser board and used it to write quick notes or write emergency numbers. It was in our kitchen. Thanks for your idea.
MADELINE l NEWTON says
great idea ...never ever thought of putting up a picture to hide the ugly thing ...thank you ...now to try and get husband to do with me ...thank you very much...