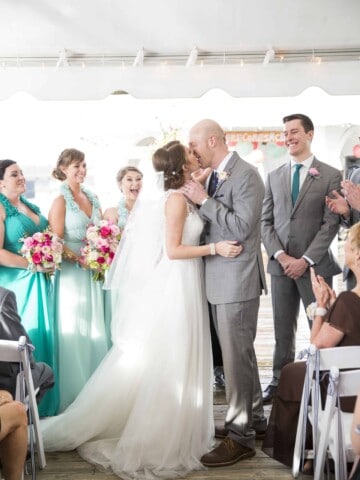
I am all about the little personalizing wedding touches. Things that bring in your colors or theme can really make the event feel more unique and less like every other wedding your guests will attend this season.
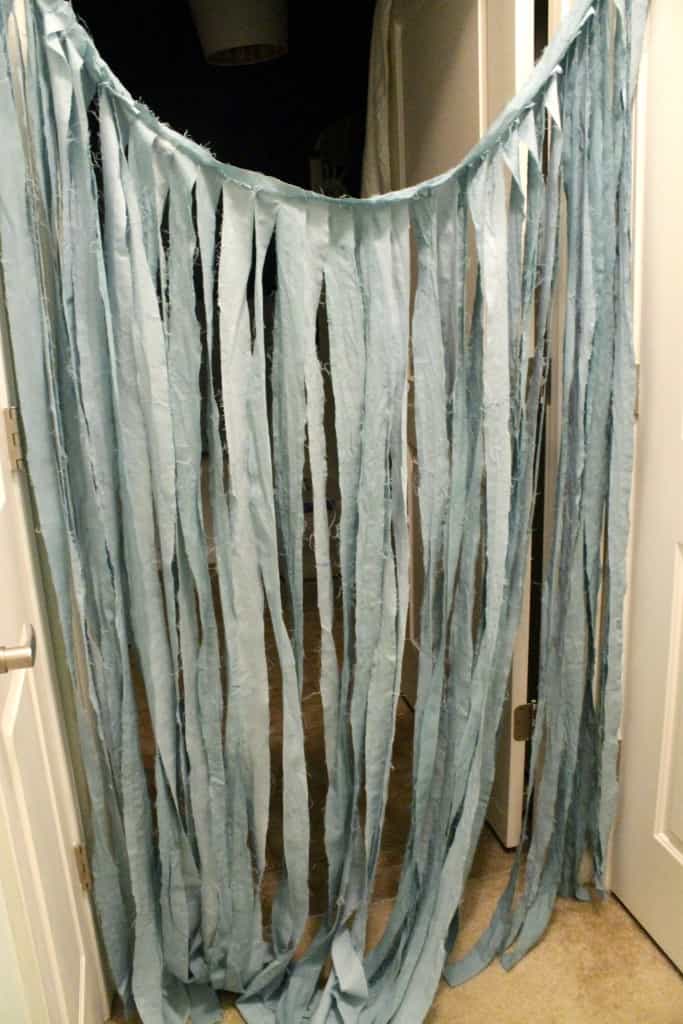
We knew that we were going to have a traditional photobooth for our guests, but I wanted to do something to jazz it up and make it even more "us". The photobooth that we are renting has a plain black curtain hanging behind where you stand. Fine, neutral, looks great in pictures. But, you know me. I wanted teal and texture and a ribbony feeling. I spotted this backdrop on Pinterest and knew that it was the perfect effect that I was looking for.
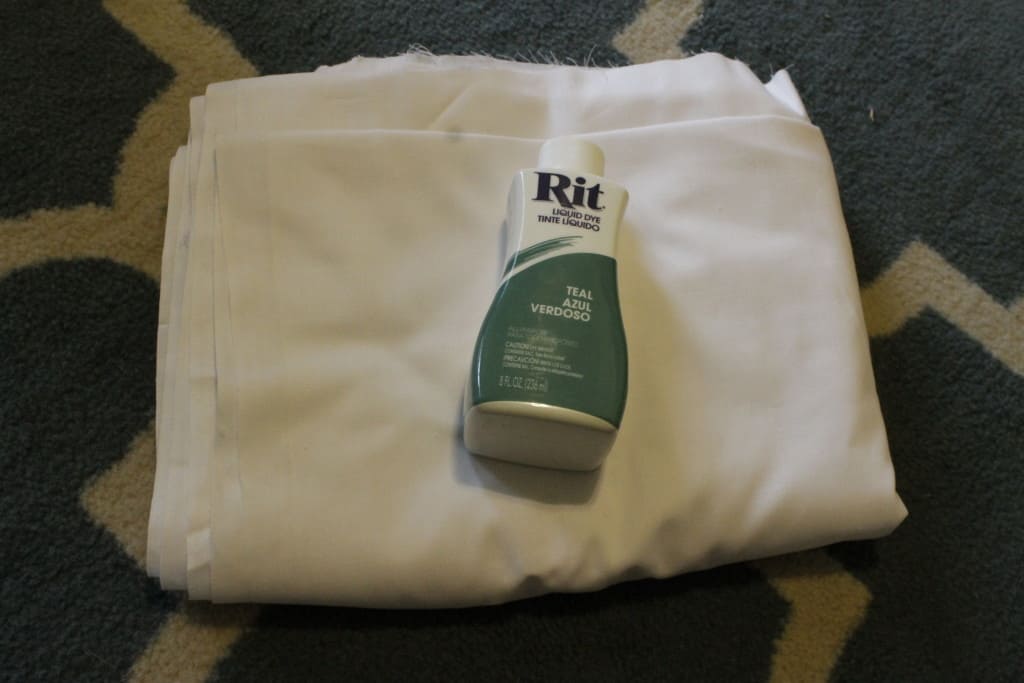
Here's what I picked up at JoAnn's for a total of less than $10 (with a coupon):
- 4 yards cheap white cotton (muslin works)
- 1 bottle of RIT liquid fabric dye in teal
Here's what I did:
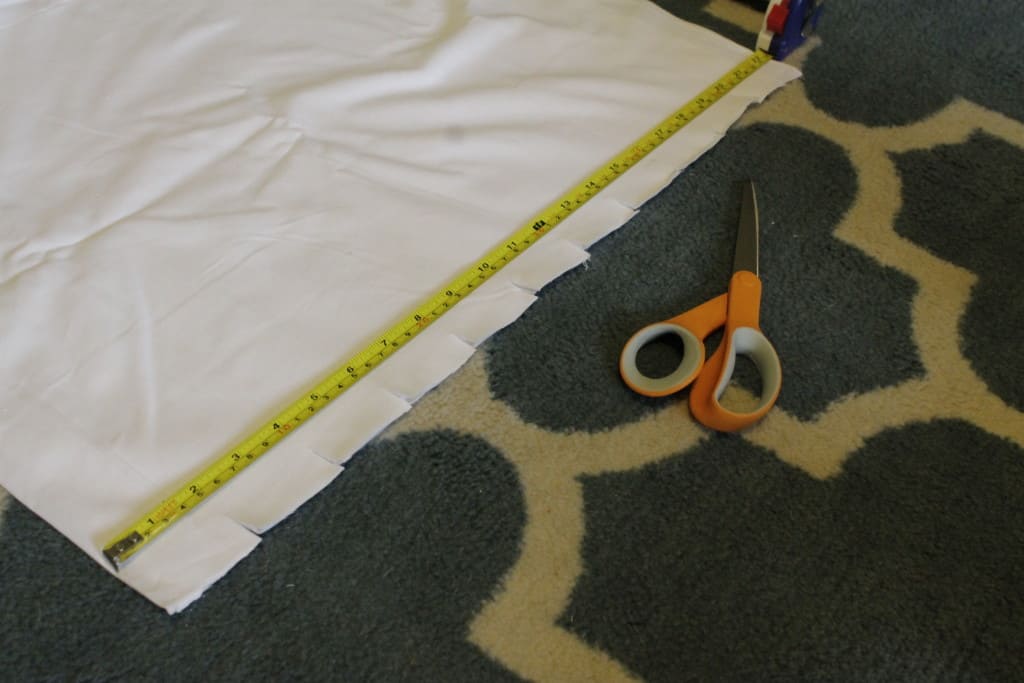
First, I laid the fabric out on the floor. I left it folded in half horizontally (hot dog style) like it was on the bolt. I folded that in half length wise to make it 2 yards long. I cut along the fold so I now had 4 layers, 2 yards long.
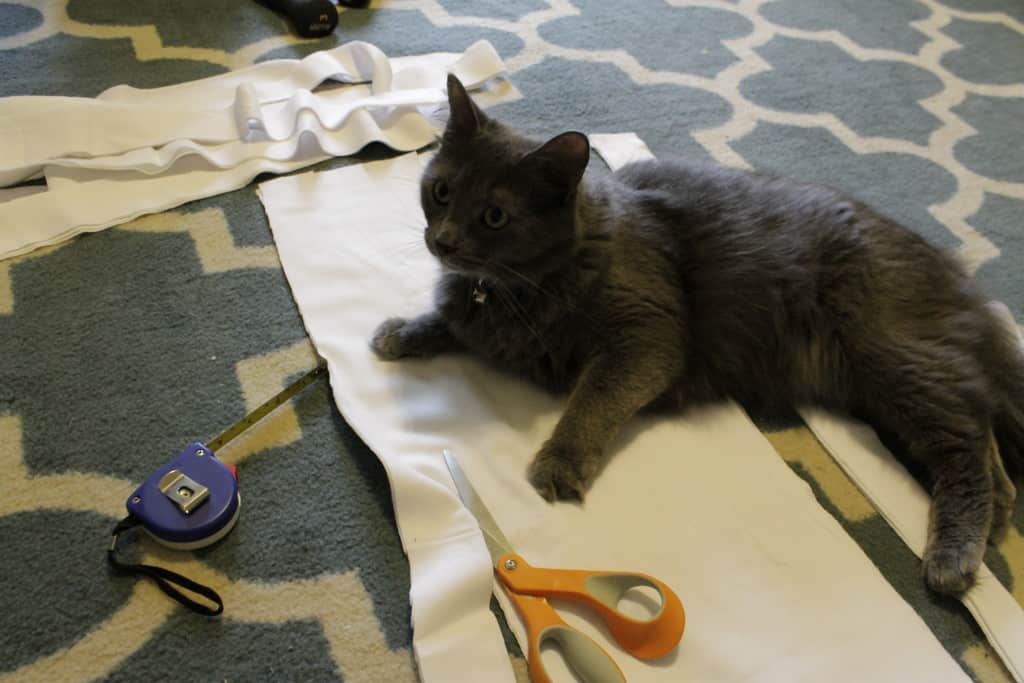
Bear loves any project that is done on the floor. Also, tape measures.
Mark the fabric every two inches and cut strips. It's kind of hard to make them perfectly even all the way across. Don't sweat it. Soft and flowing and imperfect is fine.
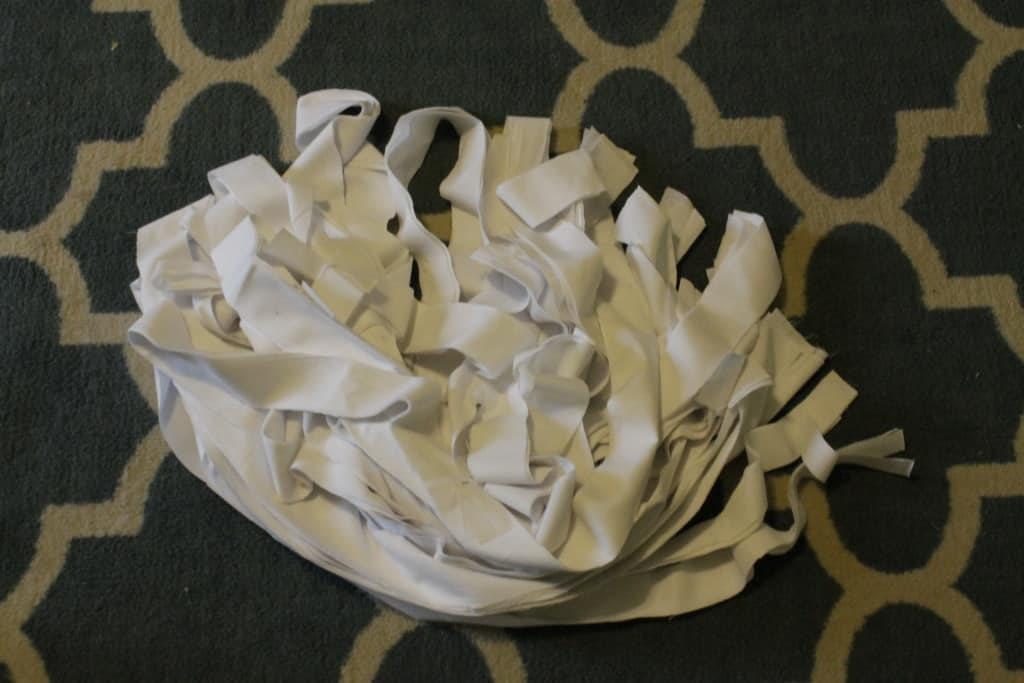
Separate all of the strips that are stuck together.
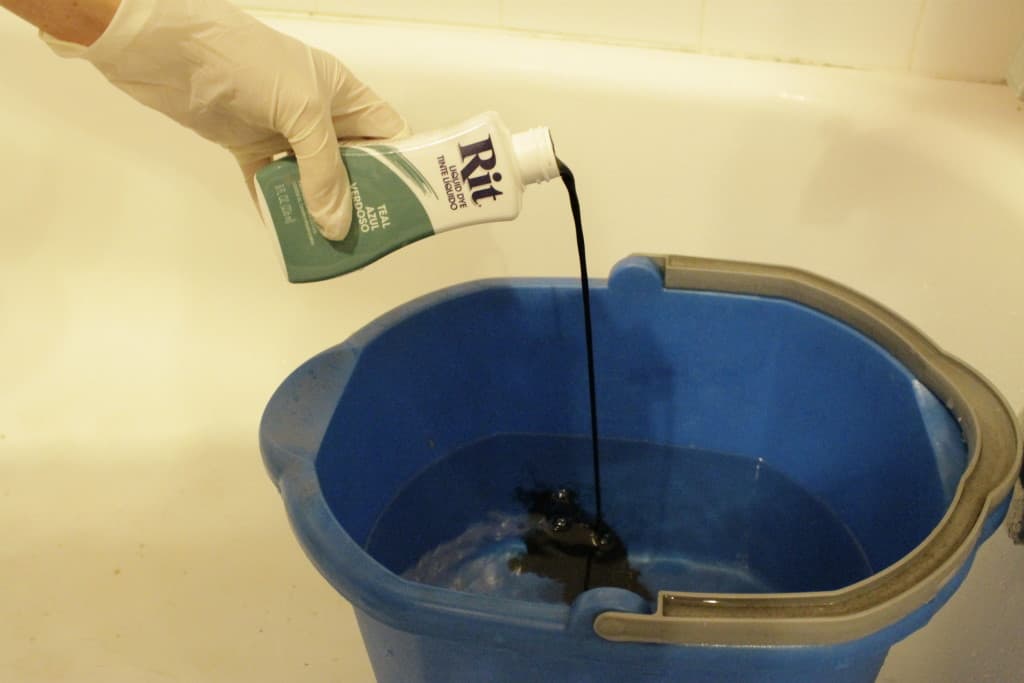
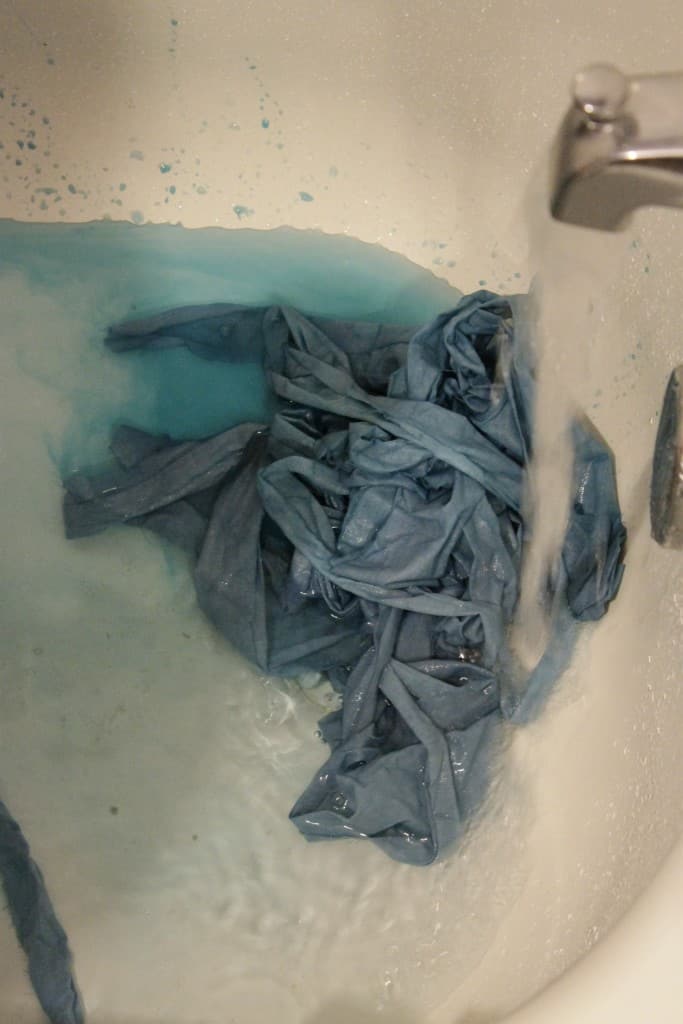
Time to dye! In a large bucket, add 3 gallons of hot water and half of the dye bottle. NOTE: if you want your lightest strips to be very light, add less dye. Double note: wear gloves.
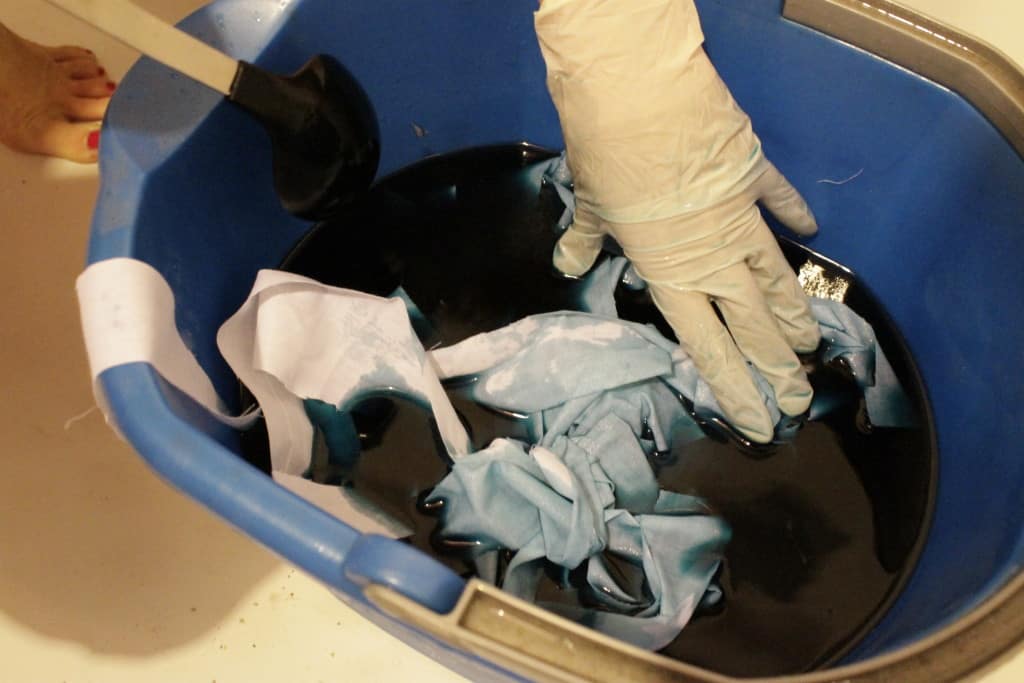
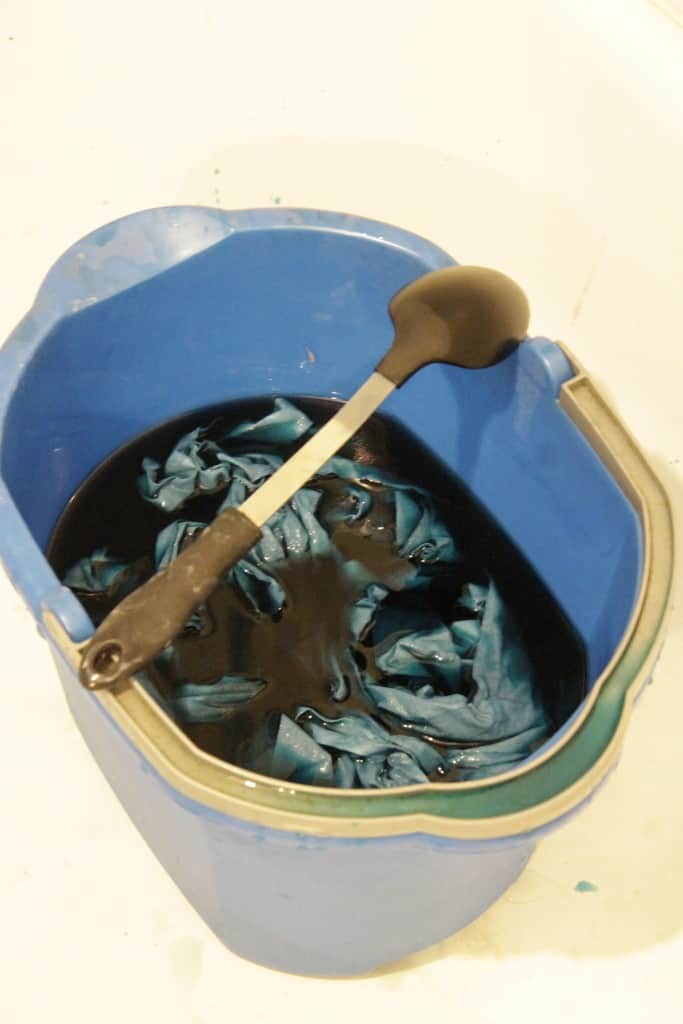
Add all of the strips and stir. Allow to sit for 15 minutes, stirring occasionally.
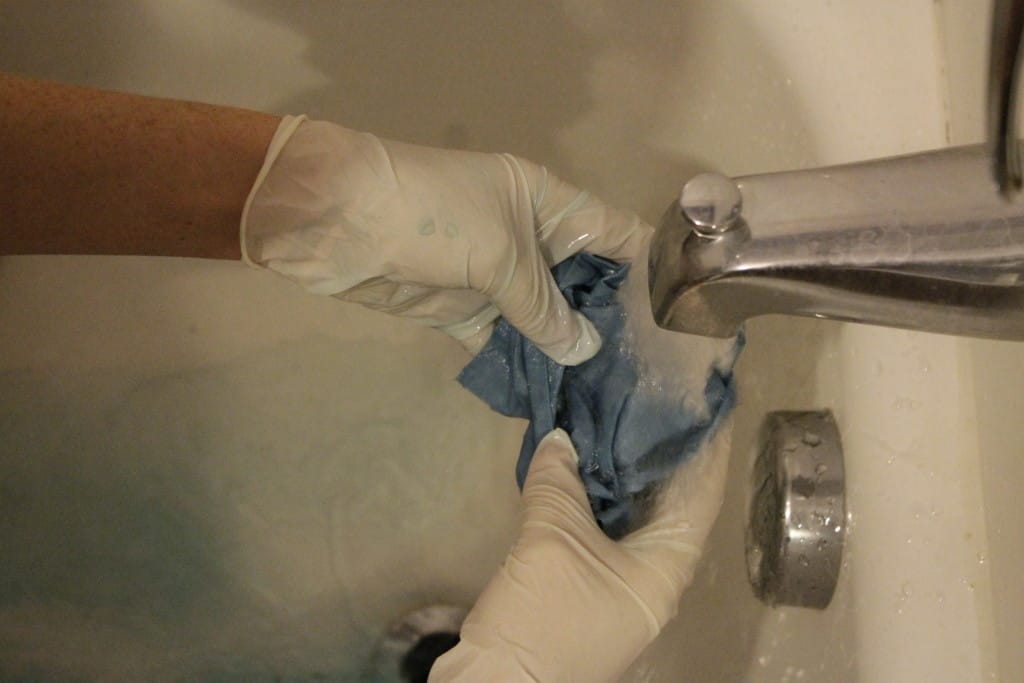
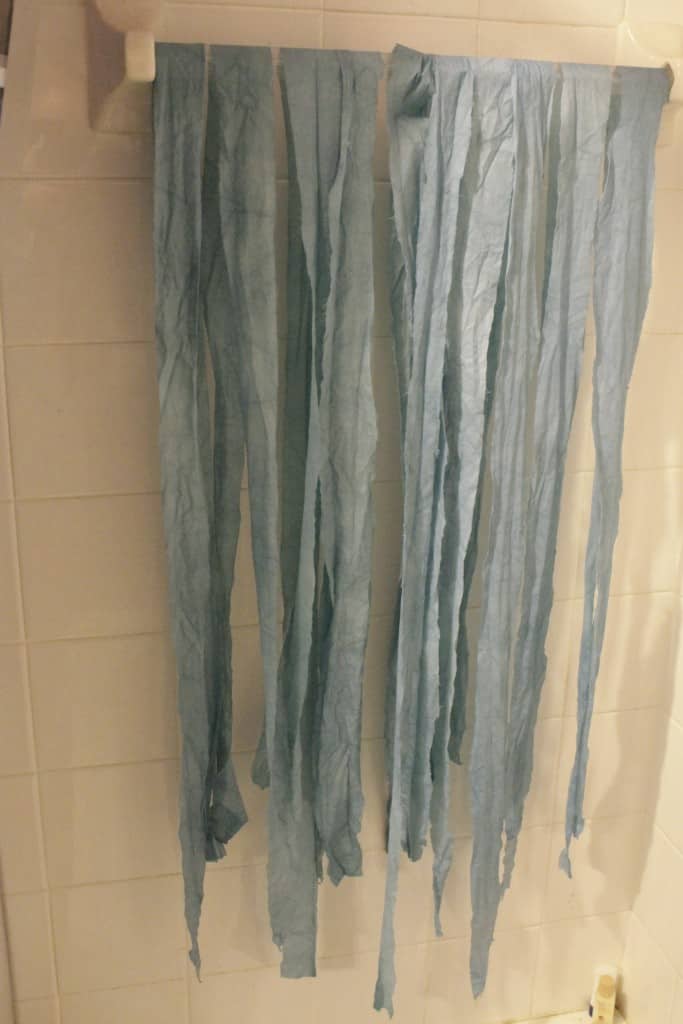
Remove ¼ of the strips from the dye (approximately 11). Rinse under the tap until the water runs clear. Hang them to air dry. Note: when you squeeze all of the water out, they will get really wrinkled and crumpled. Smooth them out now.
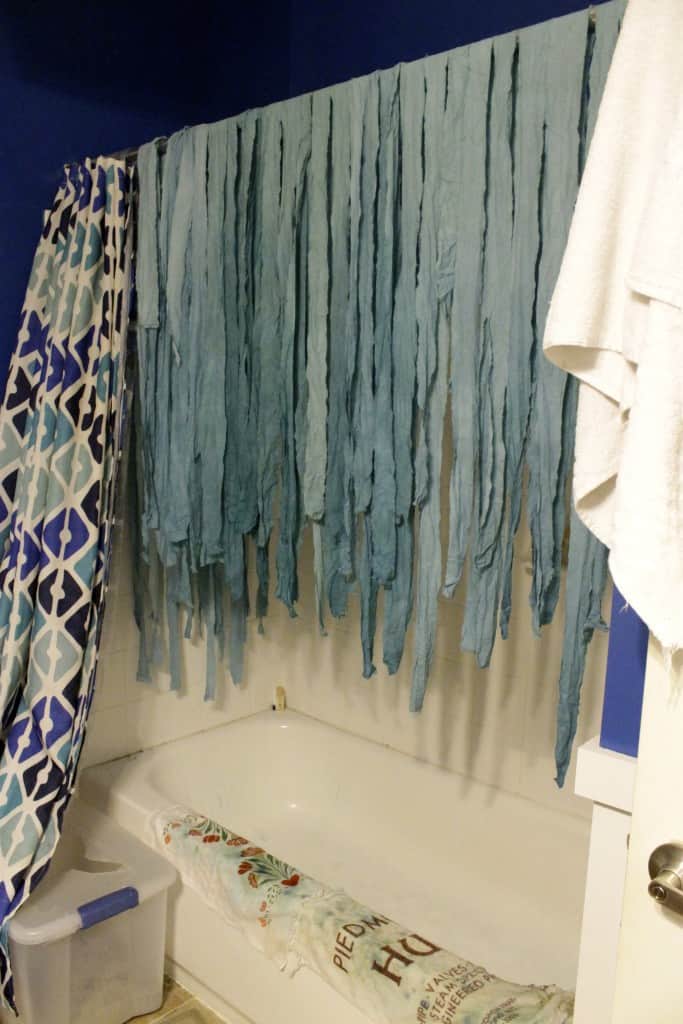
Repeat every 15 minutes. If you want more of a dramatic ombre effect, add more dye each time you take strips out, stir well, then let it sit for 15 more minutes.
We ended up with a more subtle, but still beautiful ombre.
After the strips were about 75% air dried (3 hours hanging) I threw them in the dryer to finish drying completely.
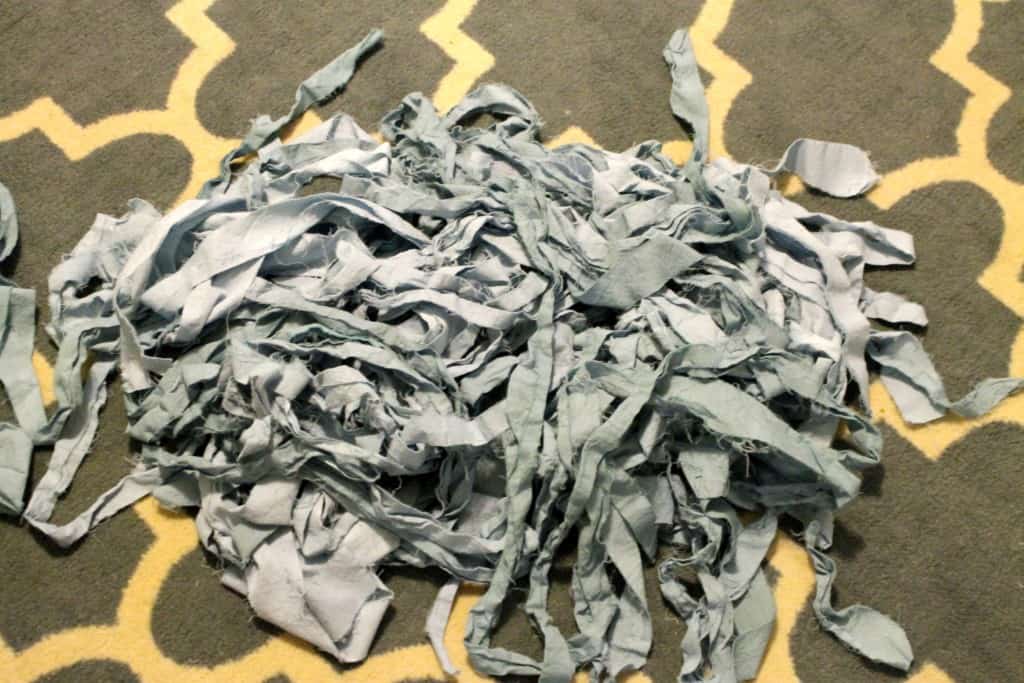
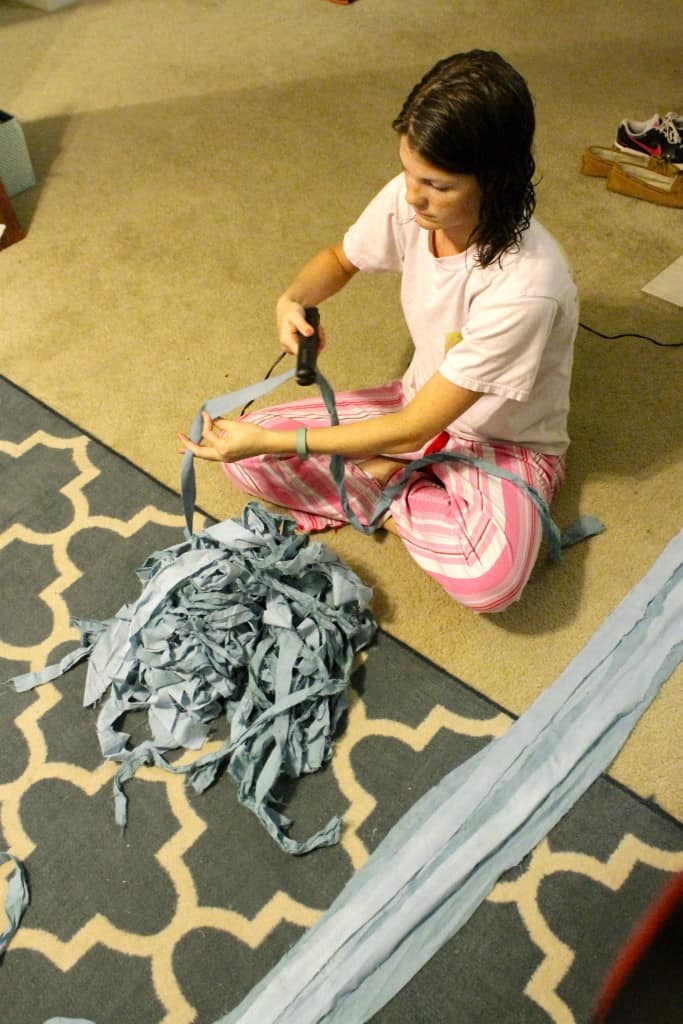
They came out really wrinkled. Like I said, they don't need to be perfect, but they were too wrinkly for my taste. So, I used my flat iron to smooth them out.
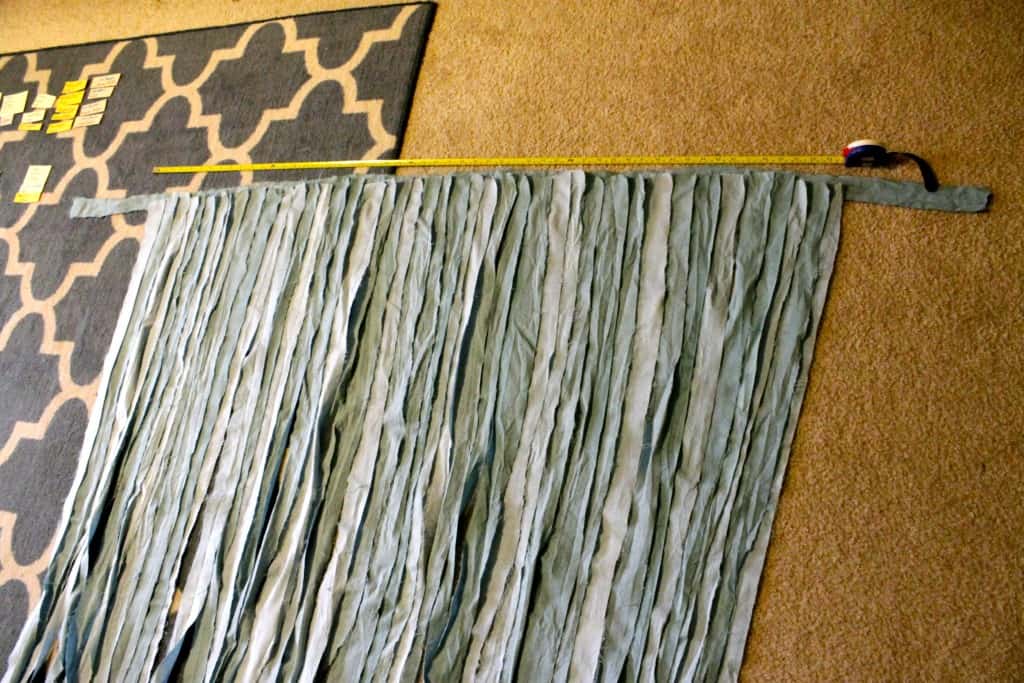
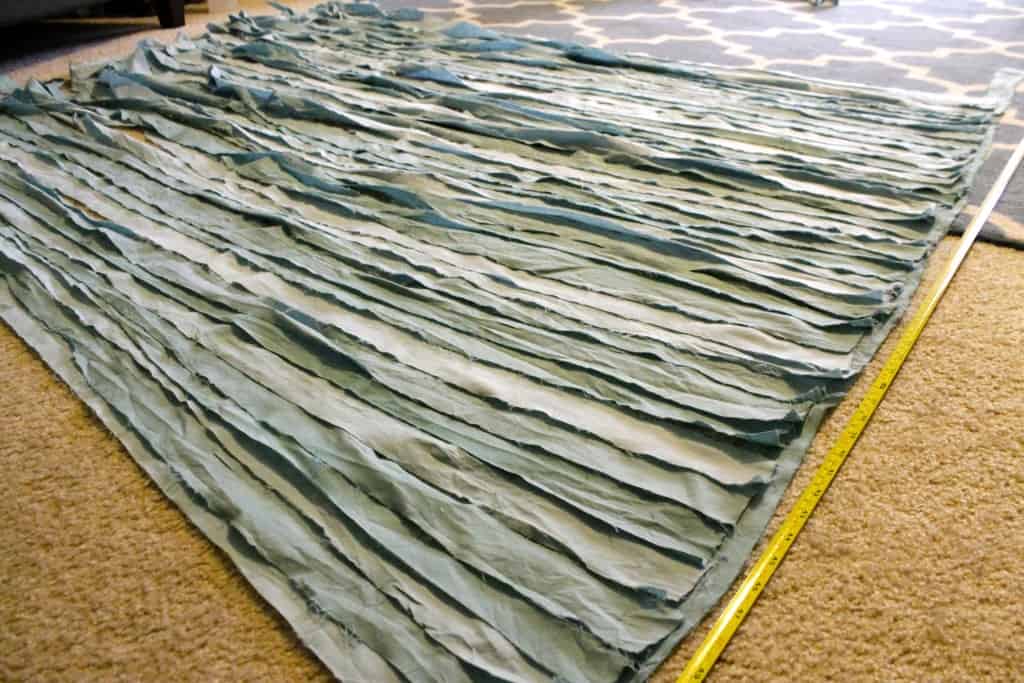
Next came time to create the backdrop. I laid out the strips to get the random effect I was looking for ("random" is a lot less random than you would think.) I used one strip as the horizontal base at the top. I left room on the end to tie to the curtain pole in the photobooth.
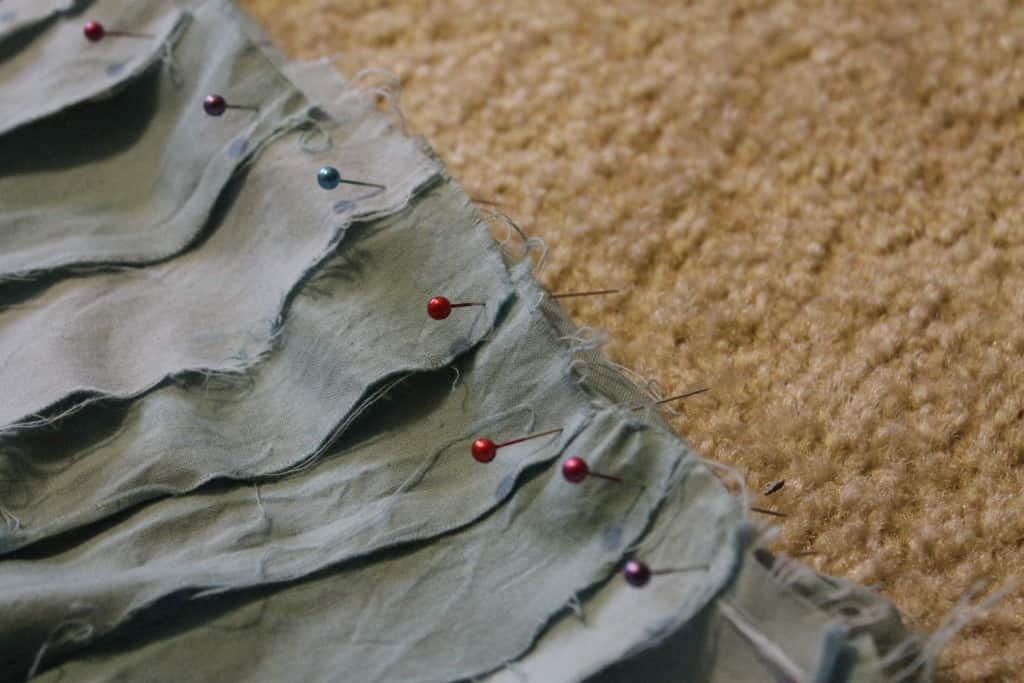
I decided to sew the strips to assemble them. You could also tie each one to the base strip if you can't or don't want to sew, but this was an easy straight stitch. So, I pinned them to the horizontal strip and simply sewed them in place with a long line.
I think that it turned out pretty cool!
Did you make a wedding backdrop?
 |
|||
 |
 |
 |
 |

Hello, I'm Morgan, half of the creative force behind CharlestonCrafted.com! With a passion for DIY that dates back to 2012, I've transformed three homes and now I'm dedicated to helping others craft their dream spaces. Let's turn your house into a home together!

