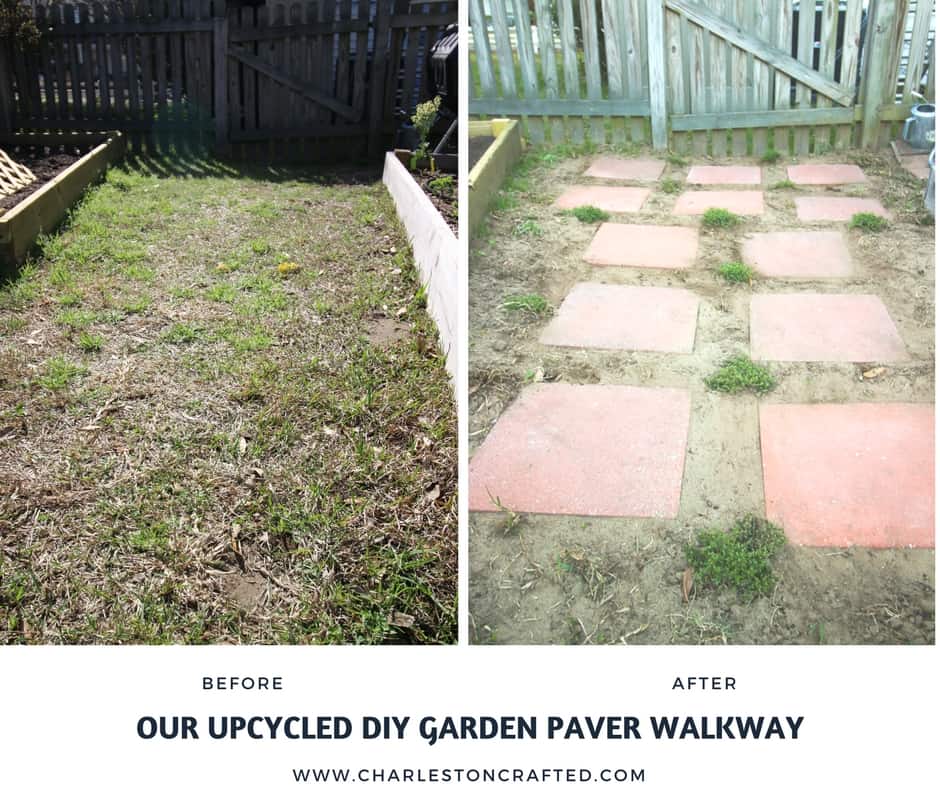
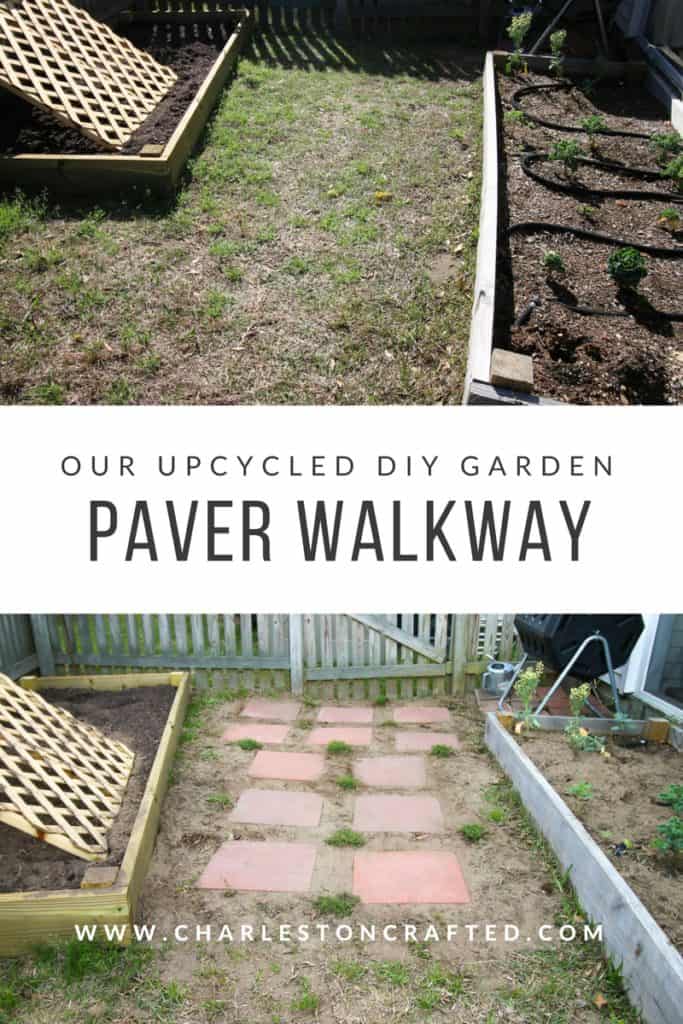
Hey y'all. We're sharing our new garden paver walkway with you today. You should know by now that we don't like to let things go to waste. When we tore our our old patio a few weeks ago and laid down a new one with the Quikrete WalkMaker, we didn't want to throw the old pavers away. Most of the old patio was made of 6"x6" pavers and we put a bunch of those under our canoe stand and our compost bin. The rest we put on the side of the road and listed them for free on Facebook Marketplace. However, we kept the big ones that were 12"x12" because we knew we could use them down the line. Well, down the line came pretty quick and we used them to make a garden paver walkway.
Our DIY Garden Paver Walkway
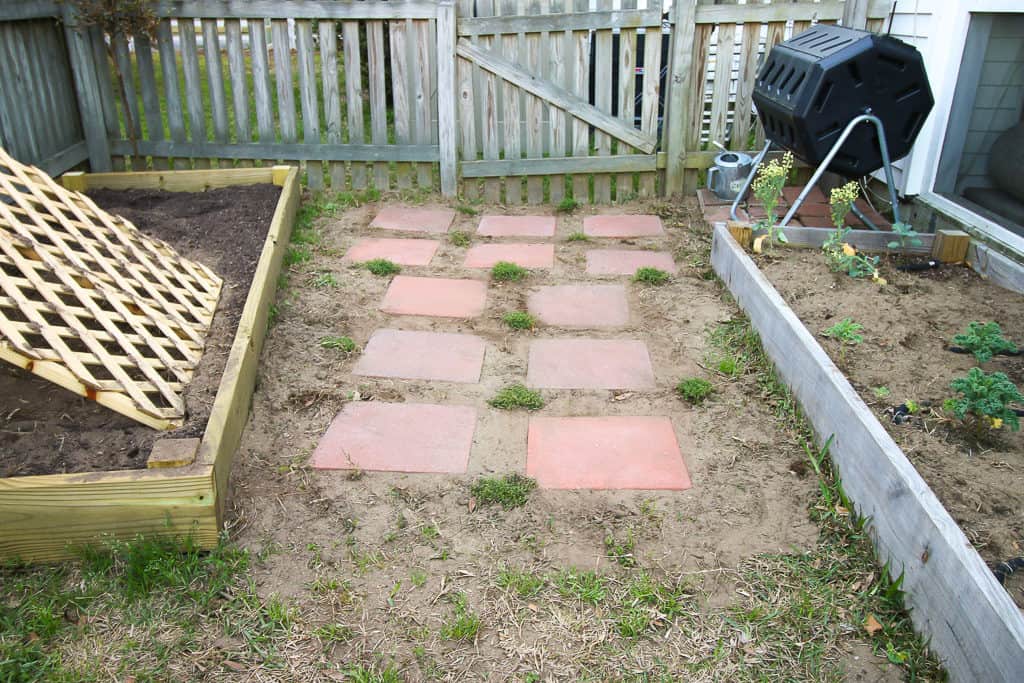
This project was great for reuse. Right now, we have two gardens along the side of our yard. After we added the second garden this year, the space between them was fairly narrow and heavily trafficked. We didn't really want to try to keep the grass growing here, so we wanted to make a paver walkway between them from the gate to the yard.
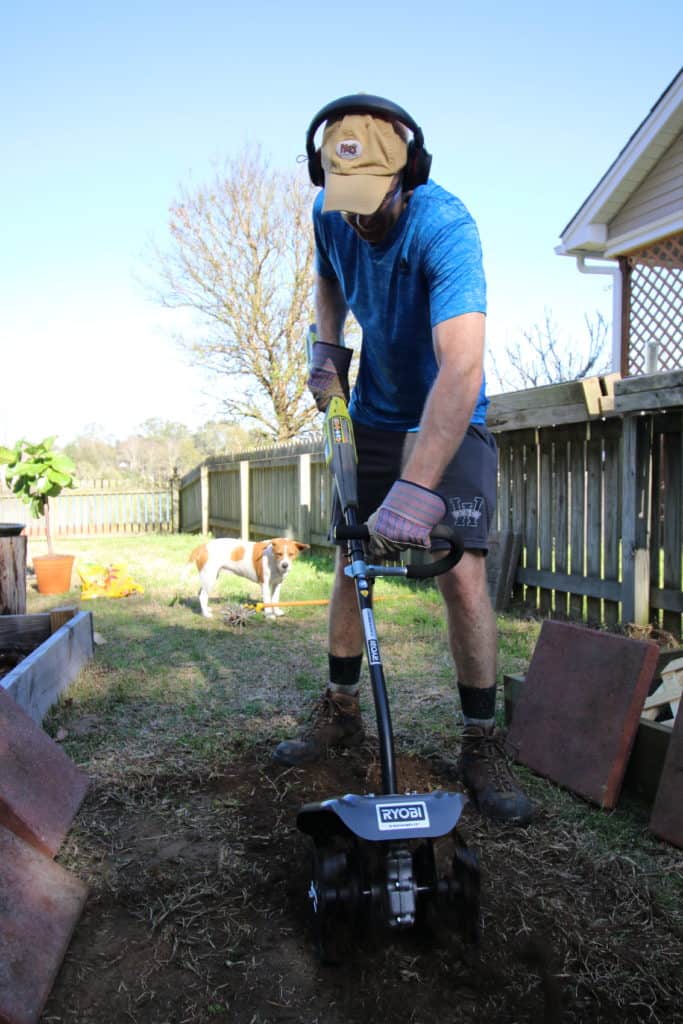
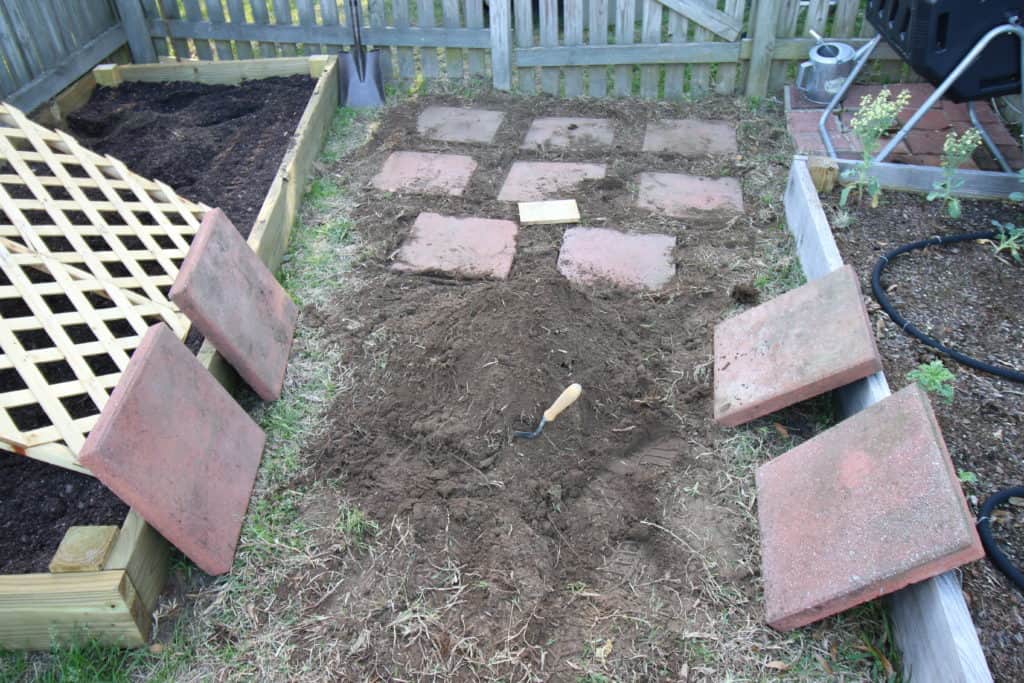
We started by breaking up the ground using shovels and our RYOBI 40v Expand-It cultivator attachment. This was a critical first step because we wanted the pavers to be level with the rest of the yard and not sticking up in the air for everyone to trip on.
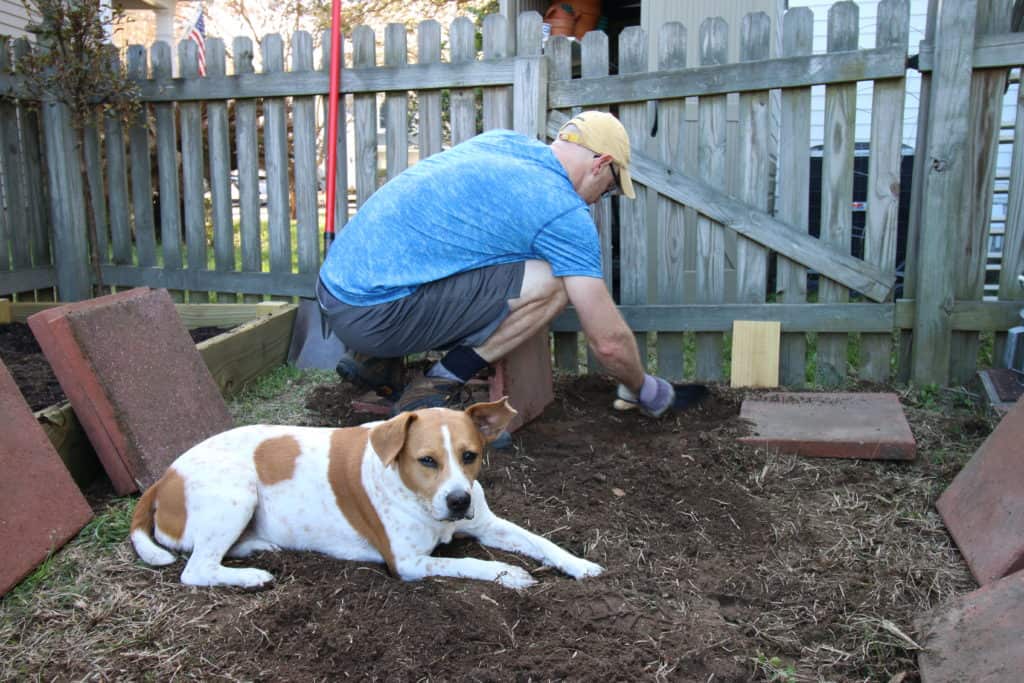
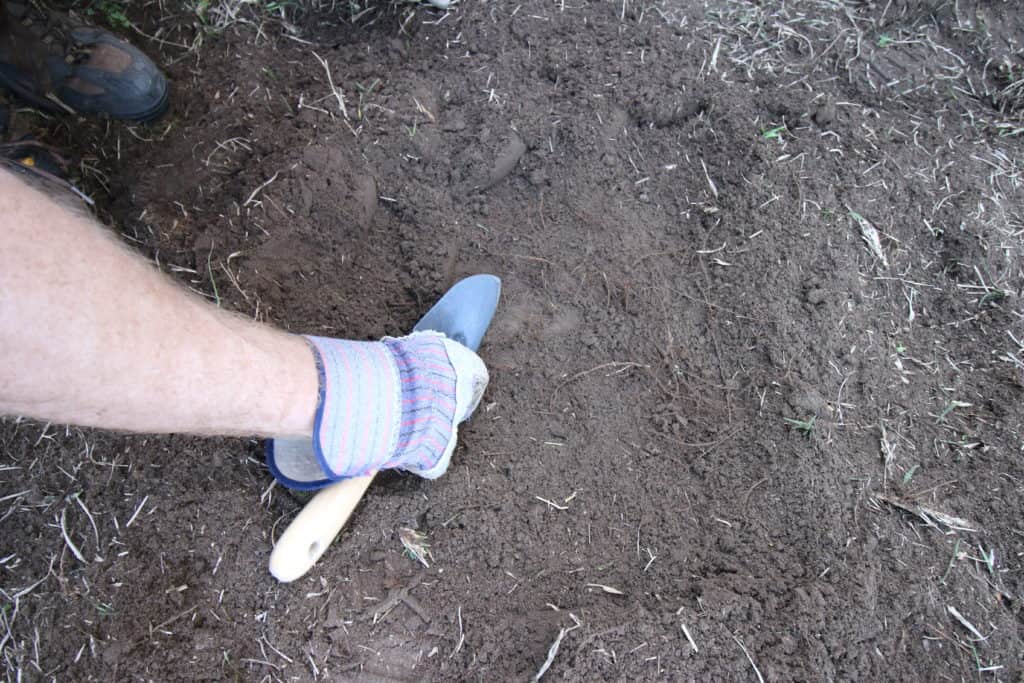
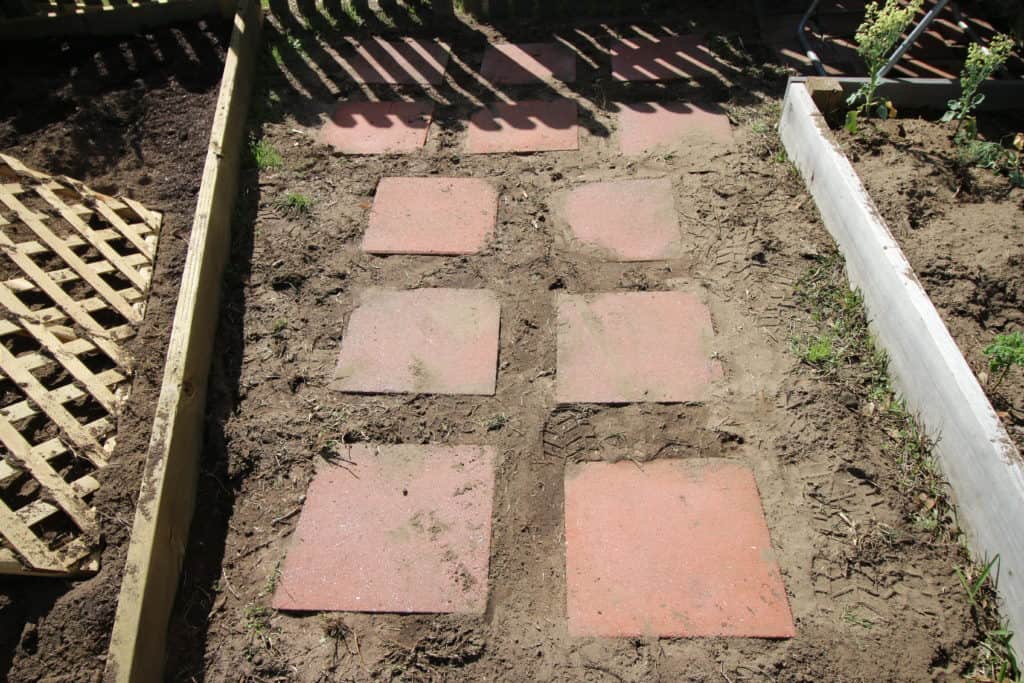
Then, we laid down each paver to figure out exactly where they were going to go. We used a piece of wood to mark off the distance between each paver so that it would be uniform. Then we removed the paver and dug out a square hole the size of the paver and dropped it in.
We continued this for all 12 pavers, filling in the gaps between the pavers along the way.
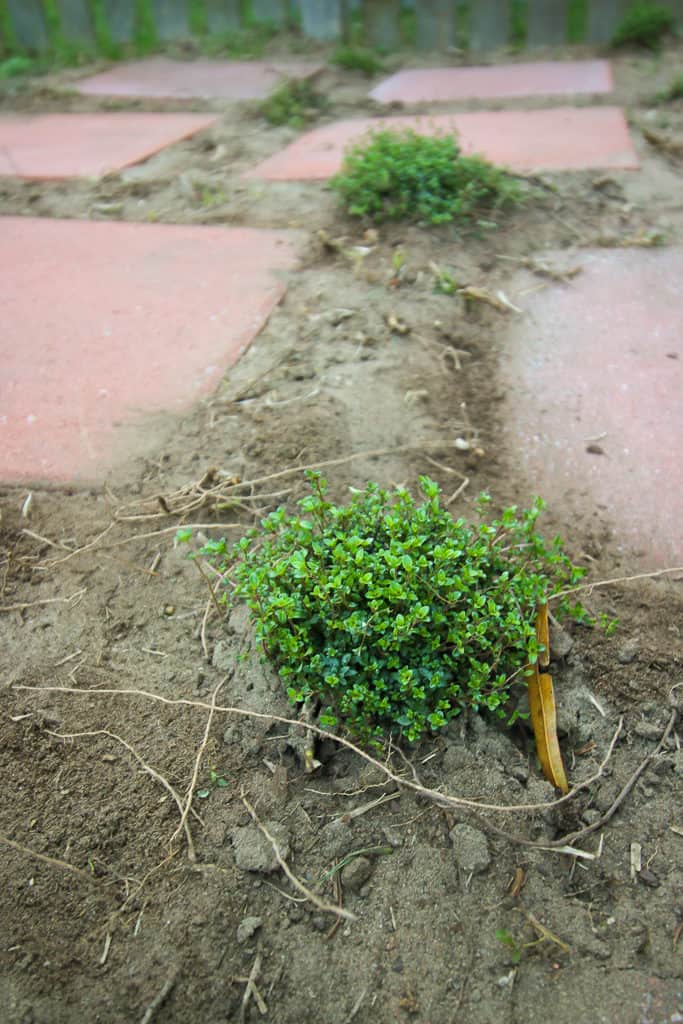
When it was done, we went in and planted creeping thyme at the intersections of the pavers that will spread in between them and cover the dirt. This will keep them in place and will look great when the grow in!
There are lots of ways to make a paver walkway in your garden or any area of your yard and it's easy to DIY. We were lucky that this was a free project because we had the pavers leftover, but this can be replicated easily in a number of ways. Happy DIYing!
 |
|||
 |
 |
 |
 |

Hey there, I'm Sean, the woodworking enthusiast and builder behind CharlestonCrafted.com! Since 2012, I've been sharing the magic of turning raw materials into beautiful creations. I love teaching others the art and satisfaction of woodworking and DIY. I try to inspire fellow crafters to make something extraordinary out of nothing at all.

