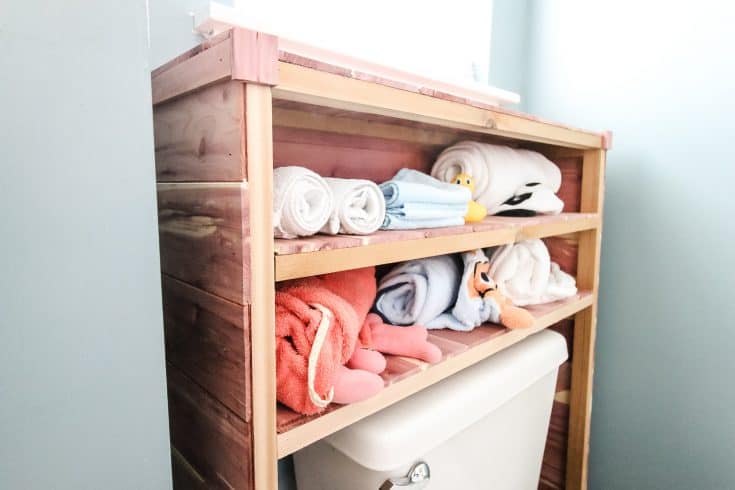
We built an over the toilet storage solution to house our baby bath materials. This over the toilet storage project can be built quick with our instructions!
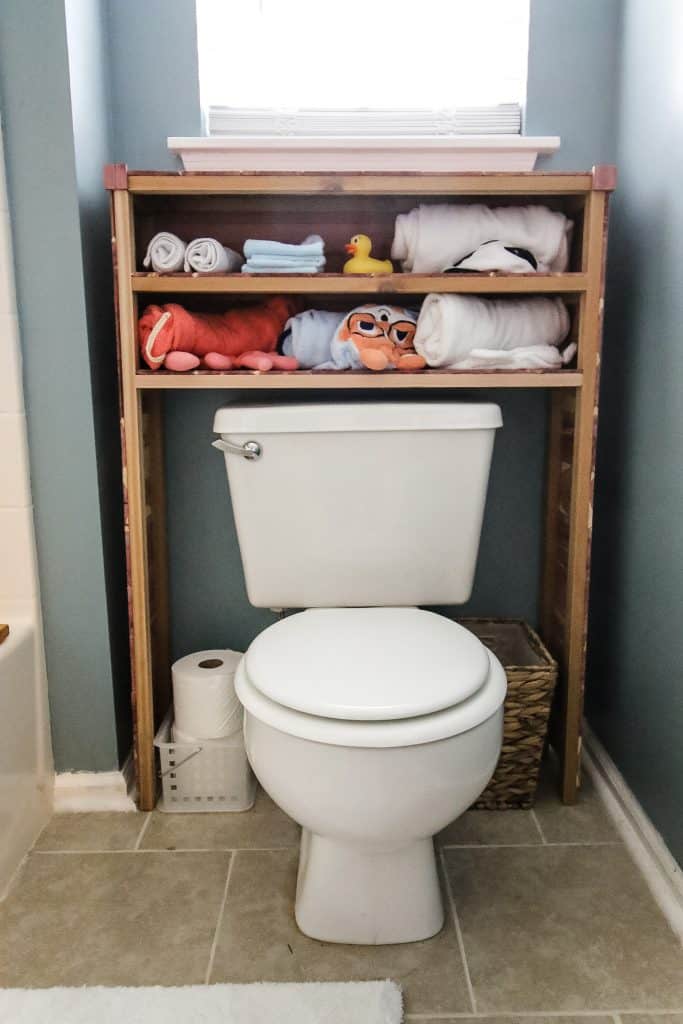
We recently put up an awesome over the toilet storage system made entirely from cedar.
With the baby came lots of bath stuff that we have been storing under the guest bath sink. This over the toilet storage fits our needs much better and looks and smells amazing!
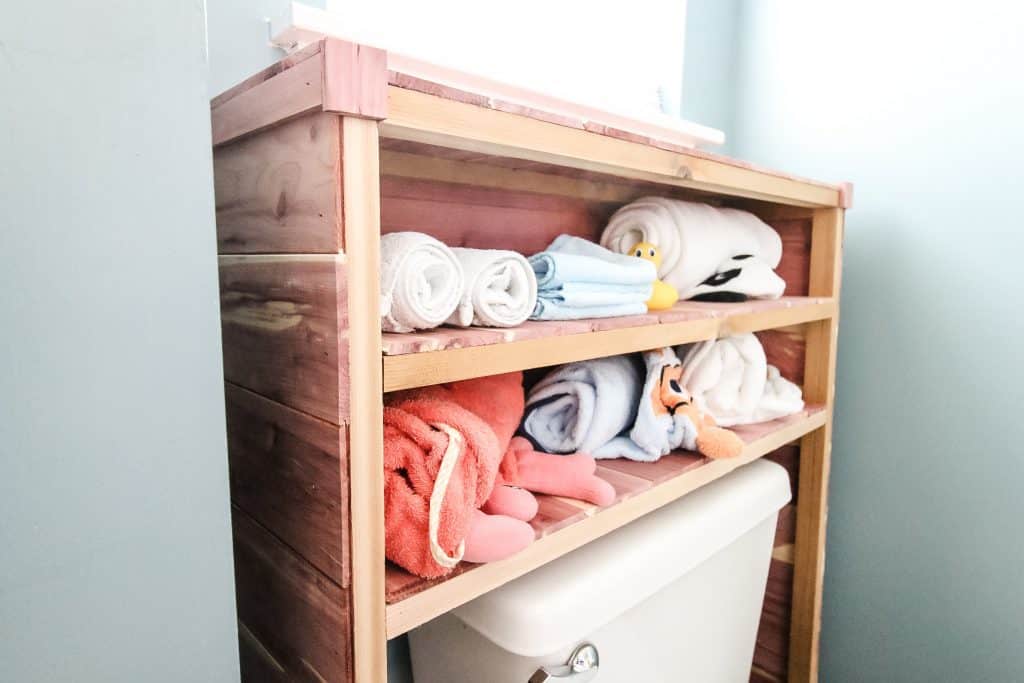
Over the Toilet Storage
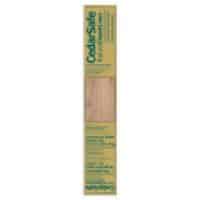
We partnered with CedarSafe on this easy and useful project. CedarSafe makes incredibly gorgeous tung and groove cedar planks.
Typically these are used to create cedar-lined closets that protect your clothes, but we're showing you a great alternative to their cedar planks.
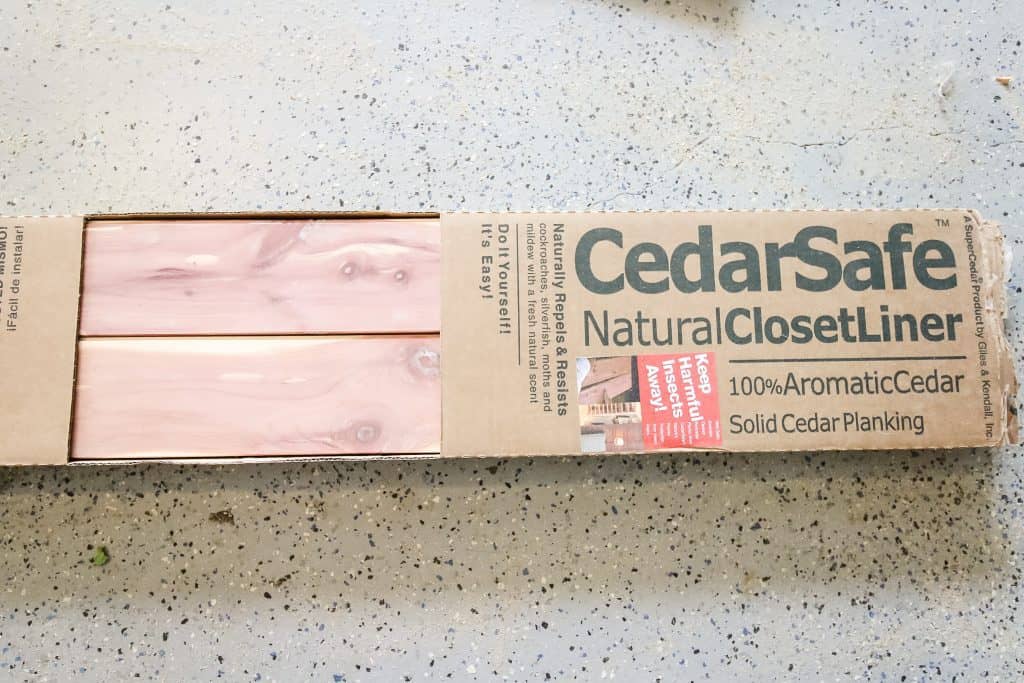
Using cedar in the bathroom is a great choice because it stands up well to water, like we talked about when we built our tub bench.
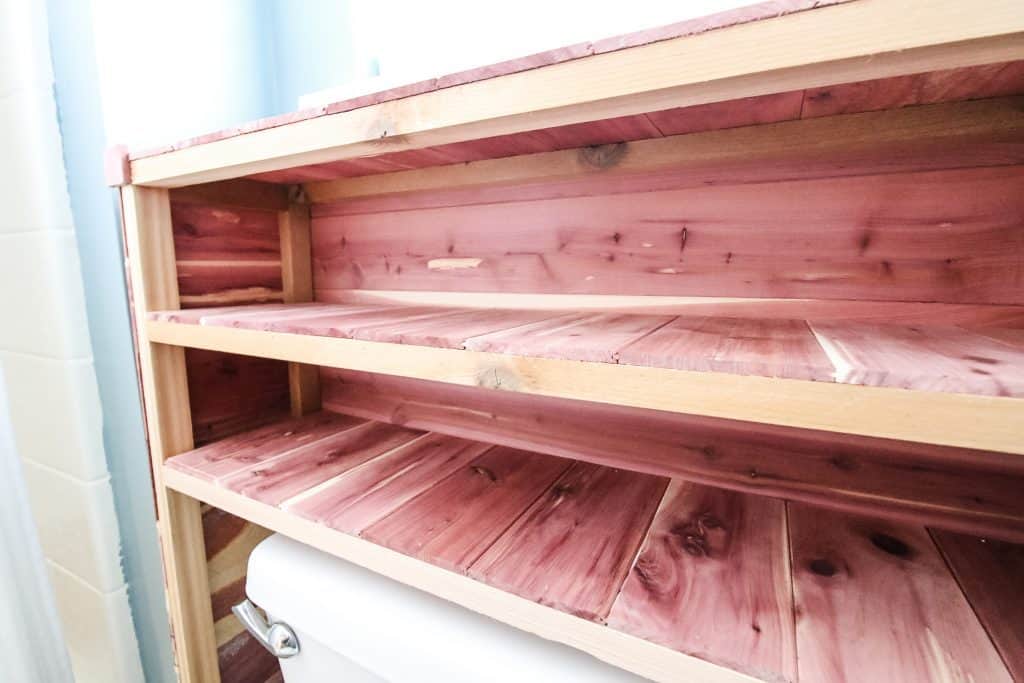
Lots of over the toilet storage racks go up much higher than this one. However, with the window, we designed it to go around and over the toilet but stay under the window.
If building a solution like this for yourself, ensure you measure the width and max height you need.
Check out all of our DIY woodworking projects for the bathroom!
How we built over the toilet storage
This over the toilet storage is built with a cedar frame. It's sturdy and can hold up well to the moisture in the air.
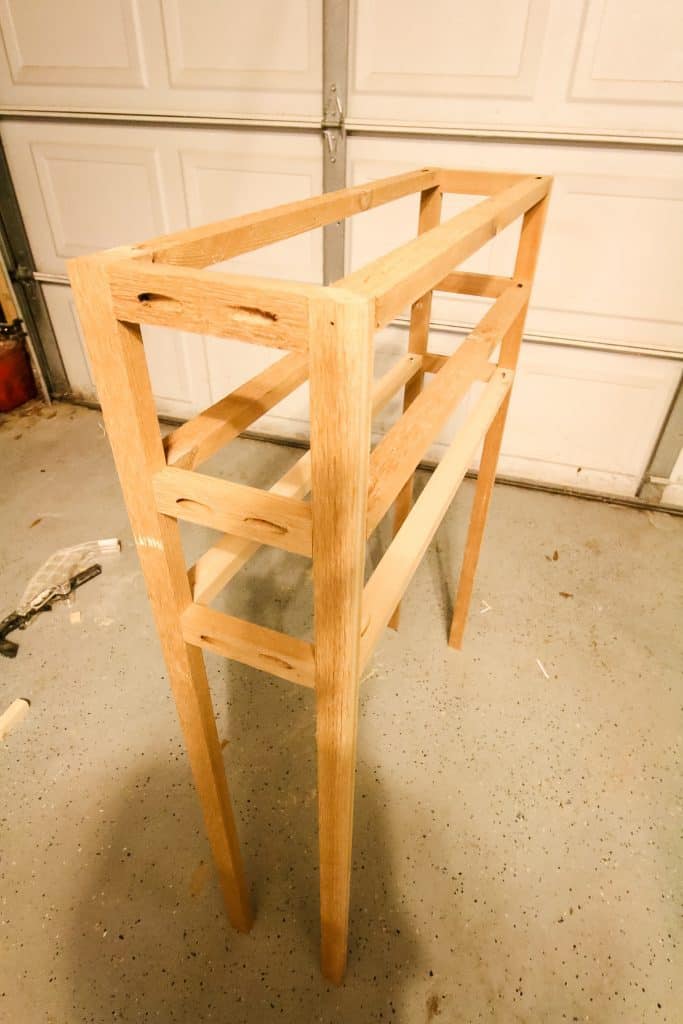
Step one: Build the frame
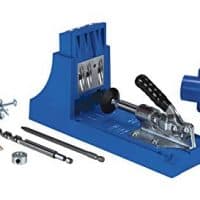
I used pocket hole joints to built a front and a back frame, then connected those with support beams. The long and short support beams are set at the shelf heights.
Step two: add plank shelves
The shelves and sides are 8 inches deep, and this is where the CedarSafe planks come in.
The planks comes in random lengths to give a more natural appearance when putting up in a closet. I set my table saw to 8 inches and cut enough short planks to cover the shelves, top and sides of the frame.
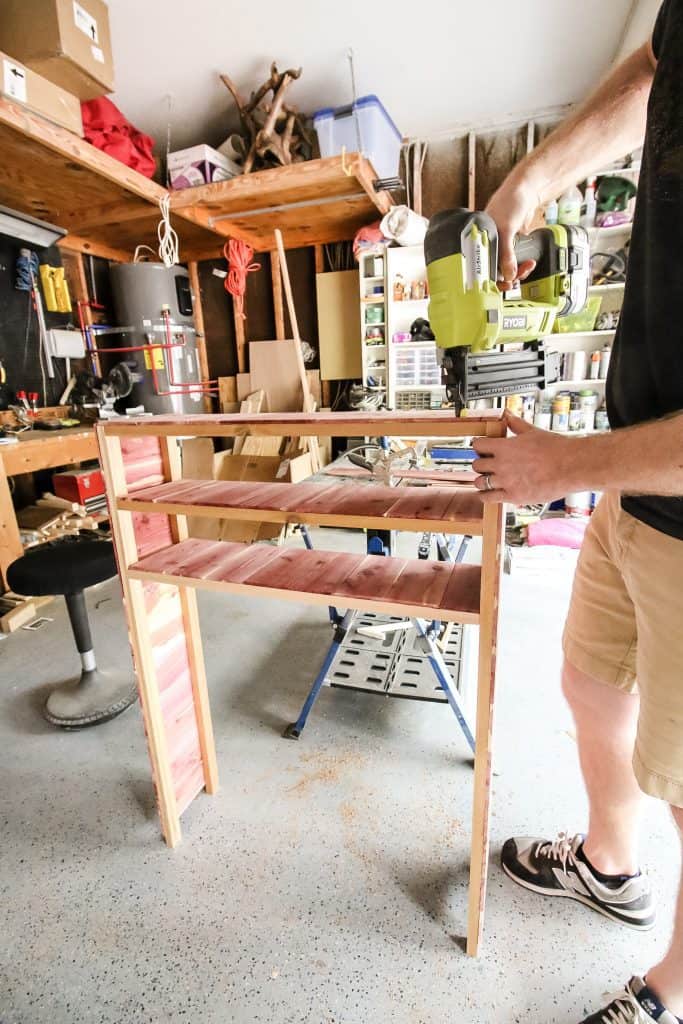
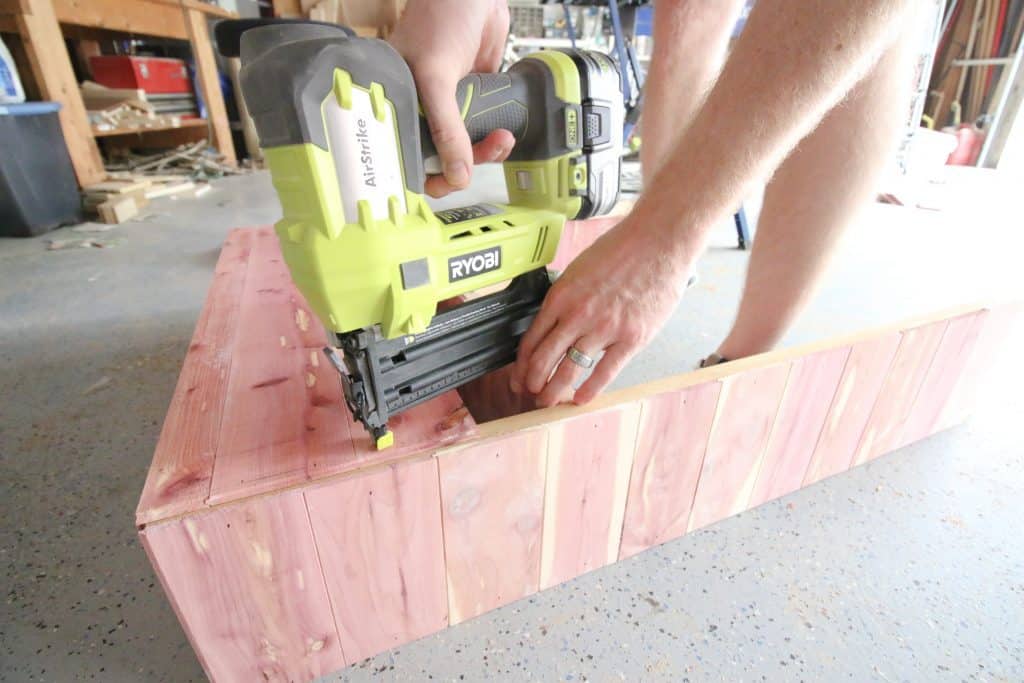
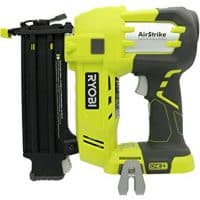
Then I simply used a brad nailer to attach the planks. Since they are tung and groove planks, I was able to put them completely into position and then nail in place.
Step three: add back boards
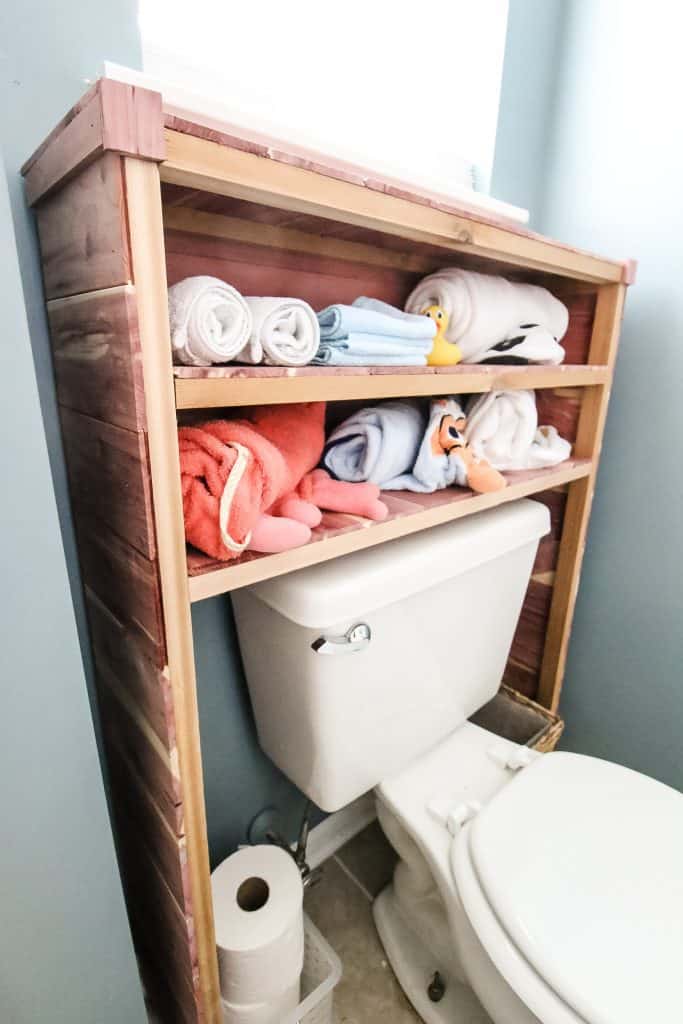
We also added planks to the back of the shelves using longer boards. This created nice looking cubbies that you see when you walk in the bathroom.
DIY over the toilet storage system
We love the way this over the toilet storage solution came out. If you are interested in replicating the project, we have the whole step-by-step tutorial for you below, complete with materials needed and instructions. Print it off and get to work! If you do, make sure you tag us in a picture on Instagram!
Thanks again to CedarSafe for partnering with us on this over the toilet storage project. CedarSafe is an easy, DIY-friendly, green, 100% natural product that is made entirely in the USA. We really enjoyed the versatility of the cedar planks and can't wait to use them for some more projects!
This post was sponsored by CedarSafe, an easy, DIY-friendly, green, 100% natural product that is made entirely in the USA. All opinions are our own and our opinion is that we love CedarSafe planks. Thank you for supporting the brands that make Charleston Crafted possible!
Over the Toilet Storage
This over the toilet storage solution provides you with shelves to store frequently used bathroom items and uses dead space. Using cedar adds a nice aroma to the bathroom and is resistant to water.
Materials
- 1"x8"x8' cedar board
- 1 pack of CedarSafe planks
- Pocket hole jig and screws
- 1" brad nails and nailer
Tools
- Brad nailer
- Pocket hole jig
Instructions
- Cut the cedar board into 1 ¼" wide strips.
- Cut the following pieces from the cedar board:
- (4) legs- 42"
- (6) shelf supports- 28.5"
- Drill one pocket hole on each end of each
- (6) leg supports- 5.5"
- Drill one pocket hole on each end of each
- Cut 38 8" long boards from the CedarSafe planks and four 30" long boards.
- Attach shelf supports between two legs at 30", 36" and at the top (42"). Repeat with the other shelf supports on the other two legs.
- Attach the leg supports at the same heights as the shelf supports to connect the whole thing together.
- Nail CedarSafe 8" planks flush along the edges of the shelf supports, starting with the bottom shelf, then the middle, then the top.
- Nail CedarSafe 8" planks down the two sides, starting at the top.
- If desired, cut four 8"x1" strips off of the CedarSafe planks and two 1"x1" pieces. Use these to create corner molding on the top two corners.
Recommended Products
As an Amazon Associate and member of other affiliate programs, I earn from qualifying purchases.
Looking for something?
We've been doing this since 2012 so we have a LOT of blog posts!
Search stuff like: Ceiling Projects | DIY Plant Stands | Thrift Flips


Hey there, I'm Sean, the woodworking enthusiast and builder behind CharlestonCrafted.com! Since 2012, I've been sharing the magic of turning raw materials into beautiful creations. I love teaching others the art and satisfaction of woodworking and DIY. I try to inspire fellow crafters to make something extraordinary out of nothing at all.




[…] View the Full Tutorial […]