Grab the woodworking plans to build your own DIY pizza oven cart for your Ooni pizza oven, perfect for pizza night!
OK fine, I'll join the trend and get a pizza oven. I mean, technically I already did...
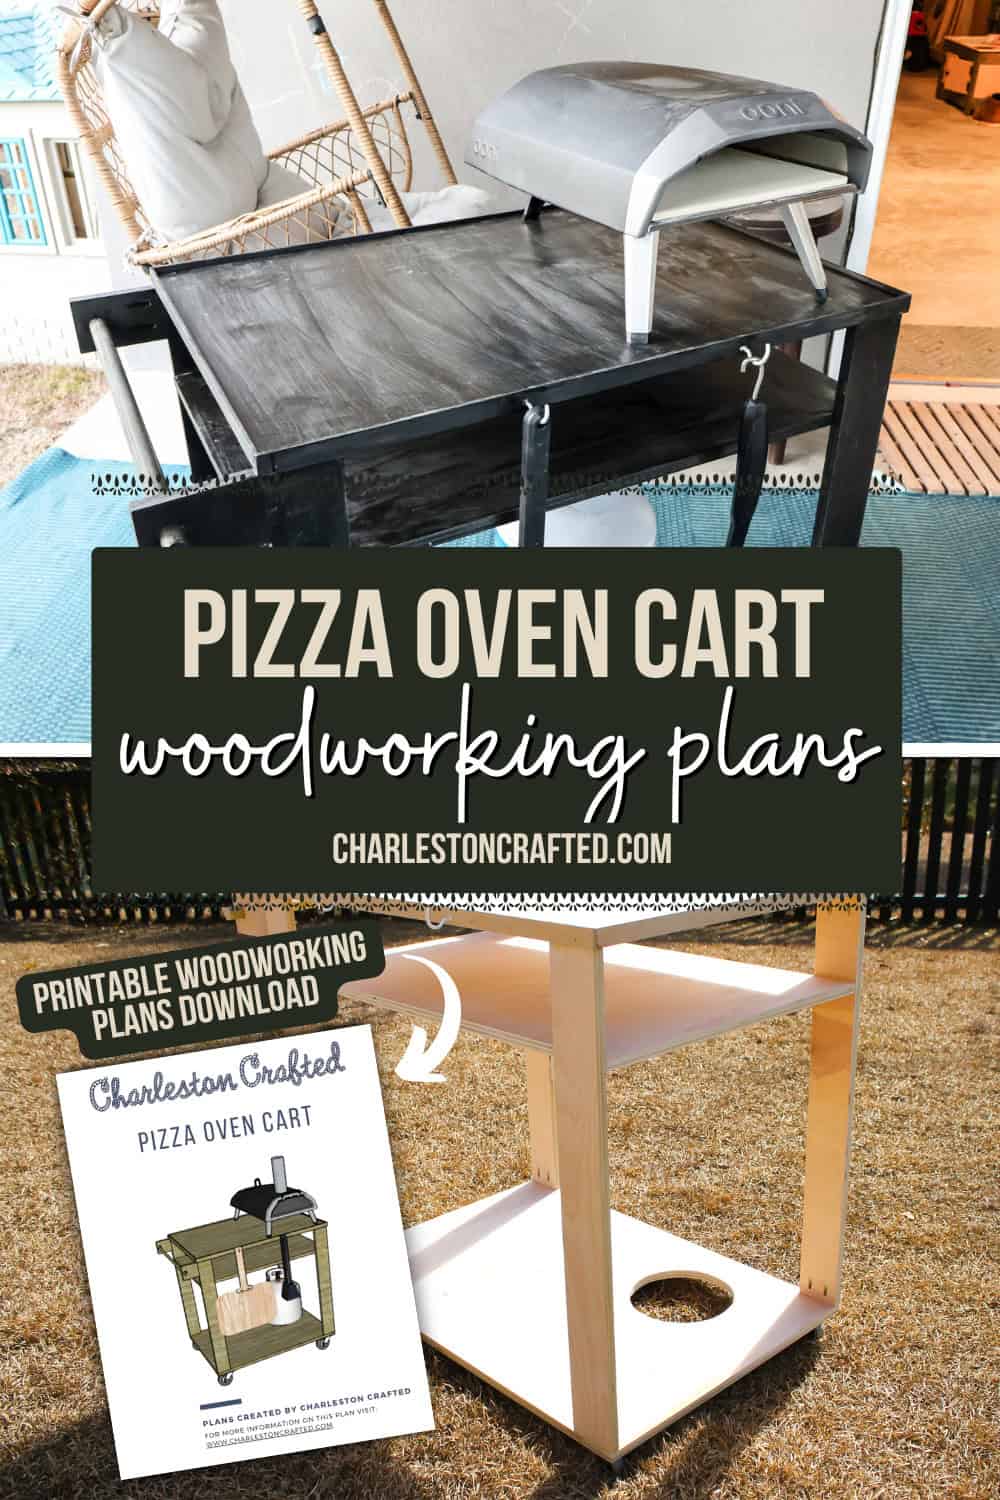
I recently got the Ooni Koda 12 pizza oven from Lowe's and started making homemade pizzas!
Historically, Morgan and I have made pizza almost every Sunday for over 10 years, but our kids only like plain pizza and we were getting pretty bored of the same thing each week. But it was really only possible to make one pizza at a time in our oven.
Years ago, we tried grilling a pizza on the grill and that was pretty difficult and a couple years ago I got a Traeger 575 smoker and have been enjoying cooking outdoors again.
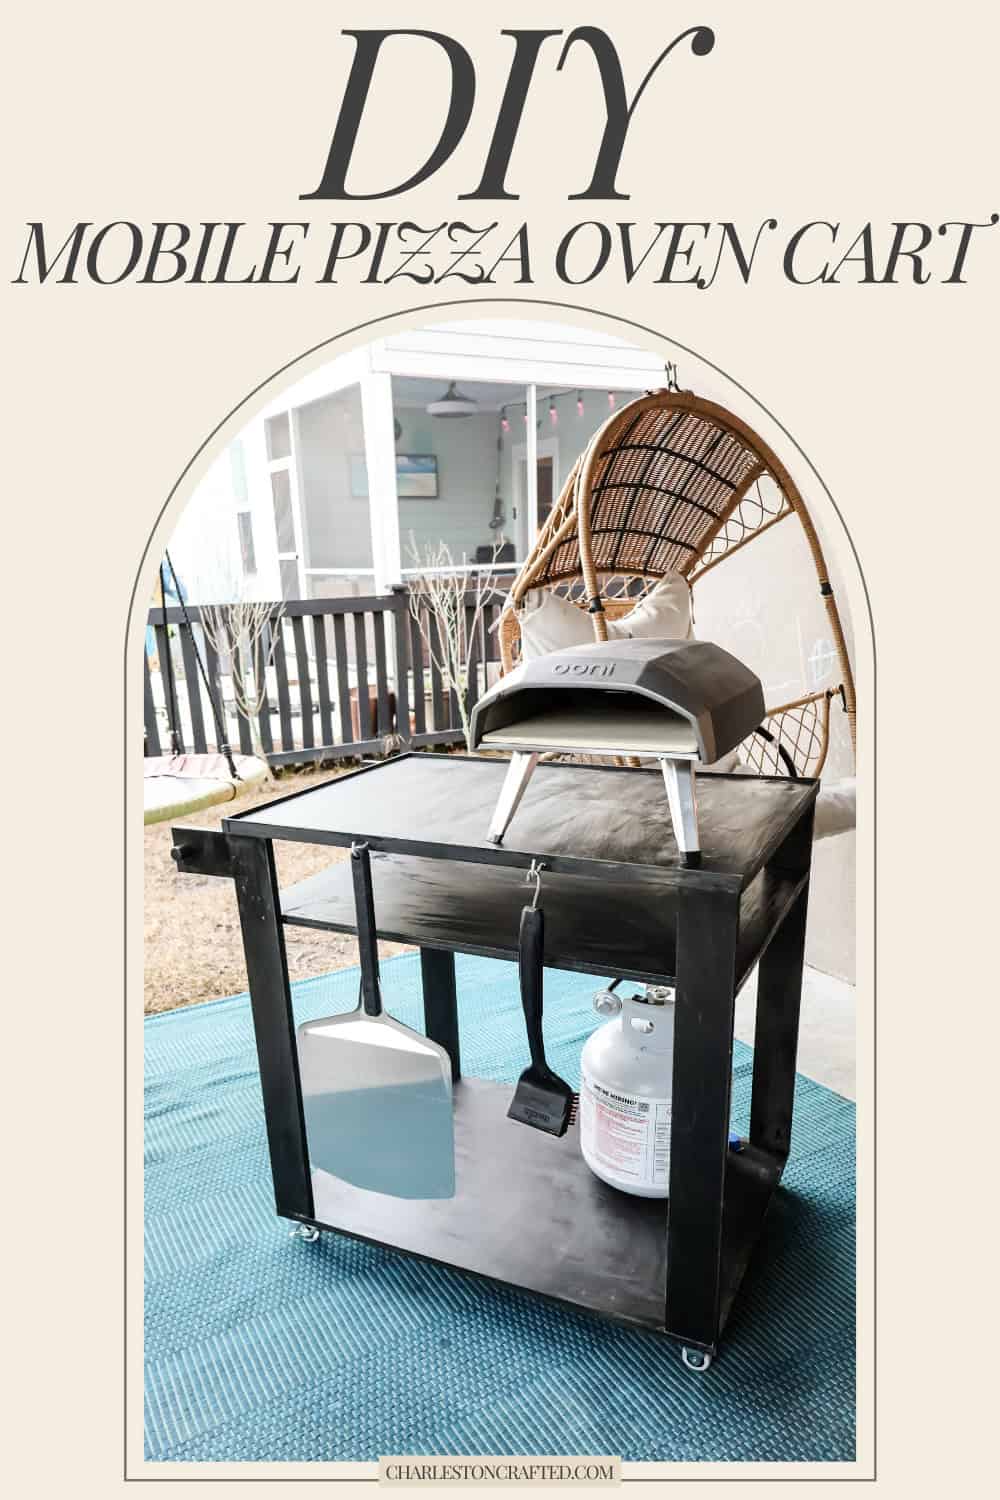
So we got the pizza oven, but I needed somewhere for it to go so it could be mobile. So, I designed this pizza oven cart for my Ooni Koda 12!
How to build a DIY pizza oven cart
I technically designed this DIY pizza oven cart for my Ooni Koda 12, which has the oven but connects to a propane tank. That said, this cart will work with virtually any pizza oven. You can use the propane tank or not, depending on what you have.
Let's dive into what it takes to build and some of the basic steps to build this simple cart. If you want the exact measurements and instructions, make sure you grab my downloadable PDF woodworking plans for this mobile pizza oven stand!
Materials needed to build a DIY pizza oven cart
Here's the tools and materials you'll need to build this mobile pizza oven cart. Some of these things you may have on hand or may be able to work around, depending on what tools you already have, so feel free to make adjustments.
If you want the full materials list and cut list, as well as the step-by-step instructions with SketchUp imagery, make sure you grab my pizza oven cart woodworking plans!
- ¾" plywood
- wood glue
- 1 ¼" pocket hole screws
- Fixed casters
- Swivel casters
- Track saw, circular saw or table saw
- Pocket hole jig (I used the Kreg 520 this time)
- Drill
- Sander

Step one: make cuts and drill pocket holes
Start by making all the cuts outlined in my woodworking plans and drill the pocket holes where directed.
For this project, I used my Kreg ACS track saw and guide to rip down the sheet of plywood. I find it too difficult and dangerous to push a full sheet of ¾" plywood through a table saw.
Then, I used my Kreg 520 pocket hole jig to drill the pocket holes. I opted for this over my 720 Pro this time because it didn't require that many pocket holes and I liked the mobility of my 520 in this situation.
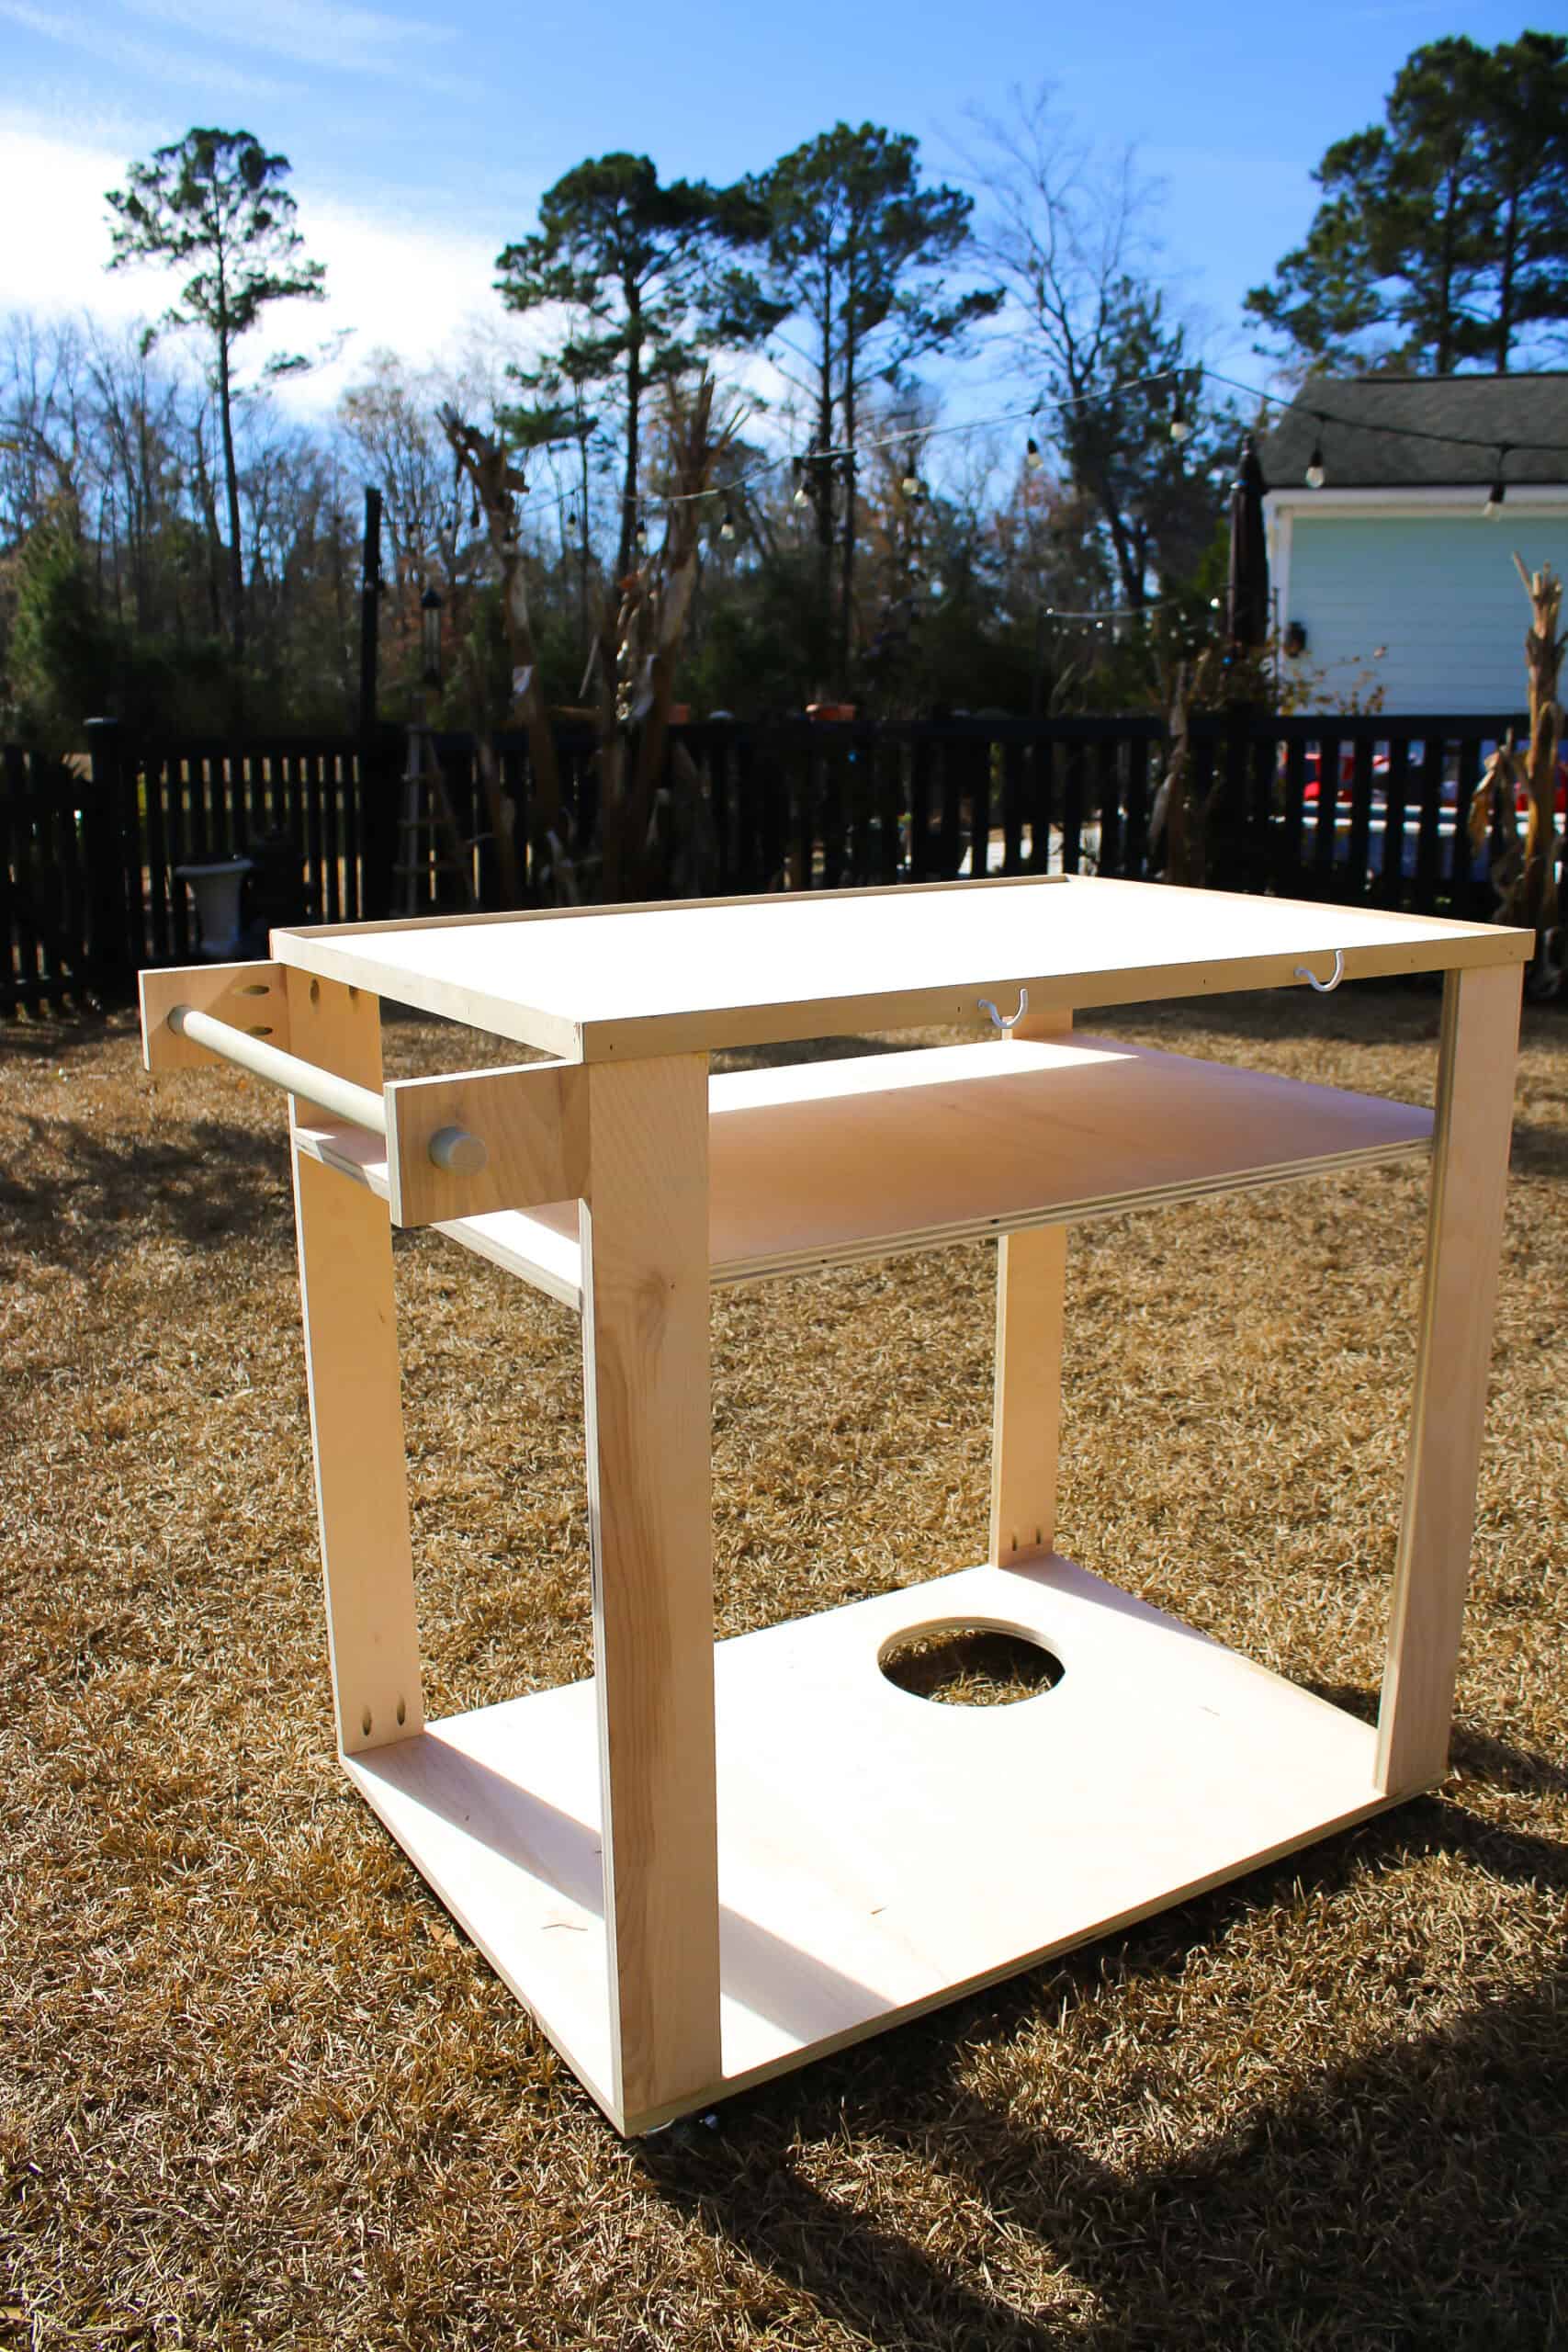
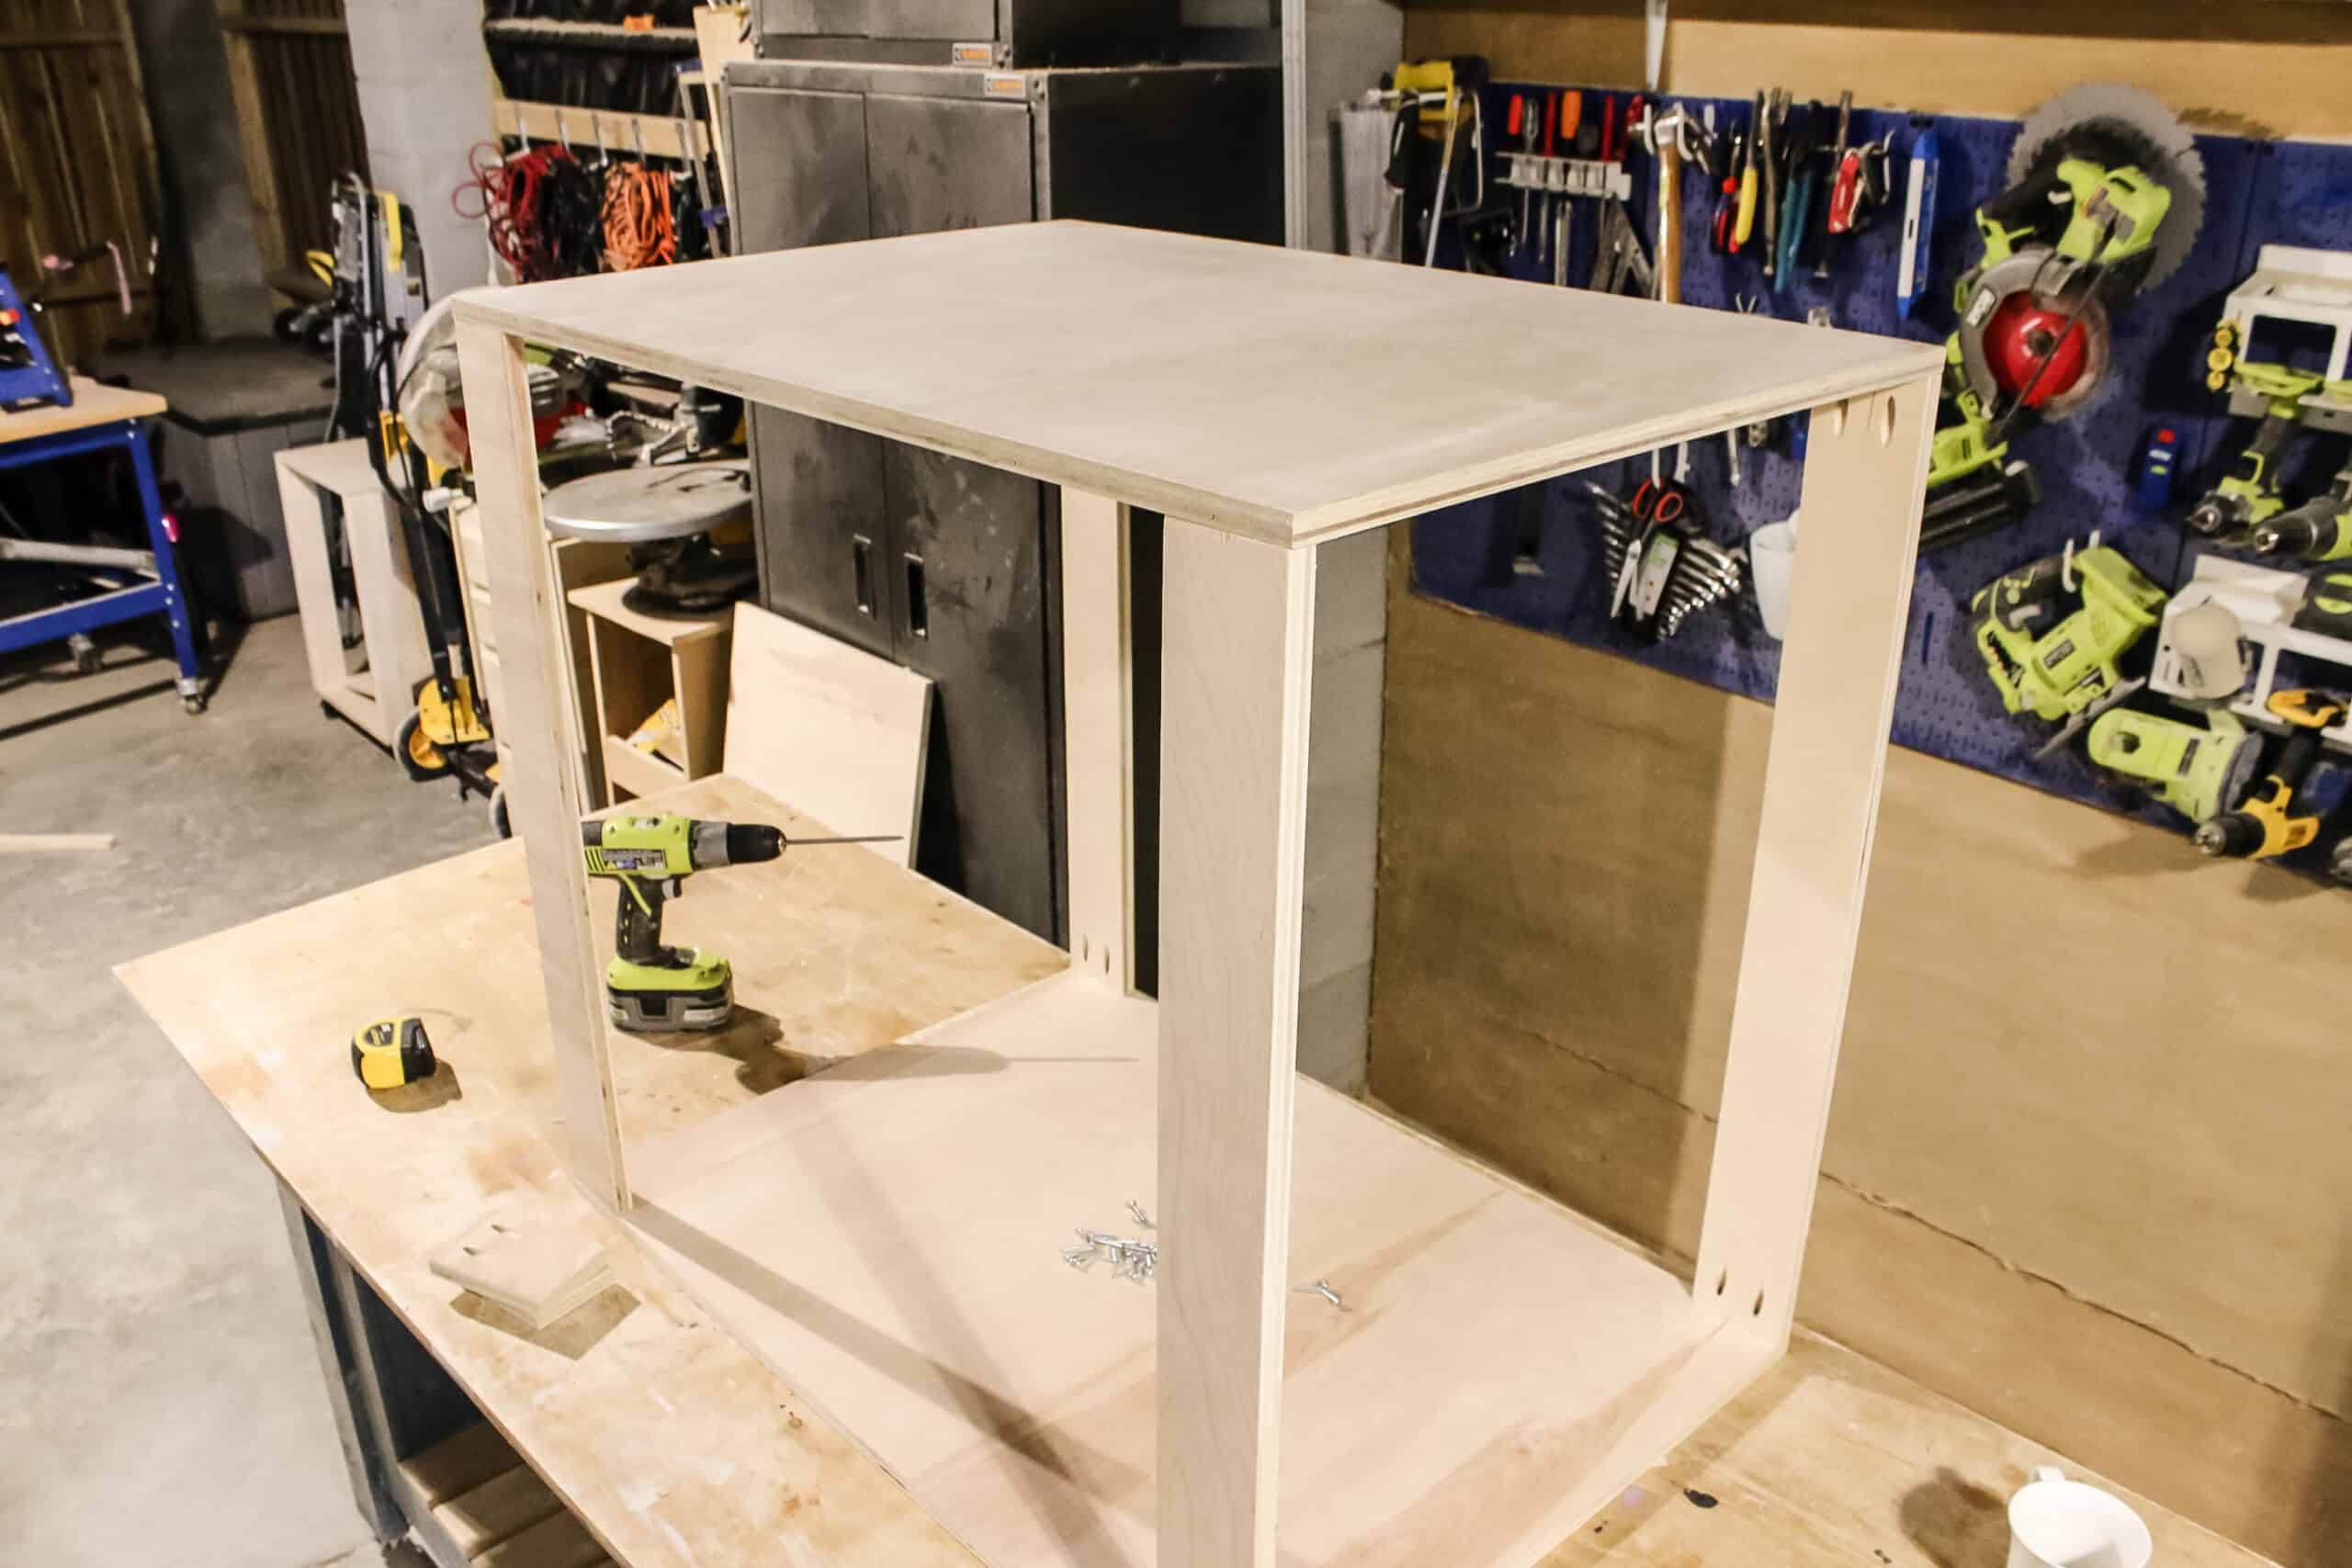
Step two: build cart body
Once everything is cut and sanded, build the cart body. This consists of attaching the legs to the base, then attaching the top to that.
I also added a shelf to the cart so that you could put a finished pizza underneath to wait as you cook the others. There's also plenty of room on the top of the cart for waiting pizzas to go in!
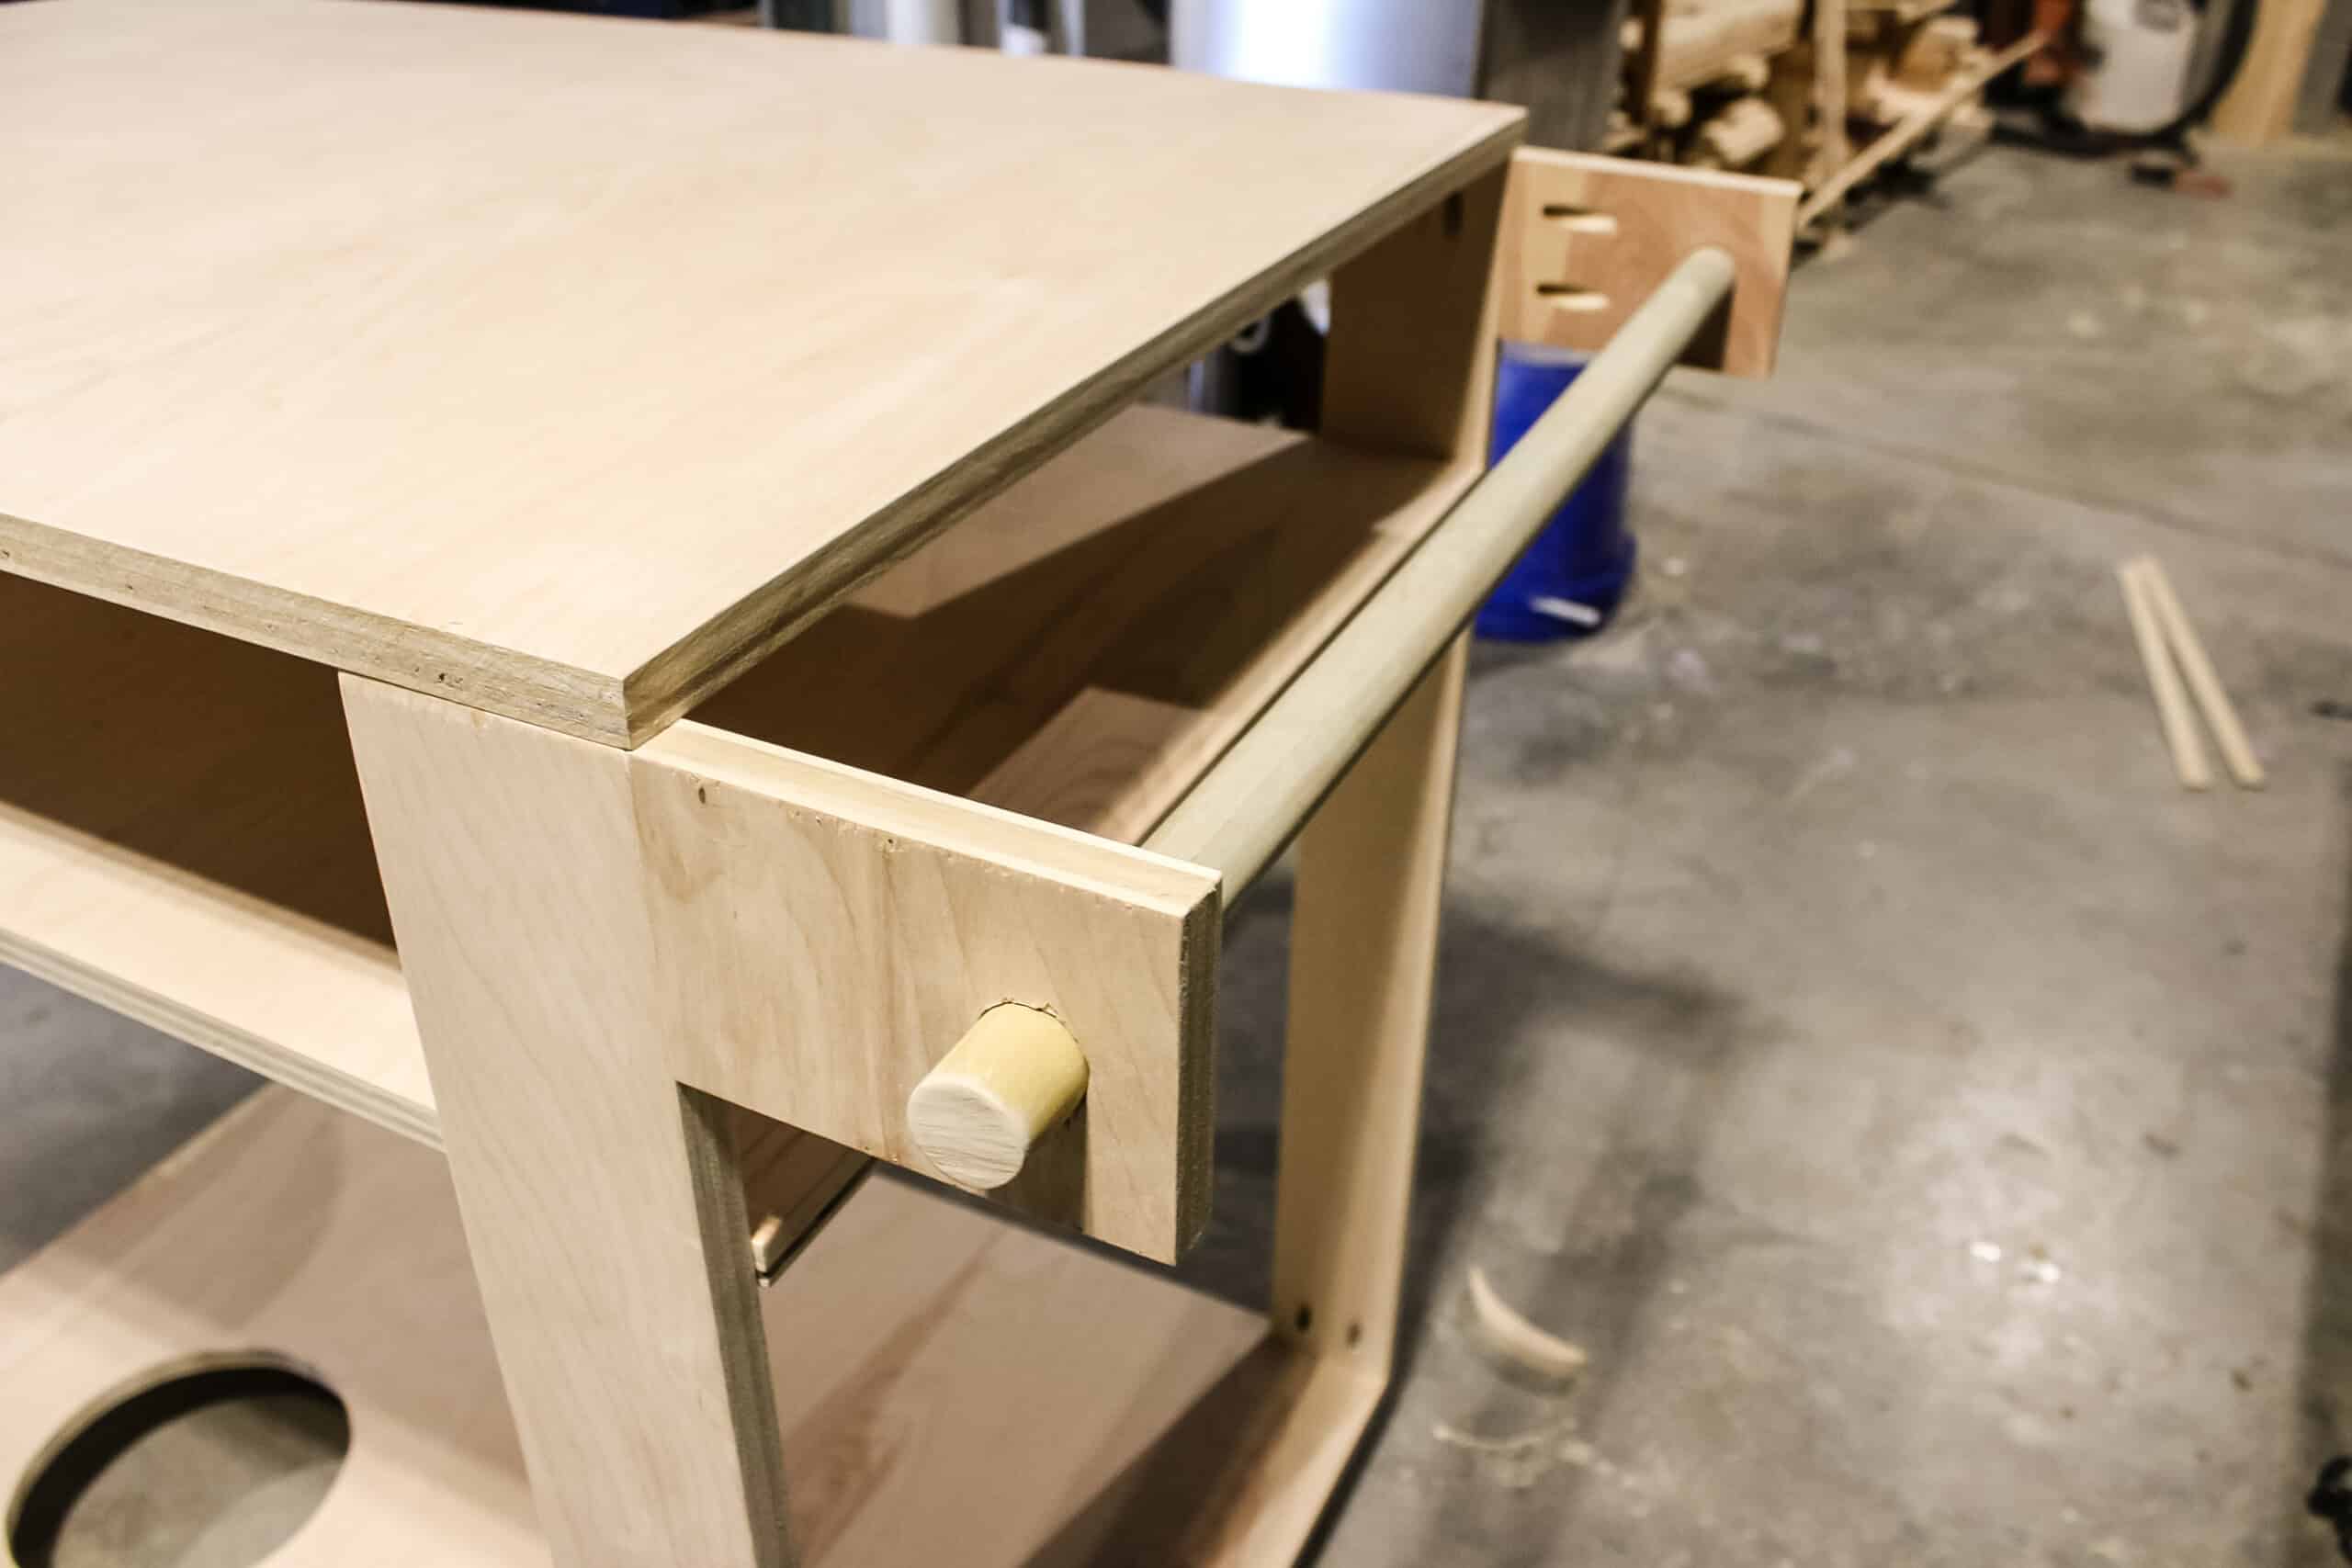
Step three: attach handle
I attached a handle similar to the rolling grill cart I built years ago by drilling a hole through two pieces of wood and pushing a dowel all the way through. It's tight, so it doesn't even need to be secured.
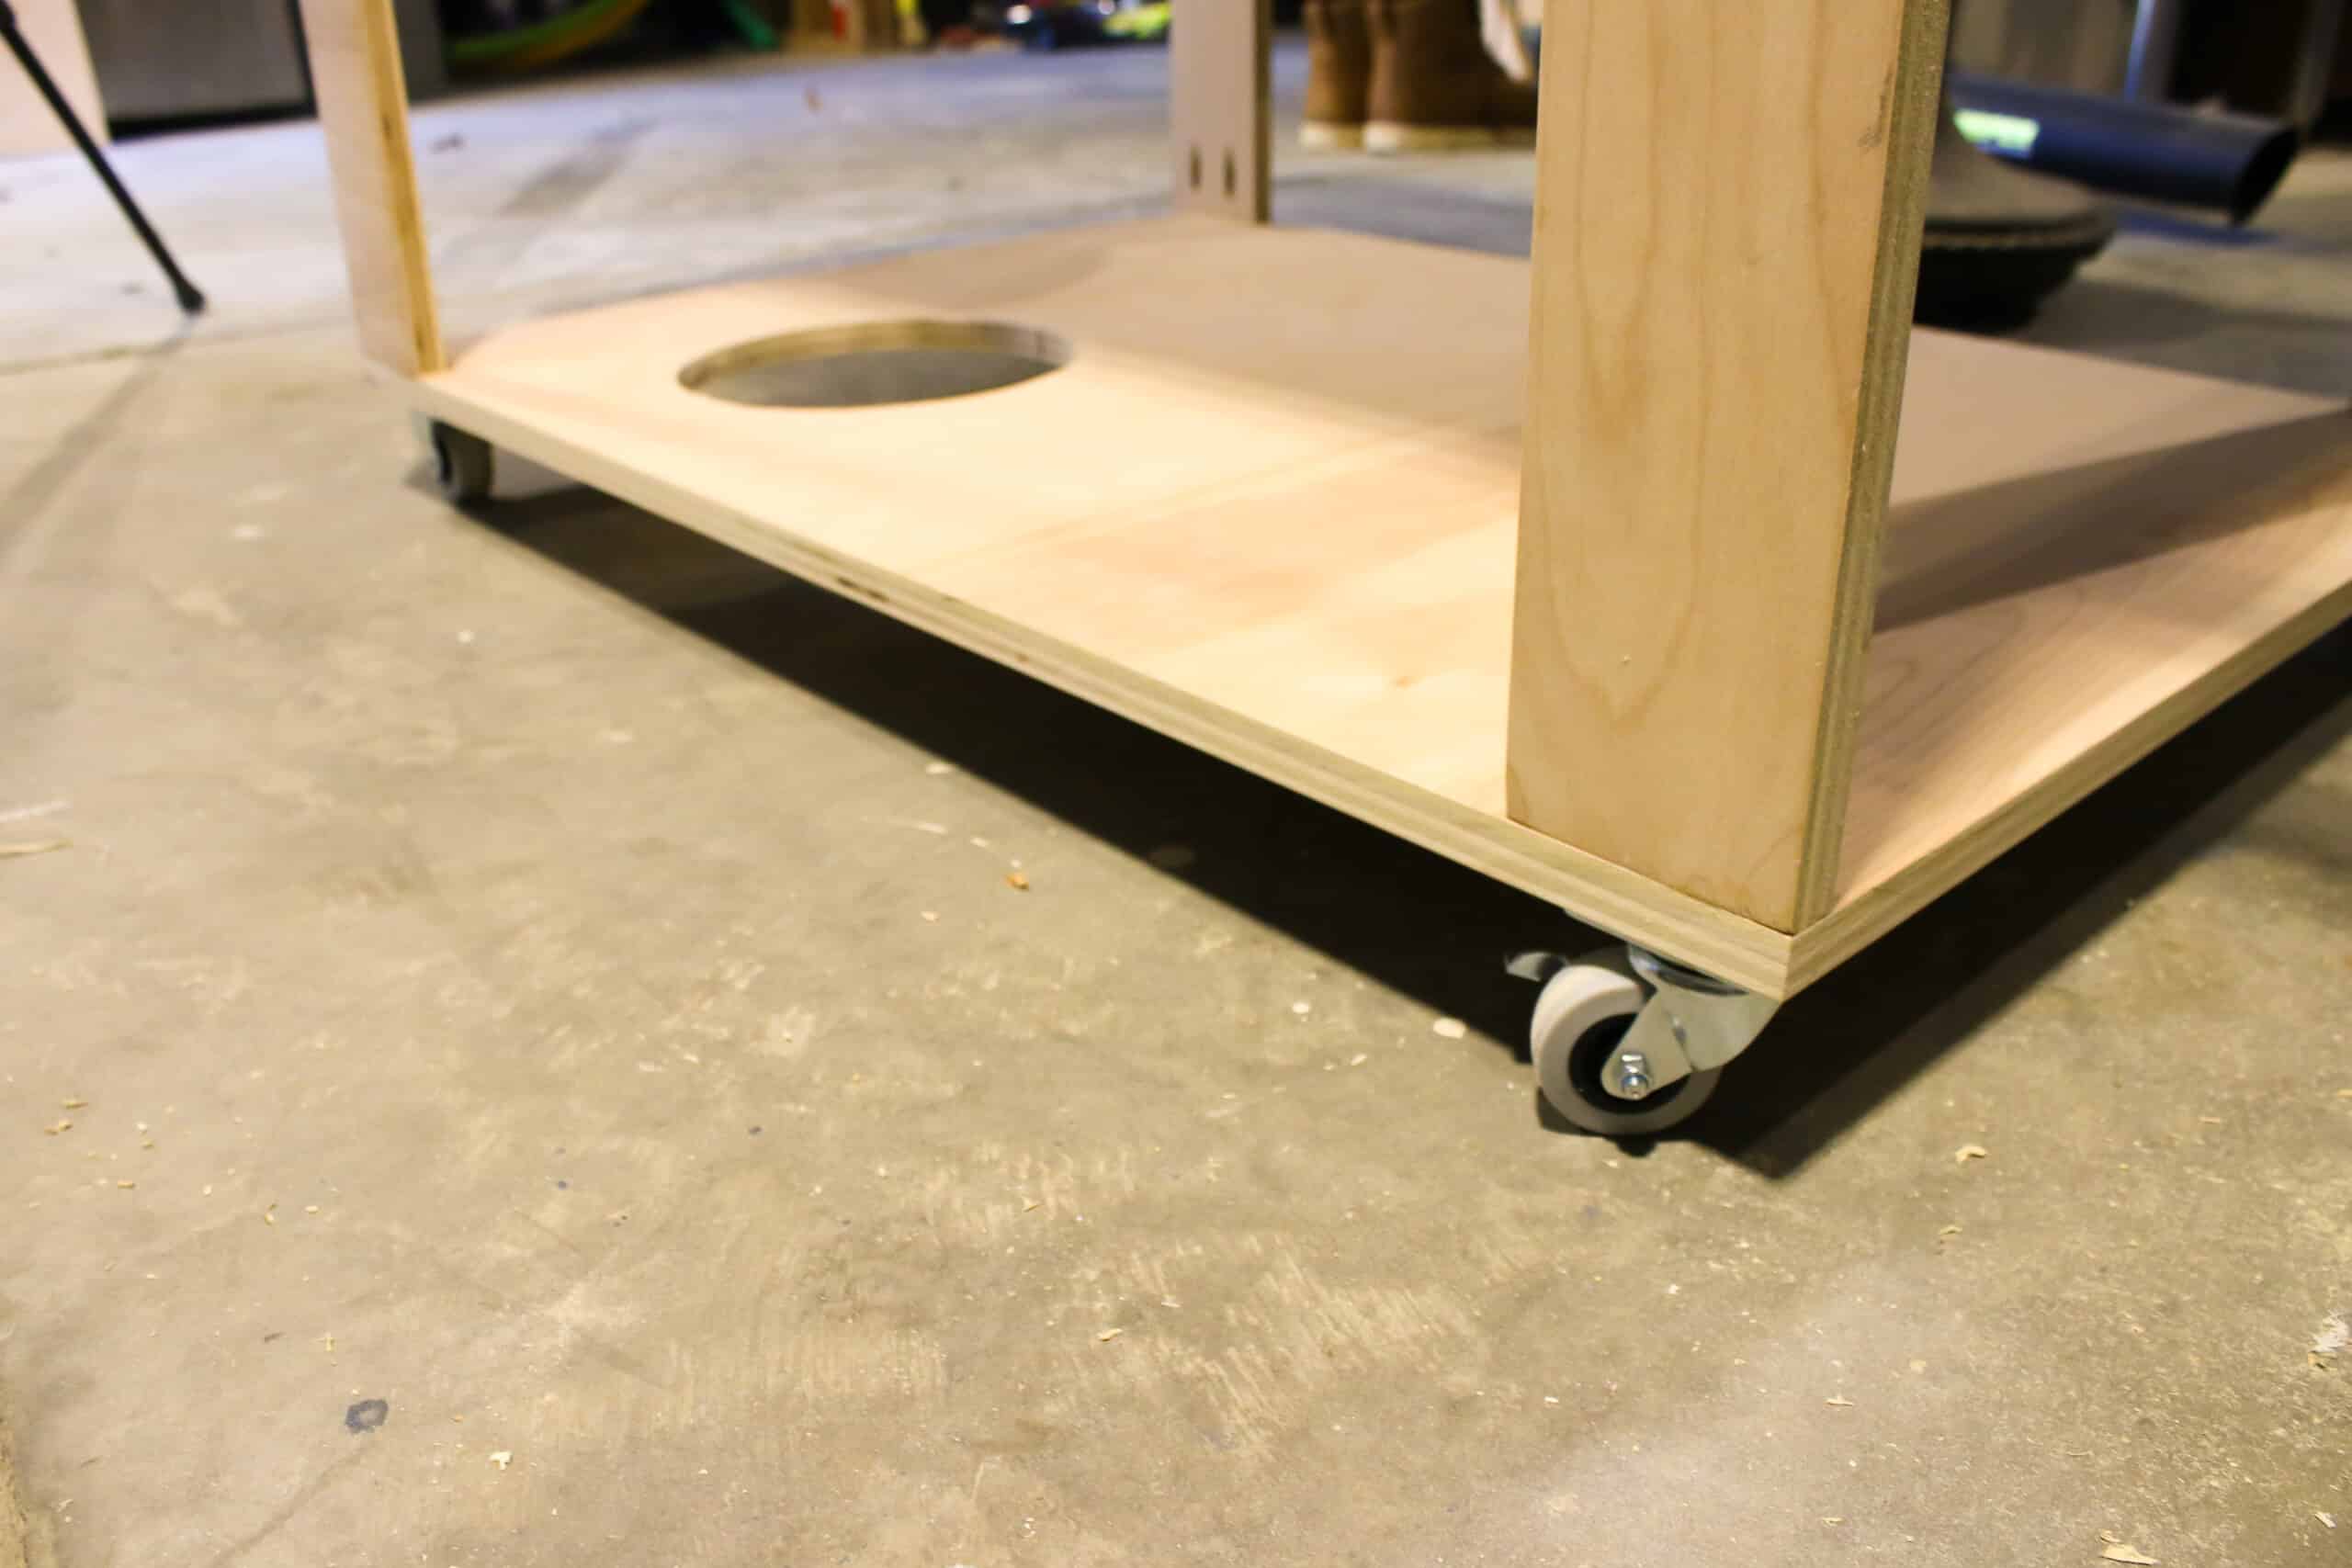
Step four: add hardware
Finally I added hardware to the cart. A couple of hooks to hold the pizza peel and a scraper, as well as the casters on the bottom to move it around.
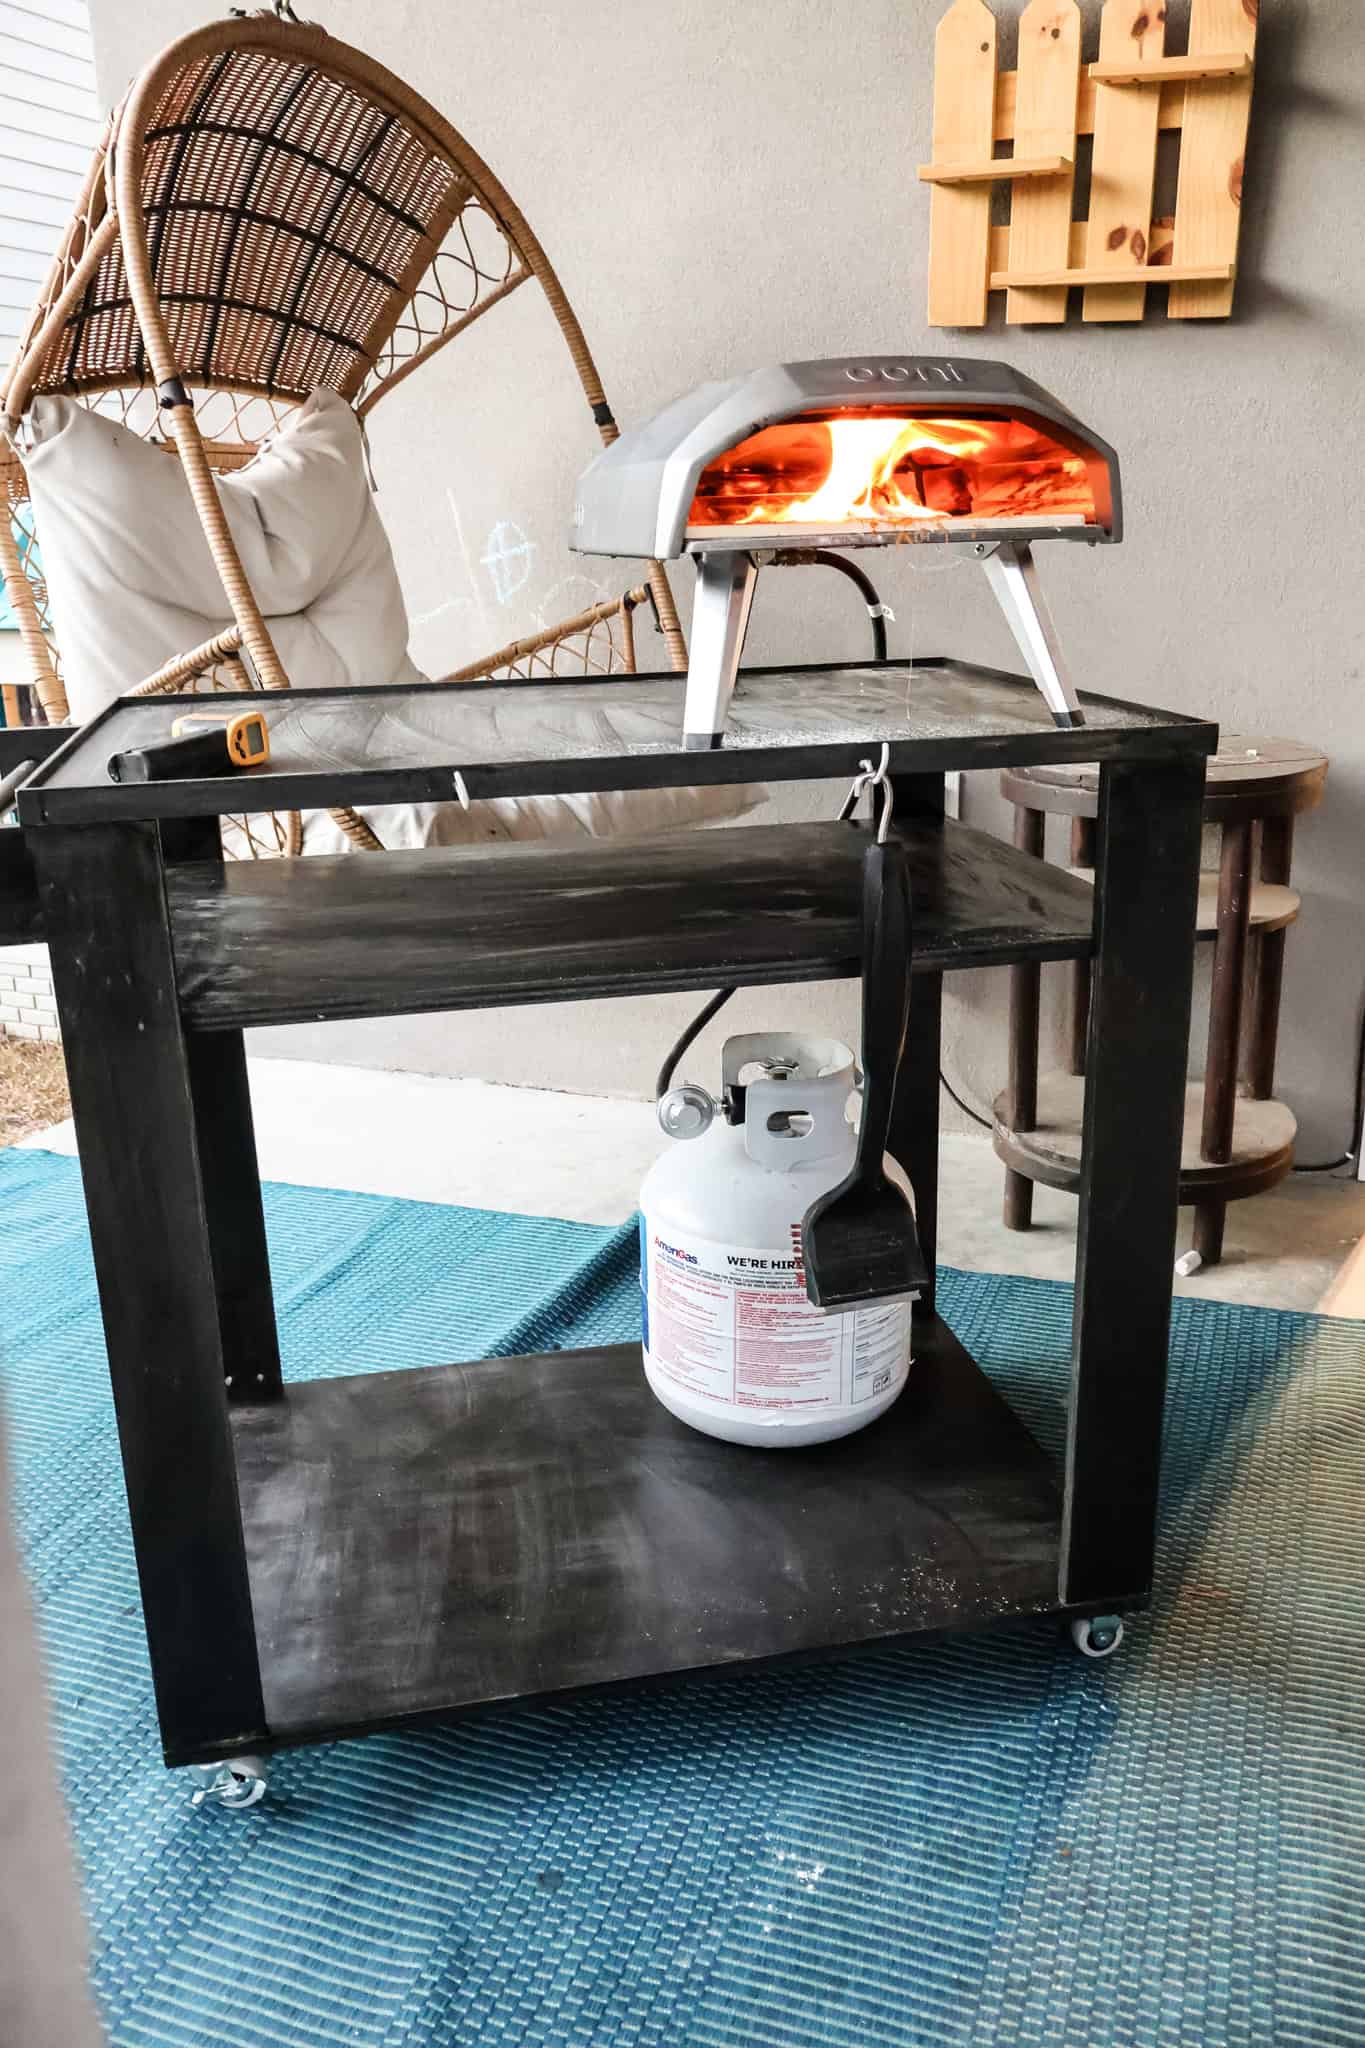
Step five: make an awesome pizza
Once the cart is finished, place the pizza oven on top of the cart and the propane tank on the bottom shelf in the hole cut out. Connect the gas line and fire up your pizza oven!

I have to store my cart inside my garage, but I don't want to cook in there, making this cart perfect for rolling to the back patio or out into the driveway. And my Ooni Koda 12 makes a perfect pizza!
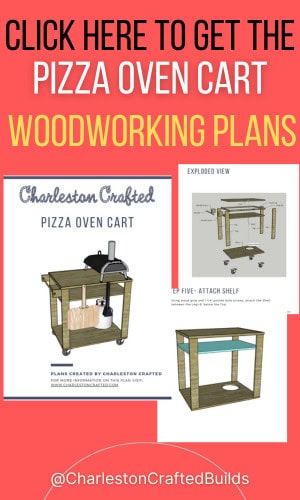
DIY pizza oven cart woodworking plans
If you have a pizza oven and want to build a DIY rolling cart, make sure you grab my downloadable PDF woodworking plans!
My pizza oven cart woodworking plans come with the full material list (including links), a cut list with dimensions, and step-by-step instructions and images to make sure you make this exactly correct.
This is a beginner friendly project that anyone can do!

Looking for something?
We've been doing this since 2012 so we have a LOT of blog posts!
Search stuff like: Ceiling Projects | DIY Plant Stands | Thrift Flips

Hello, I'm Morgan, half of the creative force behind CharlestonCrafted.com! With a passion for DIY that dates back to 2012, I've transformed three homes and now I'm dedicated to helping others craft their dream spaces. Let's turn your house into a home together!