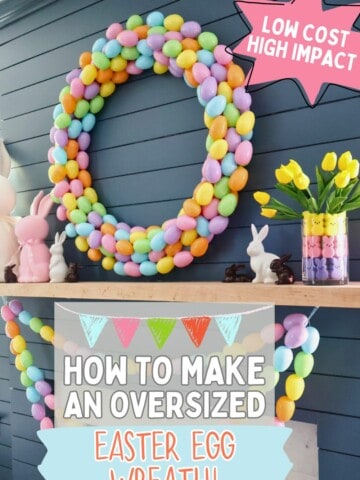
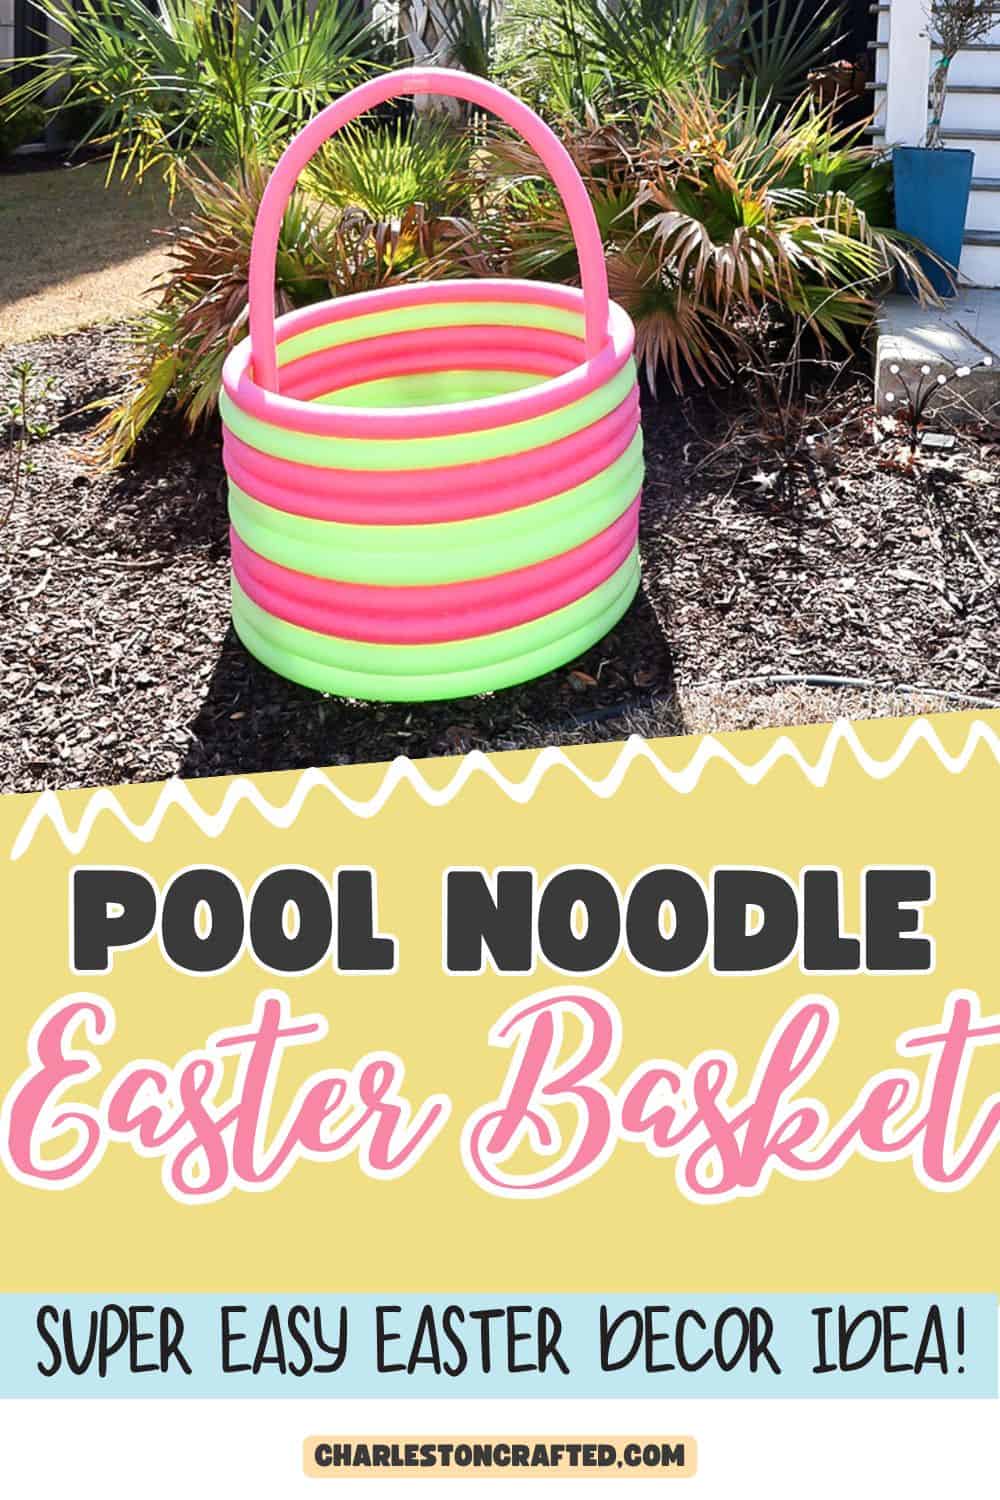
Want to make a DIY Easter decoration with a BIG impact? Here's how to make a giant pool noodle easter basket!
We have been having so much fun decorating for Easter this year! I have really enjoyed gathering and crafting up a storm.
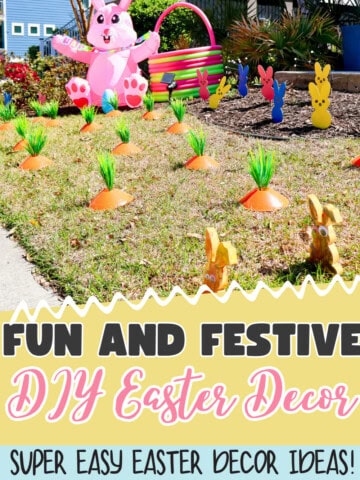
When we decided to do a bit of an Easter yard display this year - I felt a little kooky. Slightly over the top.
But, you know what? Our kids love it. And they will never be this young and into the holiday magic again.
So, we decided to make a giant Easter basket - out of pool noodles!
It was slightly time consuming - and really easier as a 2 person job - but not hard in any way to make. I'm obsessed with how it turned out and think it's so fun in combination with all of our other Easter decor!

How to make a giant pool noodle easter basket
Here's how easy it is to make this oversized Easter basket!
Supplies needed:
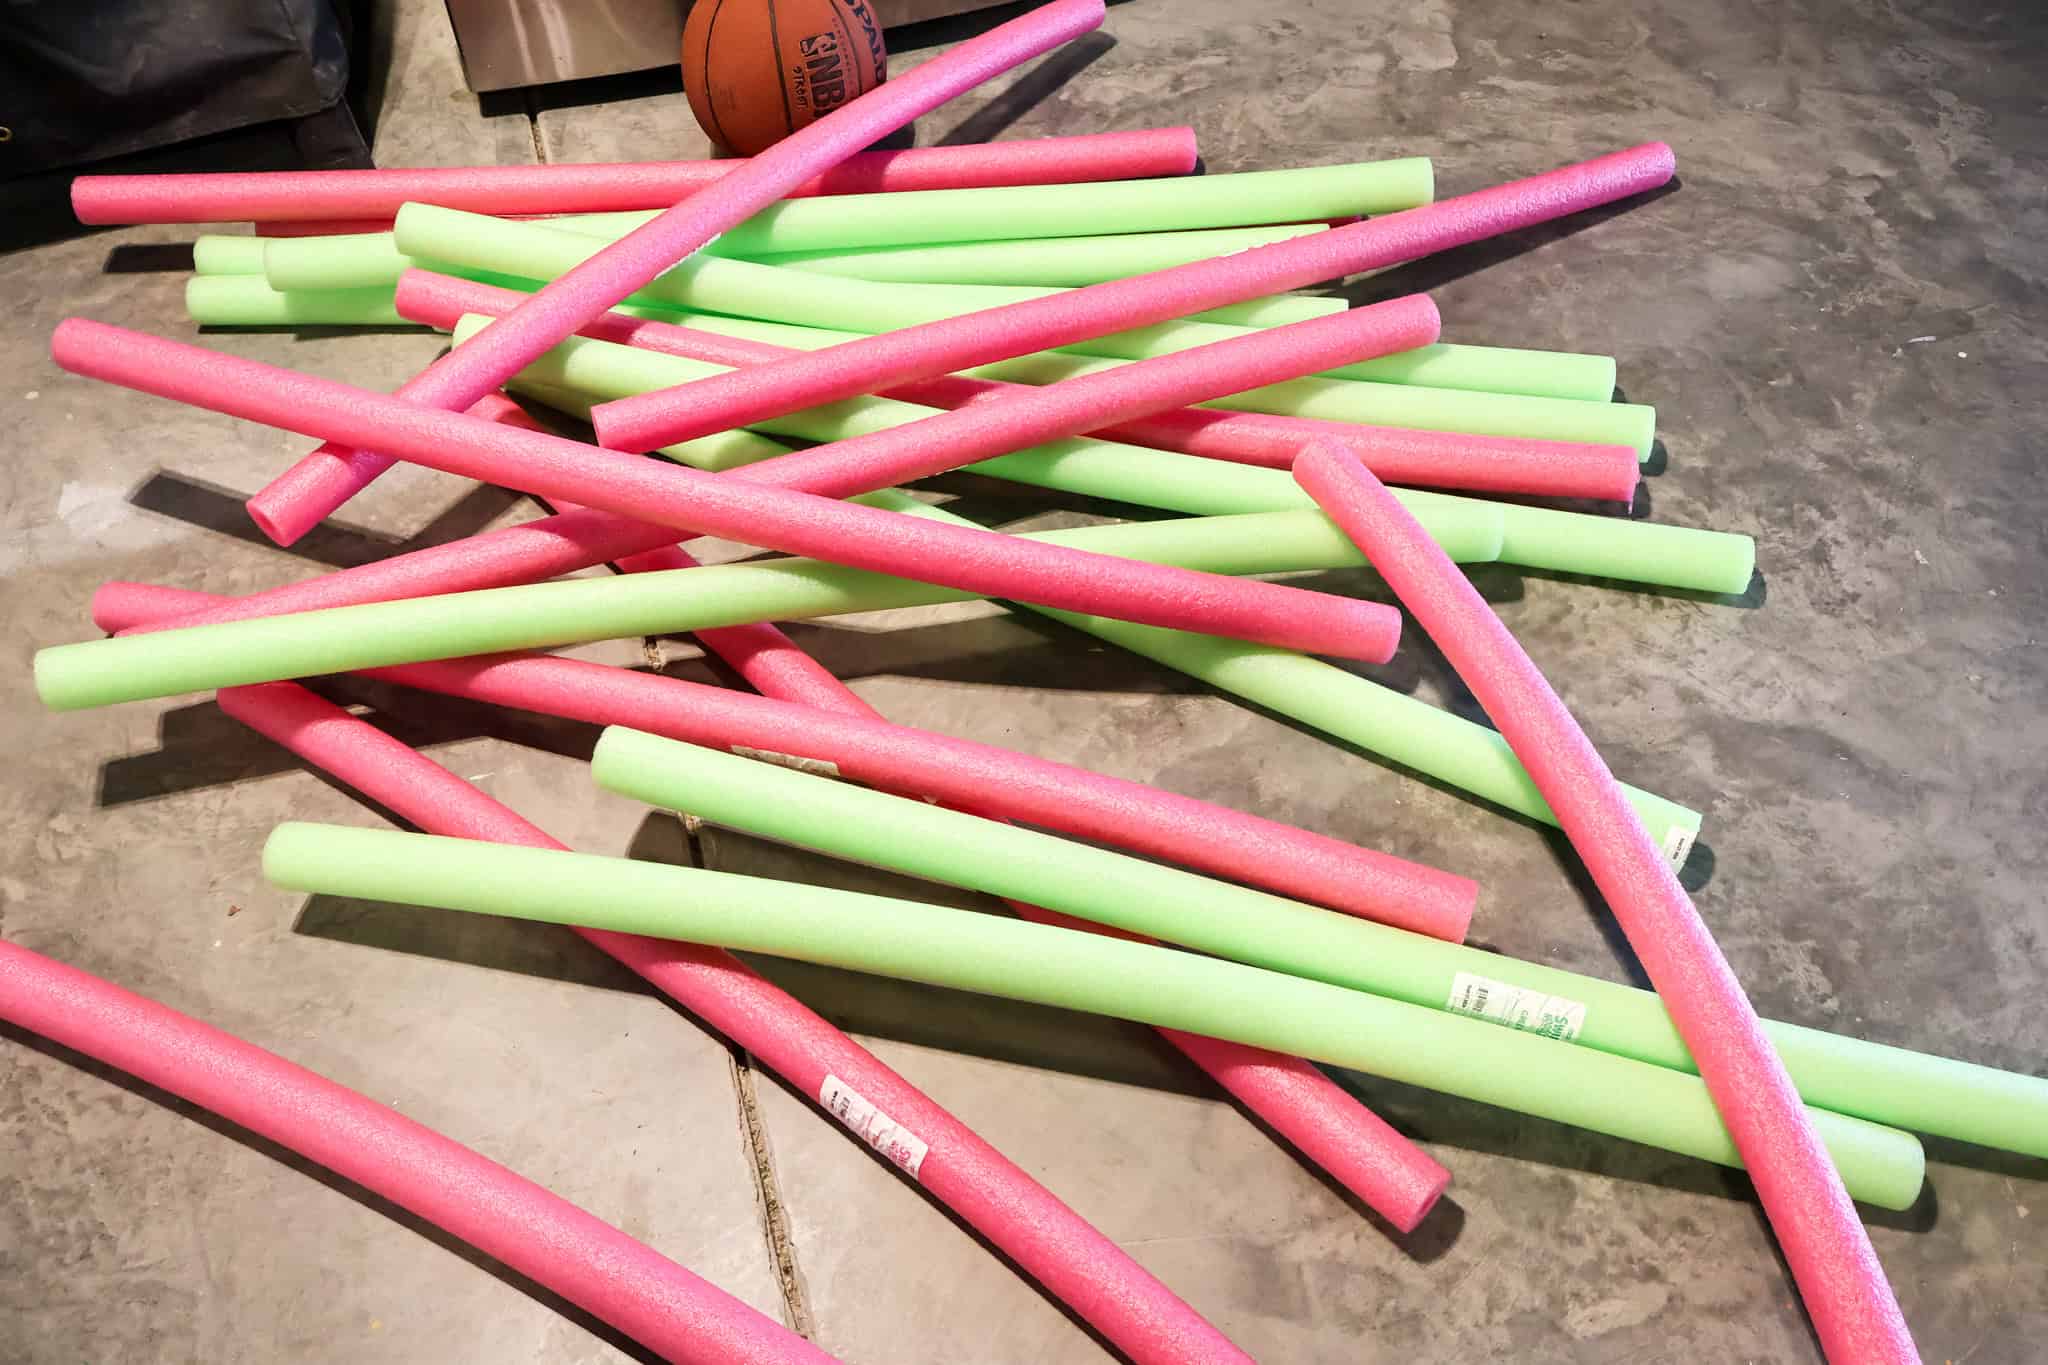
- 22 pool noodles - Walmart is the cheapest place to get these!
- Hot glue - lots and lots of glue sticks
- Packing Tape
- 20- ¼" x ¾" x 6" wood slat scraps
Steps to make:
Here's the quick and simple steps needed to make this giant Easter basket out of pool noodles!
Step 1: Plan and Prep
Take a few minutes to design your basket. Depending on your noodle colors, you could do stripes or different patterns with the colors.
Also decide which colors you want for your handles and set those aside.
Note - we did our basket 10 loops high, but I think you could also do 9 loops high and cut down to 20 total noodles.
Play around with the layout and size before you start gluing to make a full personalized plan!
Step 2: Cut the Slats
We started by cutting small wood slats that were scrap cutoffs from other projects. We were thinking that it might would be good to help hold the joints together at the ends of the noodles on both ends of the rings.
This is probably option if you don't have scrap wood laying around, but I think that it does help with the structural integrity of each ring.
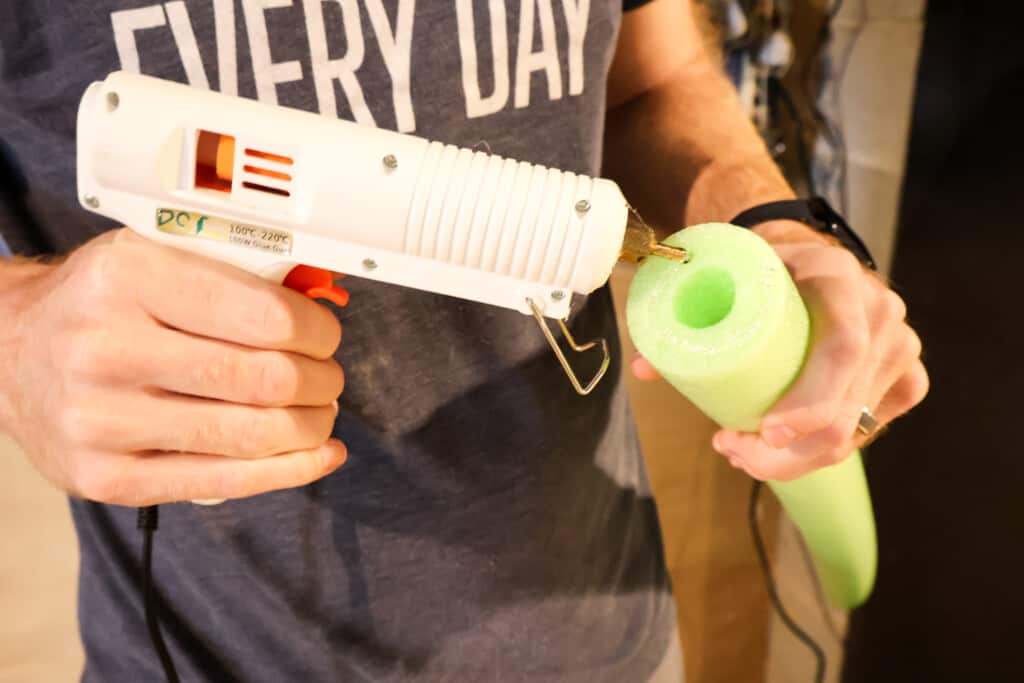
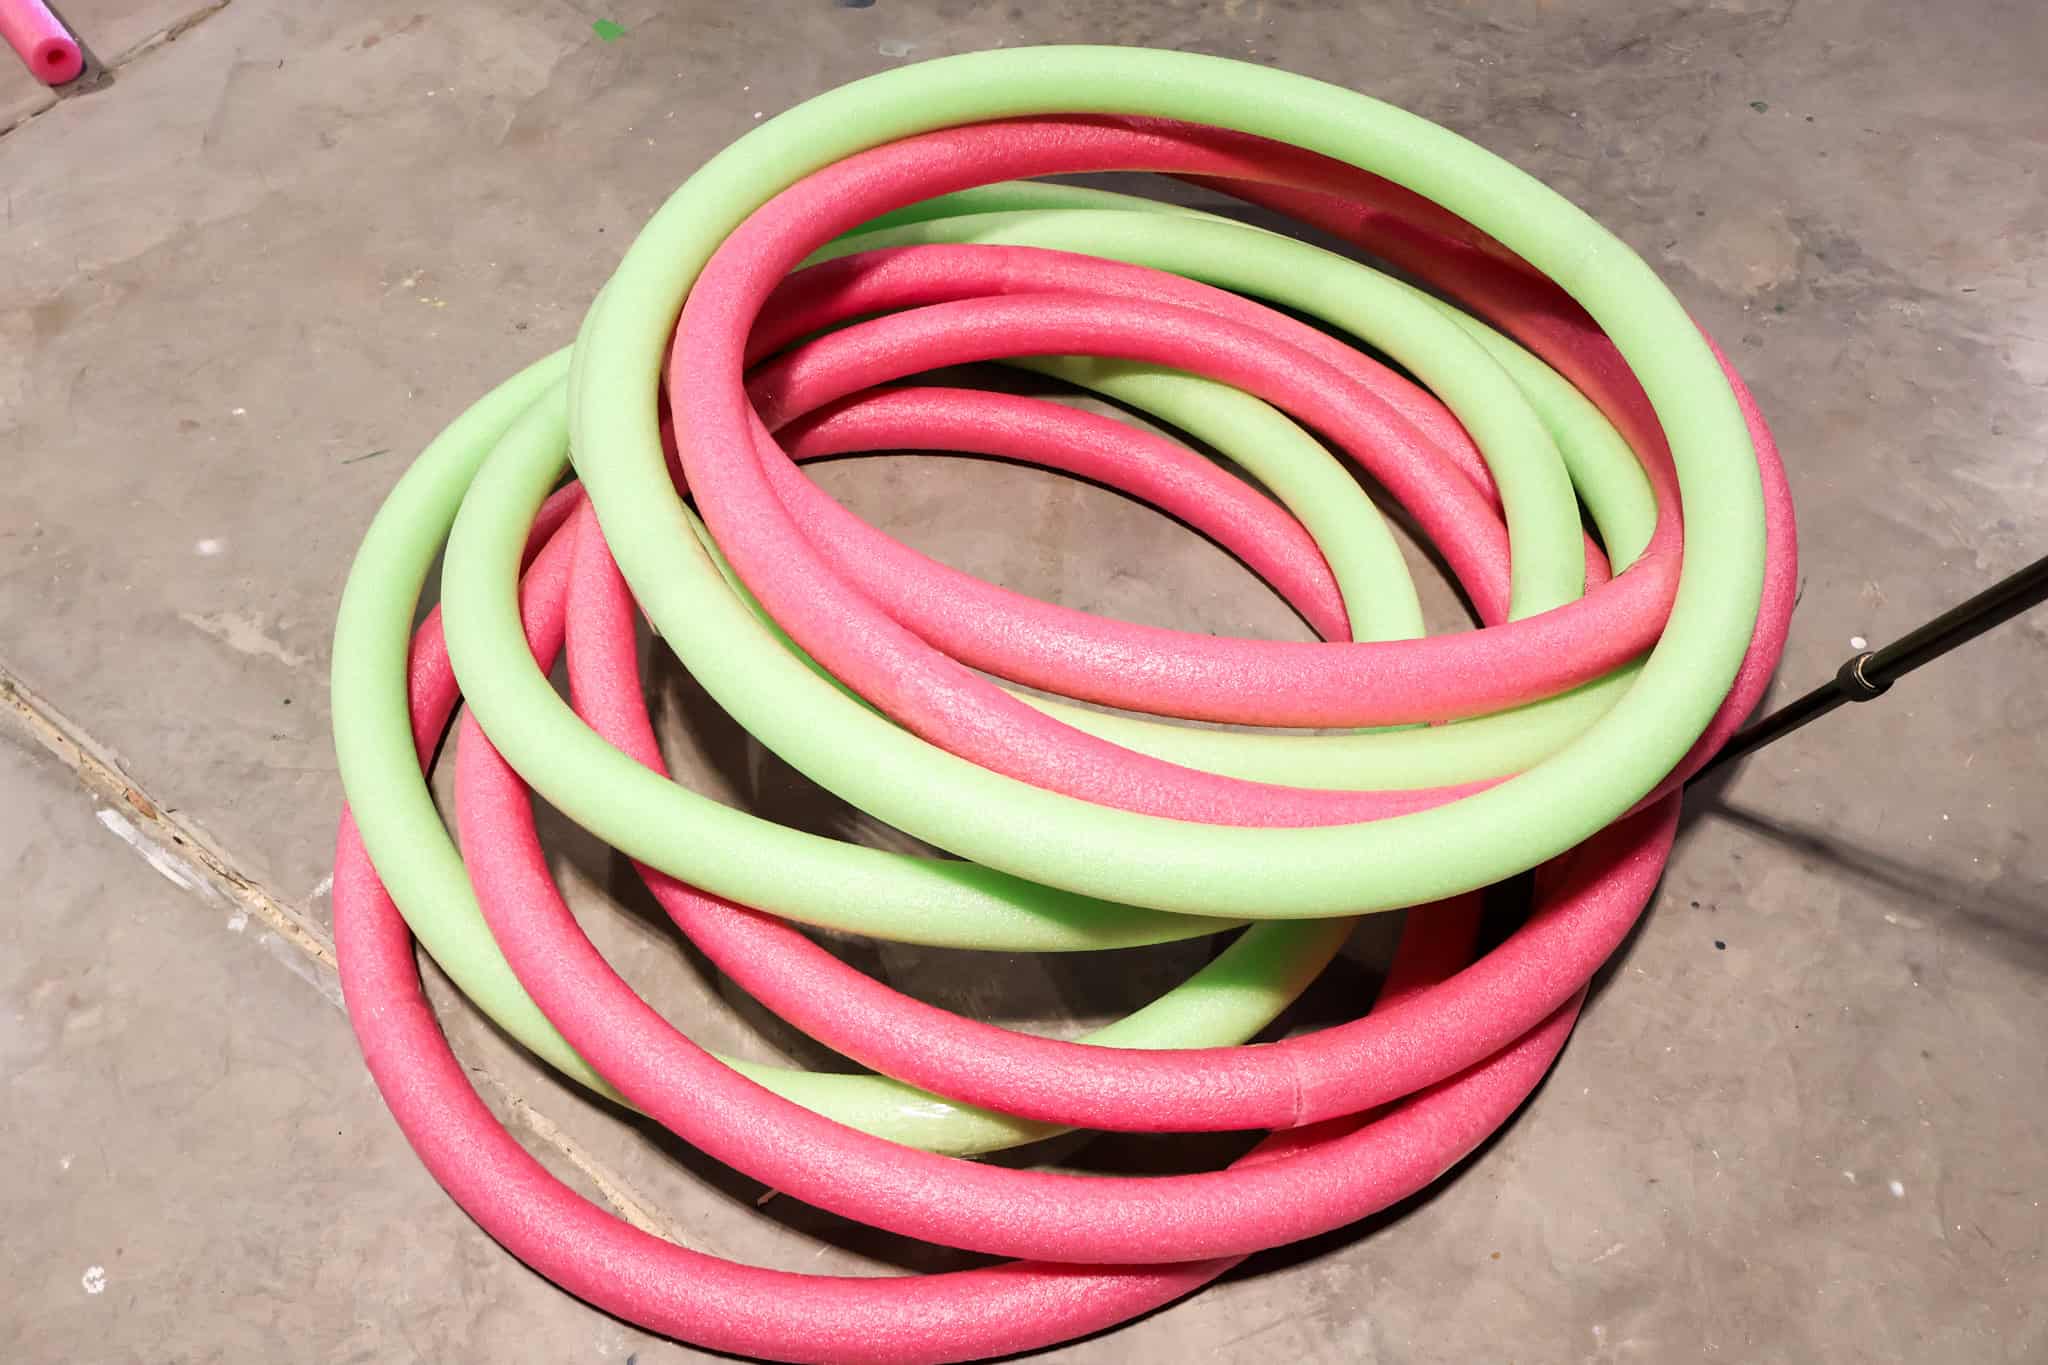
Step 3: Make the Rings
Now you are ready to make the rings that will make up the body of your basket.
Grab 2 noodles at a time. We suggest 2 of the same color.
Apply hot glue to the flat end of a noodle. Working quickly, add a slat inside the holes of two noodles, then press the flat end of the second noodle to the glue. Press and hold together firmly as it dries.
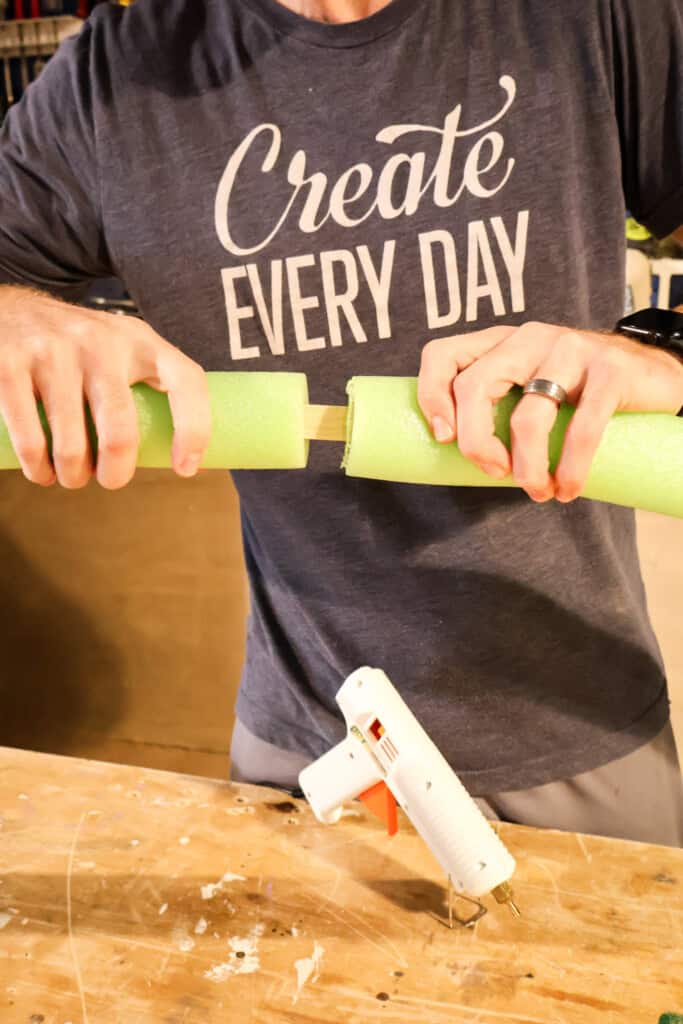
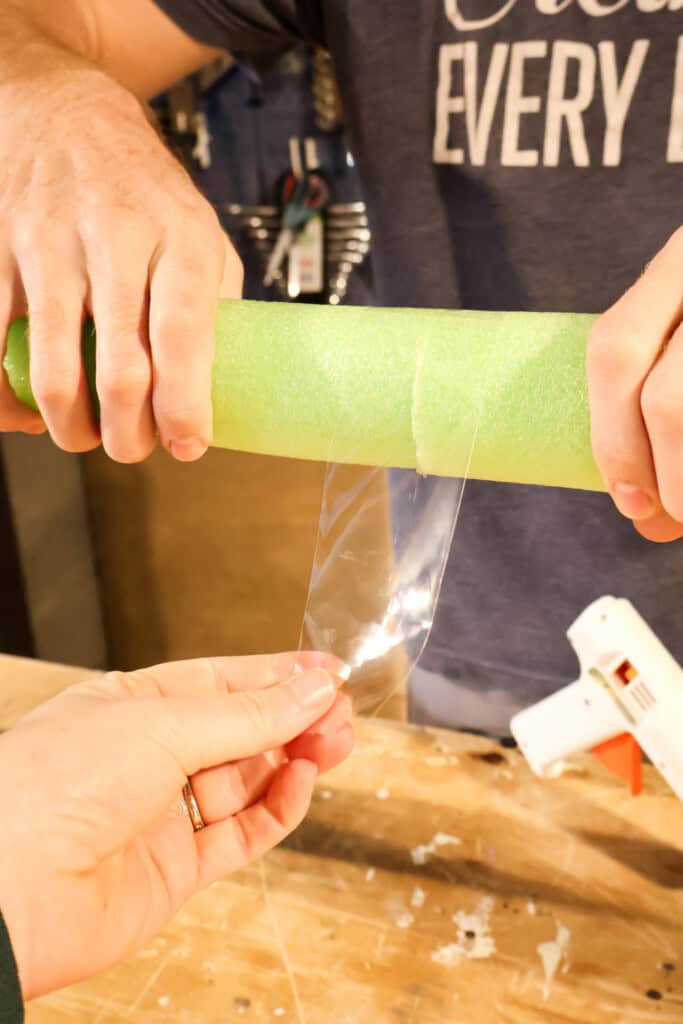
If you have a second person, this helps here! Cut a piece of clear packing tape and wrap it around the seam to hold securely. This helps make sure that joint is held firm, especially as the glue dries.
Repeat for the other end of the noodles, just to create the O shape. Then repeat for all your remaining rings.
Step 4: Attach the Rings
Once you have your noodle rings, take a minute to dry-fit by laying out different patterns and finalizing the pattern that you want your rings in.
Lay one ring on the table and another ring on top. Take time to align the taped seams.
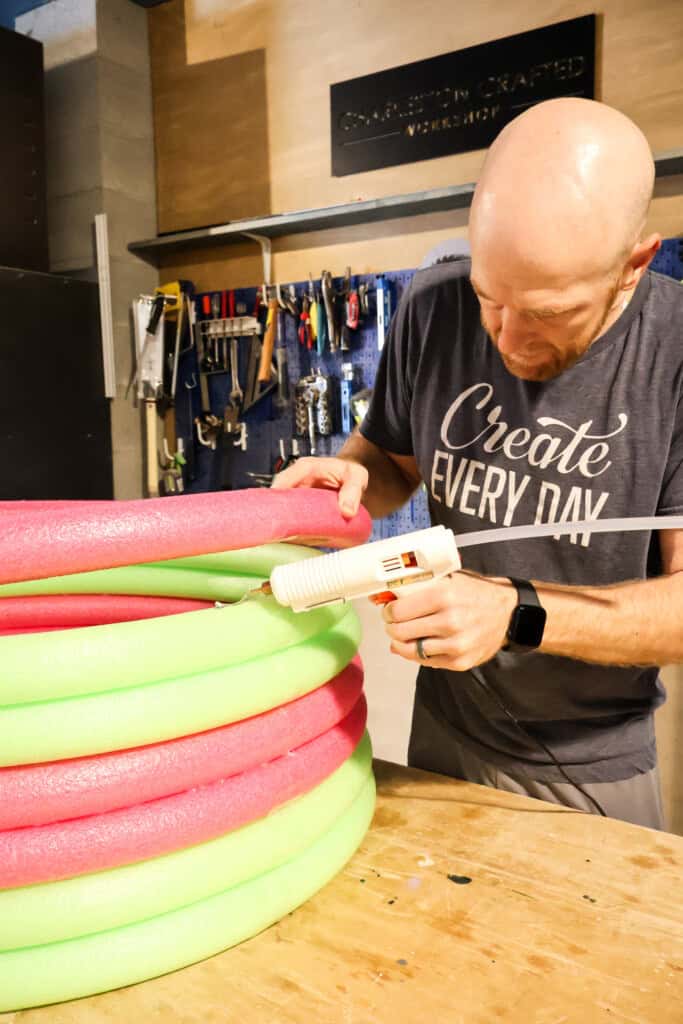

Apply hot glue to the top of the bottom noodle and press the second noodle down firmly into it. Work about 12" at a time, gluing and pressing.
It is helpful to have a second person to do the pressing while you keep gluing. If you don't press until it is at least semi-dried, the noodles tend to separate and not glue in place.
Keep going until you have glued all the way around. Repeat for each noodle ring until you have a full basket shape.
Be very careful to watch the alignment of the rings. The whole thing can start getting a little tilted if you aren't careful. Step back, take a look, and adjust!
Step 5: Add the Handles
To create the handle, first you need to connect two more noodles. This time, only connect one end, to make one long double noodle.
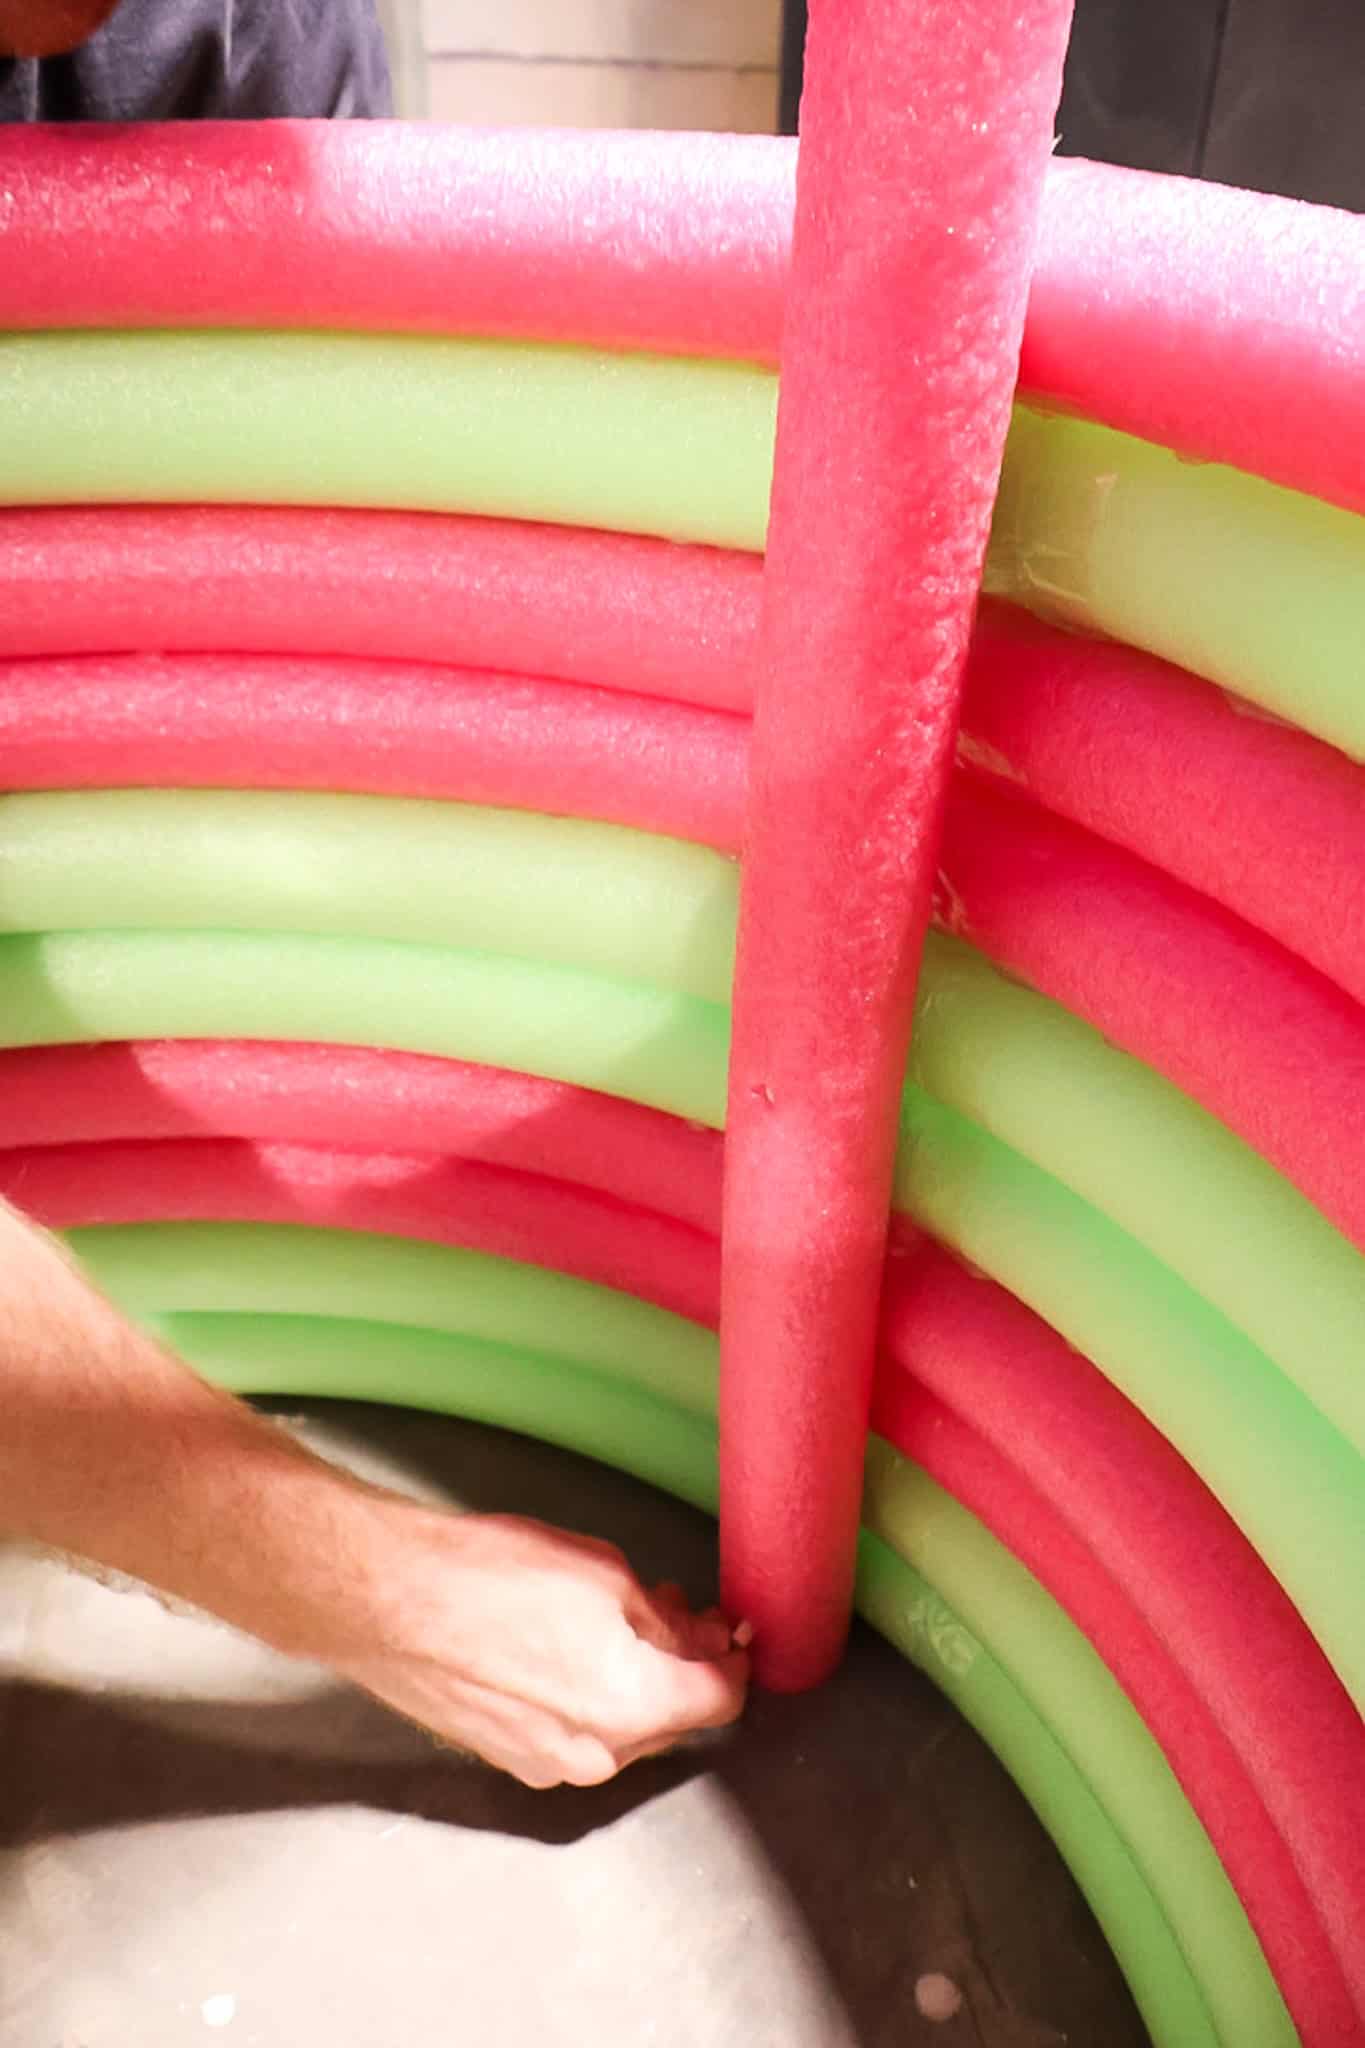
Bend into an upside down U-shape. Place inside the basket and hot glue in place. We also pushed some cut pieces of ¼" dowels through the handles into the rings of the basket, but it's not truly necessary.
Let dry completely before handing heavily.
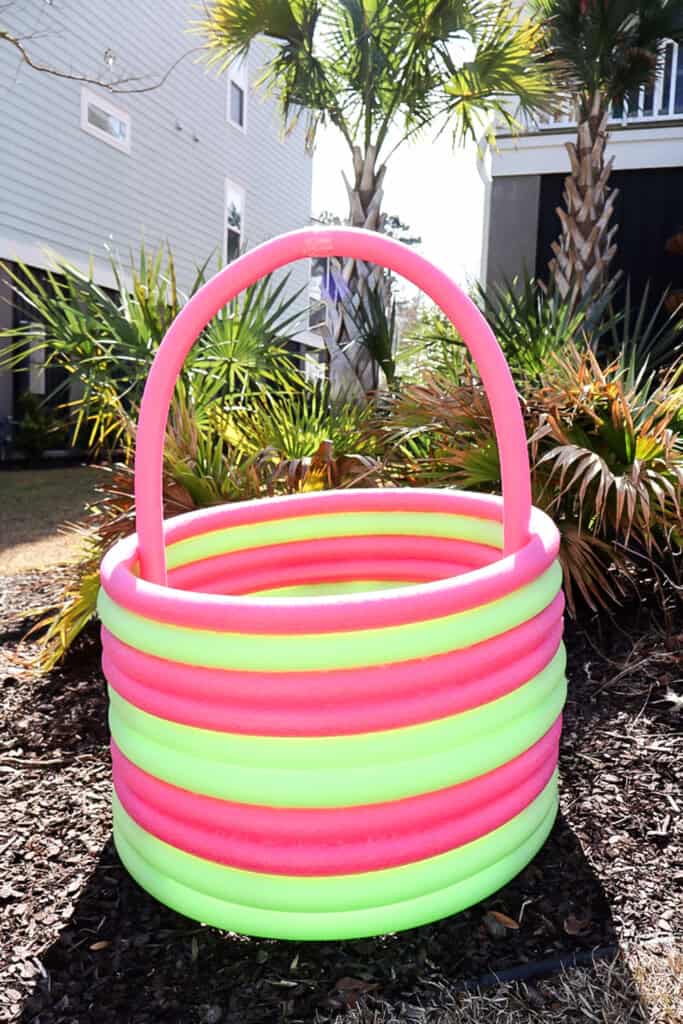
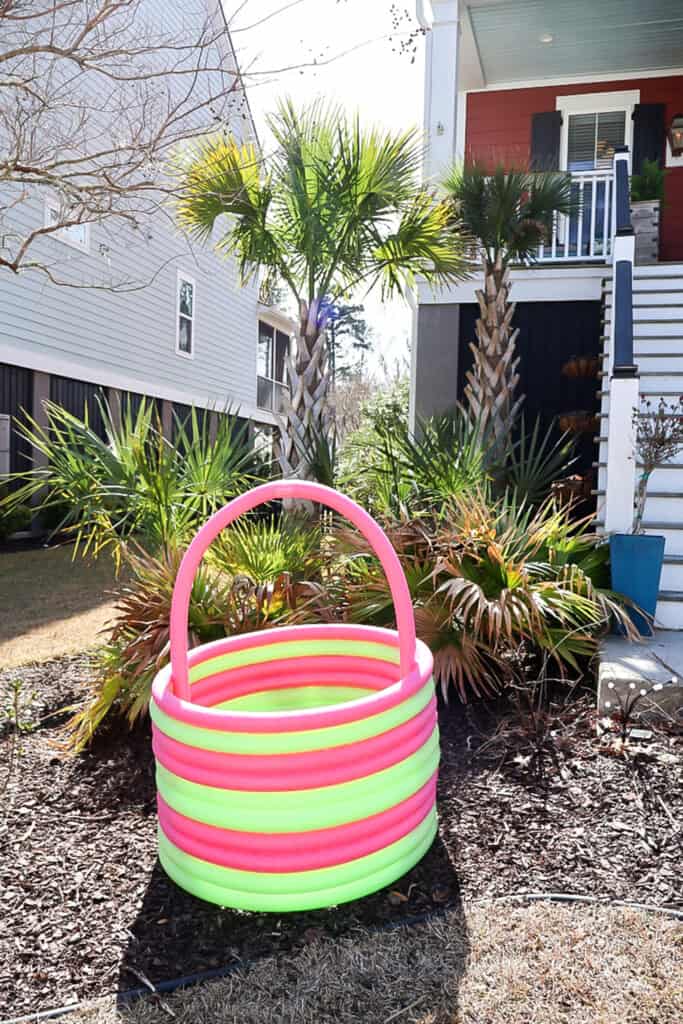
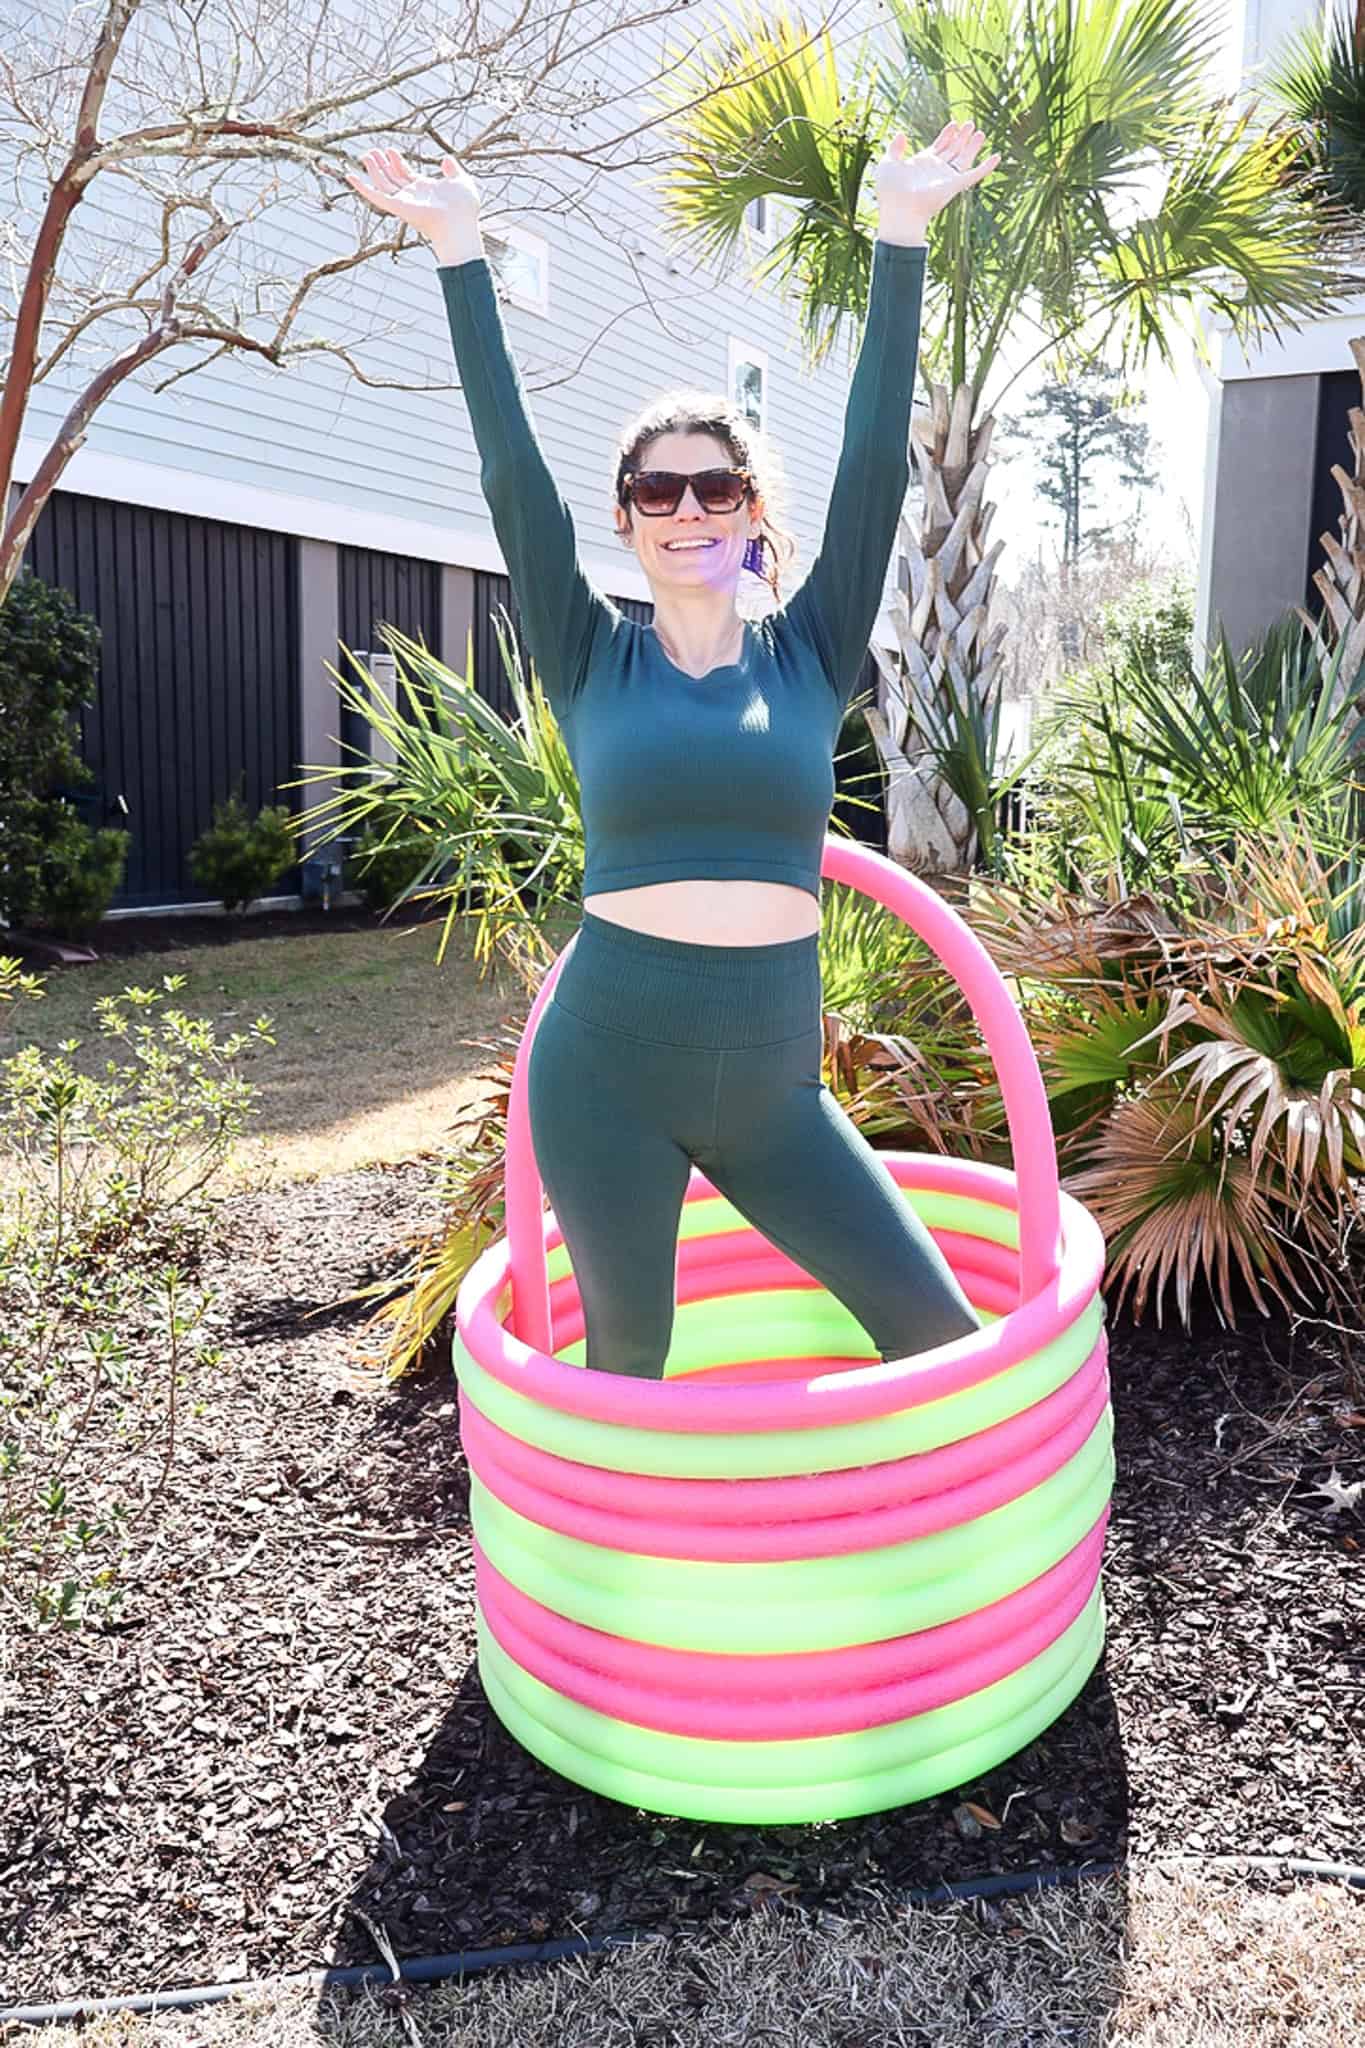
DIY giant pool noodle Easter basket
We are loving how this looks in the yard - so fun and so great for an Easter photoshoot, too!
You could put your kids in here to take photos, have a big bunny standing next to it, or really anything you want.
This is a fun and easy project and one that doesn't cost much, considering how big of an impact it has!

Looking for something?
We've been doing this since 2012 so we have a LOT of blog posts!
Search stuff like: Ceiling Projects | DIY Plant Stands | Thrift Flips

Hello, I'm Morgan, half of the creative force behind CharlestonCrafted.com! With a passion for DIY that dates back to 2012, I've transformed three homes and now I'm dedicated to helping others craft their dream spaces. Let's turn your house into a home together!