Take a tour of all the projects we did in our primary bedroom of our new house! We completely transformed it from builder beige to custom!
Whew, what a relief it is to have our primary bedroom finished!
After long days with the kids and working on projects in other rooms of the house, it was always a little sad to go to bed in such a bland and boring builder basic bedroom with furniture that just didn't work.
At our old house, we actually did the master bedroom makeover first before anything else. Our thought was that we would want to relax in a nice, finished room after doing other projects. We were right.
However, when we moved to this house, we had a toddler in tow and were having a baby 10 days later. We had different priorities.
We've spent the first year and a half here focusing first on our son's toddler jungle bedroom and our daughter's pink nursery, as well as our main living room and outdoor spaces because the kids were our new priority.
We finally got a chance to work on our space and completely transform it, changing the look of the room as well as every single piece of furniture that was transferred from our old house.
Let's show you what we did!
Primary bedroom tour
Let's take a tour of our new space, showing you what our primary bedroom looked like before and all the different DIY projects we did to make it our own.
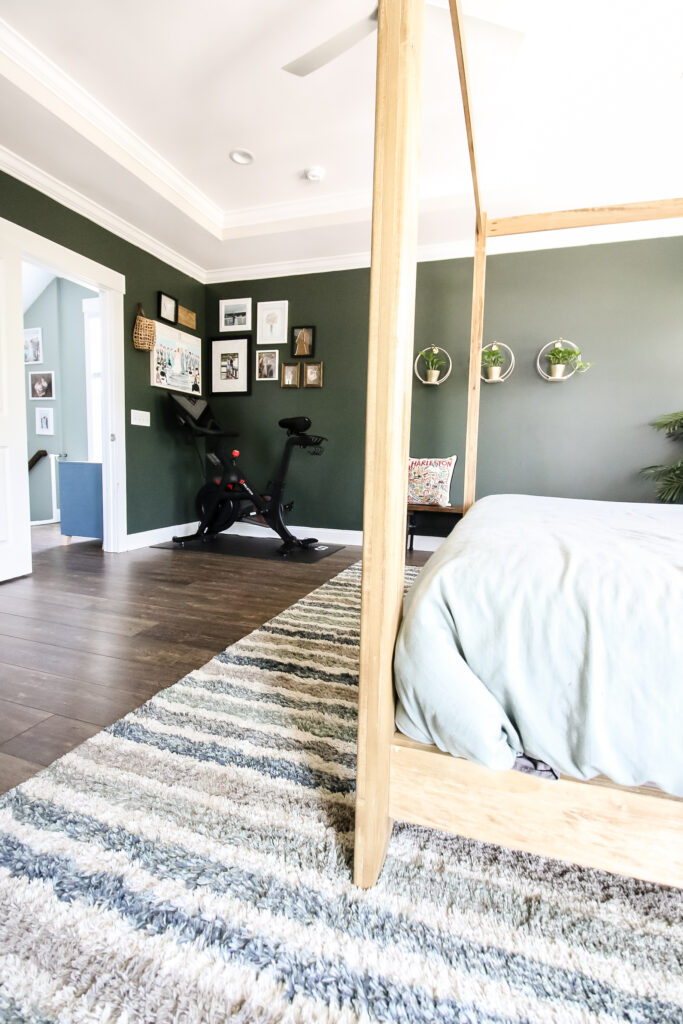
Use these projects as inspiration for your space and be sure to click over to any projects that interest you!
Primary bedroom before
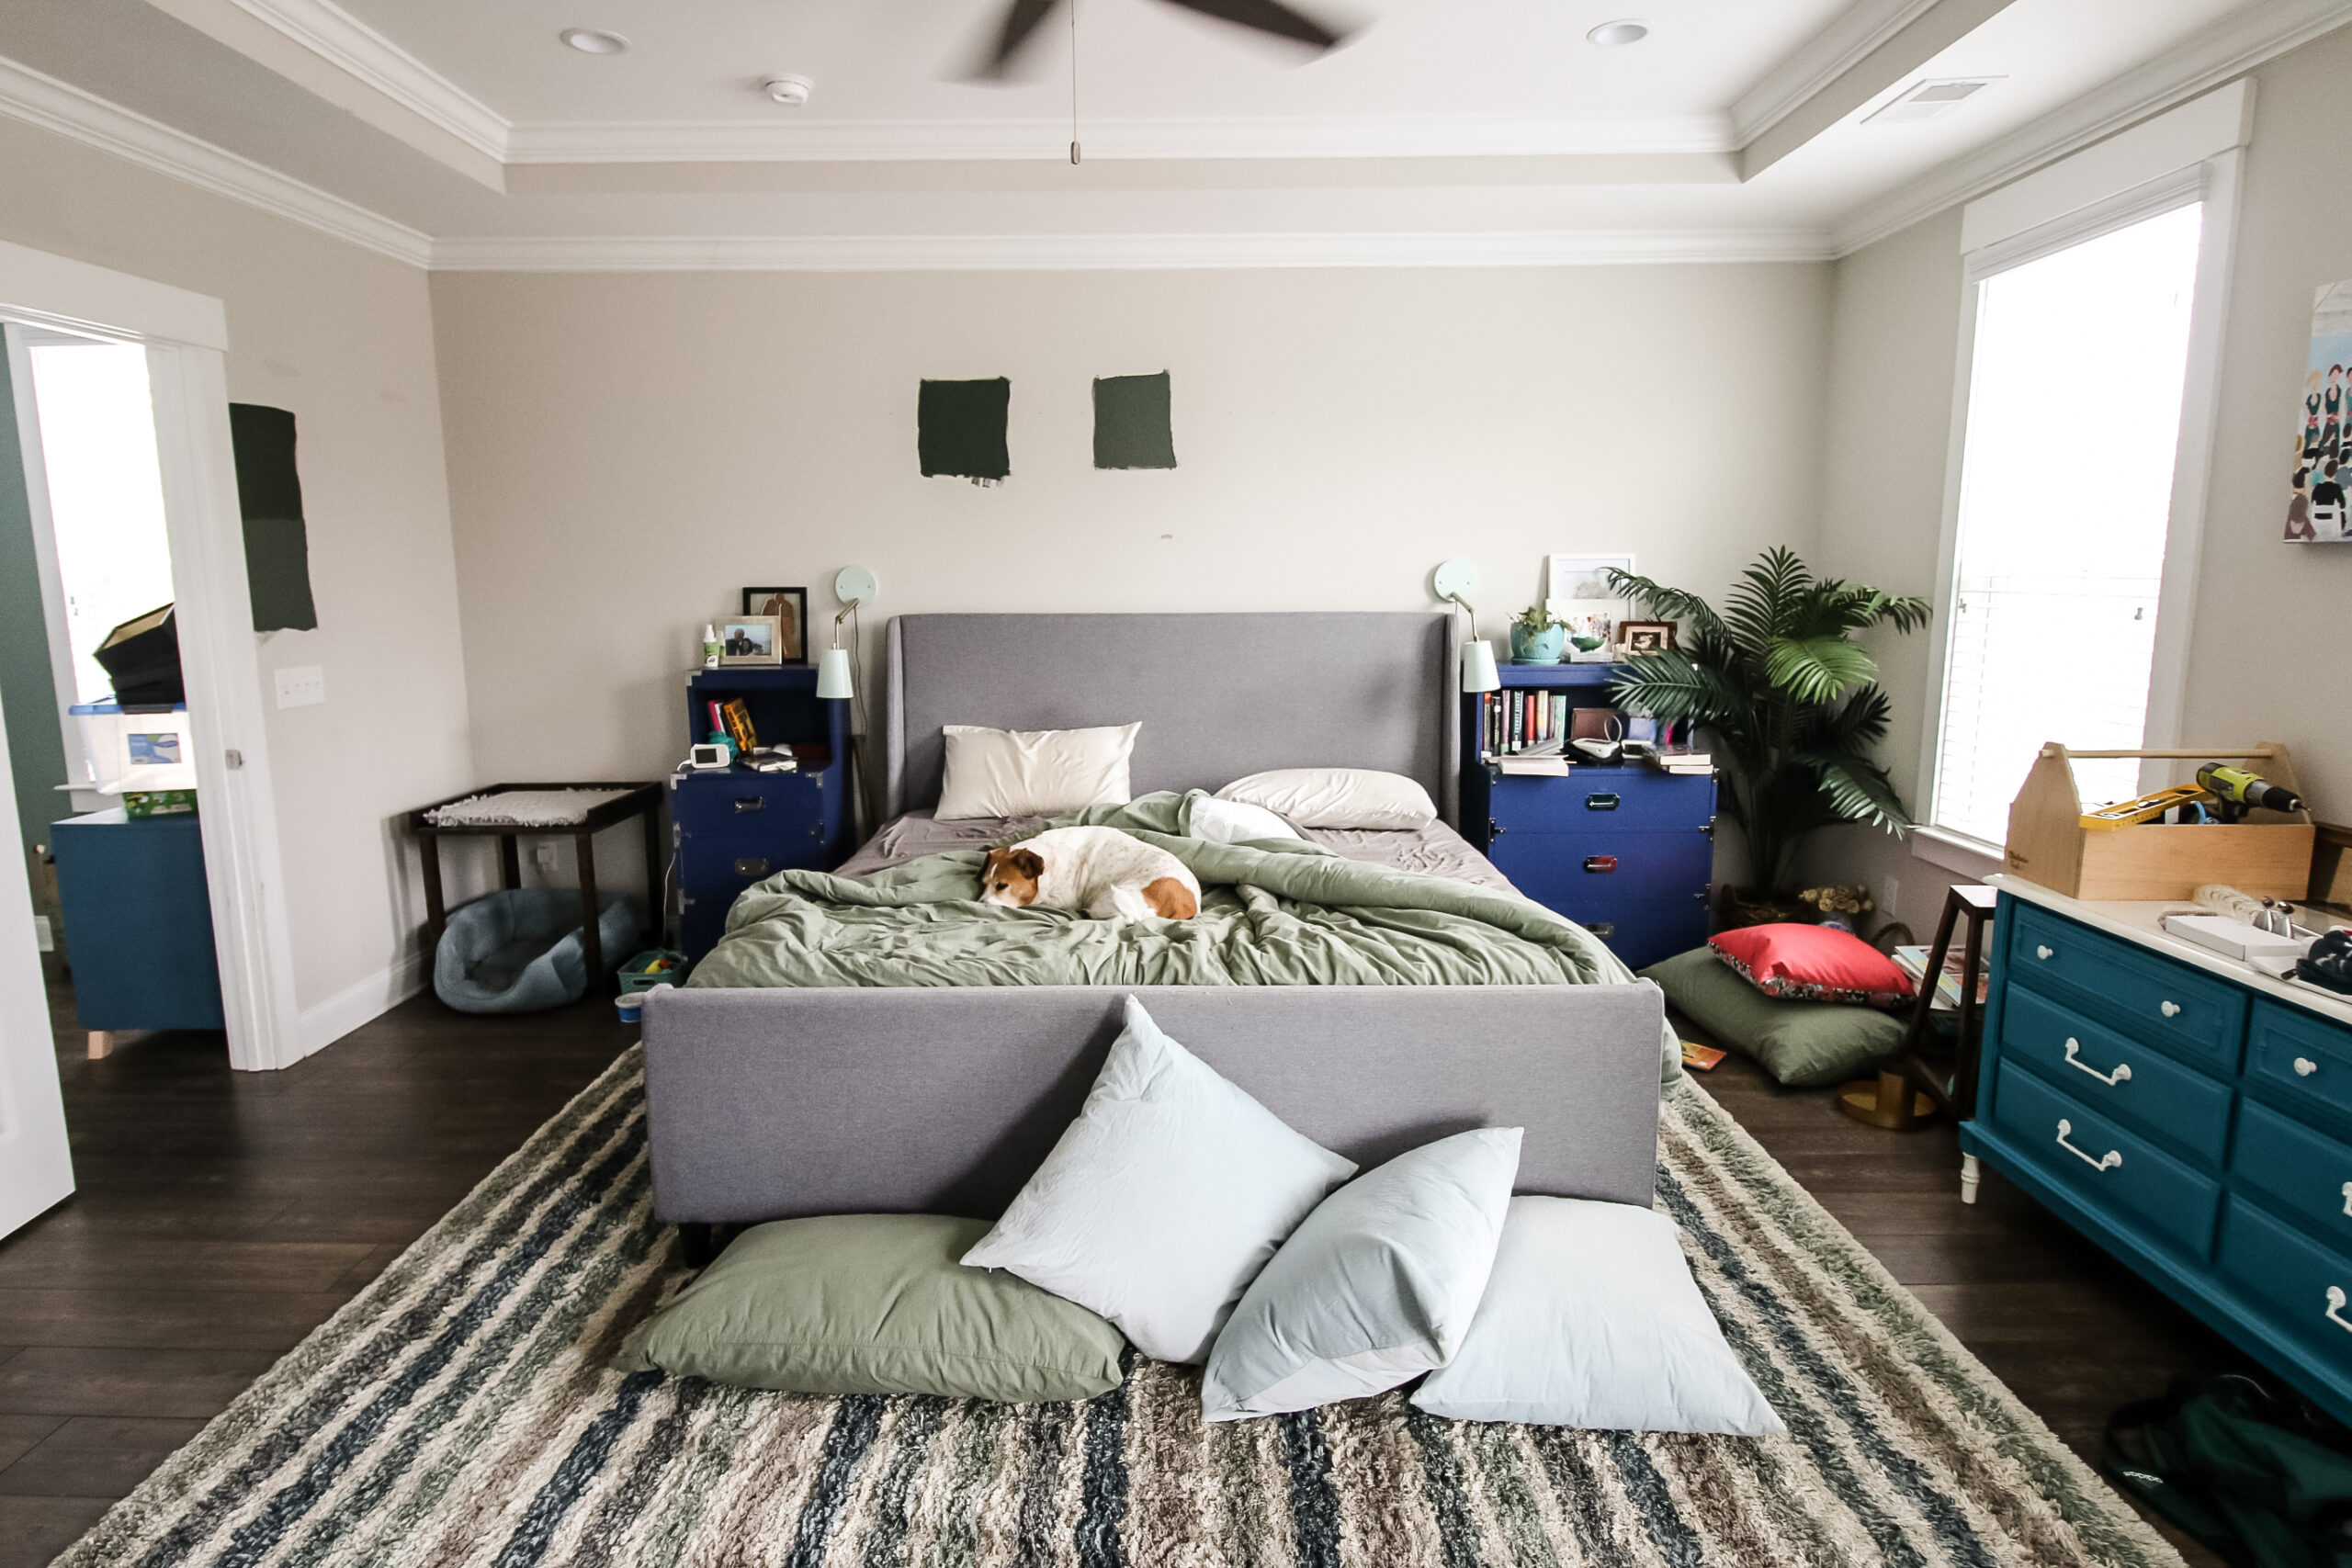
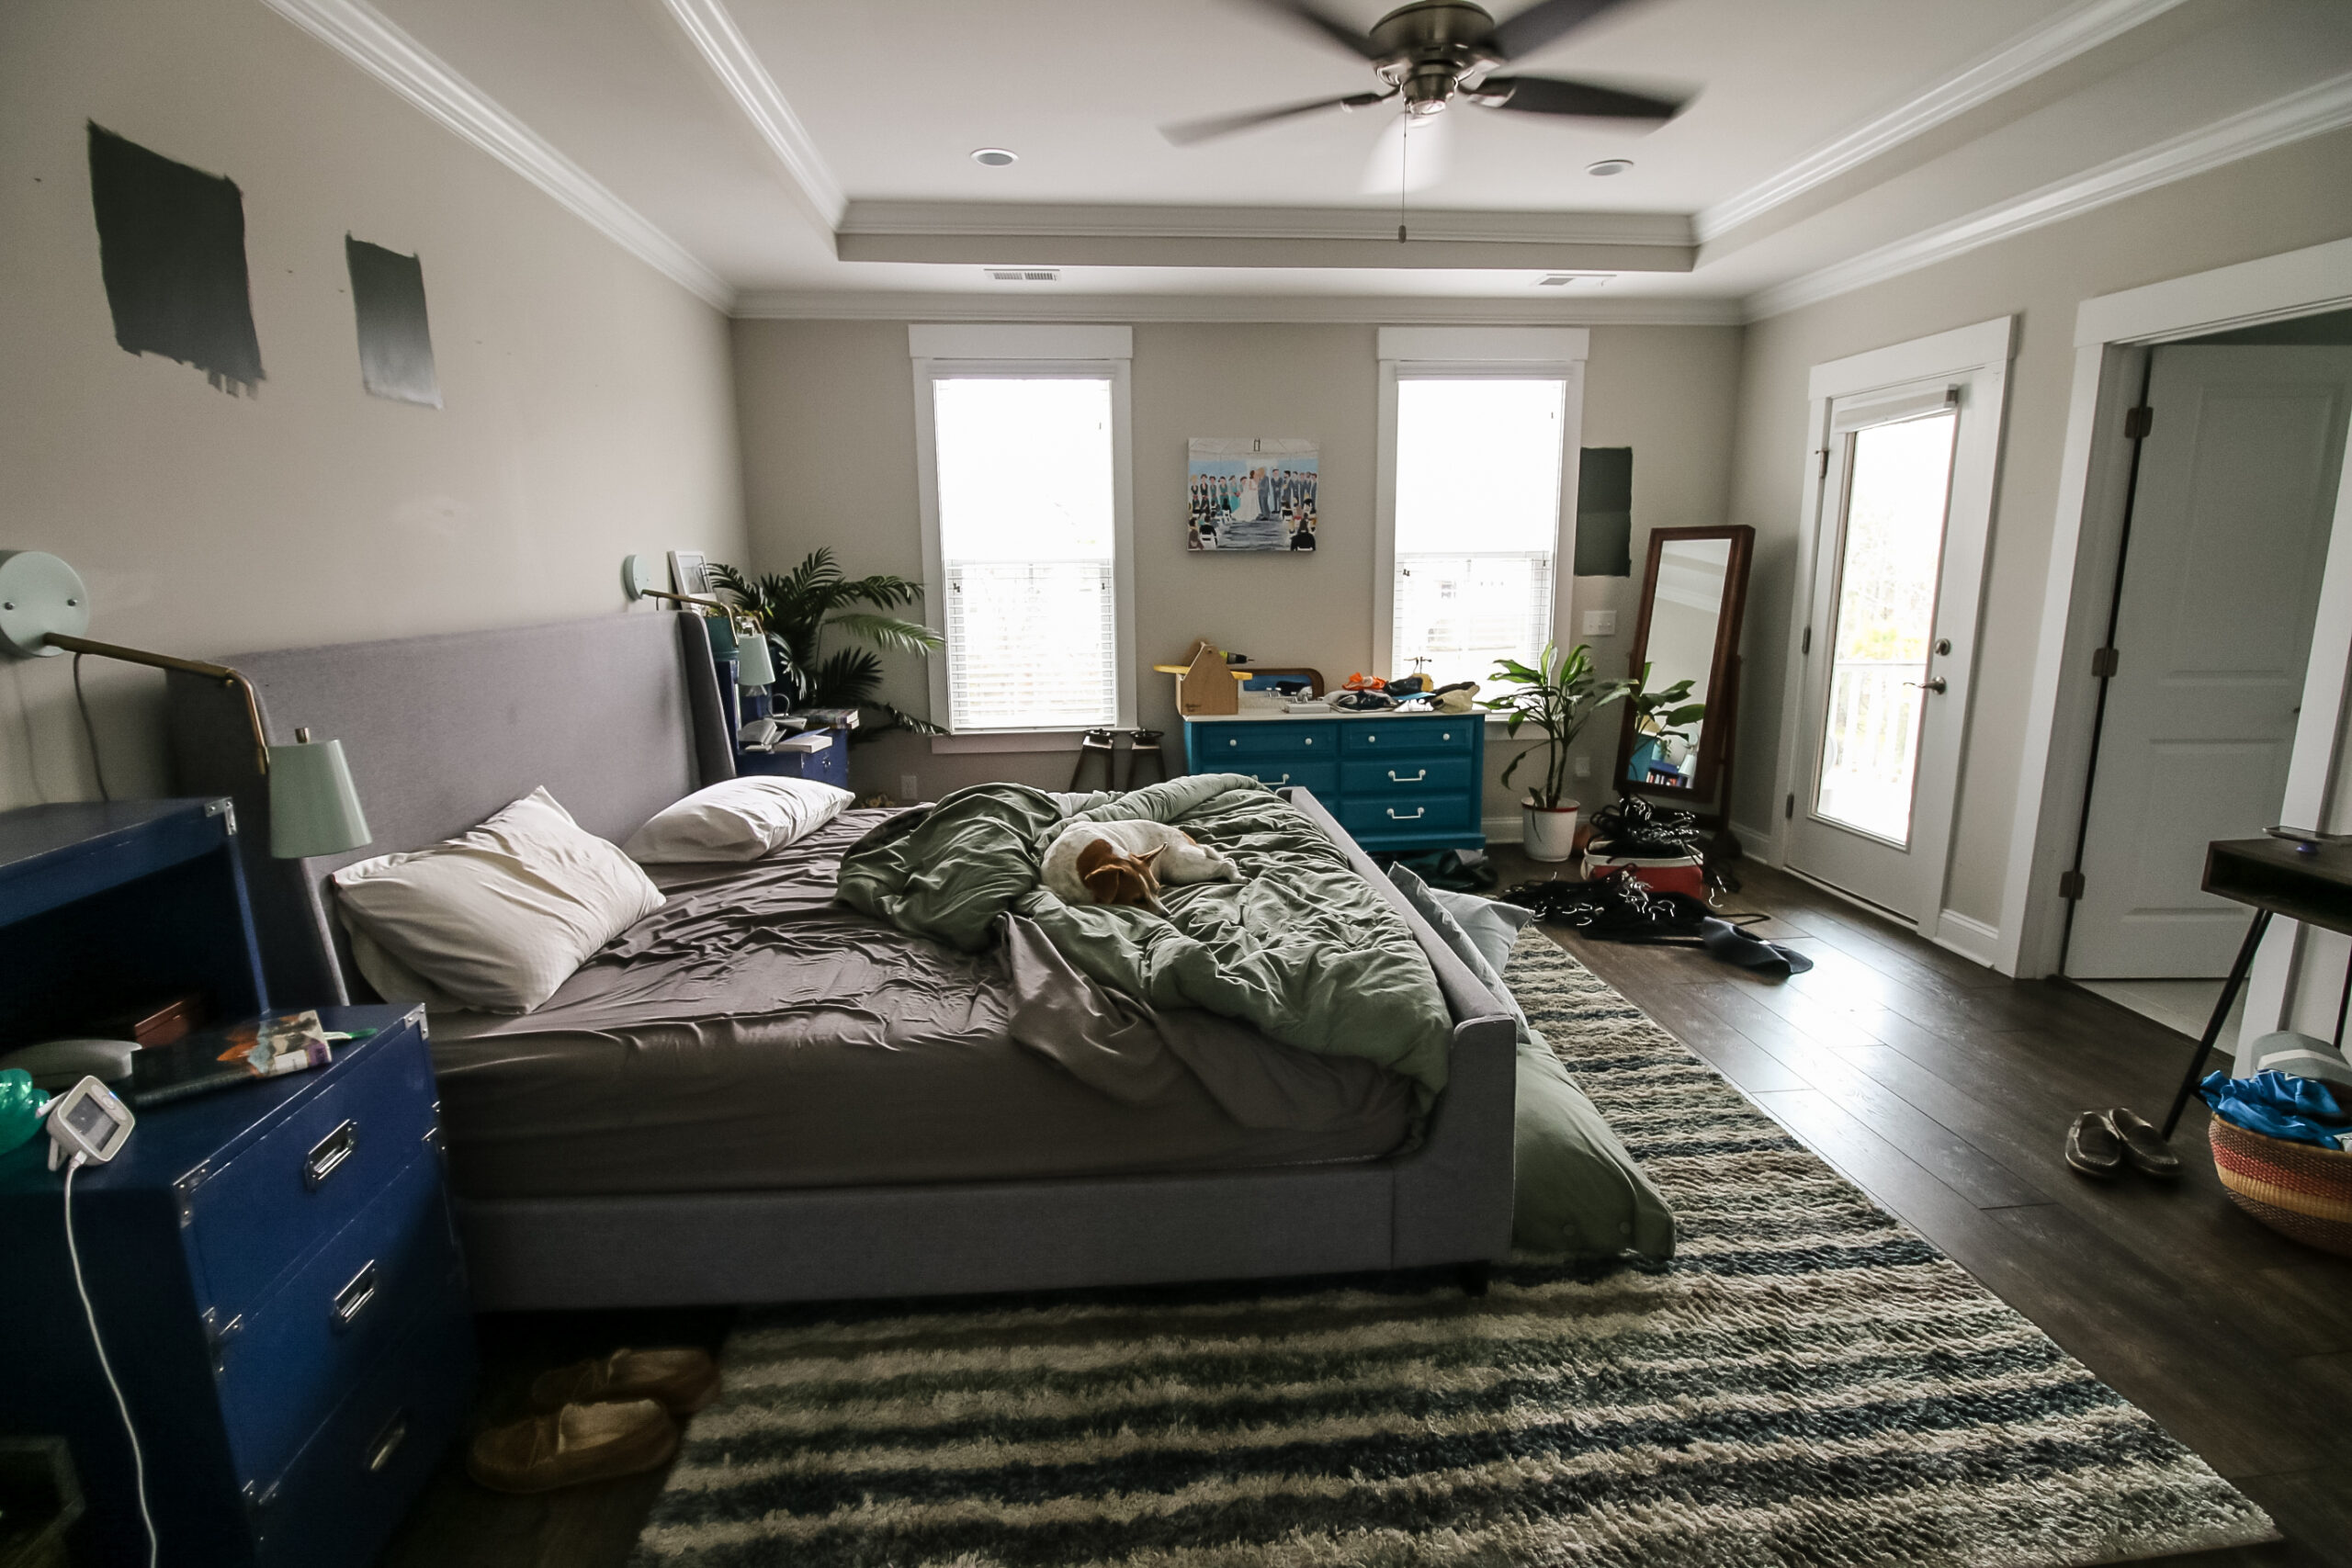
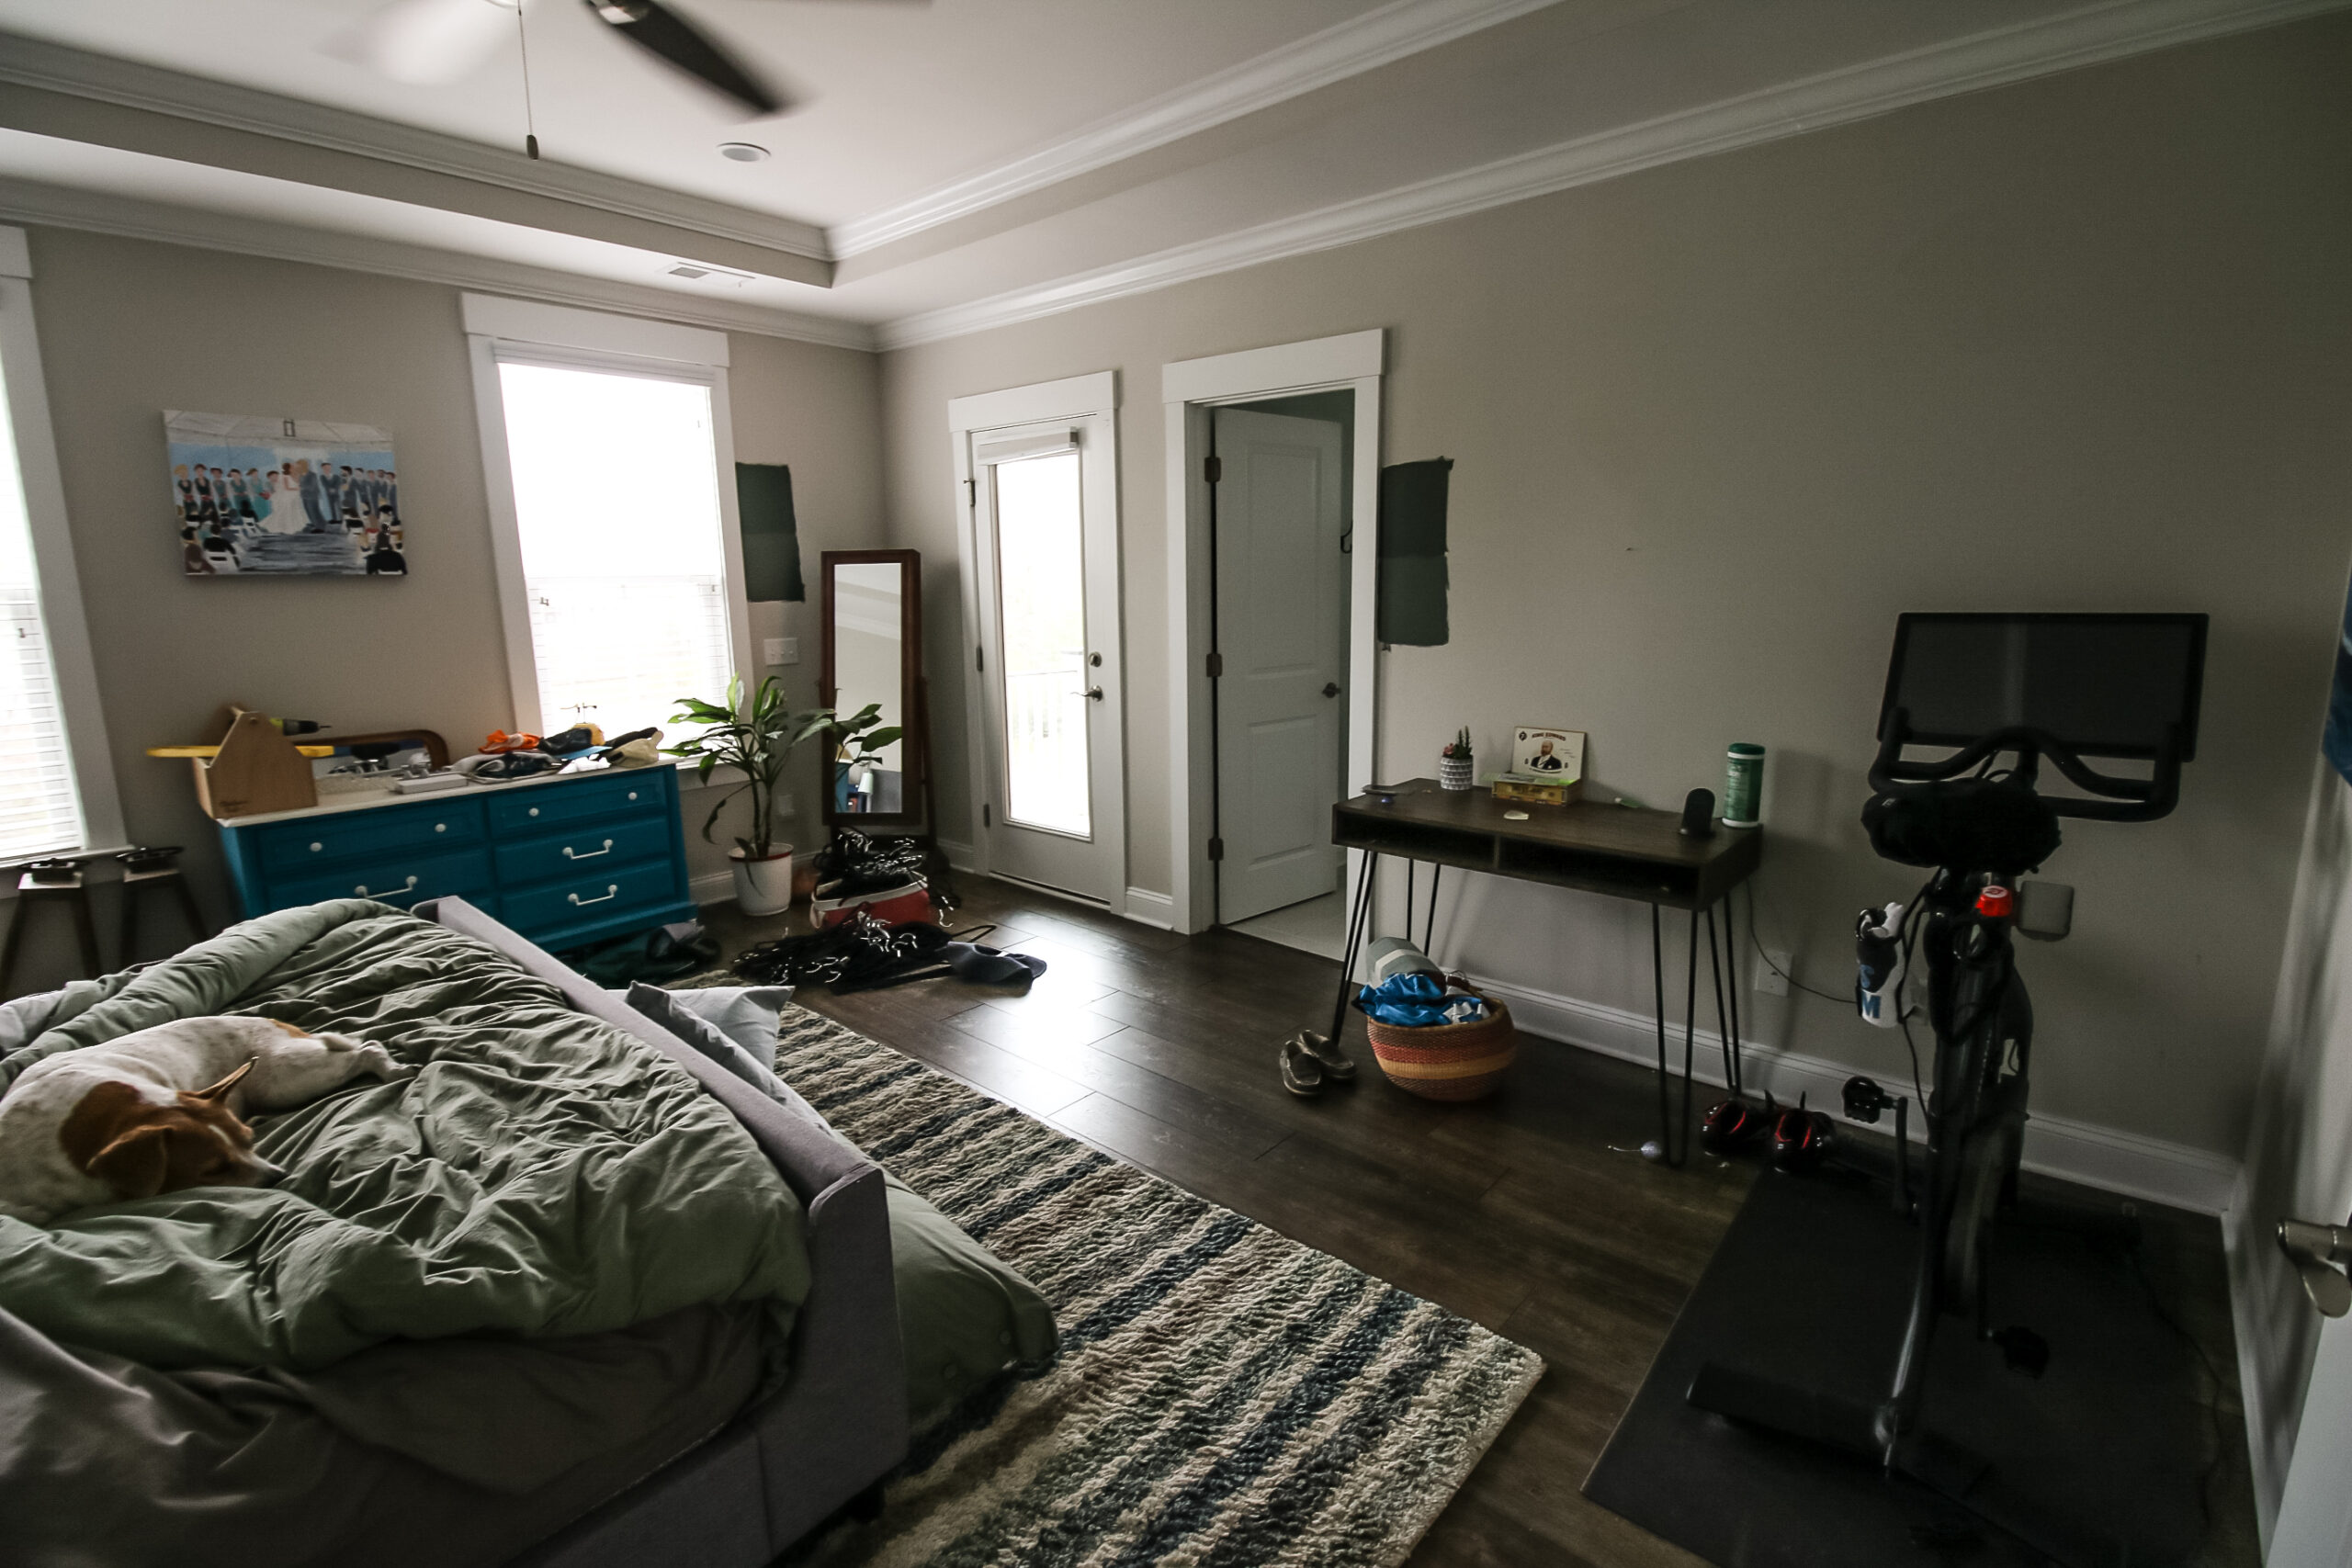
Before we get into everything we did in our bedroom, take a look at what it looked like before.
It was completely bland and boring from the original builders and renters that had lived here before. The walls were Agreeable Gray - which is a fine neutral, but didn't fit the aesthetic we were going for.
Then, we moved in and just dumped our old furniture into this new space, had a baby 10 days later and then focused on other rooms in our house. Here's how it looked before we tackled it.
Painting the primary bedroom
The first thing we did to the bedroom was pull everything away from the walls and paint.
The color was "Agreeable Gray" by Sherwin Williams and was the original color that the builders put on the walls. It was in bad shape, scuffed, and poor quality paint.
Read all about our guide to Agreeable Gray here!
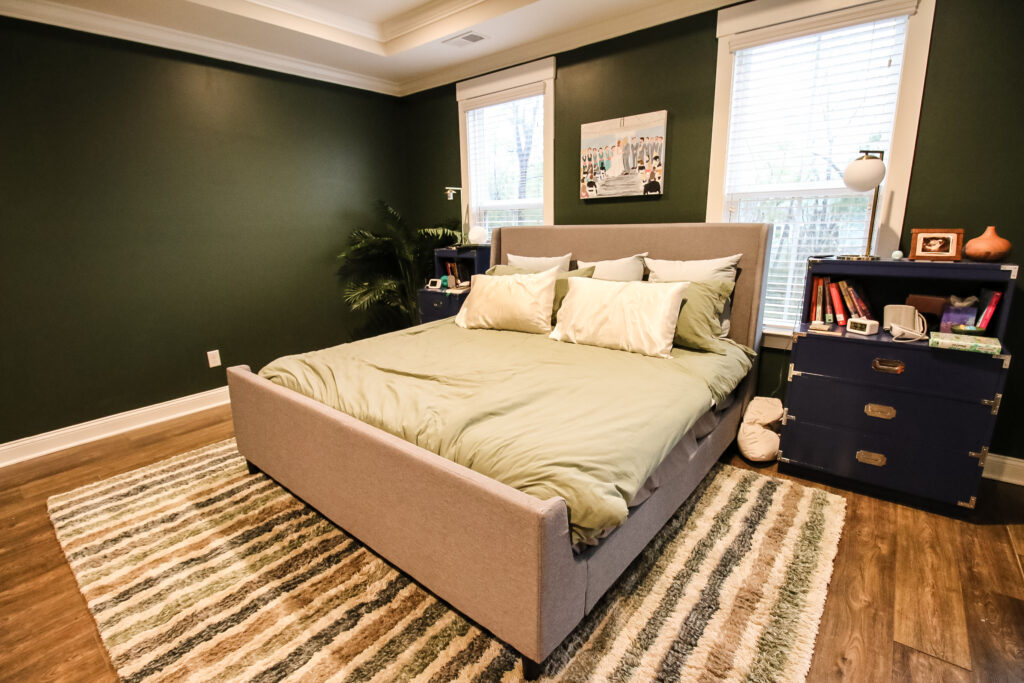
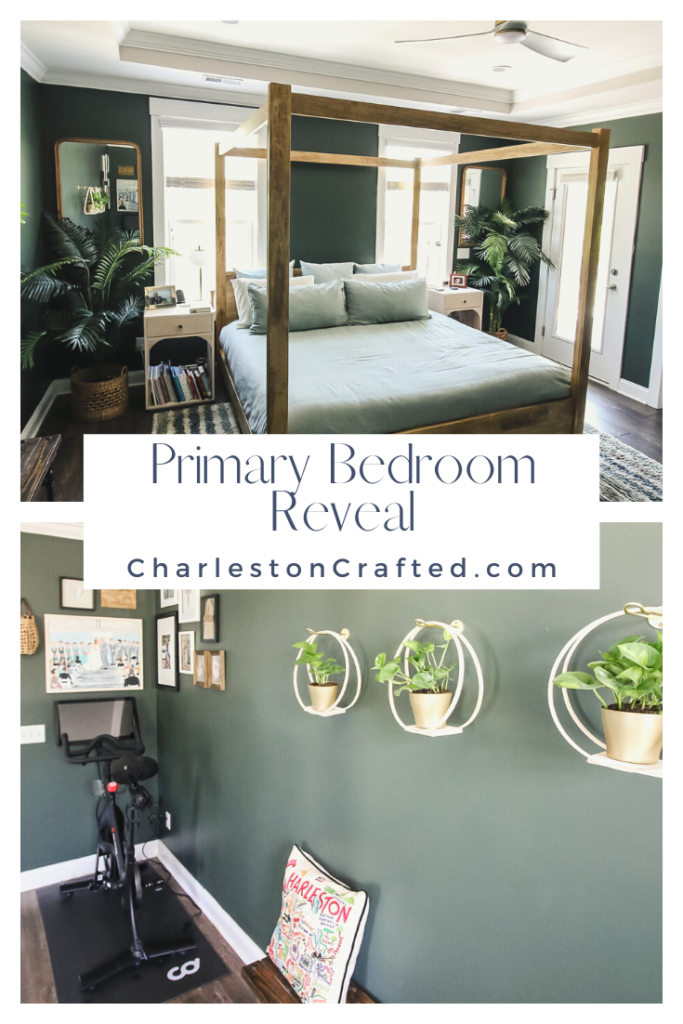
We repainted the entire bedroom with "North Woods" by Behr. It's a dark green that feels so natural, but was a bold choice compared to the light and bright colors we've previously used.
Read our full guide on North Woods here!
We love the dark green and it makes the bedroom feel so cozy! Plus we rotated the bed to be on the north-facing wall so we don't walk straight into the side of the bed when we come in the door.
Building a DIY four poster canopy bed
After the room was painted, it was time to put new furniture in place. We needed to replace all the old furniture because it was outdated and we were rotating the room and didn't want big boxy furniture blocking the windows.
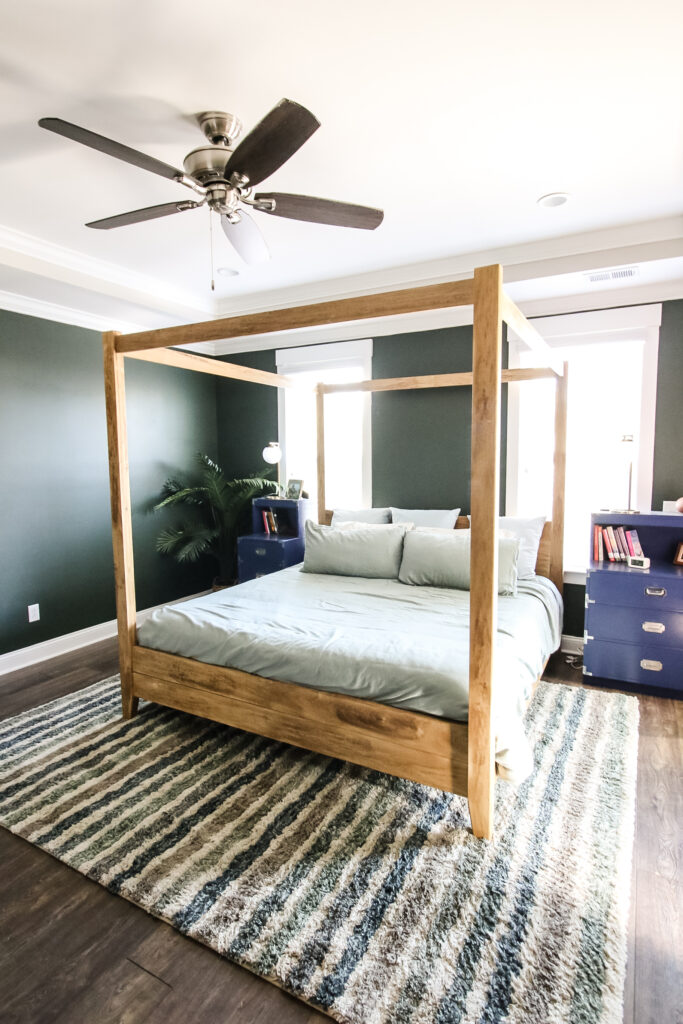
We started by building a DIY four poster canopy bed. It was a huge scale build, but looks so good in the space.
If this is something you've always dreamed of having, make sure you check out the post and get the FREE woodworking plans!
Building bedside tables with arches
After the bed came the bedside tables. We previously had two campaigner dresser side tables that we refinished way back in our condo days.
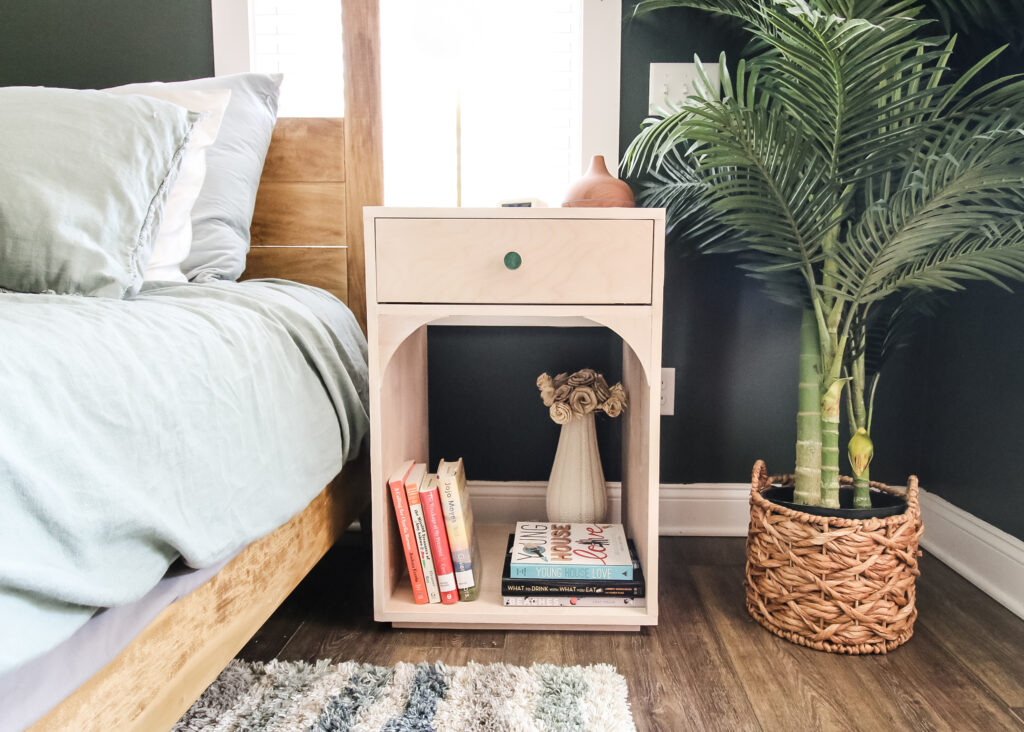
We replaced those with DIY bedside tables that feature a single drawer and two arches.
Arches make these tables very modern and trendy but were easy to add. Plus, these are low profile and don't block the windows!
Adding mirrors and faux plants
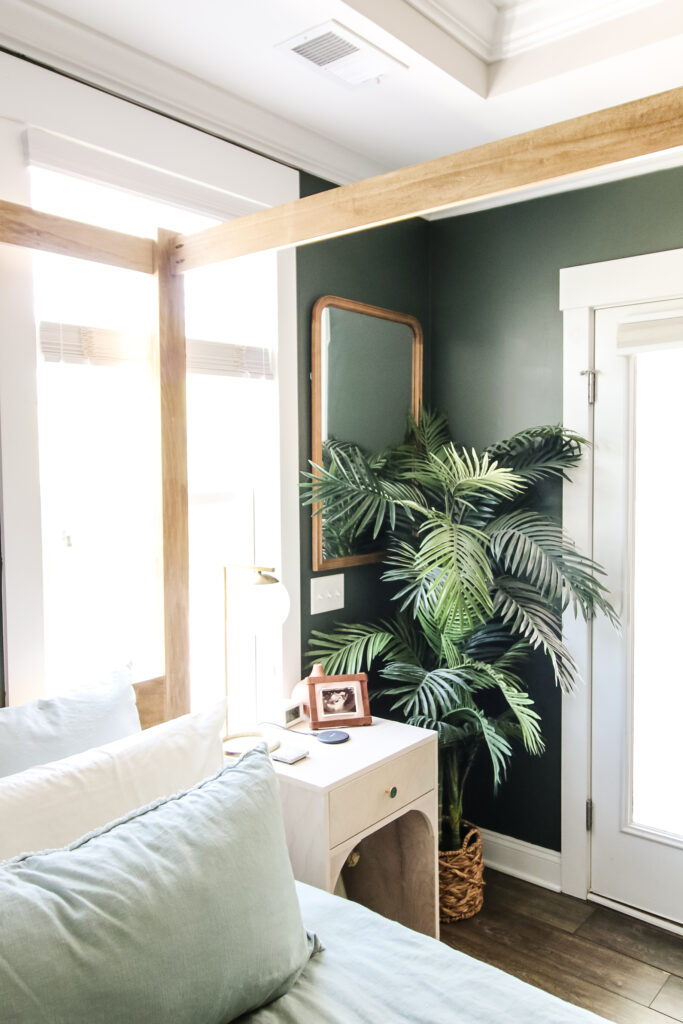
After the bedside tables were in place, we hung two mirrors above each and added two faux plants.
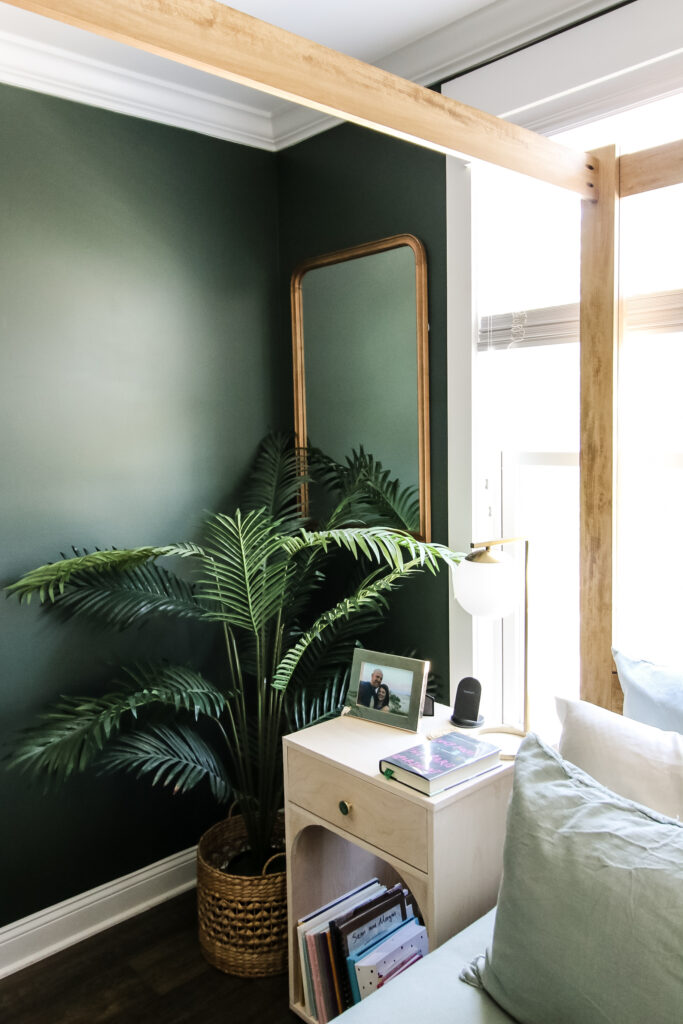
The space doesn't get great natural light as it is a north facing wall, so we didn't think real trees would thrive. We already had the faux plants in other rooms, so we moved them here.
Installing a new ceiling fan
We swapped out the ceiling fan next to something much more modern.
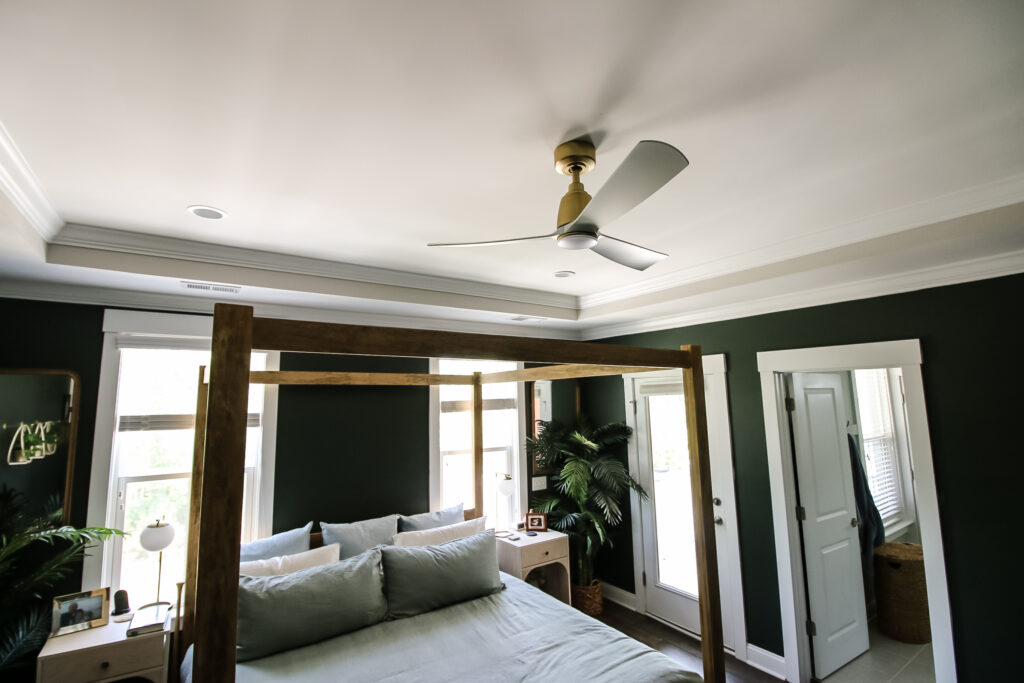
As we did in our living room makeover, we used the Fanimation Kute fan in brass and it looks great. The old five blade fan was much too dark and 90s.
Crafting hanging wood hoop planters
Things were starting to wrap at this point, but we did have a giant empty wall on one side. So, we added some DIY hanging wood hoop planters.
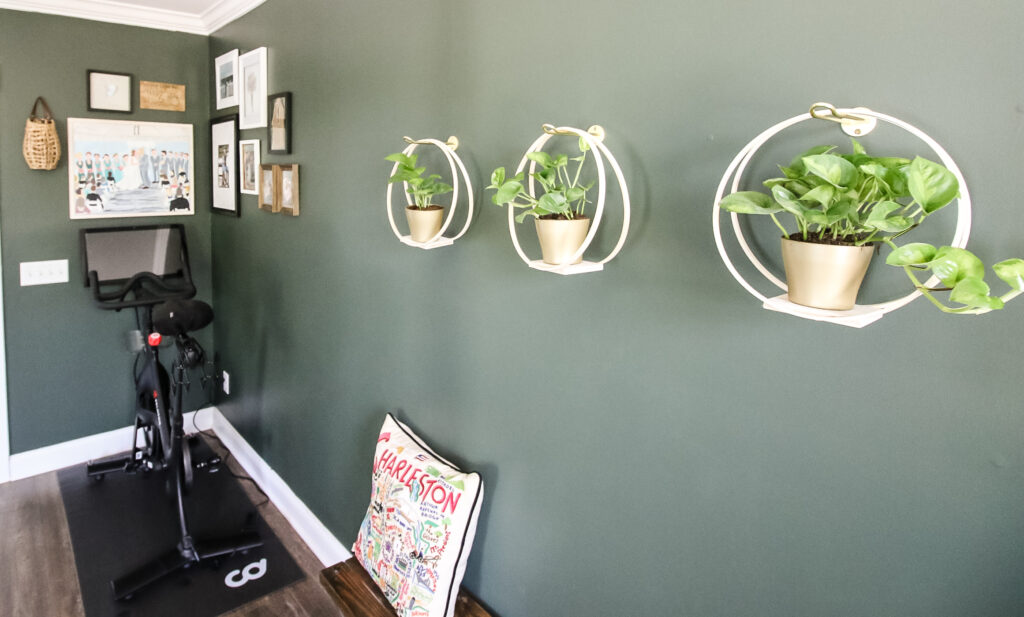
These were a fun project to make, using embroidery hoops and scrap plywood to make fun planters that hung from hooks on the wall.
We added some global green pothos to each and they really pop off the dark wall!
Creating a corner gallery wall
The final step was to work on the area over our Peloton. We don't like having the Peloton in our room, but it's the only good place at this stage in our lives.
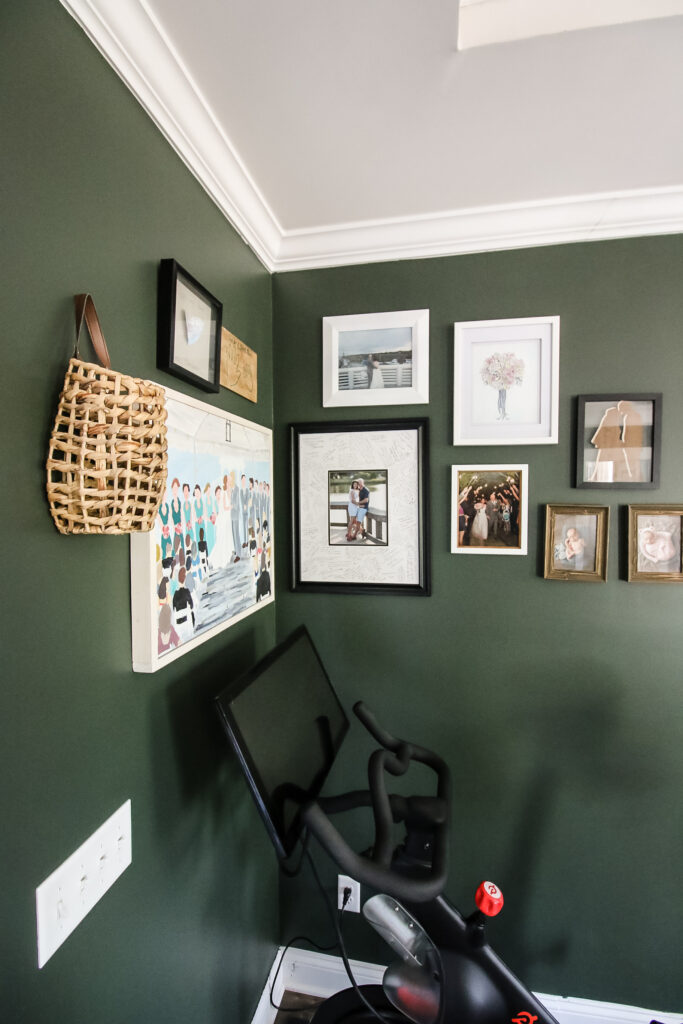
We jammed it in the corner and created a functional corner gallery wall around it to transform this small nook.
Owner's suite bathroom makeover
Don't forget that we also transformed our bathroom and closets before this project.
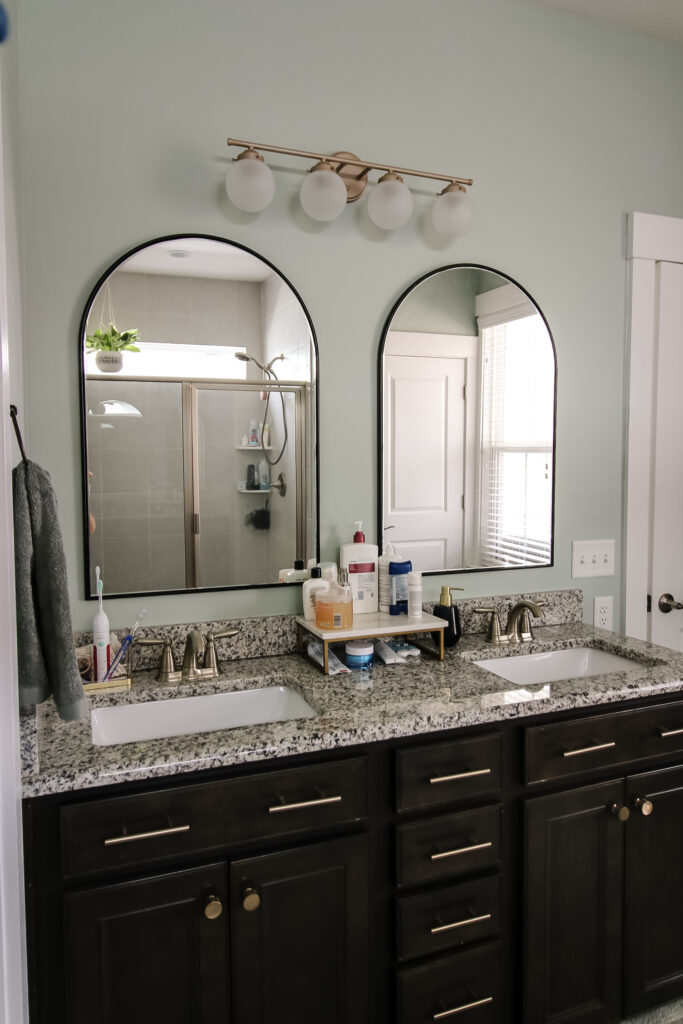
We gave our bathroom a long weekend makeover with fresh paint, a new light fixture, new mirrors and gutted the linen closet into Sean's closet.
Then we tore out the single wire shelf in the walk-in closet and turned that into a custom built-in with drawers, cubby storage and so much more.
We're so glad to have this beautiful space to relax in and retire to at night! We hope these projects inspire your next bedroom makeover!
Looking for something?
We've been doing this since 2012 so we have a LOT of blog posts!
Search stuff like: Ceiling Projects | DIY Plant Stands | Thrift Flips


Hey there, I'm Sean, the woodworking enthusiast and builder behind CharlestonCrafted.com! Since 2012, I've been sharing the magic of turning raw materials into beautiful creations. I love teaching others the art and satisfaction of woodworking and DIY. I try to inspire fellow crafters to make something extraordinary out of nothing at all.


