If you have tried and tried to twist that stuck nozzle off the end of your hose and it just won't budge, here's four ways to remove a stuck water nozzle from a hose!
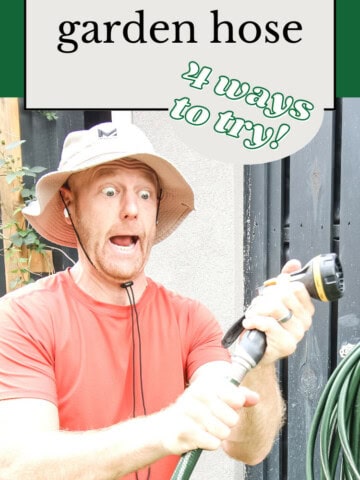
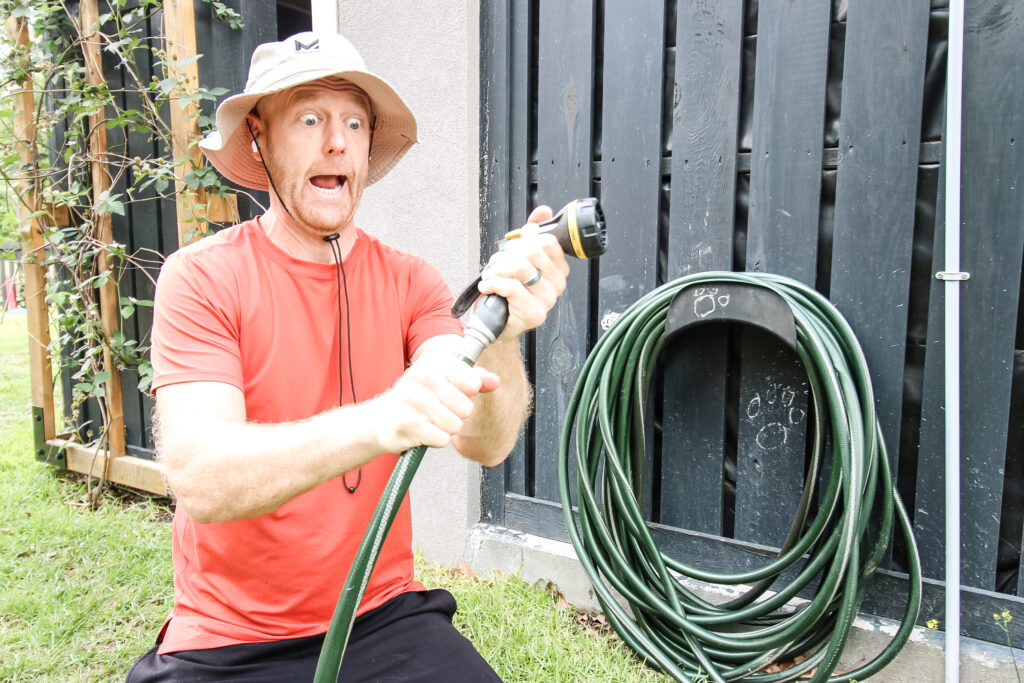
Well, it happened to us. We went to take the spray nozzle off the hose to change it for the sprinkler... and the nozzle was stuck.
It didn't matter how much effort we used or how much force we put on the nozzle, it just wasn't coming off. This is a frustrating experience, but trying the right methods can help you fix the problem.
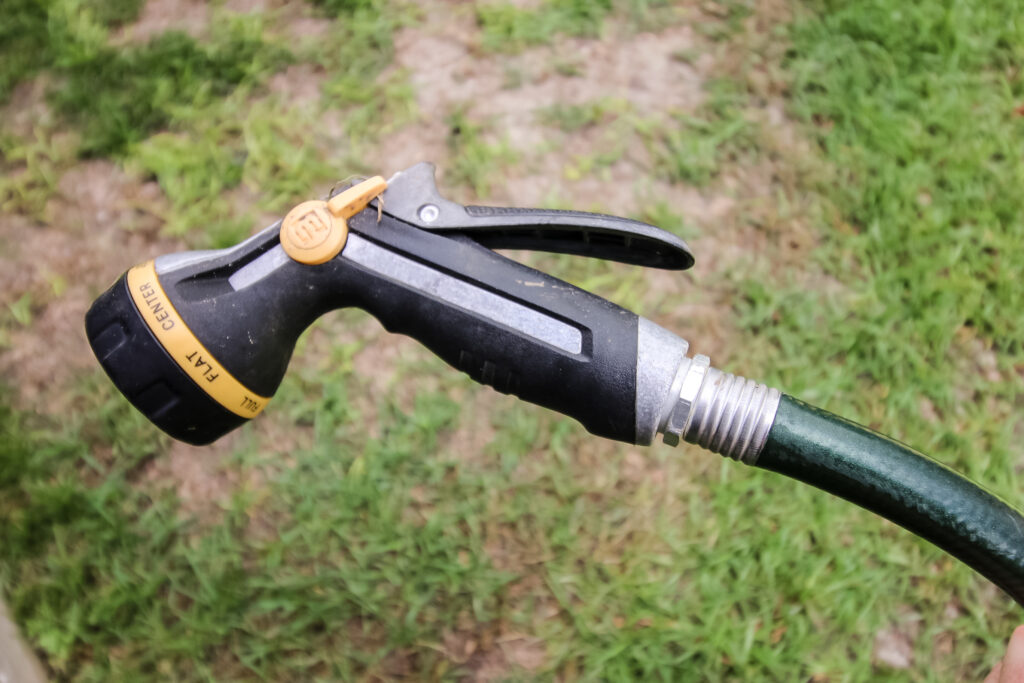
Nozzles tend to get stuck on the end of the hose if they have been left on for an extended period of time and get build up or debris in between the threads. They can also become calcified, and make it really hard to get them apart.
If you never use your hose for anything other than watering with the spray nozzle, the problem might not matter until your nozzle inevitably needs to be replaced. But if you need to attach other things to the end of the hose, the nozzle needs to come off.
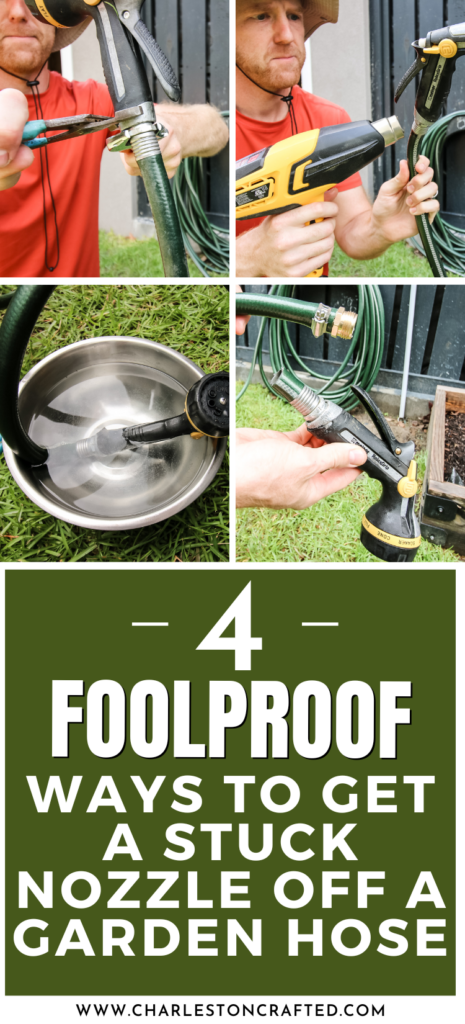
Depending on the severity of how stuck on the spray nozzle is, you may have to try one or two of a few different methods to get it off the hose.
Our stuck nozzle was super stuck on there and we ended up having to try all these methods to get it off the hose. Start with method one and then work your way down depending on your success!
Click here to see how you can get a stuck hose off a spigot!
How do you get a stuck hose nozzle off?
Before you start trying different ways to get a stuck hose nozzle off, first, assess your situation.
Make sure you've turned off the water supply and relieved any water pressure by squeezing the nozzle handle. Then start by checking to see if the connection is corroded or if there is anything visibly jamming the connection.
If there is deterioration, it will be harder to get the nozzle off because the threads will have actual issues.If you are seeing debris in the threads, try to clean them out.
Then, no matter what method you choose, we recommend you start by spraying some WD-40 or other lubricant into the threads to try to loosen them up. This will help with getting in between the threads and hopefully loosening it up for you.
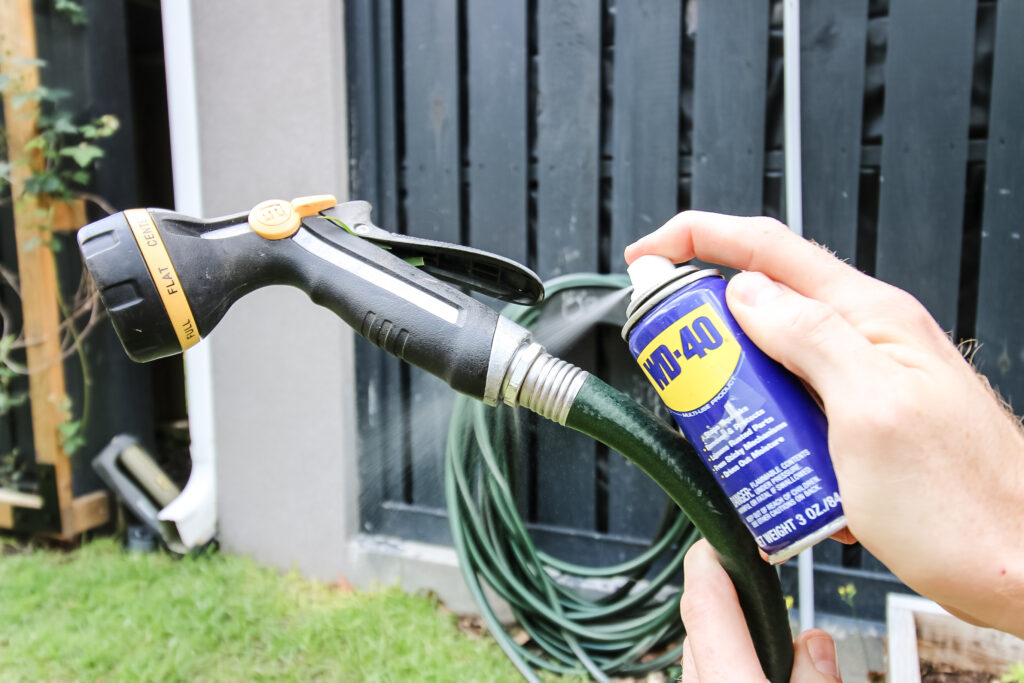
Spray the WD-40 directly between the garden hose nozzle and the hose where the threads are. Make sure to get it all the way around and let it sit for a little while to set in.
You may also want to put on some gloves with a good grip to make sure you can get the best grip while trying to remove the nozzle.
Have patience as you try these methods. This was the hardest stuck hose I've ever dealt with and it was frustrating trying all the methods we've used before, but don't get upset.
Method 1: What is the best tool to remove a stuck hose nozzle?
The first method to try to remove a stuck spray nozzle from a hose is to use a pair of pliers and a wrench to twist the nozzle off.
Use either a socket wrench or a vise grip and a pair of pliers to grab onto the hose and the nozzle. Make sure you have a good grip on each.
This is the best method to avoid damaging either the nozzle or the hose, but you also could strip the metal around the connection where you're gripping if you squeeze too hard.
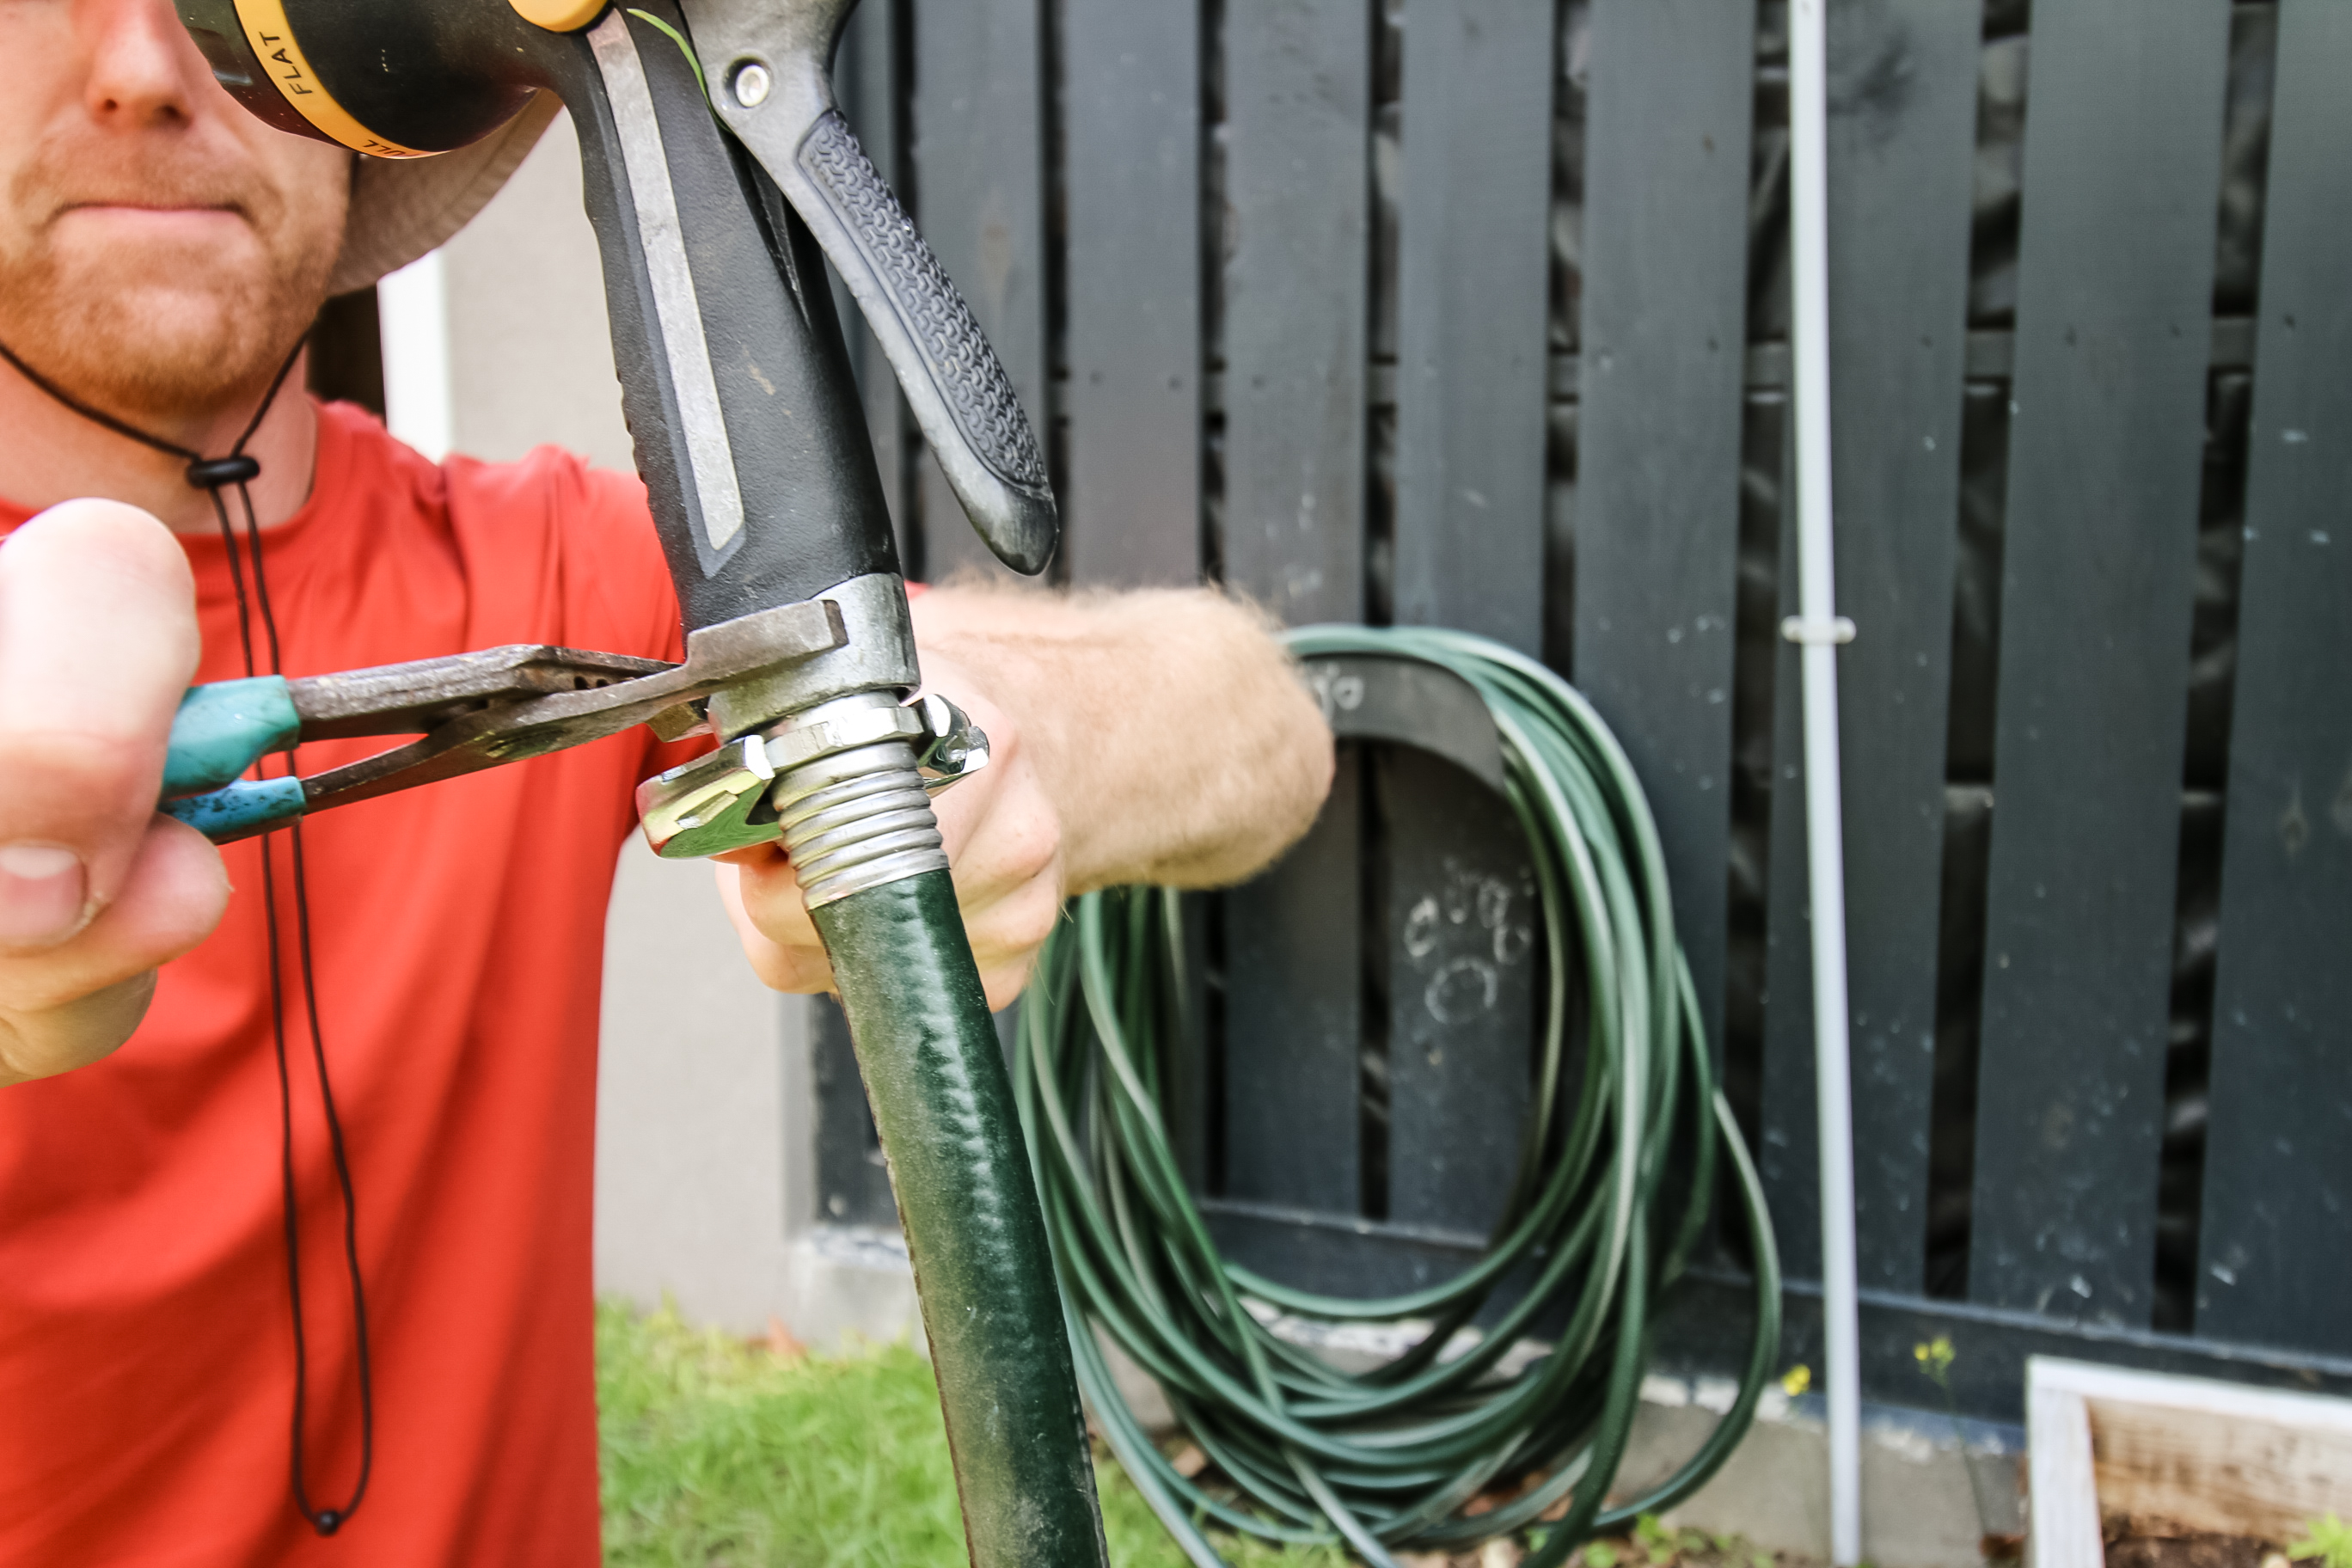
Using a strong, even pressure force, twist the nozzle counter clockwise from the hose and try to remove the nozzle. Twist in opposing directions carefully to try to get it loose.
Don't twist in a jerking motion as it won't come off quickly. You'll want to apply even pressure.
This method should be the most effective to remove a stuck nozzle from a hose and has worked for us in the past. You'll need to exert some strength, so plan for that if you want success. However, I'm a strong guy and couldn't get it off this time with just my grip.
Hopefully, this is all you'll need for removing a hose off the nozzle and you won't need to try any other options, but if this doesn't work for you, try method 2.
Method 2: Try a heat gun
If you weren't able to twist the nozzle off with tools, try applying heat to the area using a heat gun or a hair dryer.
We've been using the Wagner Furno 500 for years and it works great!
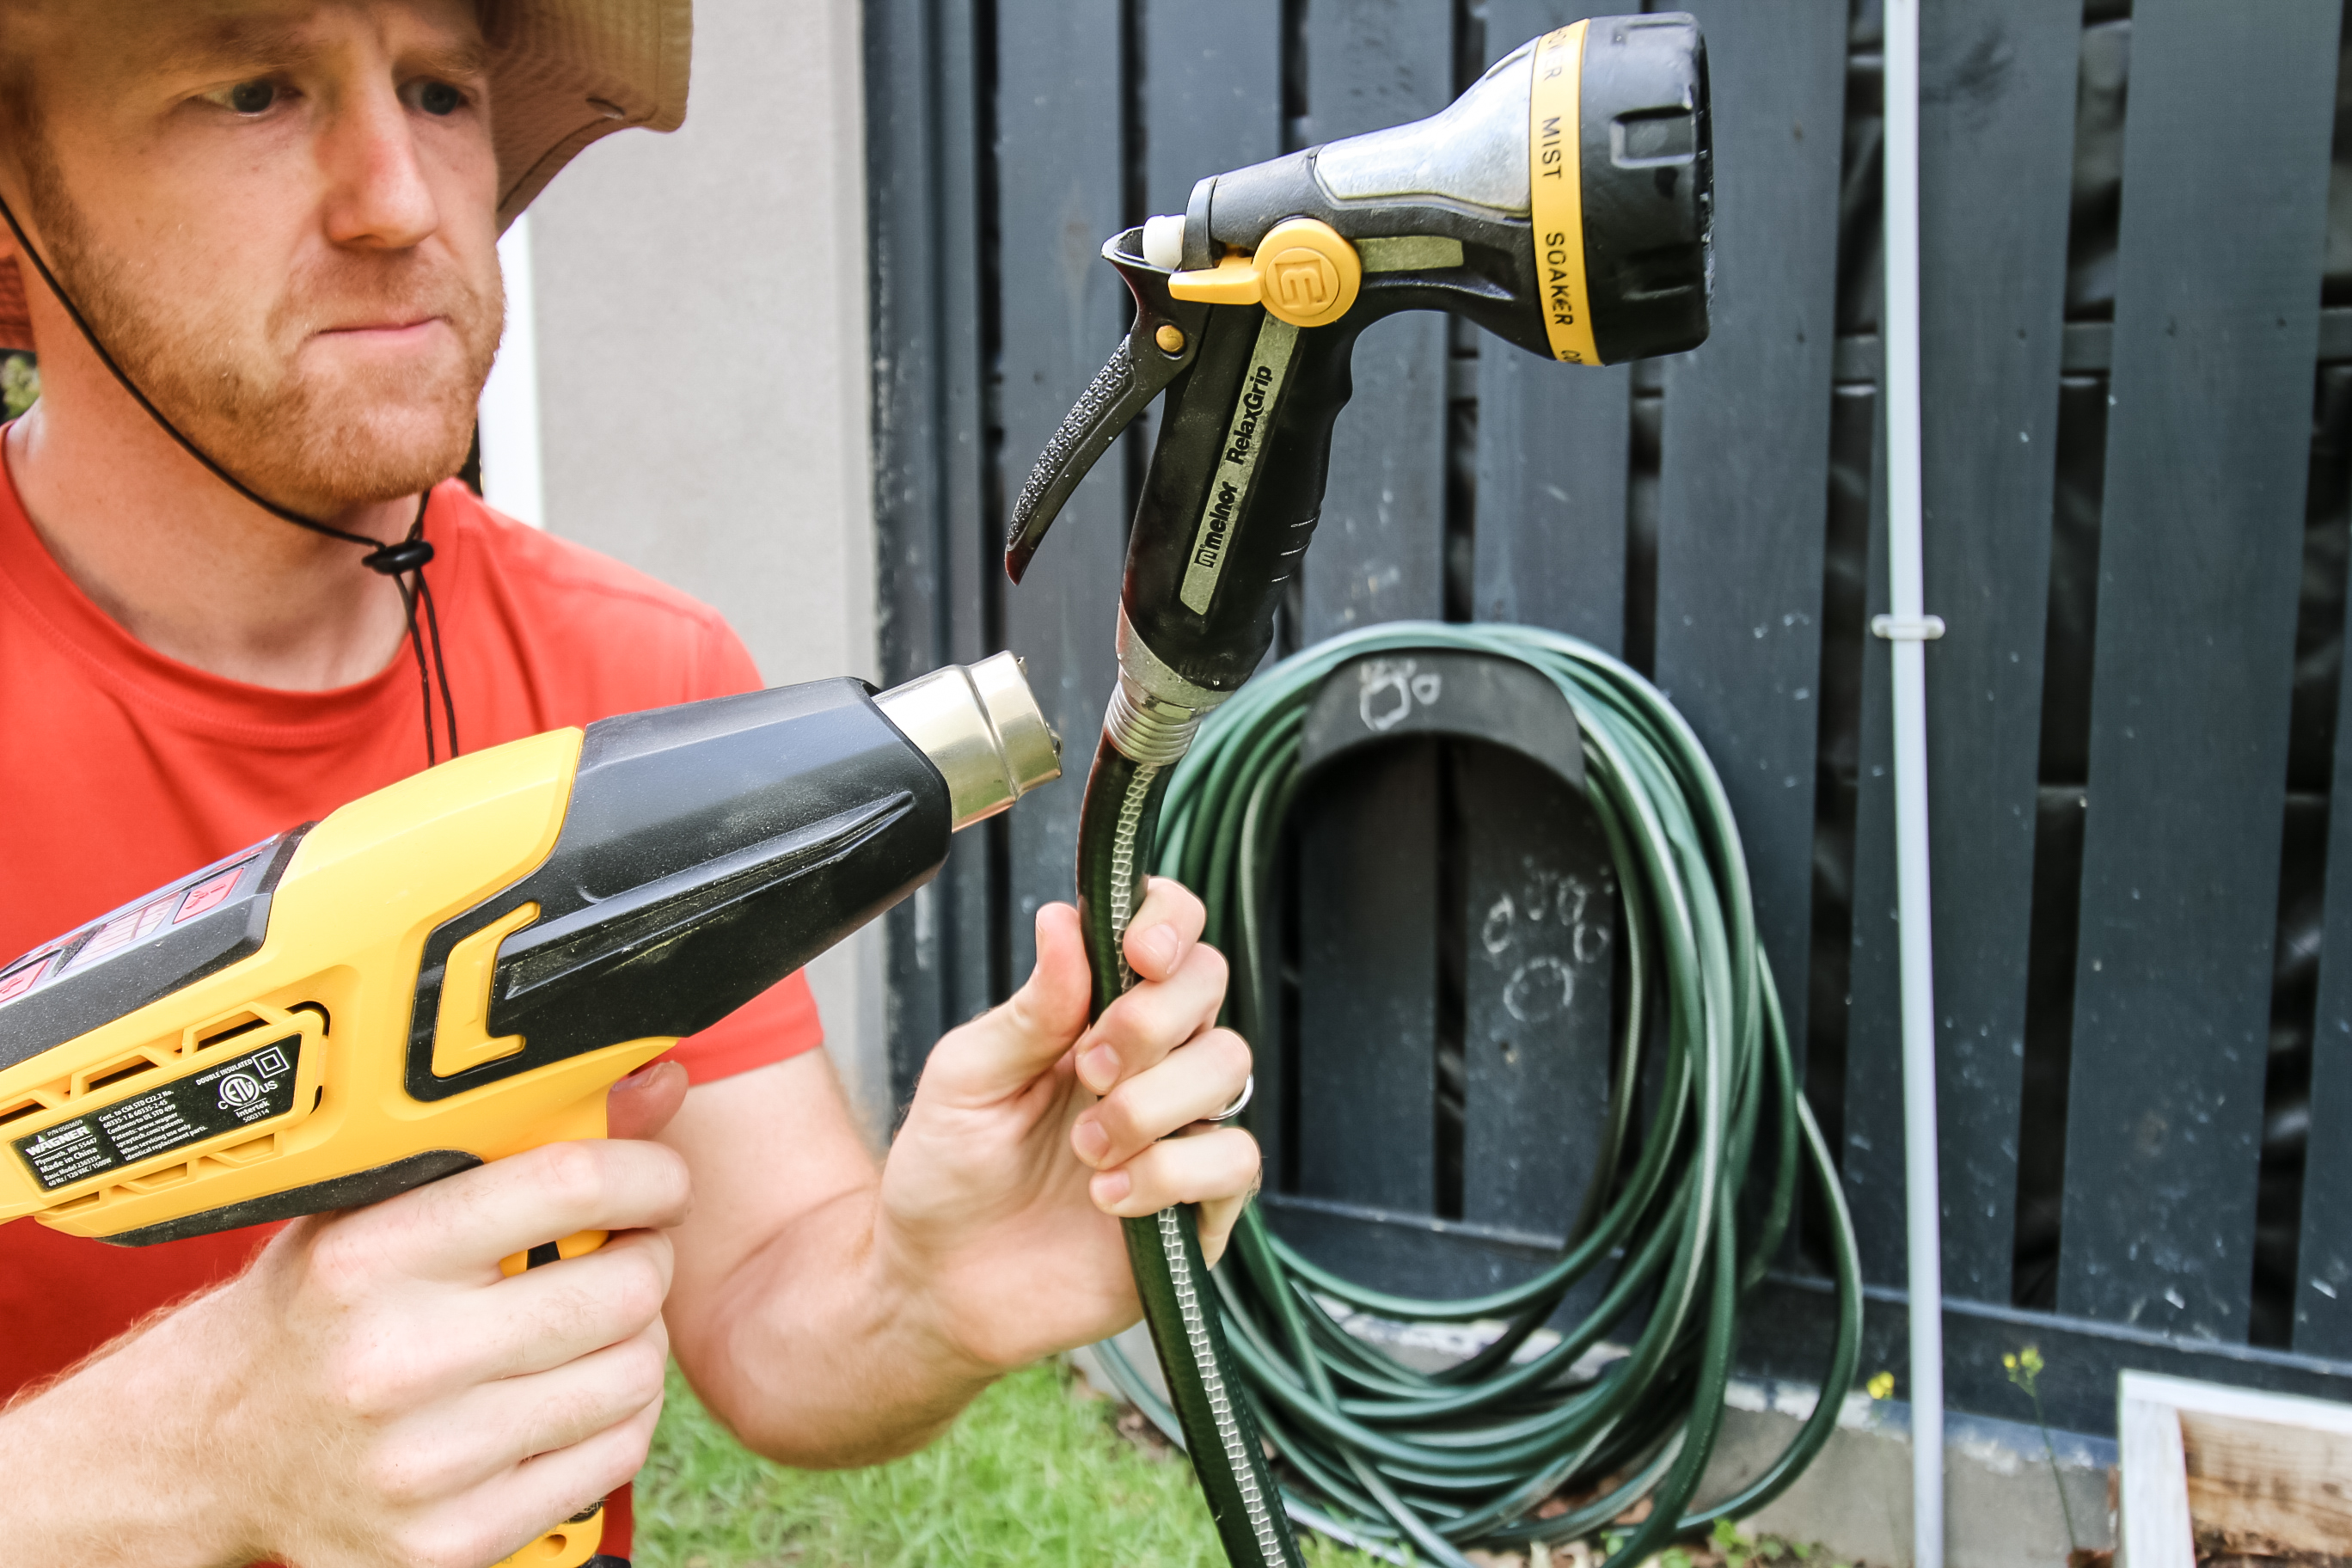
Applying direct heat to an area of metal will cause the metal to expand. Your goal here is to get the metal on the nozzle to expand so it can come off easier. If the nozzle and the hose both expand, you won't have much luck.
Make sure you hold the heat gun close to the metal for a least a couple of minutes before trying to twist it off.
For us, this didn't work. The heat gun actually melted the rubber casing around the stuck nozzle, so when we gripped it with the pliers and twisted, the rubber kind of melted and ripped.
You can also use a heat gun to repair your ripped screened porch!
But maybe it will work for you. Grip the water hose and the nozzle again with the pliers and wrench and twist until free. If it doesn't work, go to the next method.
Method 3: Soak in hot and cold water
Ok, so now we're getting into the science here. We're going to try heating up the metal on the hose and the nozzle and then cooling it down to try to get the metal to expand and then contract.
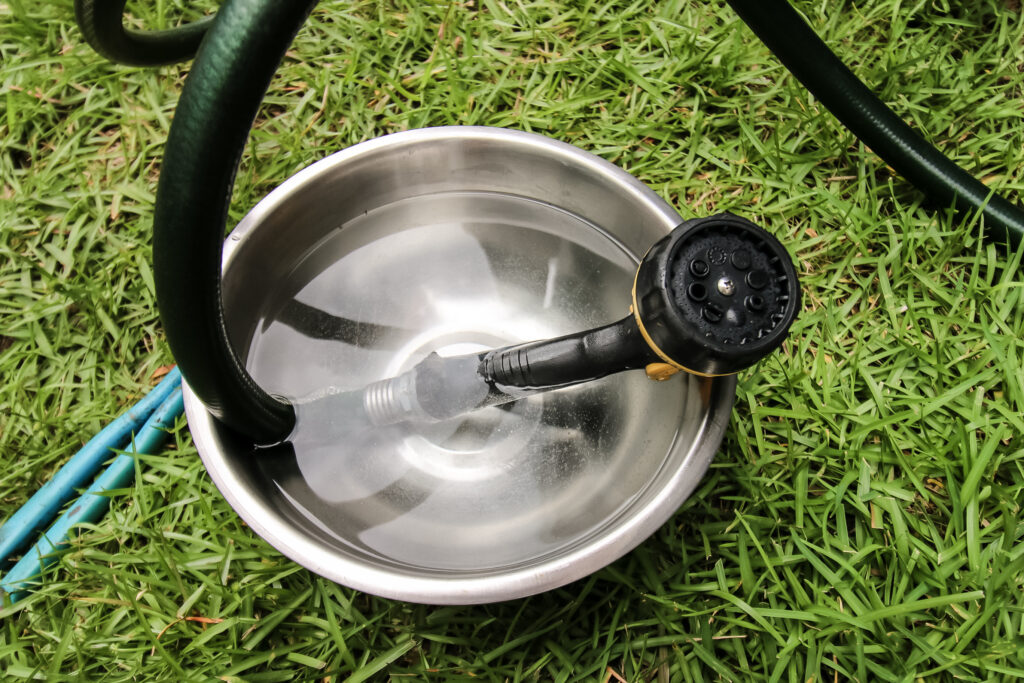
Get a bowl of boiling or near-boiling water and set the hose fitting into the water. Let it sit there for a little while in the warm water.
Then, move the hose fitting into a bowl of ice water and let it sit to try to get the metal to contract. Try to twist the nozzle off again. If still no luck, we have one more method to try.
Method 4: Cut off and install a garden hose repair connector
Well, looks like everything else has failed and you are down to two more choices: cut off the nozzle or replace the entire hose and nozzle together.
Replacing the hose is a choice, but one that is fairly costly if you get a good quality hose.
The other choice is to cut the nozzle off of the hose and install a garden hose repair connector.
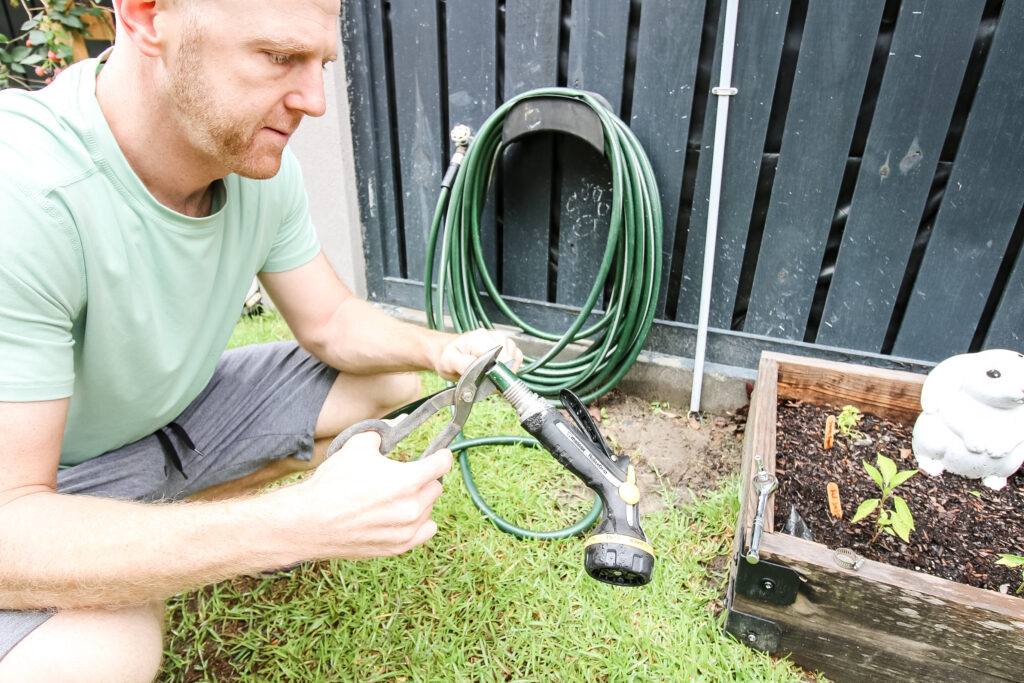
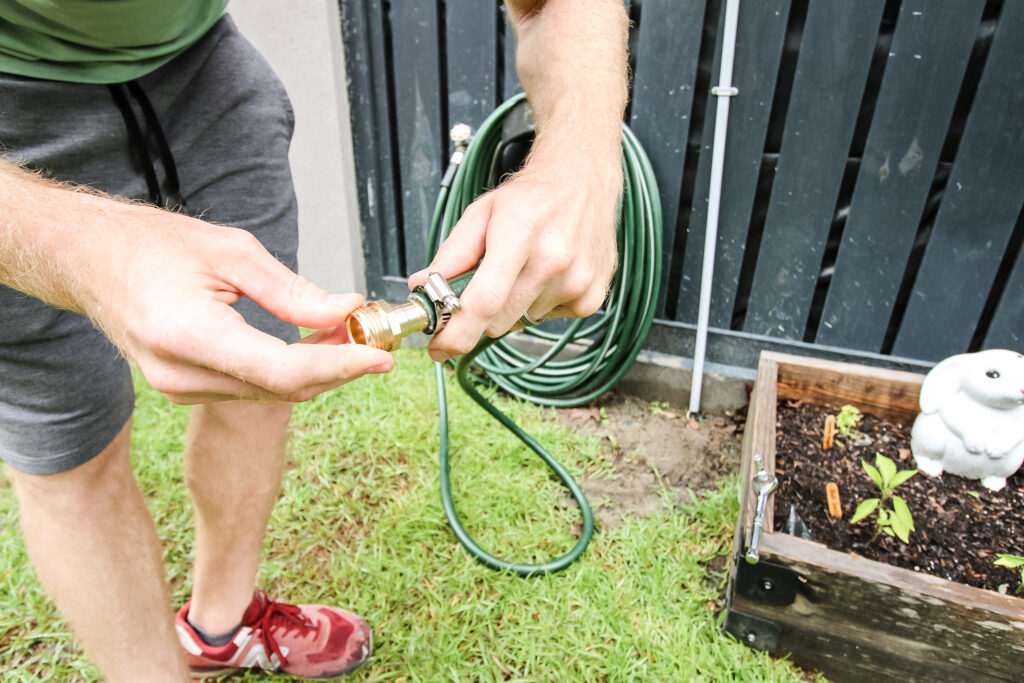
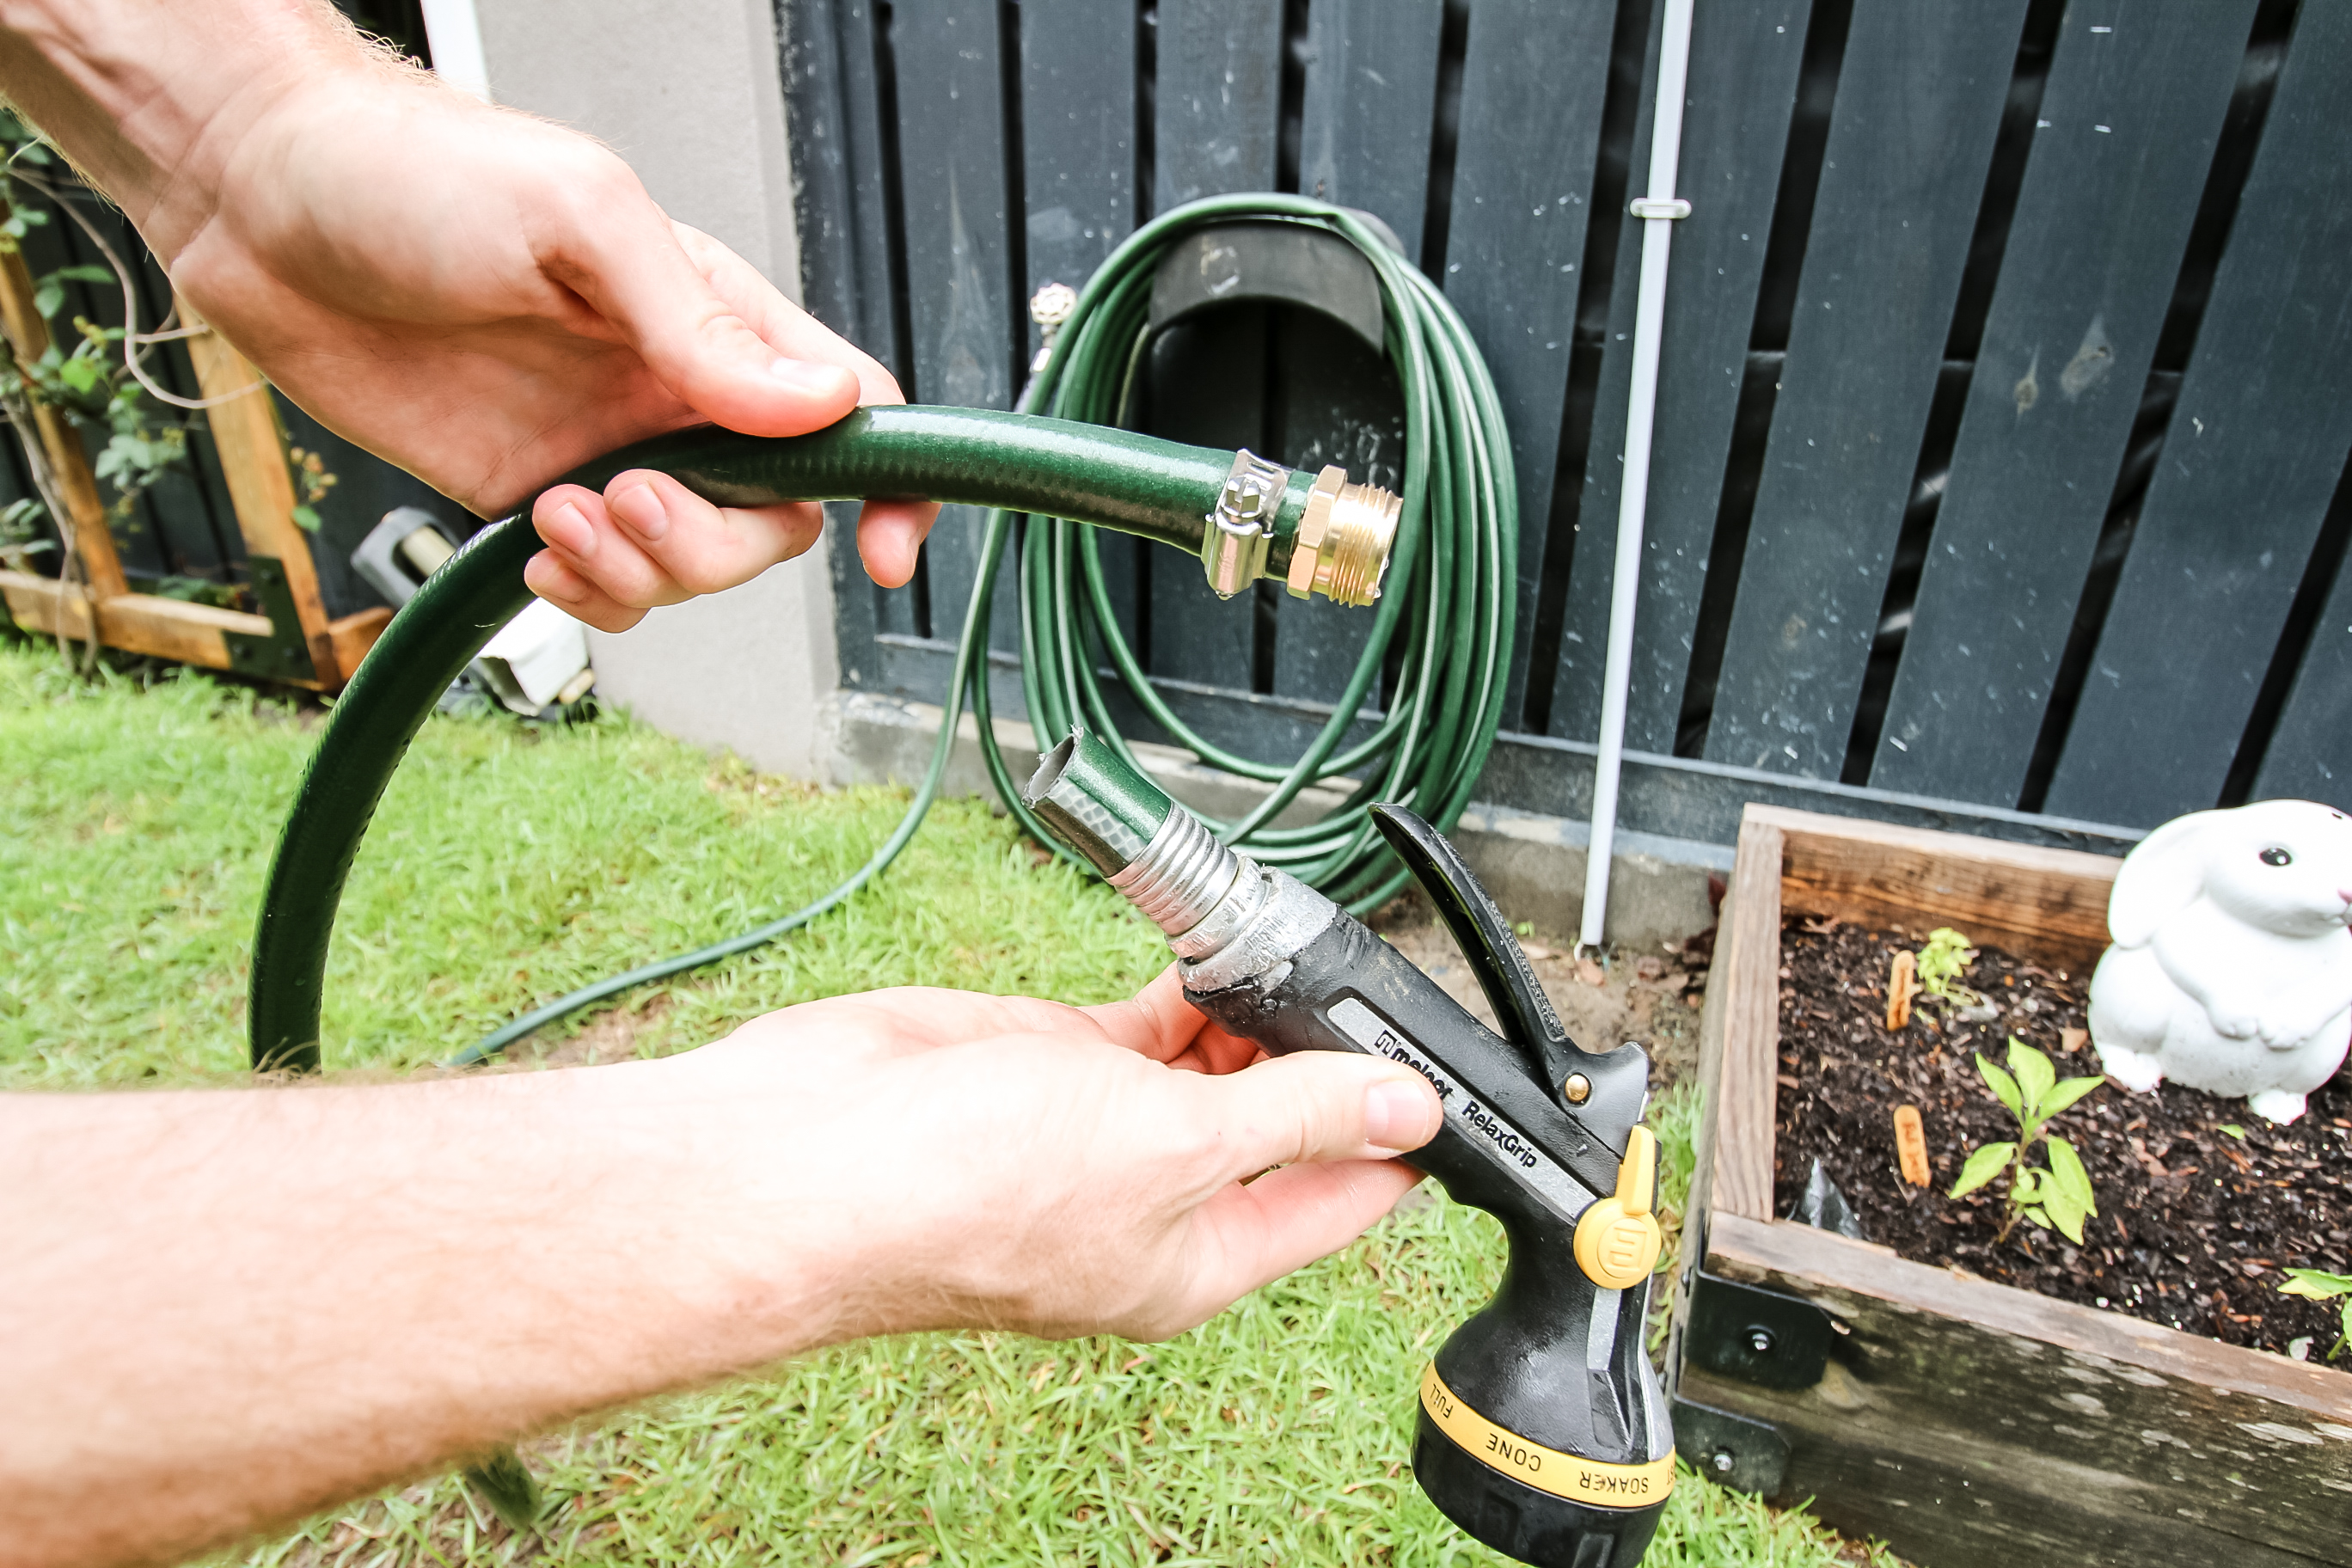
To do this, you cut the entire end of the hose off with the nozzle attached. Then, you install the hose repair connector and give yourself a new end to the hose.
This is just like cutting a stuck hose off a spigot entirely!
If you're lucky, you'll be able to now bend the old hose end out from inside the nozzle and you can reuse your old nozzle. If not, you'll have to buy a new nozzle.
Depending on the length of hose you need, you will have different prices, but between the cost of a new hose connector and new nozzle, you're probably looking around $25 together. To replace a 75 foot hose, a decent one will run you at least $50 and you'll still need a new nozzle.
So the cost is about half to cut the end off your hose and try to install the connector, but it's definitely more of a hassle. However, it's a good cost saver.
Why do spray nozzles get stuck on the hose?
Spray nozzles can get stuck on a hose for a number of reasons, but the most likely is that there is either debris or corrosion.
You're working in the yard, so there will end up being dirt and calcium that gets stuck in the threads causing it to get stuck.
Also, if you're using two different connections, with one being steel and one being brass, this can cause corrosion build up and a stuck nozzle.
How do I prevent my spray nozzle from getting stuck on the hose?
The best way to prevent a spray nozzle from getting stuck on the hose is to remove it regularly.
Ideally, you should take off the nozzle in between uses and not store the nozzle on the hose. Hoses get stuck to the nozzle when left for extended periods of time and create build up.
Even if you want to store the nozzle on the hose and don't change it very often, still make sure to take the nozzle off every so often. Bonus points if you clean the threads on the hose and the nozzle when you remove it.
Use a wire brush to remove any stuck on corrosion and wipe the threads clean to make sure it's ready to use next time.
Recap
If you are having trouble with a spray nozzle stuck on a garden hose, you can remove it with a few different methods. Depending on how stuck it is, you might can twist it off with tools or try more intense methods, but either way, there are ways to fix it!
Looking for something?
We've been doing this since 2012 so we have a LOT of blog posts!
Search stuff like: Ceiling Projects | DIY Plant Stands | Thrift Flips


Hey there, I'm Sean, the woodworking enthusiast and builder behind CharlestonCrafted.com! Since 2012, I've been sharing the magic of turning raw materials into beautiful creations. I love teaching others the art and satisfaction of woodworking and DIY. I try to inspire fellow crafters to make something extraordinary out of nothing at all.


