You read our backyard design plan last week and we are so excited for the end... before even starting! Well you have to start somewhere. The first stage of our plan is to replace our patio, so first we had to remove the old patio and make a space for it. Parts were easy... parts were not.
Removing Our Old Patio
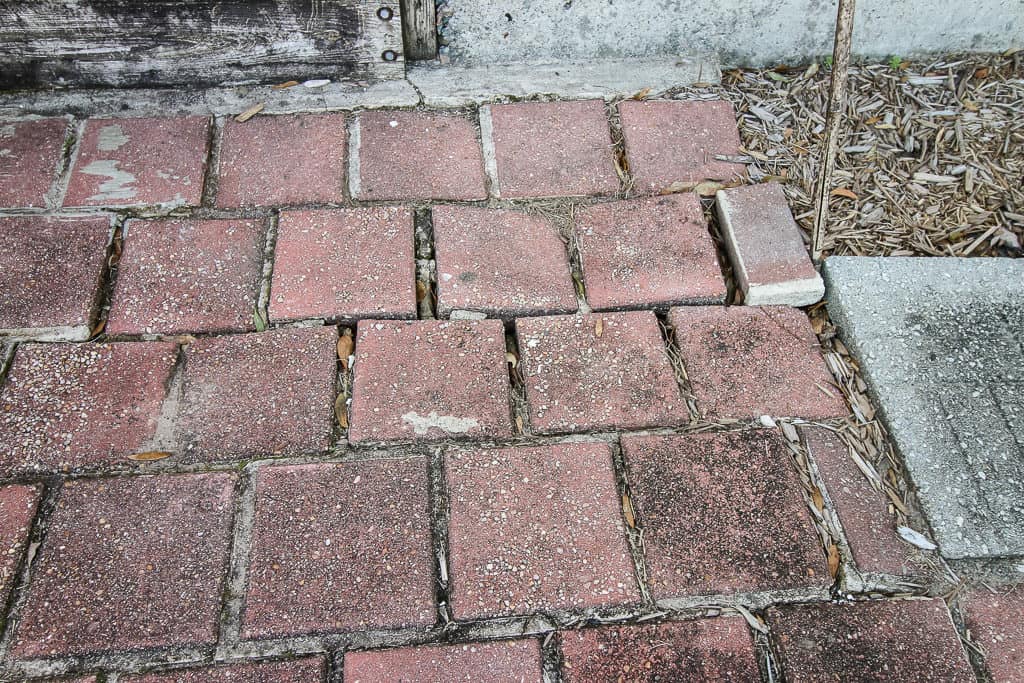
Our old patio was made of six inch by six inch red brick pavers. All the pavers were intact, however they were not all still connected. Over time, the concrete between them had broken in a lot of spots and the edges of the patio were all sloping away from a raised middle.
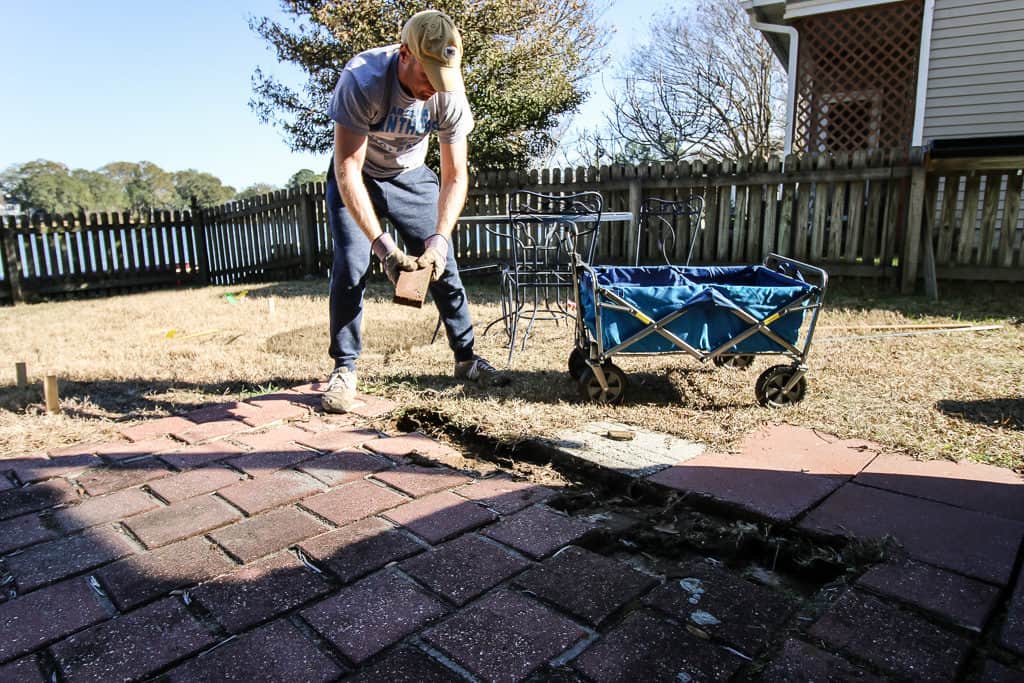
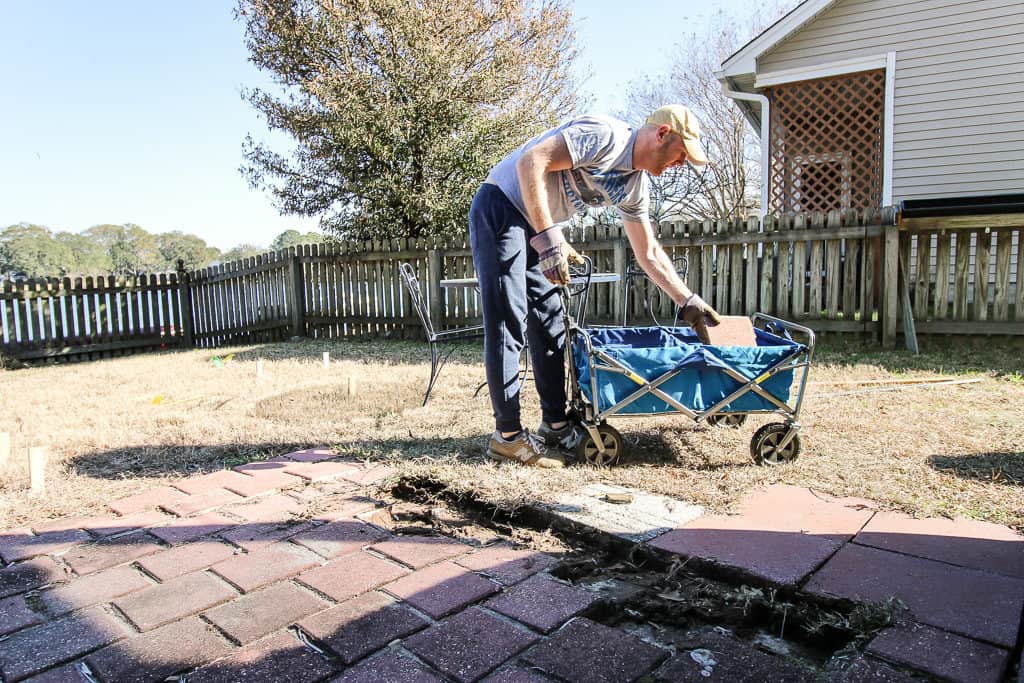
So the first step was to remove all the pavers from the area. A lot came up just by lifting them, then the ones in the middle still together needed a little bit of help from my old friend Wrecking Bar.
We actually used about half the pavers in two spots in our yard. We made a square section to go underneath our compost bin and also filled in the area underneath our canoe stand to keep grass from growing in these areas (also keep snakes away from the canoe, yikes). The rest we listed for free on Facebook Marketplace using our own successful tips for how to do that and they were gone within the hour.
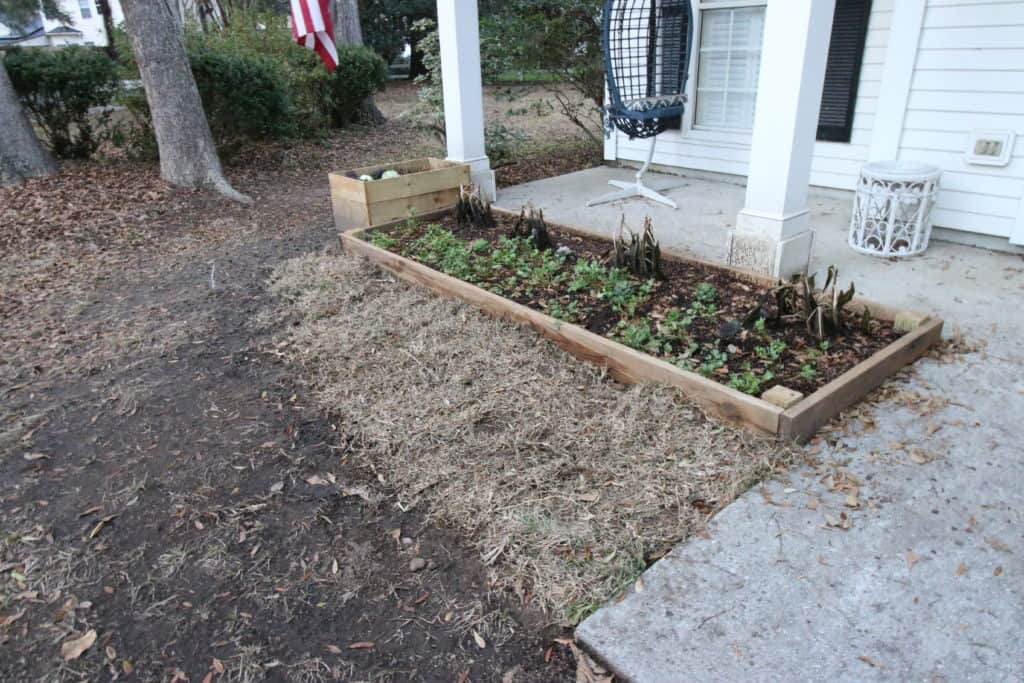
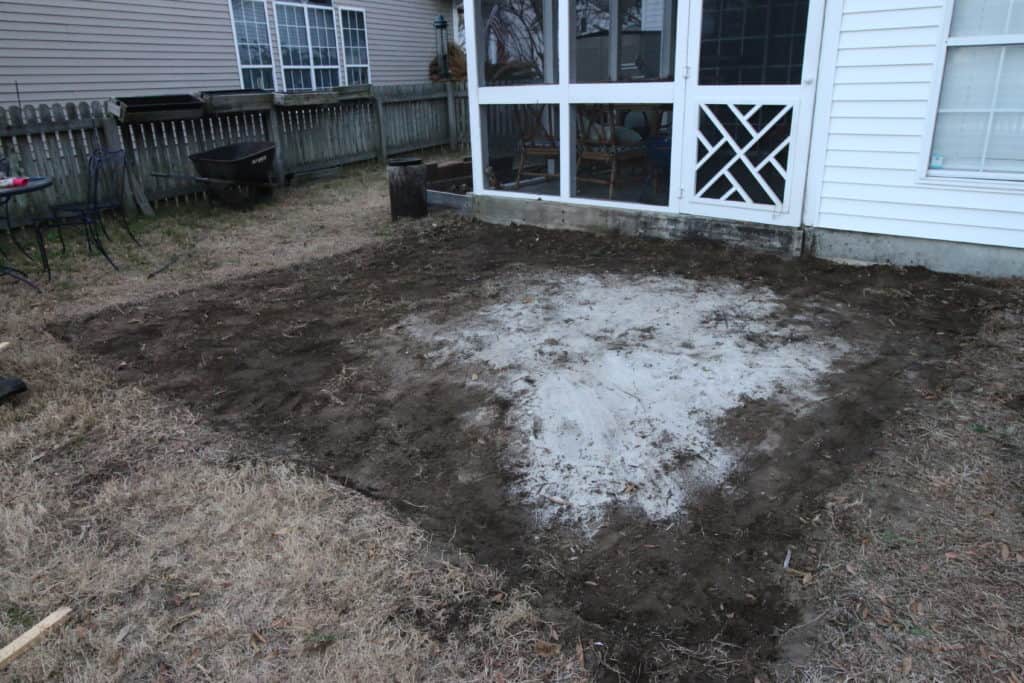
Having the pavers gone was great, but our new patio is going to be almost twice as big as our old patio, so we also had to remove some grass. We did this last year when creating our tropical hammock area and were able to successfully create our own sod. We did this again and moved the grass to an area in the front yard that was just dirt in front of our raised bed planters.
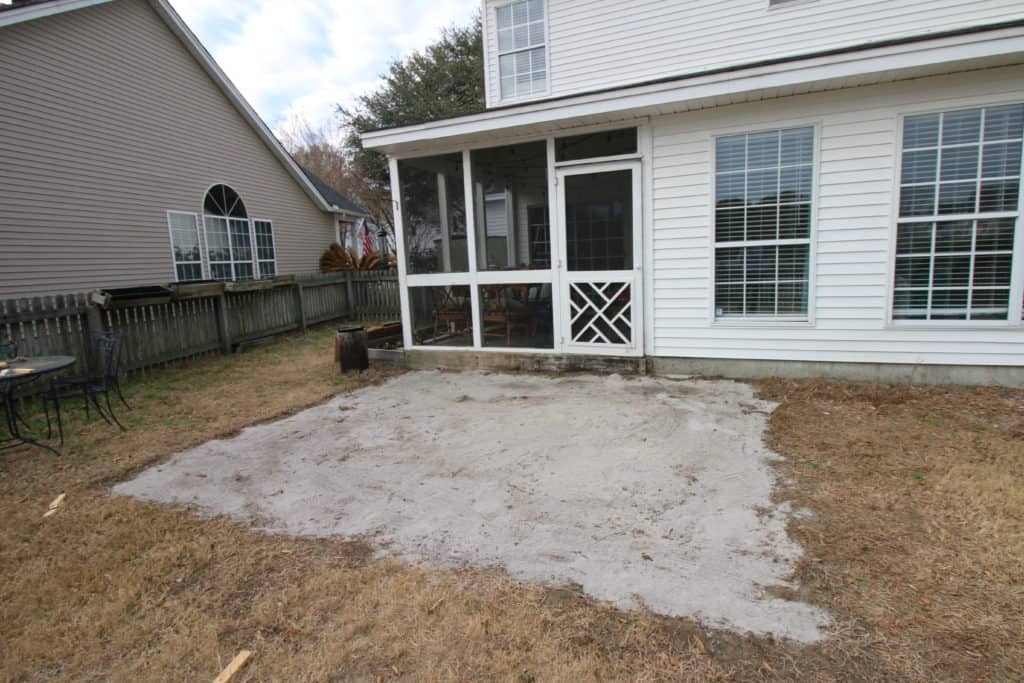
Now that we had our entire square area created for the new patio, the last step was just to get some new dirt in there, level everything out and drop down some leveling sand across the whole area so that the patio doesn't break apart like the old one.
Whew, I'm tired already and we haven't even put the patio in yet...
 |
|||
 |
 |
 |
 |

Hey there, I'm Sean, the woodworking enthusiast and builder behind CharlestonCrafted.com! Since 2012, I've been sharing the magic of turning raw materials into beautiful creations. I love teaching others the art and satisfaction of woodworking and DIY. I try to inspire fellow crafters to make something extraordinary out of nothing at all.

