• Skip to primary navigation
  • Skip to main content
  • Skip to primary sidebar
Charleston Crafted
  • DIY
  • Woodworking
  • Popular Posts
  • Blog
  • About
  • Shop
menu icon
go to homepage
  • DIY
  • Woodworking
  • Popular Posts
  • Blog
  • About
  • Shop
search icon
Homepage link
  • DIY
  • Woodworking
  • Popular Posts
  • Blog
  • About
  • Shop
×
Home » Home Repairs

How To Replace a Front Door Peep Hole

Published: Jun 6, 2017 · Modified: Jun 5, 2024 by Morgan · As an Amazon Associate, we earn from qualifying purchases. This site contains affiliate links. ·

Need to replace your front door peep hole? This is a quick and easy DIY project if you want to update yours or fix it!

This summer, we are trying to force ourselves to conquer some of the little projects that we have been putting off for the almost-year that we have been in this house to focus on big projects.

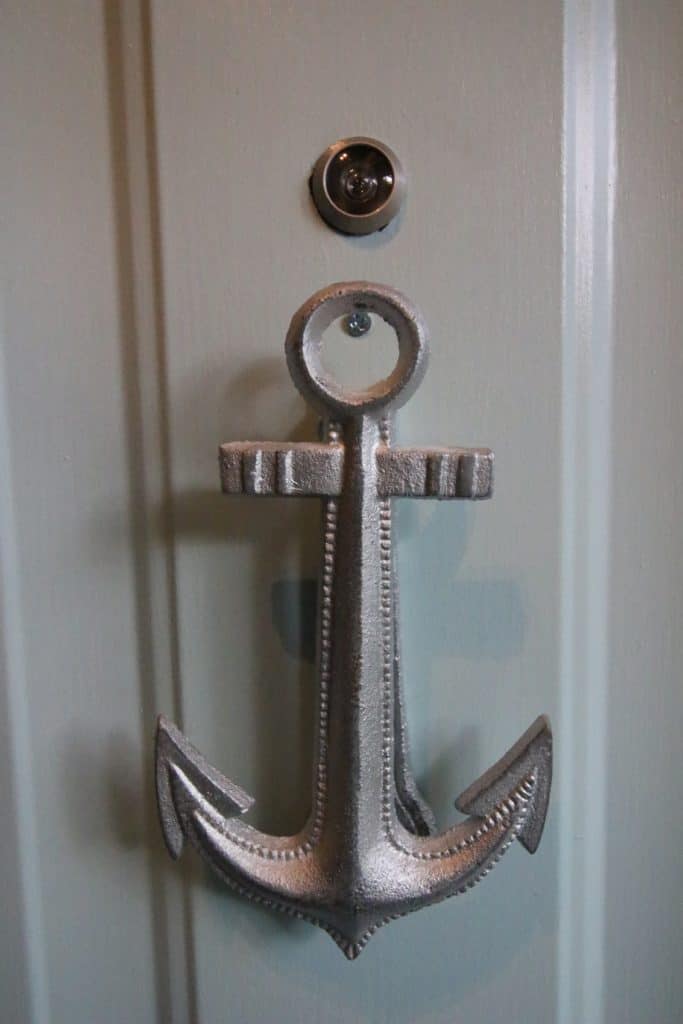
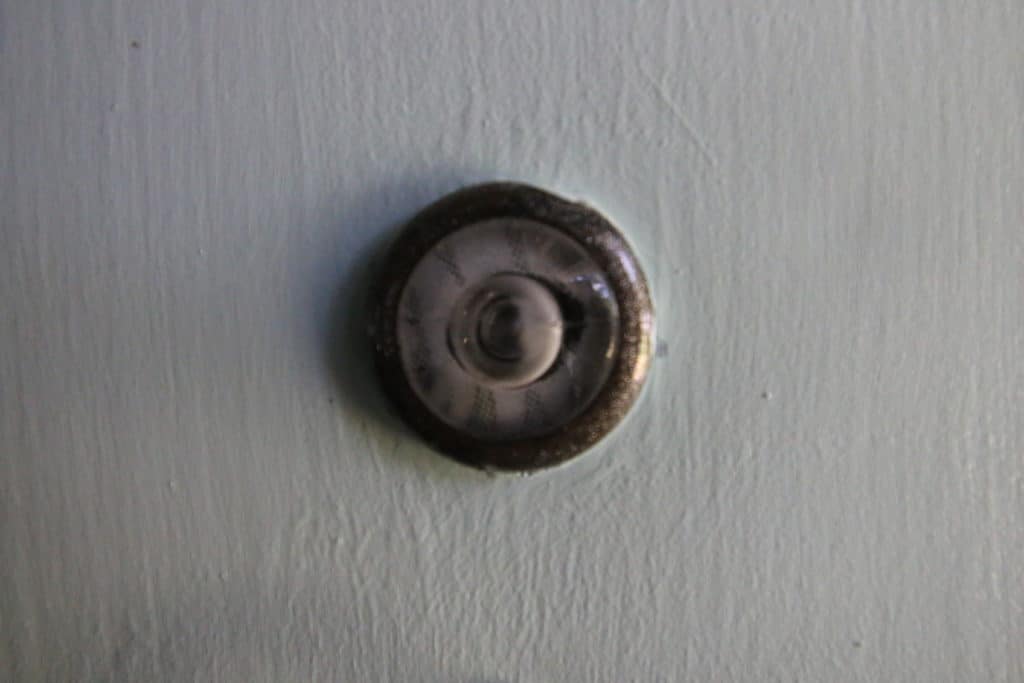
One of those projects is the front door peep hole - it is clearly 25 years old and completely fogged over - you can't see anything through it. We decided to see if we could figure out how to replace the peep hole ourselves and were shocked at how really simple it was.

How To Replace a Front Door Peep Hole - Charleston Crafted

How to replace a front door peep hole

Replacing a front door peep hole is really as simple as unscrewing the old one, sliding it out, and sliding in a new one. There are a few different options though on what you can get, depending on the color and view you want.

But you don't need much to replace your peep hole and it should only take you about five minutes. Here's how.

What you need:

  • A replacement peephole - ours was a 220 degree lens
  • Needlenose pliers
How To Replace a Front Door Peep Hole - Charleston Crafted

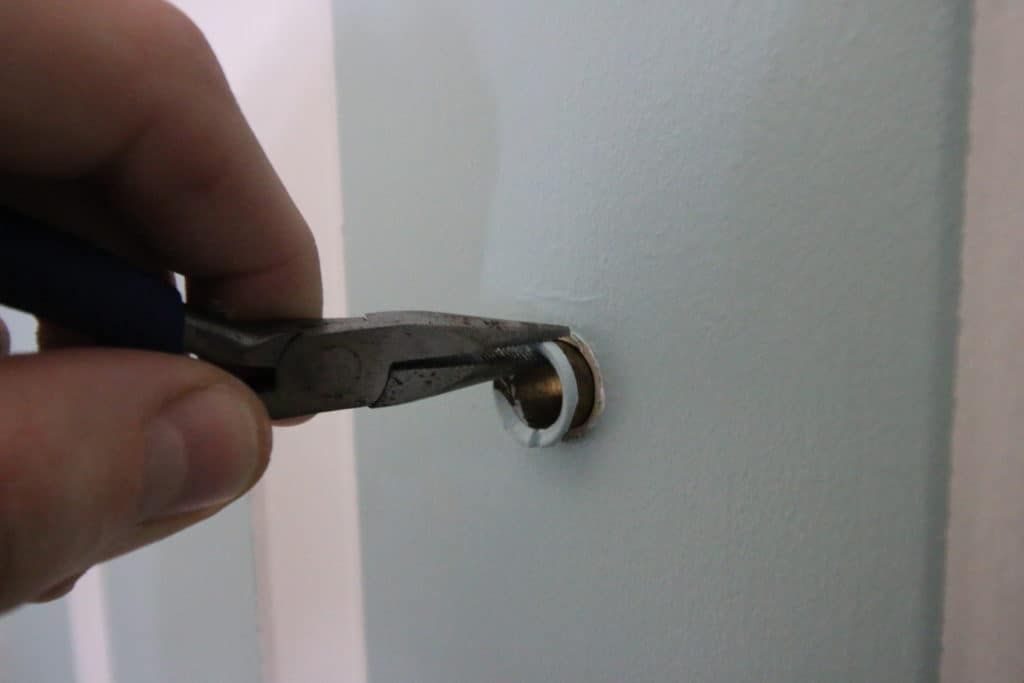
Step one: unscrew old peep hole

With one hand, hold the peep hole lens in place. With the other hand, use the needle nose pliers to grip the edge of the peep hole viewer and turn counterclockwise until it is loose.

How To Replace a Front Door Peep Hole - Charleston Crafted

Step two: push out old lens

Use your fingers to unscrew the peephole and pull both sides out. Since they are screwed together and use tension to stay in place, you pull both ends out through the side of the door they are on.

How To Replace a Front Door Peep Hole - Charleston Crafted

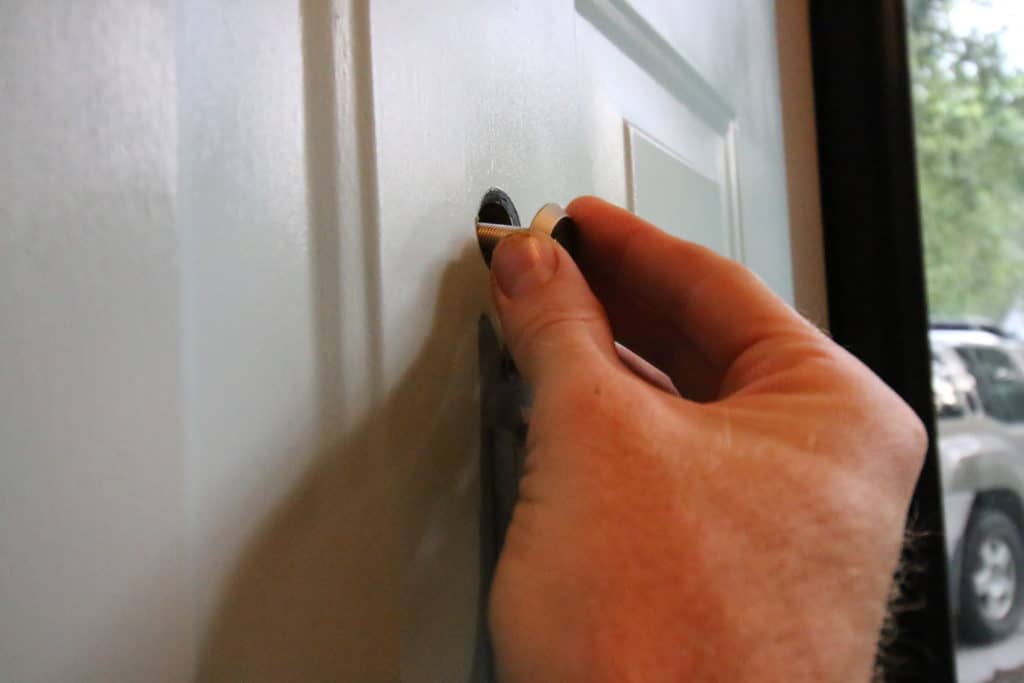
Step three: Insert new peep hole

Insert the new peephole. The lens side will go in through the front and the looking glass side on the inside of the door. Screw it together until tight.

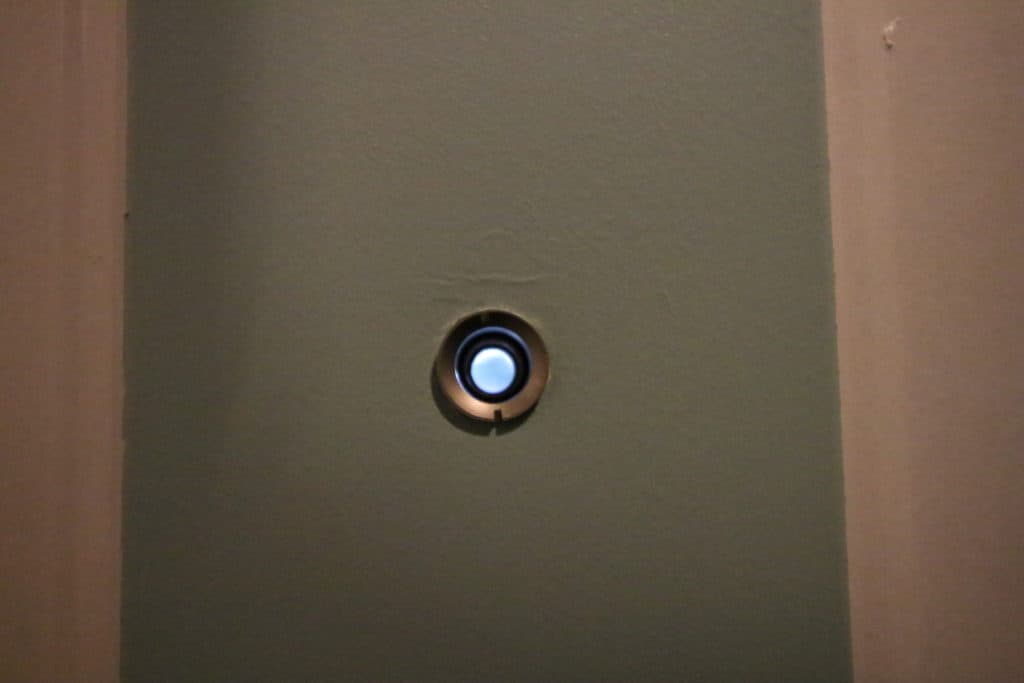
Peep out your new hole! (sorry if all this peephole business sounds vaguely dirty)

This is an extremely easy fix, but made a huge difference in that now we can see out our front door!

How To Replace a Front Door Peep Hole - Charleston Crafted

Have you been making any little fixes lately?

Charleston Crafted Signature

Follow us on:
Pinterest | Instagram | TikTok | YouTube | Facebook | Amazon Storefront | LTK Shop

Looking for something?

We've been doing this since 2012 so we have a LOT of blog posts!
Search stuff like: Ceiling Projects | DIY Plant Stands | Thrift Flips

Charleston Crafted logo banner
Morgan headshot cropped
Morgan

Hello, I'm Morgan, half of the creative force behind CharlestonCrafted.com! With a passion for DIY that dates back to 2012, I've transformed three homes and now I'm dedicated to helping others craft their dream spaces. Let's turn your house into a home together!

More Home Repairs

  • How to fix a door that won't latch - Charleston Crafted
    How to fix a door that won't latch
  • How to install an undermount sink - Charleston Crafted
    How to install an undermount bathroom sink
  • How to use wood filler on trim - Charleston Crafted
    How to use wood filler on trim
  • How to extend AC drain pipe - Charleston Crafted
    How to extend your AC drain pipe

Primary Sidebar

Charleston Crafted about us image

Hey y'all!

We are Morgan & Sean McBride and we are crafting our home together in Charleston, South Carolina.

More about us

Popular Posts

  • DIY Coffered Ceiling
    DIY Coffered Ceiling
  • How to Make DIY Concrete Pumpkins via Charleston Crafted
    How to Make DIY Concrete Pumpkins
  • How to Make a Cupid's Arrow Valentine's Day Wall Hanging with felt on the Cricut
    How to make a Cupid's Arrow Valentine's Day Wall Hanging
  • Our Tropical Oasis - A backyard Hammock area - Charleston Crafted
    Our Tropical Oasis

Recent Posts

  • how to organize a pantry with zones
    How to Organize Your Pantry in Zones (And Why It’s a Game Changer)
  • Keep outdoor rug from blowing up - Charleston Crafted
    How to keep your outdoor rug in place
  • kitchen design mistakes to avoid
    Kitchen design mistakes to avoid
  • DIY Faux Tropical Window Box That Looks Real (But Won’t Die!)

Privacy Policy

Footer

↑ back to top

Navigation

  • Home
  • Blog
  • Contact Us
  • Terms of Use
  • Disclaimer

Newsletter

  • Sign up for emails and updates
  • Follow us on Instagram
  • Work with Us

Browse by Category

  • Woodworking
  • Home Projects
  • Paint Colors
  • Room Reveals

© 2025 The Charleston Crafted Blog LLC DBA “Charleston Crafted” and “CharlestonCrafted” (also known as N/A) / All Rights Reserved.
Official Website: (Charleston Crafted)
Registered in USA (Co. Reg. No.: 565586)
Address: Charleston, USA 29414, South Carolina
Contact Phone: Not applicable — contact is via email: sean@charlestoncrafted.com

DISCLAIMER: The content on this website is provided for general informational purposes only and is not intended as professional advice. The Charleston Crafted Blog LLC and The Charleston Crafted Blog LLC make no representations or warranties—express or implied—regarding the accuracy, completeness, or suitability of the information contained herein. Any reliance you place on this information is strictly at your own risk. In no event shall The Charleston Crafted Blog LLC or The Charleston Crafted Blog LLC be liable for any loss or damage, including without limitation, indirect or consequential loss or damage, arising from the use or inability to use this website. This website is the official website of The Charleston Crafted Blog LLC.

AFFILIATE DISCLOSURE: This website contains affiliate links. If you click through and make a purchase, we may earn a commission at no extra cost to you.

As an Amazon Associate, I earn from qualifying purchases.

Site Editor: Morgan Smith McBride

Copyright © 2025 Charleston Crafted